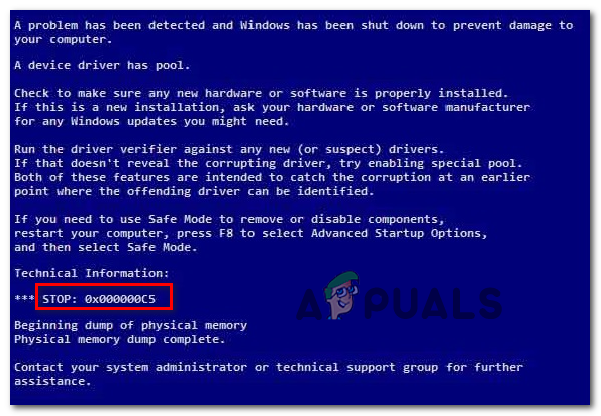
How to Fix BSOD Stop Error 0X000000C5
The system crashes instantly with a blue screen during startup or after recent driver updates, making normal operation impossible. The STOP code 0x000000C5 signifies that a driver attempted to access invalid memory at a high interrupt request level (IRQL), which Windows cannot allow.
This issue is most often caused by a corrupt or poorly coded driver; other triggers include faulty RAM, malware, or conflicts in kernel-mode components. In this article, we will discuss different solutions to solve this error.
1. Check the CPU Temperature
One of the most common reasons for the 0X000000C5 stop error is overheating. Our research shows that this issue happens often when the CPU is overclocked.
Typical idle temperatures for a PC should be between 30 to 40 degrees Celsius (86 – 104 Fahrenheit). Under heavy use, like gaming, safe temperatures are usually between 70 to 80 degrees Celsius.
Unless you have overclocked your CPU, have issues with your cooler, or the thermal paste is old or insufficient, your CPU should not go above 70-80 degrees Celsius, regardless of the task.
There are exceptions—some CPUs, like Intel’s i7 8700K, can run hotter—so always check the recommended temperatures for your specific CPU model.
Note: We’ll use a free tool called CoreTemp.
- Go to this link (here) using your browser to download the latest version of CoreTemp.
- After downloading, run the installer, accept the User Account Control (UAC) prompt, and follow the steps onscreen to complete the installation.
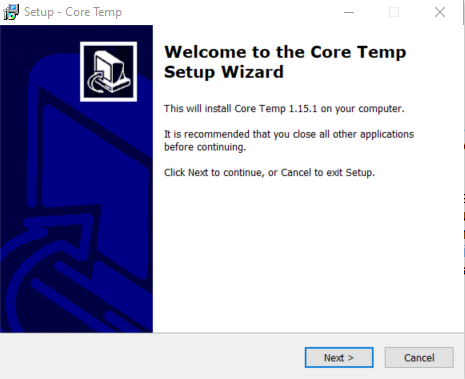
Installing Core Temp - Once you reach the installation location step, make sure to uncheck any boxes offering to install additional software (such as Build your kingdom with Goodgame Empire).

Avoiding the installation of bloatware - After making sure unwanted programs aren’t being installed, click Next and then Install to finish.
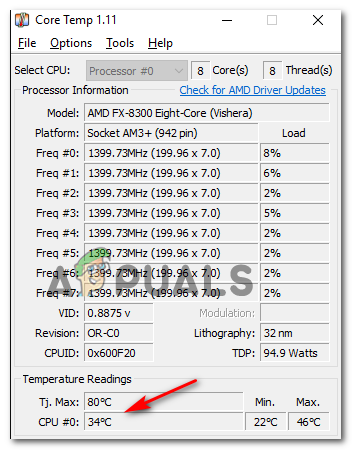
- When the installation is done, open Core Temp and check the Temperature Readings tab. Then close any non-essential programs or services to get an accurate temperature reading.
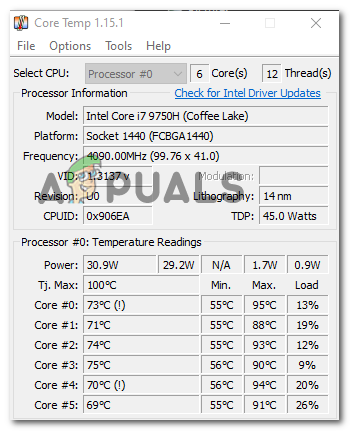
CPU Temperature Readings Note: Laptop and ultrabook CPUs usually run hotter than desktop ones. So always search online for the standard temperature for your specific CPU.
- If you find your CPU temperature is much higher than expected when idle, you need to address it. Consider applying fresh thermal paste, cleaning your CPU cooler, or even adding extra cooling to your case.
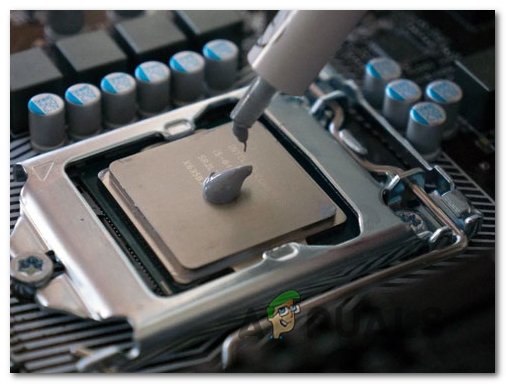
Applying thermal paste on your CPU Note: If you have overclocked your CPU, return its settings to default and check if the crashes continue. If you’re not comfortable doing any of these steps, take your computer to a technician.
If your investigation didn’t reveal a temperature issue, move on to the next solution.
2. Uninstall the Third-Party Antivirus Suite (If Applicable)
Certain antivirus programs may cause conflicts at the kernel level, especially during scans or updates. If you experience BSODs shortly after installing or updating security software, try disabling real-time protection or uninstalling it as a diagnostic step.
- SUPERAntiSpyware
- Avira Antivirus
- Security Essentials
Some users found that their antivirus blocked important Windows services, triggering the 0X000000C5 error.
If you think your antivirus might be the cause, you have two options: either uninstall the third-party antivirus or disable its real-time protection while doing demanding tasks.
Note: You won’t be able to whitelist Windows system (Kernel) files in most AVs.
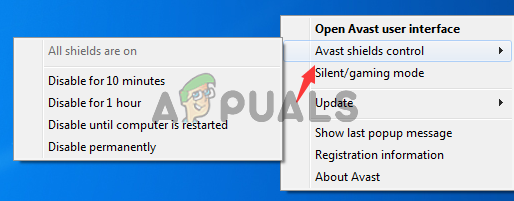
If you’re using third-party antivirus and think it’s causing these errors, first try disabling real-time protection. This is usually done from your antivirus icon in the taskbar.
If disabling doesn’t help, or if you can’t disable it, uninstall the antivirus completely, making sure to remove any leftover files. To do this, follow this guide.
If this didn’t solve your problem, try the next possible fix.
3. Uninstall Roxio Easy Creator or ATI Catalyst Install Manager (If Applicable)
If you are using older versions of Roxio or legacy AMD drivers (like ATI Catalyst), consider removing them. These programs are known to cause conflicts with Windows kernel components. If you’re using newer AMD Radeon Software, this step is not required.
- Press Windows key + R to open the Run dialog. Type ‘appwiz.cpl’ and press Enter to open the Programs and Features menu.
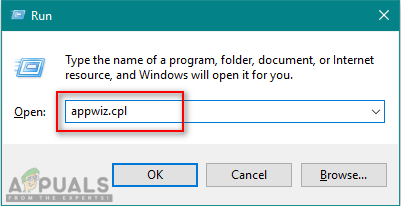
Opening Programs and Features - Scroll through the program list and find Roxio Easy Creator or ATI Catalyst Install Manager. Right-click on it, and choose Uninstall.
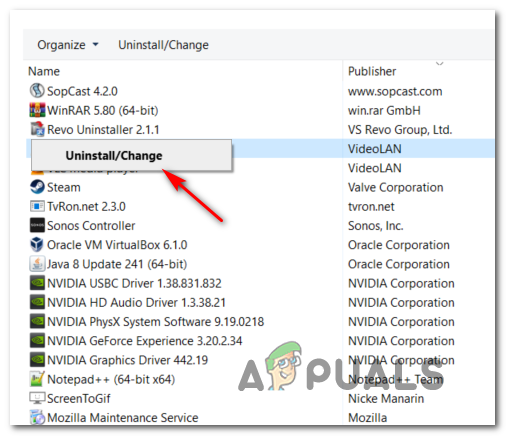
Uninstalling Roxio Media Creator - Follow the prompts to complete the removal of the program.
- Restart your computer and check if the issue is resolved.
4. Perform a Clean Boot
If the previous fixes didn’t help, you may be dealing with another third-party software conflict. Performing a clean boot can help you diagnose and isolate the problem. In a clean boot, Windows starts with only essential services.
If the 0X000000C5 BSOD doesn’t appear during a clean boot, a third-party program is almost certainly the cause.
For a step-by-step guide, see this article.
To find out which program is causing the problem, slowly re-enable your disabled startup items and services, one at a time, restarting and testing each time. Although it takes time, this process is very effective.
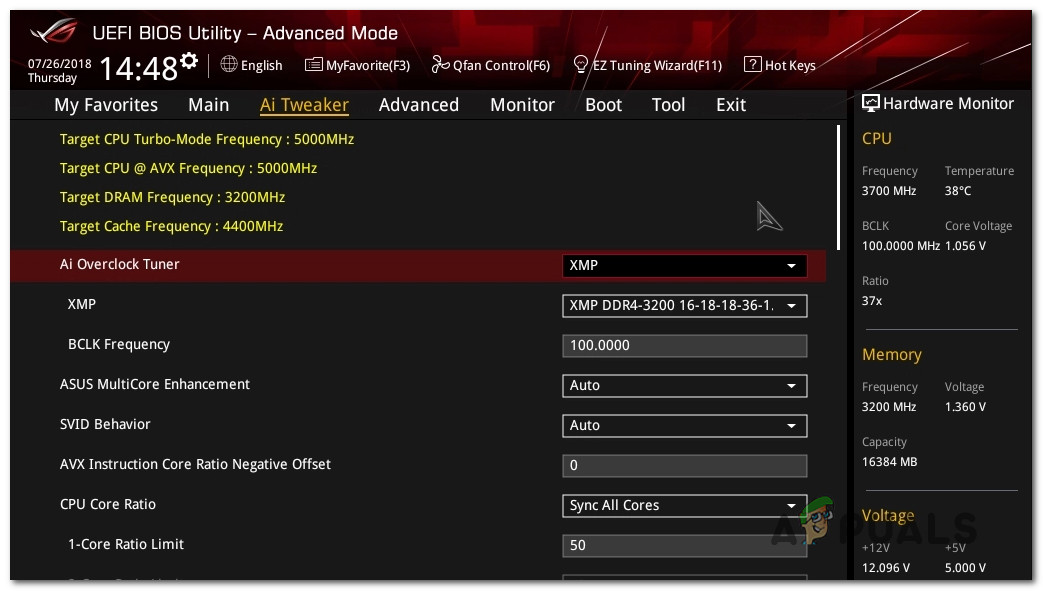
5. Disable Overclocking (If Applicable)
Most 0X000000C5 BSODs happen on computers with overclocked hardware. Overclocking pushes components (CPU, RAM, GPU) to run at higher-than-normal speeds, which increases heat and sometimes causes instability.
If you have overclocked any parts (from BIOS or UEFI), reset all settings back to their defaults and see if the errors stop.
Several users have confirmed that resetting overclocking settings on their CPU, GPU, and RAM resolved their issue.
If your system is overclocked, do the same and check if this stops the Blue Screen crashes.
6. Install KB4012598 Windows Update (If Applicable)
If you’re seeing this issue on Windows 8 or earlier, or Windows Server, the 0X000000C5 BSODs can be caused by a bug in the network adapter driver.
Luckily, Microsoft has released a patch (KB4012598) to fix this. Users have reported that installing this update solved their problem.
- Go to this link (here) and find the Windows Update version suitable for your system.

Downloading the correct version of KB4012598 - Click the Download button for the correct update, then click the download link in the pop-up and wait for it to finish.
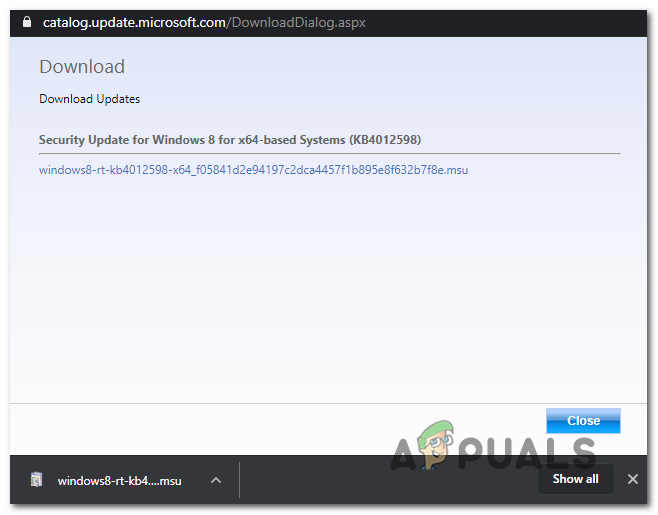
Initiating the download of KB4012598 - Once downloaded, double-click the .msu file and follow the instructions to install it.
- Restart your computer and check if the BSODs are gone.
7. Reinstall Mouse & Keyboard Drivers
If you see the 0X000000C5 error when running a security scan (such as with Malwarebytes), it could be triggered by a conflict with your wireless keyboard or mouse drivers. This type of conflict happens at a low (kernel) level and can’t be fixed by whitelisting devices in your antivirus settings.
Several users have reported solving this by uninstalling and letting Windows reinstall the keyboard and mouse drivers through Device Manager.
- Press Windows key + R to open the Run dialog. Type ‘devmgmt.msc’ and hit Enter to open Device Manager.
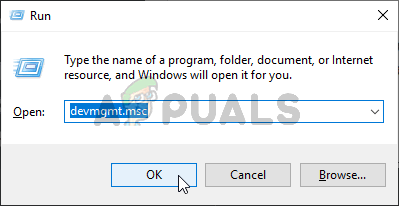
Running the Device Manager Note: If you’re prompted by UAC (User Account Control), click Yes to proceed.
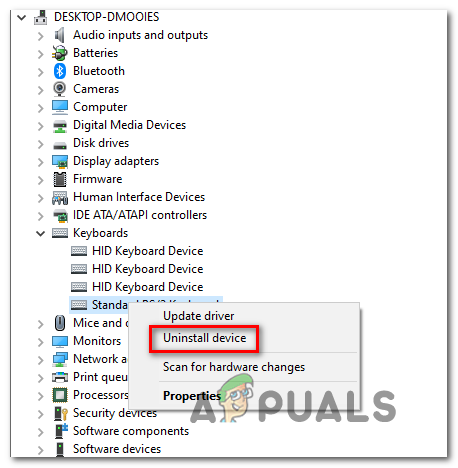
- Inside Device Manager, expand the Keyboards section. Right-click your keyboard device, then choose Uninstall.

Uninstalling keyboard device driver Note: This will not break your keyboard—it will use Windows’ default driver instead.
- Do the same with your mouse by expanding Mice and other pointing devices, then right-clicking and uninstalling your mouse driver.
Uninstalling Mouse Device driver - Restart your PC, allowing Windows to reinstall the correct drivers automatically. Then check if the problem is resolved.


