How to Fix Error Code: 10004 in Zoom (macOS)
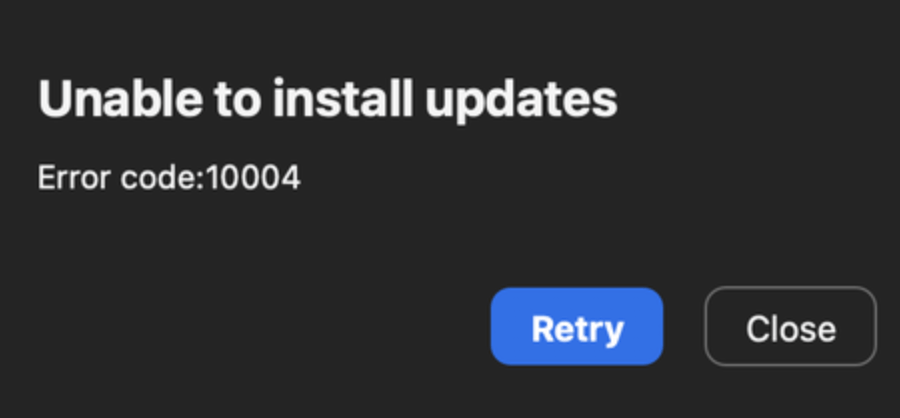
When the auto-update process fails, the Zoom desktop client may not be able to connect to the server, causing the error code 10004 to be displayed. This issue can prevent users from joining or hosting Zoom meetings and may cause interruptions in remote work and online classes.
Specifically, this error occurs on devices running macOS 13 Ventura Beta 5 or higher, and with Zoom Desktop Client versions between 5.11.6 and 5.12.0.
In this article, we will provide you with step-by-step solutions to fix the Zoom error code 10004, allowing you to resume your online meetings and classes without any interruptions. Now, let’s dive in and explore the possible solutions to troubleshoot error code 10004 in Zoom.
1. Manually install the newest version of Zoom Desktop Client.
If you are experiencing the Zoom error code 10004, manually installing the latest version of the desktop client may help you resolve the issue. Here are the detailed steps:
- Visit the Zoom Download Center at https://zoom.us/download.
- Scroll down the page and click on the Download button under the Zoom Client for Meetings section.
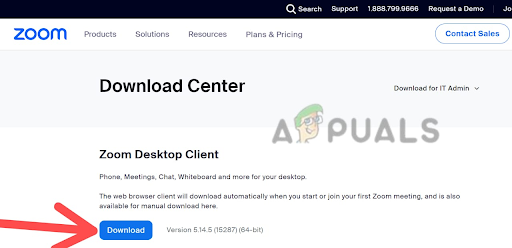
Click on the Download button - Once the download is complete, open the installer file.
- Follow the prompts to install the Zoom desktop client on your Mac.
- After installing the new version of Zoom, restart your computer.
- Finally, try launching the Zoom application again to see if error code 10004 has been resolved.
By manually installing the newest version of the desktop client, you will be able to resolve the Zoom error code 10004 on your Mac. This method ensures that you have the latest version of Zoom installed on your device, which may help prevent future errors or issues with the application.
2. Reinstall the Zoom Desktop Client.
If manually installing the Zoom Desktop Client does not work to fix error code 10004 on your Mac, uninstalling and reinstalling the Zoom app to the latest version may help you resolve the issue. Here are the detailed steps:
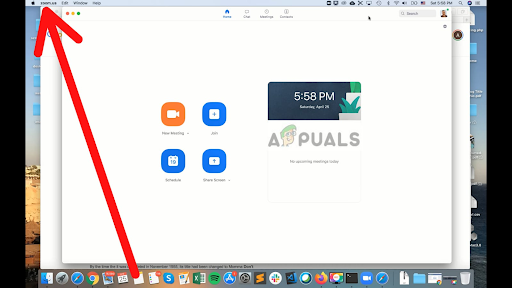
- First, locate the Zoom desktop application icon on your Mac and double-click to open it. The app will launch, and you will see the Zoom login screen.
- Once the Zoom desktop application is open, you can access the Zoom menu bar at the top of your Mac screen. Click on zoom.us in the menu bar to access the drop-down menu.
Click on zoom.us - From the drop-down menu, select the Uninstall Zoom option. A confirmation window will appear, asking if you are sure you want to uninstall the Zoom desktop application and its components.
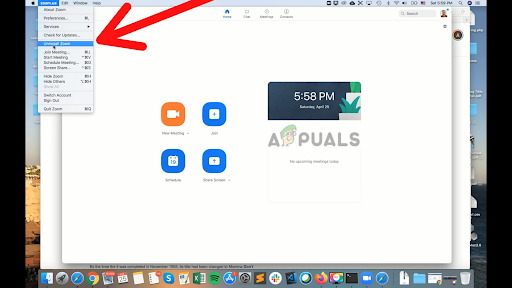
Select the Uninstall Zoom option - Click OK to confirm that you want to uninstall the Zoom desktop application and its components.
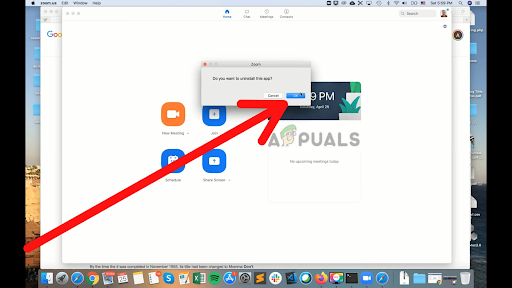
Press OK to confirm - The Zoom desktop app will begin to uninstall. Wait for the process to complete. The time it takes depends on the size of the application and the speed of your computer.
If you cannot find the uninstall option or are unable to uninstall the Zoom application due to any reason, you can uninstall it through the system manager of your device. This is how you can do it.
- Open Finder on your Mac. You can do this by clicking the Finder icon in the Dock, or by clicking on the desktop, selecting “File” from the menu bar at the top of the screen, and choosing “New Finder Window.
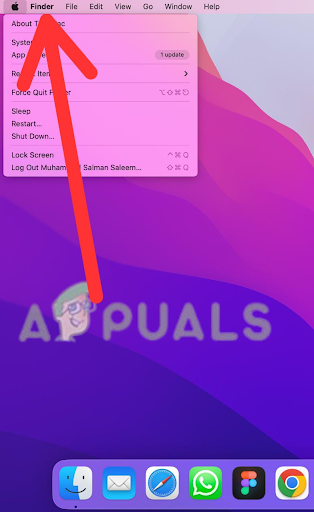
Open Finder on your Mac, then select File from the menu bar - Navigate to the Applications folder. You can do this by clicking on Applications in the sidebar on the left side of the Finder window.
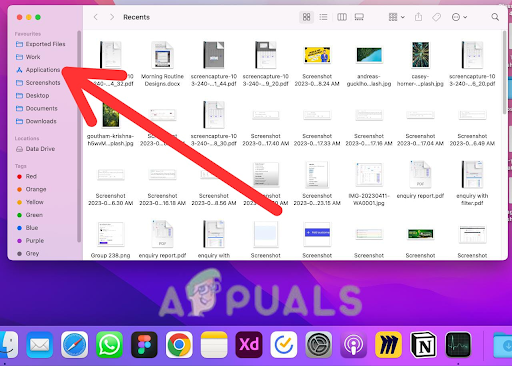
Navigate to the Applications folder - Scroll down the list of applications until you locate the zoom.us application. The applications are listed in alphabetical order, so you might need to look for it towards the end of the list.
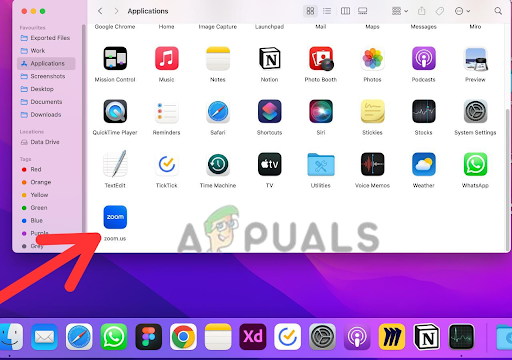
Click on the zoom.us application - Right-click on the zoom.us application and select ‘Show Package Contents‘ from the dropdown menu. This action will open a new window displaying the contents of the application.
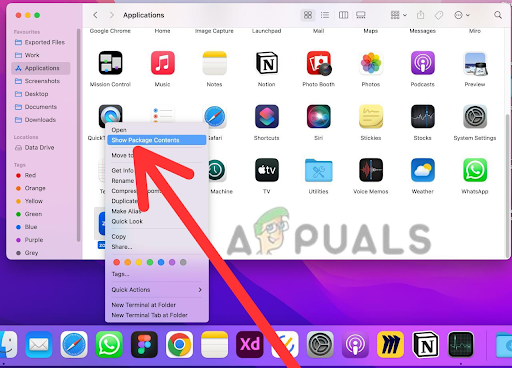
Select Show Package Contents - In the next window, open the Contents folder. This will display the contents of the zoom.us application.
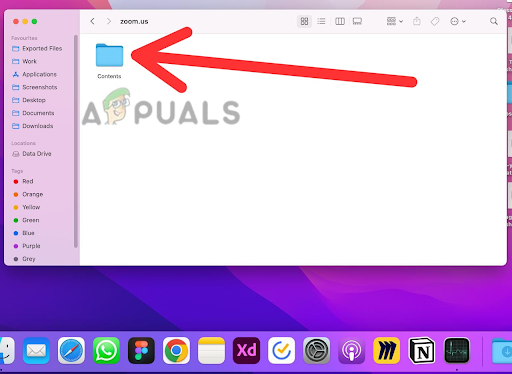
Open the Contents folder - In the Contents folder, open the Frameworks folder. This contains the framework files used by the application.
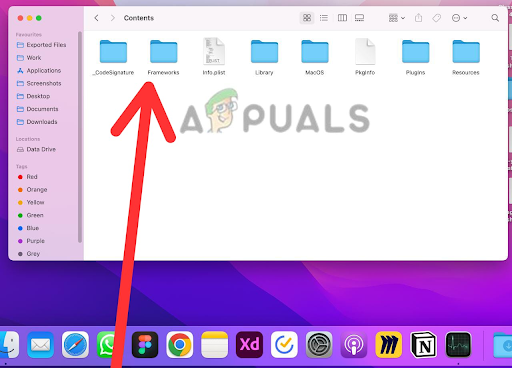
Go to the Frameworks folder - Double-click on the Zoom Uninstaller file to run the uninstaller. This will initiate the process of uninstalling the Zoom application from your Mac.
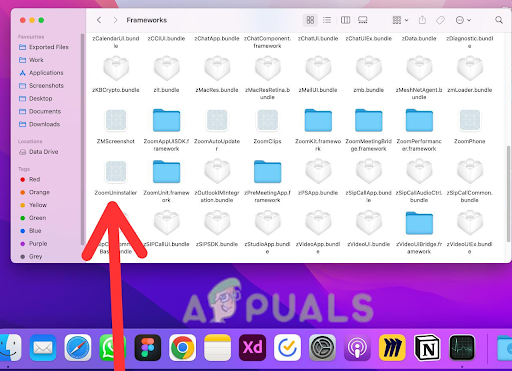
Double-click on the Zoom Uninstaller file - Tap OK to uninstall the Zoom application completely from your Mac.
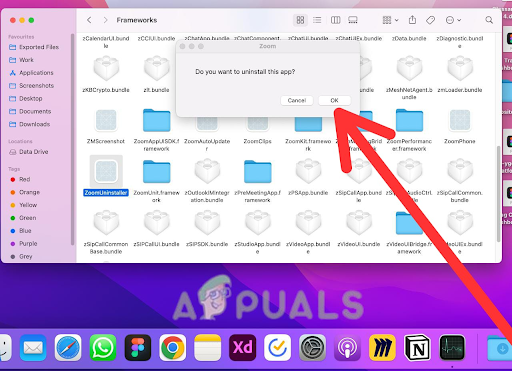
Click OK to uninstall - Once the uninstallation process is complete, it is recommended that you restart your Mac. This will ensure that any remaining files or processes related to the Zoom desktop application are properly removed.
- After restarting your Mac, you can verify that the Zoom desktop application has been successfully uninstalled by checking your Applications folder. Look for the Zoom icon and confirm that it is no longer present.
- After uninstalling Zoom, visit the Zoom download page at http://zoom.us/download.
- Scroll down to the bottom of the page and click on the link that says, “Click here to download.
- Once the download is complete, double-click on the installer file to begin the installation process.
- Follow the prompts to install the new version of the Zoom desktop client.
- After installing the new version of Zoom, restart your computer.
- Finally, try launching the Zoom application again to see if error code 10004 has been resolved.
3. Grant Full Desk Access to Zoom.
If you encounter the Zoom error code 10004 on your Mac, you need to grant full disk access as well as file and folder access to the Zoom installer in order to successfully install the desktop client. Here are the detailed steps:
- Go to the Apple menu on the top-left corner of your screen and click on System Preferences.
- Click on Security & Privacy and then click on the Privacy tab.
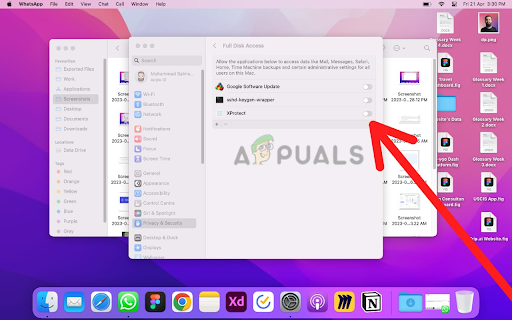
- From the left-hand menu, click on Full Disk Access.
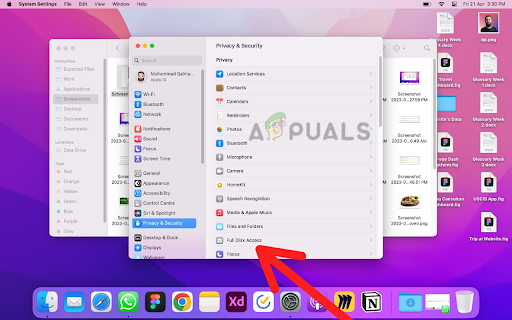
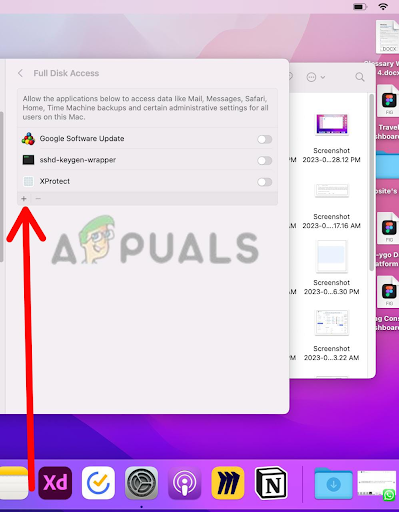
Go to Full Disk Access - Click the toggle icon at the left of the window to make changes. A pop-up will appear on the screen.
Click the toggle icon at the left of the window - Enter your administrator password and click Unlock.
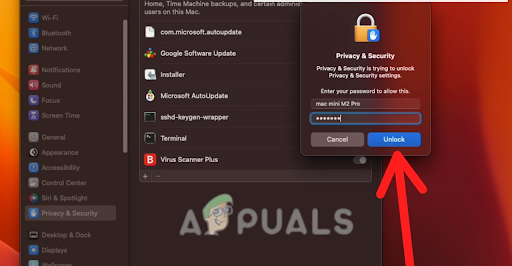
Enter your administrator password, then click Unlock - Click the ‘+‘ button and navigate to the Installer folder.
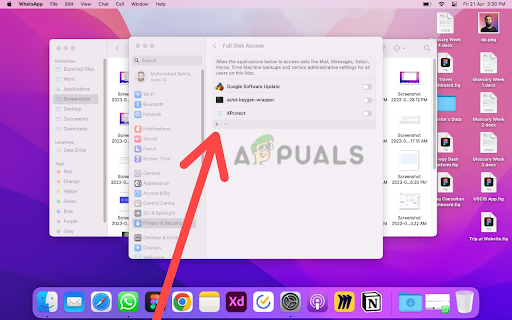
Click the + button, then navigate to the Installer folder - Select the Installer folder and click Open.
- Next, click on Files and Folders from the left-hand menu.
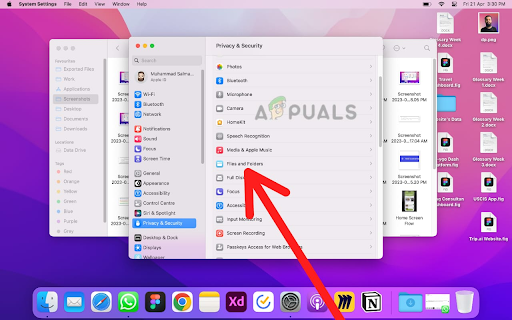
Choose the Files and Folders option - Click the toggle icon again to make changes.
- Enter your administrator password and click Unlock.

Enter your administrator password, then click Unlock - Click the “+” button and navigate to the “Downloads” folder.
Click the + button, then navigate to the Downloads folder - Select the Downloads folder and click Open.
- Now, try to install the Zoom desktop client again.
If the installer is not visible in the aforementioned location, you can manually add it from the /System/Library/CoreServices/Installer.app location by following these steps:
- Click on Go in the menu bar at the top of the screen.
- Click on ‘Go to Folder.’
- Type /System/Library/CoreServices/ into the text field and click “Go.
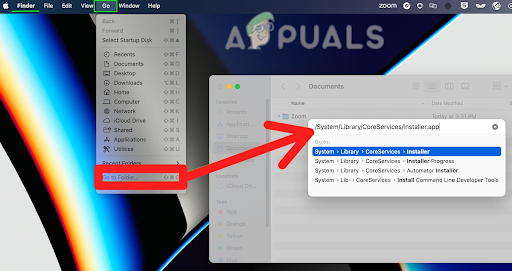
Click on Go to Folder, then type in /System/Library/CoreServices/ in the text field and click Go - Find the Installer.app file in the folder and drag it to the Files and Folders section of the Privacy & Security settings.
- Make sure that the checkbox next to “Installer” is selected.
By following these steps, you should be able to grant full disk access and file and folder access to the Zoom installer, allowing you to install the Zoom desktop client without encountering error code 10004.
4. Upgrade your device to the latest iOS version.
If you have tried all the above methods and are still experiencing Zoom error code 10004 on a device running macOS, it can be resolved by updating the operating system to the latest version. To update macOS to the latest version, follow these steps:
- Click on the Apple menu in the top-left corner of your screen and select System Preferences.
Select System Preferences - Now open General settings by tapping on it.
- Click on Software Update.
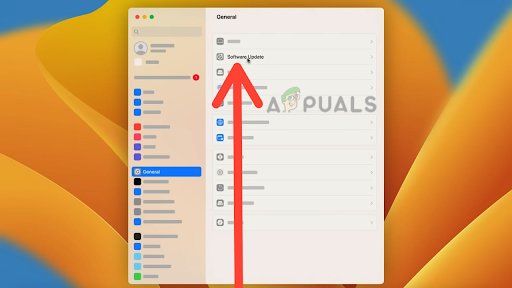
Choose the Software Update option - If an update is available, click on Update Now to download and install it.
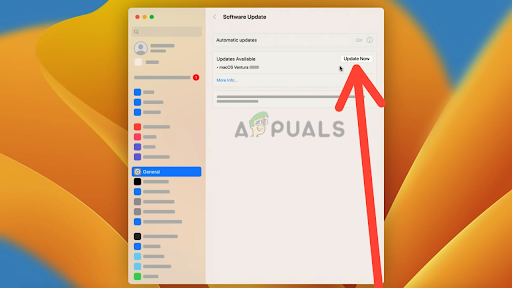
Click on Update Now - Follow the prompts to complete the installation process.
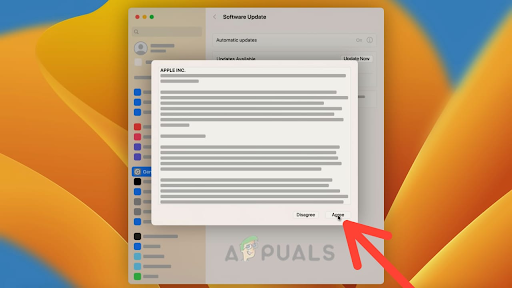
Follow the prompts and click on Agree
It’s important to ensure that your device meets the minimum system requirements for the latest version of macOS before proceeding with the installation. Additionally, it’s always recommended to back up your data before performing any software updates to avoid potential data loss or other issues.
5. Contact Zoom support.
If you are still experiencing the error after attempting to troubleshoot the issue on your own, you can contact Zoom support for additional assistance. They can help you diagnose the issue and provide guidance on resolving any technical problems.
When contacting Zoom support, it’s important to provide as much detail as possible about the issue you’re experiencing, including any error messages or codes you may have received. This will help their support team to quickly diagnose and resolve the issue.
Keep in mind that Zoom support may experience high volumes of inquiries, particularly during peak usage times, so receiving a response may take some time. However, they are committed to providing timely and effective support to all users, so don’t hesitate to reach out if you need assistance.
After trying all of these methods, you will be able to solve Zoom error code 10004 and can create and join virtual meetings on Zoom.


