How to Fix Zelle App Not Working on iPhone?
 Reviewed by Muhammad Zubyan
Many users prefer the Zelle app for transactions, but it can malfunction, refusing to process payment requests. This issue is significant particularly when needing to make or receive urgent payments.

The Zelle iPhone app often malfunctions due to poor internet connection, cache accumulation, or system UI issues.
Don’t worry! There are several quick solutions to resolve this Zelle error. I’ll outline the necessary steps so you can promptly resume your operations.
How to Fix Zelle Not Working on iPhone?
- Check Your Internet Connection: Errors or slow speed in your internet connection can cause the Zelle app to malfunction. Ensure that you’re connected to a reliable internet source before pursuing other fixes. If available, connect to a secondary Wi-Fi network or use mobile data.
- Update your iPhone: A new iOS update mainly includes several bug fixes. Consequently, keeping it updated is highly recommended. After updating your iPhone, verify if your Zelle app is now operational.
- Allow All Permissions for the Zelle App: If you’ve limited your Zelle app operations, it may cause functionality issues. Therefore, ensure all permissions are granted for the Zelle App via settings.
- Reinstall Your bank app: This solution may not directly involve Zelle, but sometimes, bugs can cause the bank app to stop recognizing Zelle’s connection, preventing transactions. If this occurs, reinstall your bank app and log in again to check if Zelle resumes functioning.
- Link Your Phone Number or Email to Zelle: To receive payments through Zelle, ensure you have linked your phone number or email to the app. Without these details added, payment processing will not occur.
1. Check Your Internet Connection
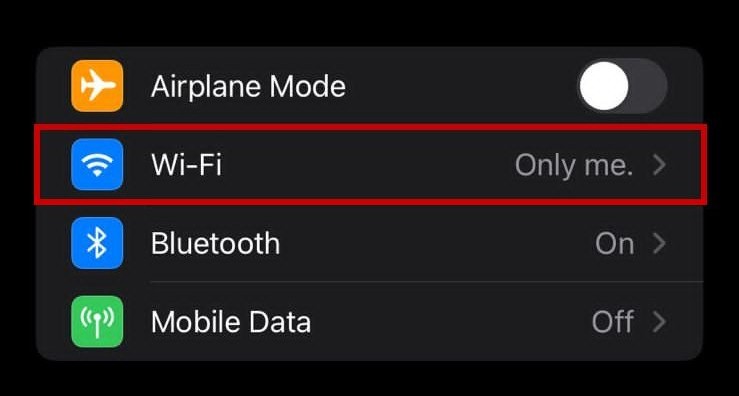
- Go to Settings on your iPhone.
- Click on the Wi-Fi option.
- Make sure that your Wi-Fi is turned on and connected to a reliable network.
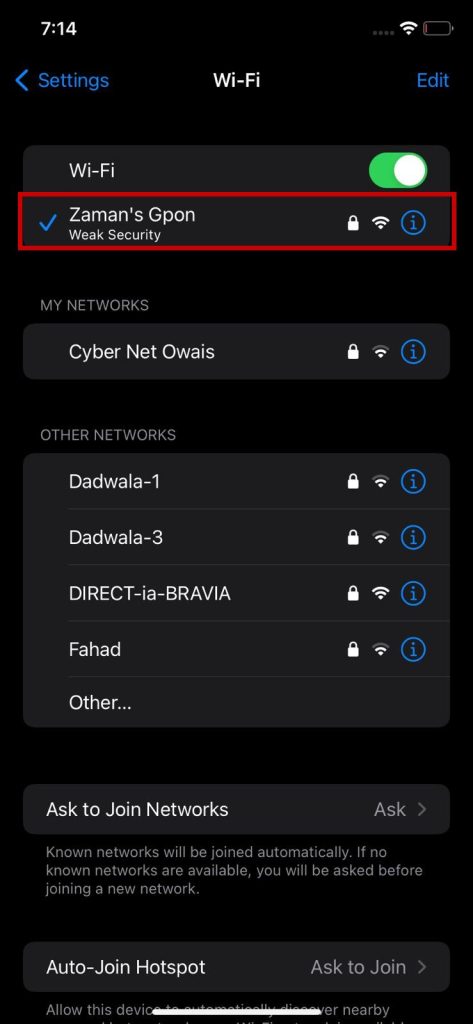
If it is unstable, connect to your mobile data for the time being.
2. Update your iPhone
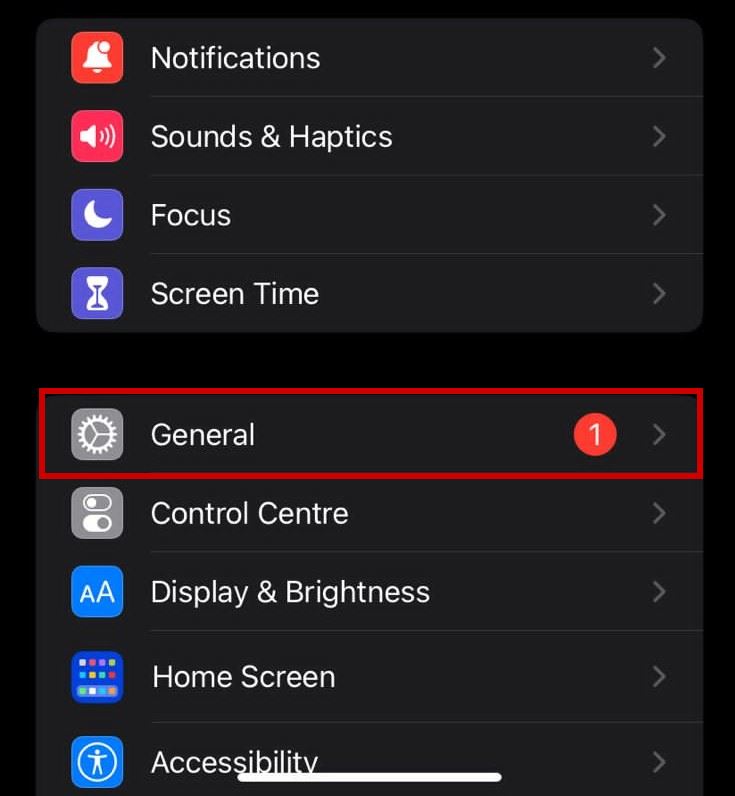
- Head over to Settings.
- Click on General.
- Go to Software Update.
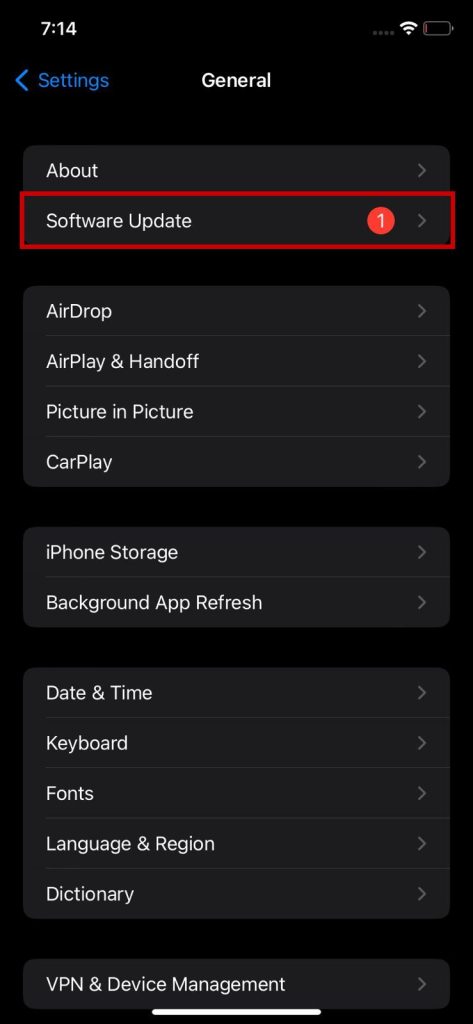
- If an update is due, select Download & Install.
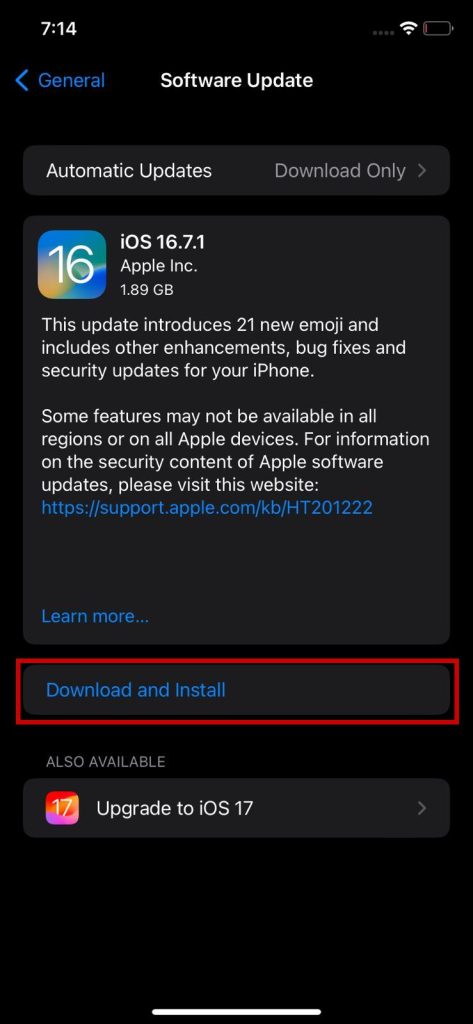
- it will ask if you want to update now.
- Choose Update Now.
- Enter your passcode, then click on Install Now.
Moreover, setting your iPhone up for automatic updates can really help you stay ahead of any bugs in the future. Here is how you can do it:
- Go to Settings.
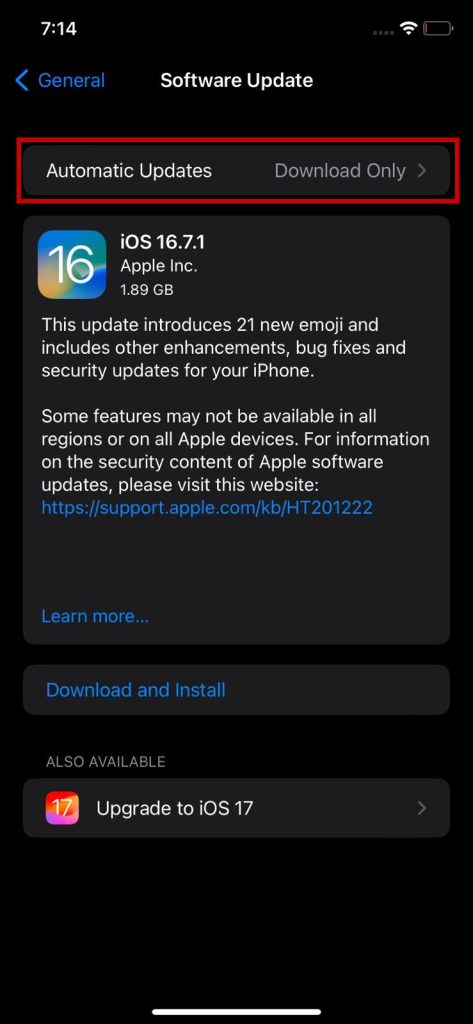
- Click on General > Software Update.
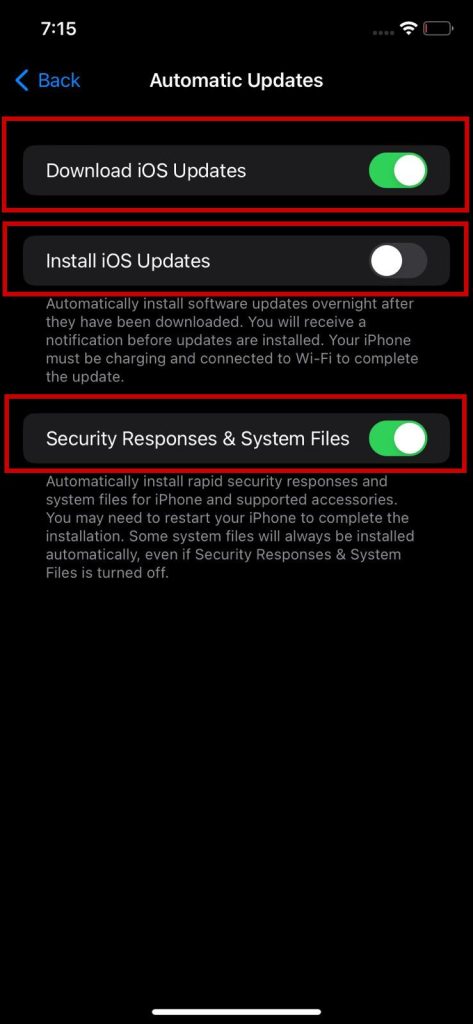
- Choose Automatic Updates.
- Turn on all of the settings.
3. Allow All Permissions for the Zelle App
- Go to Settings.
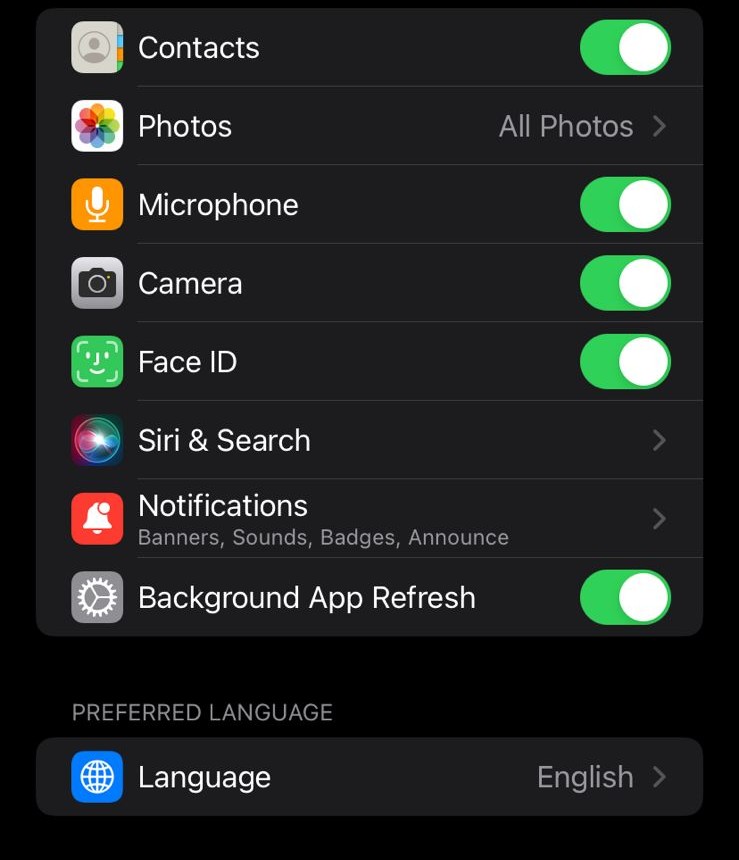
- Scroll down > select the Zelle application > go to Permissions.
- Give access to all the permissions.
4. Reinstall Your Bank App
- Long-press the Zelle app icon from the home screen.
- Tap Delete App.
- Choose Delete on the confirmation screen.
- Once the app is deleted, open the App Store and search for the Zelle app to install it again.
5. Link Your Phone Number or Email to Zelle
- Open the Zelle settings menu.
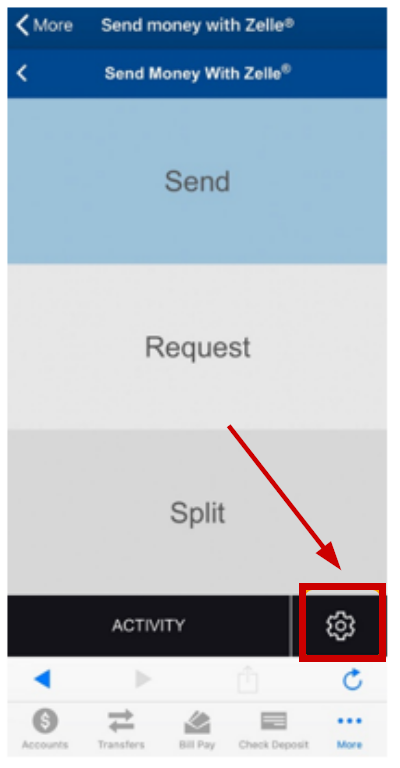
- Select the “+” icon in the menu to add a mobile number or an email address.
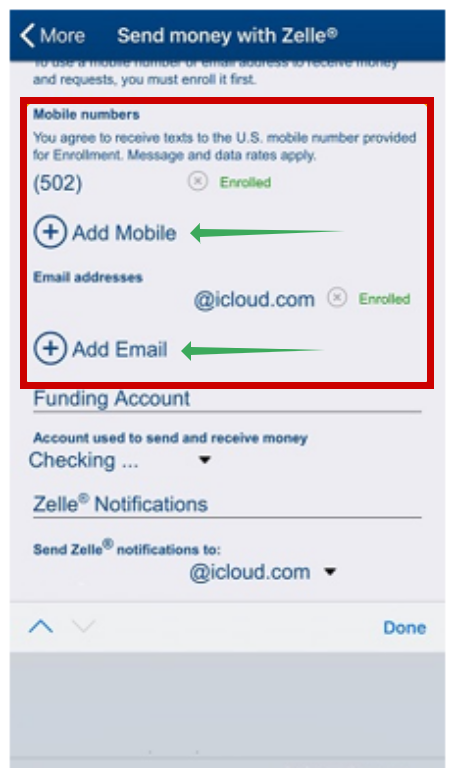
- Verify by entering the 6-digit code received on your number or email.
- Once done, you can receive payments to your account.
If your Zelle iPhone app is still acting up, contact Zelle support and make them aware of this situation. They may suggest some other fixes to fix the problem.
Reviewed by Muhammad Zubyan