If you get the Windows 10 Blue Screen Recovery Error 0x0000185
The error code 0x0000185 (A required device isn’t connected or can’t be accessed) appears during the startup screen on Windows 10 and halts the booting sequence from completing. This is a critical error since it prevents affected users from using their computers.
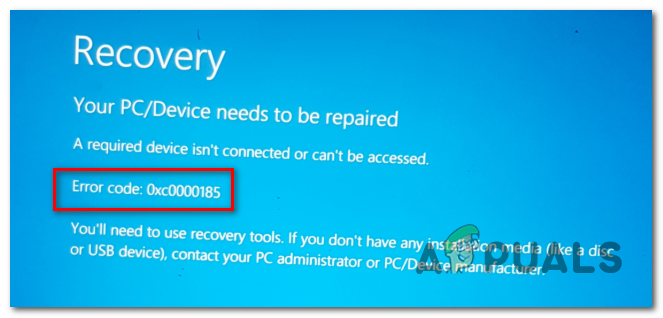
A required device isn’t connected or can’t be accessed. (Error Code 0xc0000185)
What’s causing the 0x0000185 error code on Windows 10?
tie_list type=”plus”]
- Kernel sub-system issue – According to several different affected users, one of the most common causes that will trigger this issue is a corrupted kernel sub-system file that ends up effectively breaking the booting sequence. If this scenario is applicable, you can get the issue resolved by using the Automated Repair utility to repair the corrupted sub-system components.
- Corrupted BCD data – Another potential culprit that might cause this problem is an instance of corruption present in the BCD data that ends up preventing the booting sequence from completing. In this case, you should be able to fix this issue by opening a Command Prompt window via the Troubleshooting menu and running a series of commands to rebuild the BCD data.
- Recent OS change – As it turns out, a recent update or driver installation can also end up interfering with the booting sequence. Since it’s hard to pinpoint a culprit in this case, the best course of action is to use the System Restore utility to revert your computer back to a healthy state when the circumstances that are currently causing the error code didn’t exist.
- System File corruption – Corruption among your OS files can also end up causing this error code during the startup sequence. If this scenario is applicable, you should be able to resolve the issue by performing a repair install or a clean install.
Method 1: Using Automated Repair
If you’re encountering the 0x0000185 error at every system startup and you noticed that it started to occur after an initial error pointing towards your kernel files, it’s very likely that some sub-system files are actually causing this error code.
In the event that this scenario is applicable, you can resolve the issue by using the recovery tools on your installation media to access the Automatic Repair utility. Several affected users have confirmed that this operation has eventually allowed them to boot their computer normally and without being halted by the 0x0000185 (A required device isn’t connected or can’t be accessed).
Note: Keep in mind that the procedure below will require you to use a compatible Windows Installation media. If you don’t have one at the ready, you’ll need to create an installation media for Windows 10.
If you are equipped with a compatible installation media, follow the instructions below to use the Automated Repair utility to get past the stop error code 0x0000185:
- Power on your computer if it’s not already on.
- Insert the Windows installation media into your computer and initiate a restart. Keep in mind that if you are using a Flash USB as an installation media, you will likely need to adjust the boot order so that USB is picked first.
- As soon as your computer starts booting up, be on the lookout for the black screen that says ‘Press any key to boot from the CD or DVD’. When you see it, press any button to boot from the installation media that you’ve just inserted at step 2.
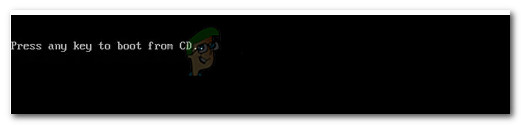
Press any key to boot from installation media - Once you get to the next screen, click on the ‘Repair your Computer‘ hyperlink located in the lower side section of the screen.
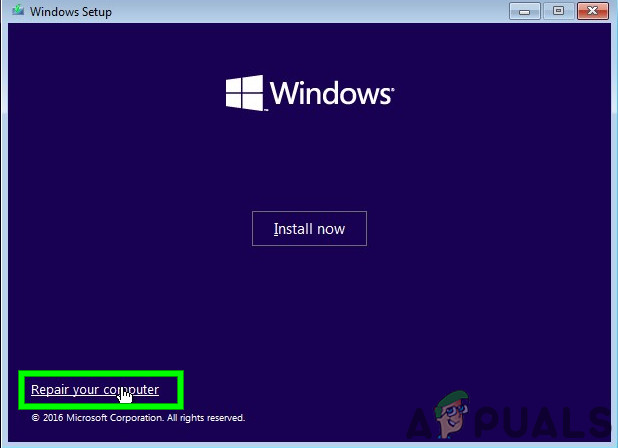
Click Repair your computer on Windows Screen - After several seconds, you will be taken to a Troubleshoot menu where you will have the option to choose between multiple options. Once you get there, select the Troubleshoot feature.
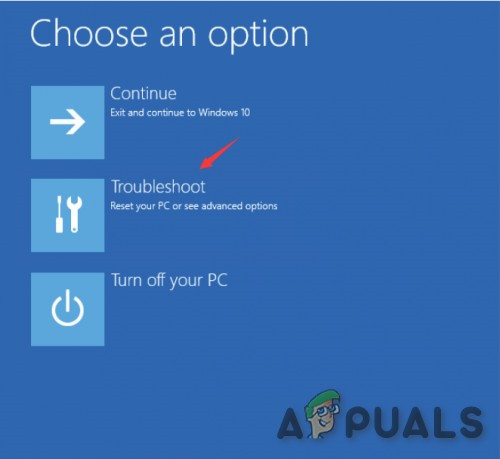
Click on Troubleshoot - Once you get inside the Troubleshoot menu, select the Advanced Options feature from the list of recovery options.
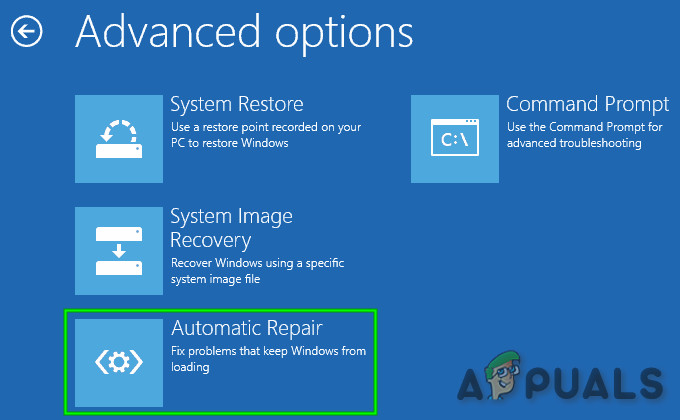
Automatic Repair in Advanced Options - After you run the Automatic repair utility, you will get a pop up where you will need to choose the Windows operating system that you are using.
- Next, the utility will start the scanning process and repair any errors that might be causing your system to display this particular error code.

Automatic Repair screen - Once the process is complete, take out the installation media and reboot your computer. During the next startup sequence, see if the booting sequence is completed without the error code 0xc0000185.
In case you’re still encountering the 0x0000185 (A required device isn’t connected or can’t be accessed) during the initial startup screen, move down to the next potential fix below.
Method 2: Rebuilding the BCD data
As some affected users have reported, this particular error code can also occur due to the fact that some kernel files are ending up corrupting the Boot configuration data. Several affected users that were also struggling to resolve the 0x0000185 (A required device isn’t connected or can’t be accessed) error have confirmed that the issue was finally resolved after they rebuild the BCD files with a series of commands:
Note: You need a compatible installation media in order to complete the instructions below. If you don’t have one at the ready, follow the instructions on this article (here).
Here’s a quick guide with what you need to do:
- Start the affected computer and insert the installation media. With the installation media inserted, restart your computer.
- At the next startup sequence, wait until you see the initial black screen, and press any key when you see the ‘Press any key to boot from the CD or DVD’.
Press any key to boot from installation media - Once you manage to boot from the installation media, click on the Repair your computer link located in the top-left corner of the screen.
Click Repair your computer on Windows Screen Note: With certain Windows versions, you can force y our way into the repair menu even without the installation media by forcing three consecutive unexpected shutdowns during the startup procedure.
- Once you’re inside the initial repair menu, click on Troubleshoot from the list of startup options, then select Command Prompt from the sub-option of the Troubleshooting menu.
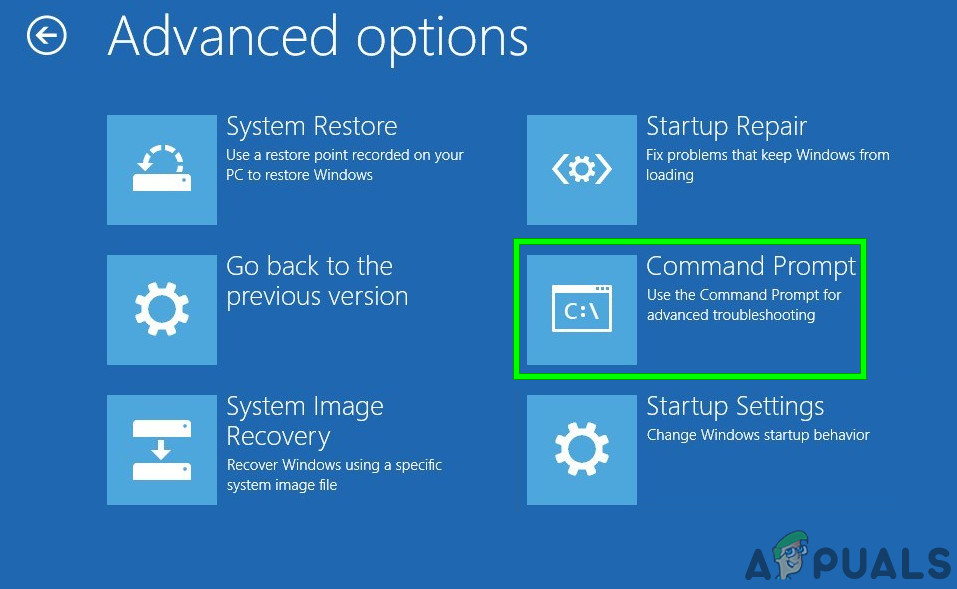
Click Command Prompt - From the newly-opened Command Prompt window, type the following command and press Enter rebuild the boot configuration data:
Bootrec /scanos
Bootrec /fixMBR
Bootrec /fixBoot
Bootrec /rebuildBCD
- After the operation is finished, close the Command Prompt window and restart your computer to see if the issue is still occurring at the next startup.
If you’re still encountering the same 0x0000185 (A required device isn’t connected or can’t be accessed) error, move down to the next potential fix below.
Method 3: Using System Restore
As it turns out, the 0x0000185 (A required device isn’t connected or can’t be accessed) error due to a recent Windows change that has ended up affecting the boot configuration data. If this scenario is applicable and the instructions below didn’t allow you to fix the issue, the best course of action by now is to use the System Restore wizard to revert your machine to a point where this problem wasn’t occurring.
The System Restore is capable of using regularly saved snapshots to restore the computer state as a whole to the period in time where the snapshot was created. If you are lucky enough to have a snapshot dated just before the 0x0000185 (A required device isn’t connected or can’t be accessed) error started occurring, you will be able to fix the issue with minimal data loss.
Note: By default, the System Restore utility is configured to create new system startup at important events such as the installation of a Windows update, the installation of a new driver version, etc. If you haven’t modified this default behaviour, you should have plenty of System Restore points to choose from.
Here’s a quick guide on using the System Restore utility to fix the 0x0000185 error:
- Start your computer up and insert the installation media if it’s not already inserted into your computer.
- During the initial booting sequence, press any key when you see the ‘Press any key to boot from the CD or DVD’ to boot from the installation media.
Press any key to boot from installation media - Once you get to the next screen, click on the ‘Repair your Computer‘ hyperlink located in the lower side section of the screen.
Click Repair your computer on Windows Screen - After several seconds, you will be taken to a Troubleshoot menu where you will have the option to choose between multiple options. Once you get there, select the Troubleshoot feature.
Click on Troubleshoot - Once you’re inside the Troubleshooting menu, click on System Restore (the first option at the top).
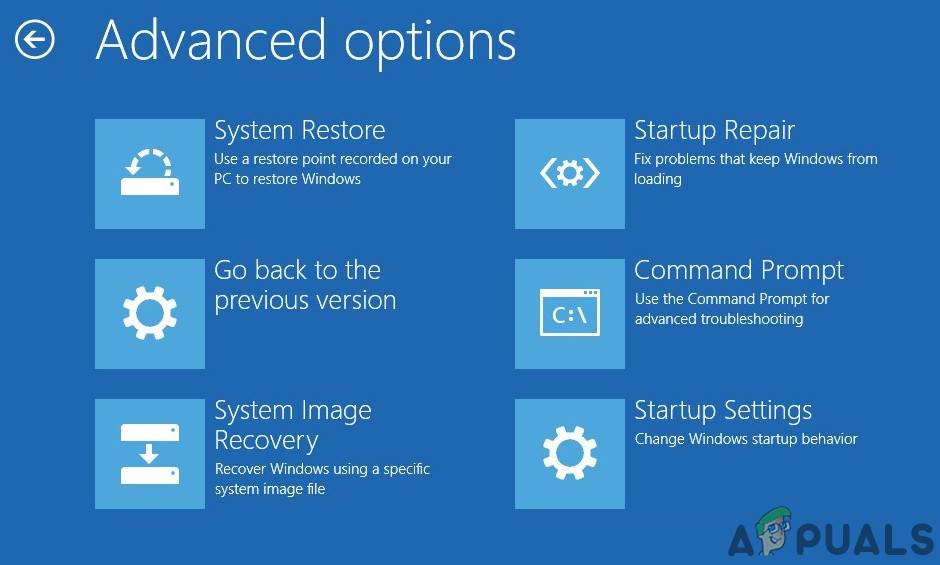
Command Prompt in Windows Advanced Startup Options - It will take a while until the System Restore utility is loaded. But once you see the first screen, click Next to advance to the next menu.

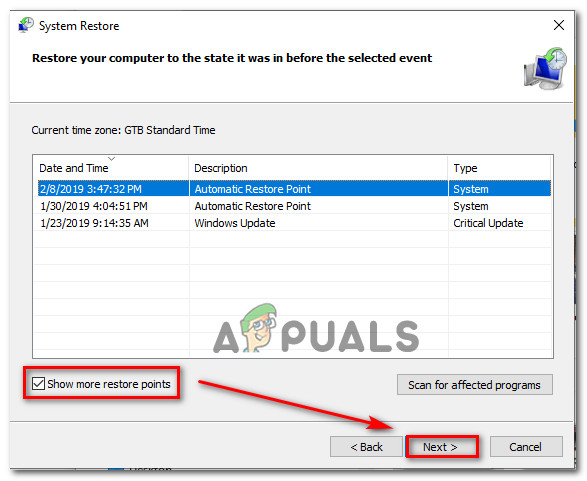
Getting past the initial screen of System Restore - Next, start by ensuring that the box associated with Show more restore points is checked, so you get a nice overview with all restore snapshots that you can use. Next, look through the dates of each snapshot and select the one that is dated just before you started to receive the 0x0000185 error code. With the appropriate restore point selected, click Next to advance to the final menu.
Restoring your system to a previous point in time - Once you get this far, the utility is ready to go. Just click Yes at the confirmation prompt to start the restoring process. After several moments, your computer will restart and the older state will be enforced.
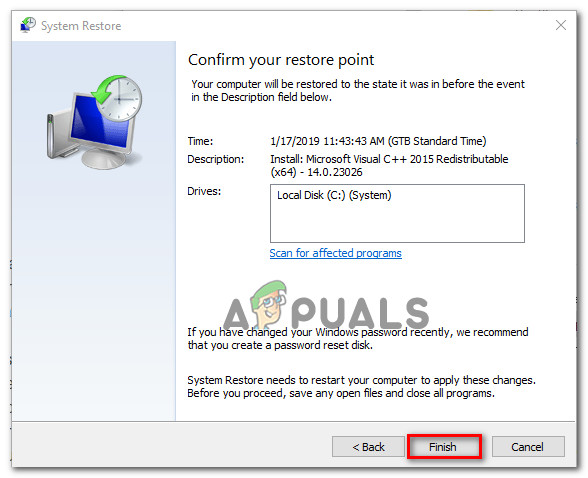
Starting the System Restore process If the same error is still occurring or this method wasn’t applicable, move down to the final fix below.
Method 4: Performing a repair install / clean install
If none of the methods above has allowed you to resolve the 0x0000185 error code during startup, it’s most likely due to an underlying system corruption issue that cannot be resolved conventionally. If this scenario is applicable, the only viable fix is to reset every OS component that might be causing the problem.
When it comes to doing this, you have two ways forward:
- Repair install – This is a more tedious approach that will require you to use a compatible installation media. But the major advantage of going this route is that it will allow you to refresh any OS component while keeping personal data, games, applications and even some user preferences.
- Clean install – This operation is much more simple and doesn’t require you to insert an installation media. But unless you manage to back up your data in advance, the process will delete everything that’s stored on your OS data.
If you are unable to get past the startup screen, it’s recommended that you go for a repair install in order to avoid any data loss.


