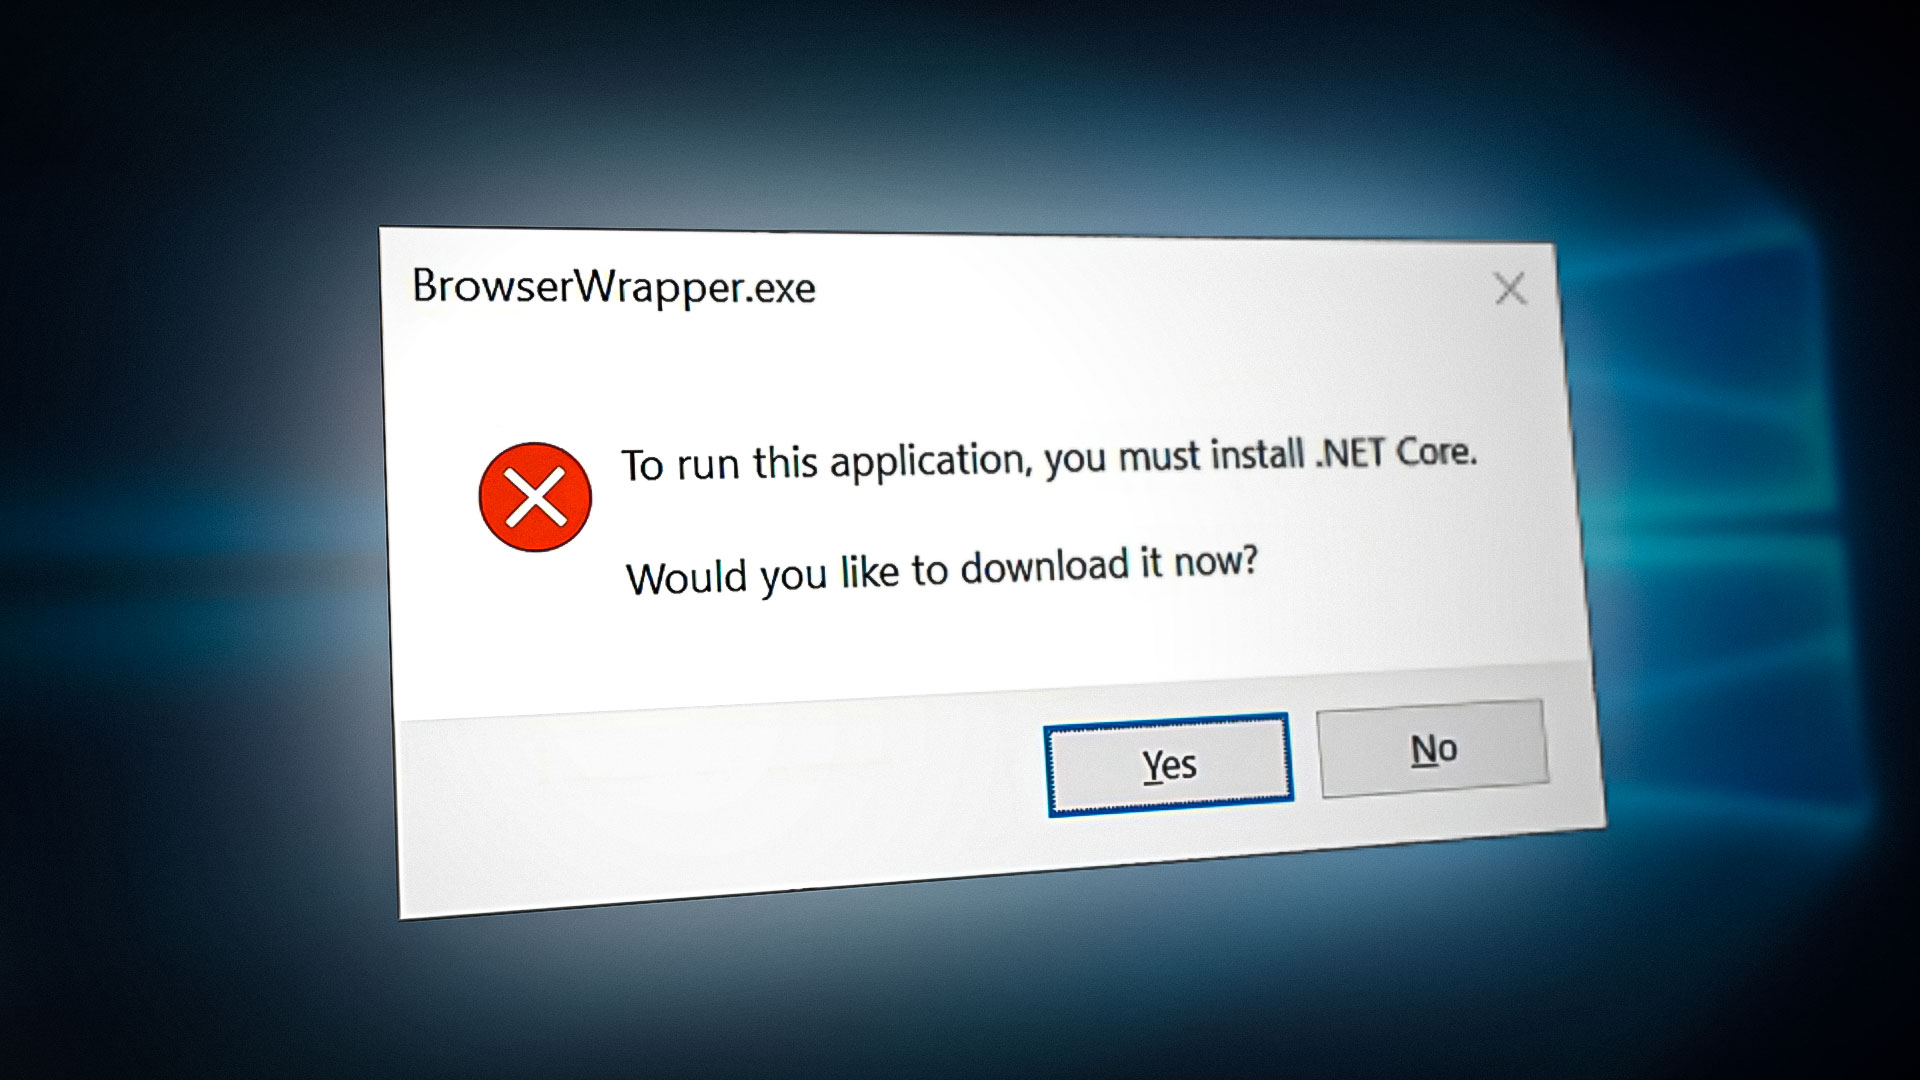
Fix: To run this application, you must install .NET Core
When running an application on Windows, you will often come across an error. This error prevents you from accessing the application and in turn, you receive the “To run this application, you must install .NET Core” message. This error occurs due to corruption in the system files. This prevents the application from properly communicating with the .NET Core.
In this guide, we will be showing you the methods to run the application facing the .NET Core error.
Prerequisites: Check your device specifications
The majority of the time, you will receive the .NET Core error when your system does not meet the required specifications to launch the targeted application. Therefore, you must check your system type prior to launching the application. Below are the instructions for viewing your device specifications:
- Open the Windows settings by pressing the Win + I keys together.
- Navigate to System > About.
- Check your System Type under “Device Specification.” (64-bit Operating System here).
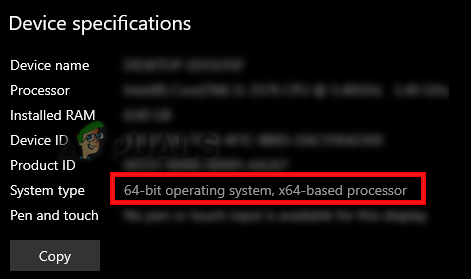
Checking system type
Workaround: Restart your computer
Before performing any other method that requires you to change your system settings, you must make sure that you have restarted your system. Performing a simple system restart will boot the system properly with all the applications in working a stable working condition.
- Open the Windows start menu by pressing the Win key.
- Click on the Power option and select “Restart” to restart your computer.
Restarting the computer - After the system has been restarted, launch the application.
1. Enable the .NET Framework feature
Although both .NET Core and .NET Framework are different features that co-exist in Windows, it is still known that a disabled .NET Framework causes the .NET Core error to occur. Therefore, you must make sure that your Windows does not have the feature disabled. Below are the instructions for enabling the .NET Framework feature:
- Open the run command by pressing the Win + R keys together.
- Type “control panel” and click OK to open the Control Panel.
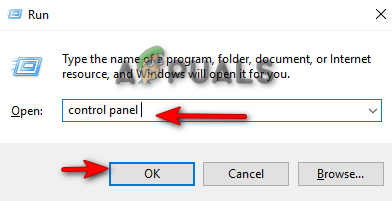
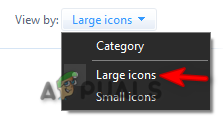
Opening the Control Panel - View the icons in a large font by clicking on the “View by” option and select “Large icons.”
Viewing Large Icons - Now, navigate to Programs and features > Turn Windows features on and off.
- On the Windows features page, check both the “Framework” features.
- Confirm that action by clicking on the OK option.
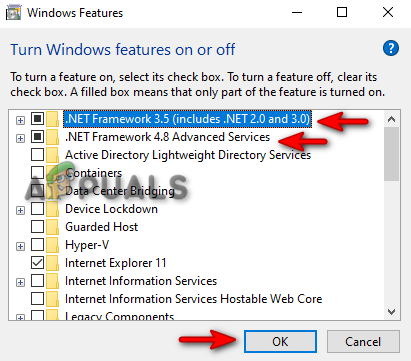
Enabling the .NET Framework features
2. Run the System Scans
Corrupted system files can prevent the application from recognizing the .NET Core. Therefore, to ensure your system files are not corrupted, you must perform a system scans that repairs all the damaged files on the system through a simple scan. Run the system scans as follows:
- Open the Windows Start Menu by pressing the Win key.
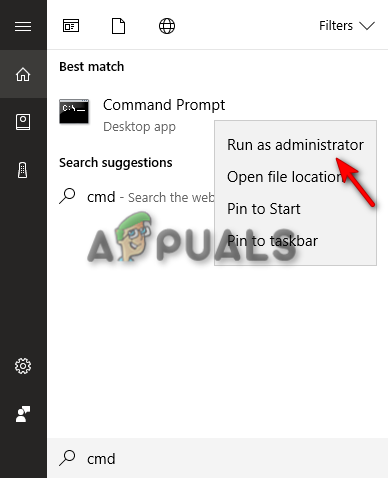
- Type “cmd” in the Windows Search bar.
- Right-click on the app and click on “Run as an administrator” to access the application with administrative control.
Running the Command Prompt as an administrator - Run the system file checker by typing the following command in the Command Prompt while giving a space between “sfc” and “/.”
sfc /scannow
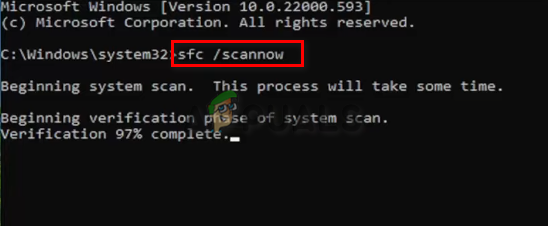
Running system file checker on the command prompt. - After the scanning is completed, the system file checker automatically repairs the damaged files.
- Paste the following command into the command prompt and run the DISM Command.
Dism.exe /online /cleanup-image /restorehealth
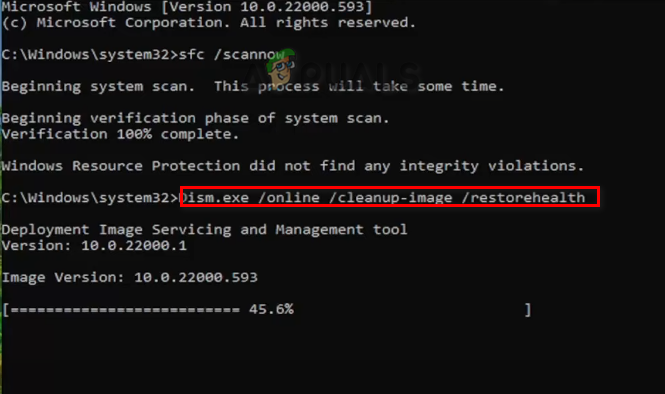
Running DISM Command on the Command Prompt - Restart your system after the process is completed to make the necessary changes.
3. Perform a manual installation
If the .NET Core file is either missing from your system or has been corrupted. Performing a manual installation will fix the error. Below we have listed the steps to manually install the .NET Core.
- Go to the Official Microsoft .NET Website page.
- Download the latest version of .NET by clicking on the .NET SDK option. (As per your system type)

Downloading .NET SDK - Select the folder where you want to download the file.

Saving the application in the folder - Click on the three dots on the browser and open the Downloads page.
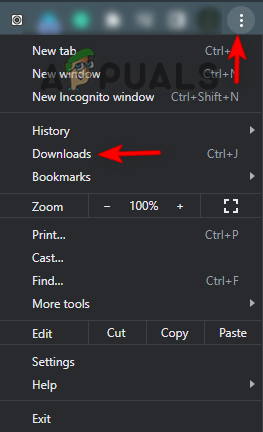
Opening the Downloads tab - Open the file location by clicking “Show in folder”

Opening the file in the folder - Right-click on the downloaded file and select the “Open” option.
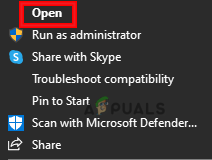
Opening the file - Run the file installation by clicking on the “Run” option.
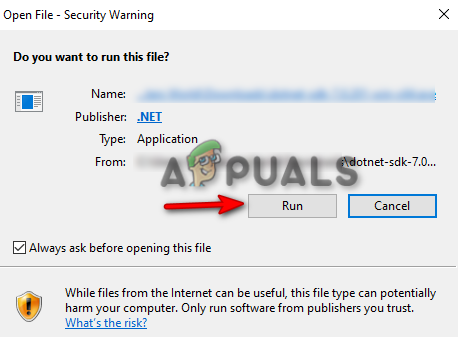
Running the setup - Install the .NET SDK by clicking on the “Install” option.
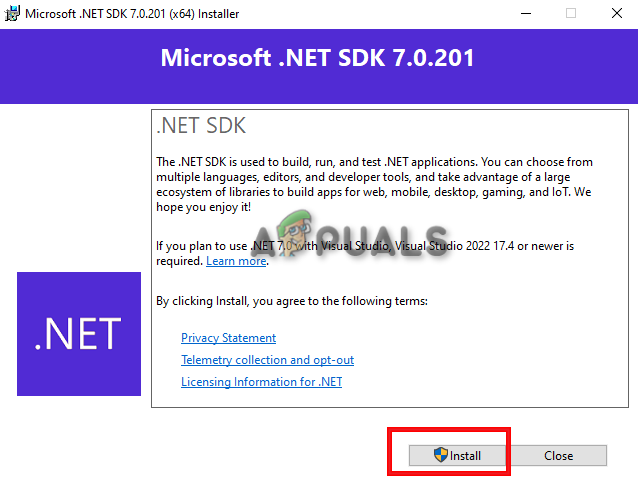
Installing .NET SDK Note: This will require administrative control. Therefore, select YES on the User Account Control prompt. - After the Installation is completed, you can open the application without facing the error.
4. Perform a Clean Boot
As a last resort, you can perform a Clean Boot on your system. This is a feature that starts up your system with minimal windows services and the default programs needed to start the system. Simply start the system in a clean boot state. Once the system has started in clean boot, check if the application is still facing the error. If not, enable each process manually and find the one causing the error to occur, and uninstall it in normal mode.


