Fix: You do not have sufficient access to uninstall
One of the many features Windows 10 offers is User Account Control (UAC) which allows you to limit administrative functionalities of some accounts and prevents malware from infecting your computer. It even limits the access rights of the user account even if you are an administrator.
To uninstall or install some programs you require elevated access. Even if you have this access, the operating might throw the message “You do not have sufficient access to uninstall”. There are plenty of workarounds to solve this problem. Start with the first solution and work your way down accordingly.
Solution 1: Repairing Corrupt Registry Keys
The registry is a hierarchical database that contains data that is critical for the operation of the Windows operating system and the applications/services that run on it. The data is structured in a tree format and each node contained in it is called a key. Each application has an entry in the registry for the system to look and operate with reference to it.
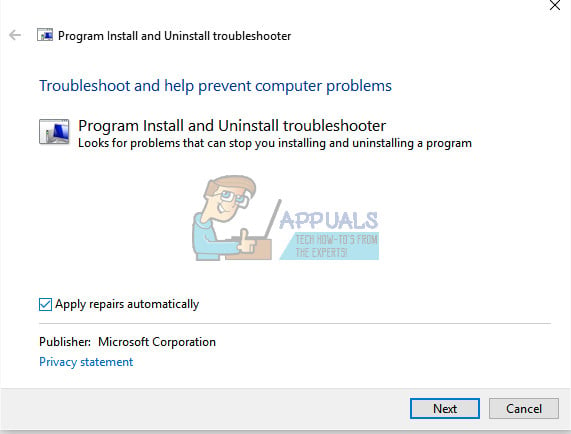
There are some cases where the registry keys get corrupt and render the uninstall process useless. There is an official Microsoft tool that targets to solve these corrupt registry keys and fix them accordingly.
- Download the troubleshooter from the official Microsoft website and save it to an accessible location.
- Run the troubleshooter by launching it and follow the on-screen instructions.
- Restart your computer after the troubleshooting process is complete and check if the problem got solved.
Solution 2: Disabling User Account Control
There are many cases where disabling the User Account Control fixed the problem for the majority of the users. Primarily, this problem occurs due to User Account Control trying to restrict your activity in order to protect you from harm. But sometimes, UAC can also cause error messages such as ‘You do not have sufficient access to uninstall’, even if you are the sole administrator.
We try disabling UAC and see if this solves the problem for us. If it doesn’t, you can always revert back the changes without any trouble.
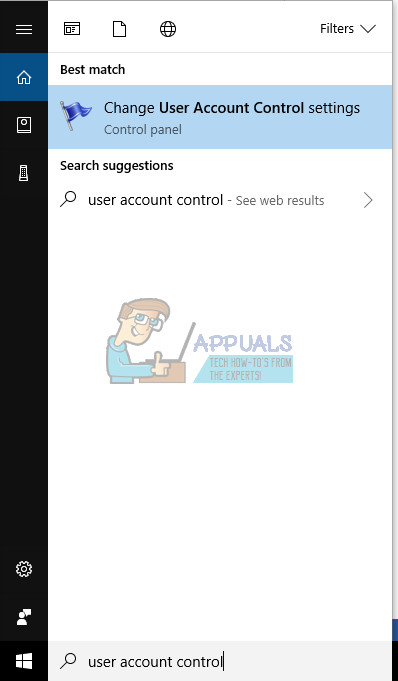
- Press Windows + S, type “user control” in the dialogue box, and open the settings.
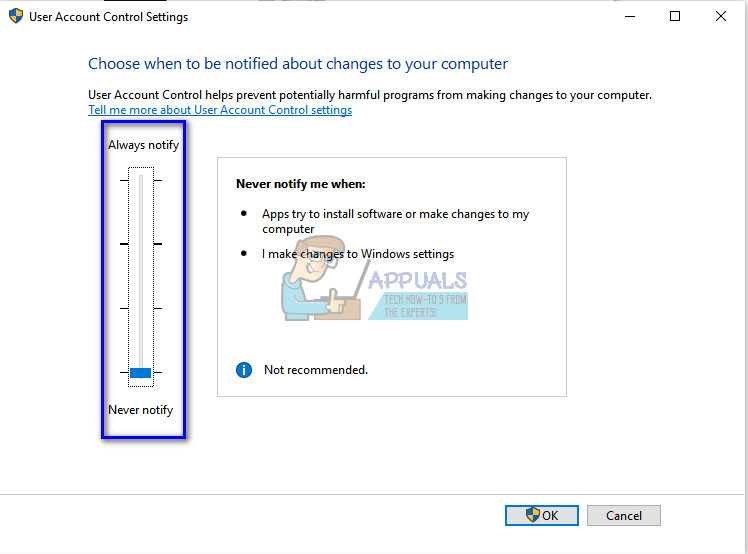
- Move the slider down to “Never notify” and press OK. Do note that you may require administrator privileges to perform this task.
- Restart your computer after making the changes and check if the problem at hand got solved.
Solution 3: Uninstalling the program using Elevated Command Prompt
If all the above methods don’t work out, you can try uninstalling the program using an elevated command prompt. Do note that you will require administrative privileges to execute this solution.
Note: Registry editor is a very powerful tool and changing keys that you have no idea of can further hamper your computer and may make it unusable.
- Press Windows + R, type “regedit” in the dialogue box and press Enter to open the registry editor.
- Now navigate to the following path:
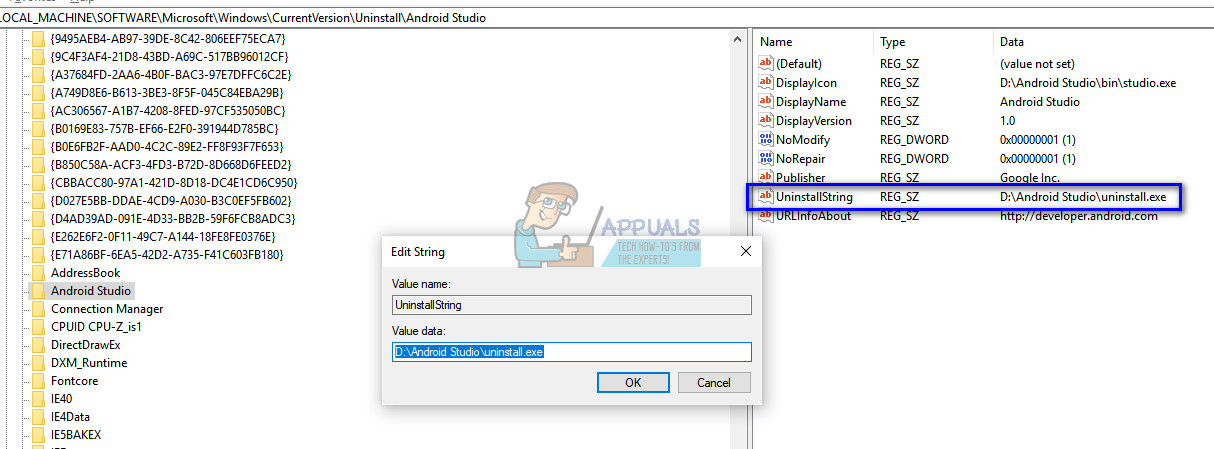
HKEY_LOCAL_MACHINE\SOFTWARE\Microsoft\Windows\CurrentVersion\Uninstall
- Every key in this location corresponds to a specific application installed on your computer. Locate the application you are trying to uninstall and double-click the key “UninstallString”.
Note: If you are a user running Windows x 64, you can try looking at the path given below for the list of applications. Some applications are listed in the path given above and some are listed here.
HKEY_LOCAL_MACHINE\SOFTWARE\Wow6432Node\Microsoft\Windows\CurrentVersion\Uninstall
- Once the dialogue box is open, press Ctrl + C to copy the string.
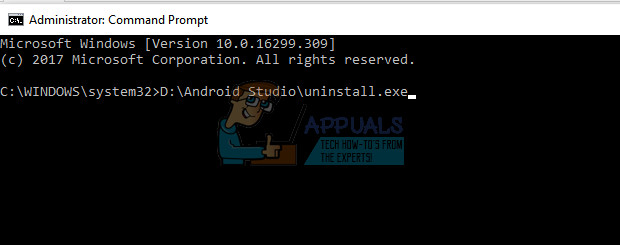
- Press Windows + S, type “command prompt” in the dialogue box, right-click on the application and select “Run as administrator”.
- Once in an elevated command prompt, paste the command we copied earlier and press Enter. This should effectively uninstall the application from your computer without any problem.
Solution 4: Uninstalling in Safe Mode
You can try uninstalling the application in safe mode if all the above solutions don’t work for you. There is no UAC in safe mode and it can be used to uninstall the application without any restrictions. However, Windows Installer/MSI is disabled in Safe Mode by default. Not all applications use this to uninstall themselves, but those who do will not be able to uninstall successfully. For this, we will edit the registry and enable Windows Installer in safe mode.
- Press Windows + R, type “regedit” in the dialogue box and press Enter.
- Navigate to the following file path:
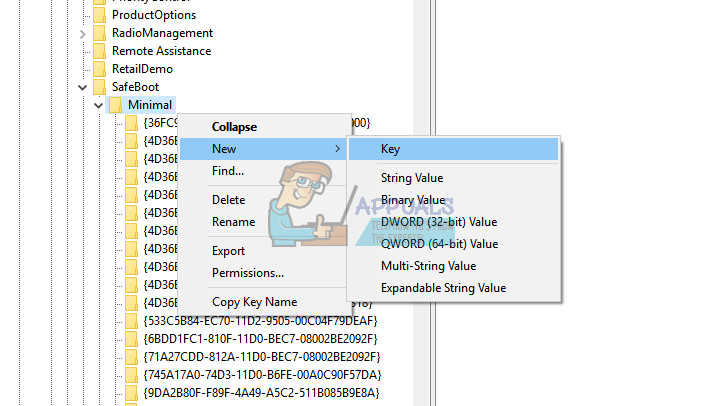
HKEY_LOCAL_MACHINE\SYSTEM\ControlSet001\Control\SafeBoot\Minimal
- Once at the target location, right-click on ‘Minimal’ and select “New > Key”. Name the new key as “MSIServer”.
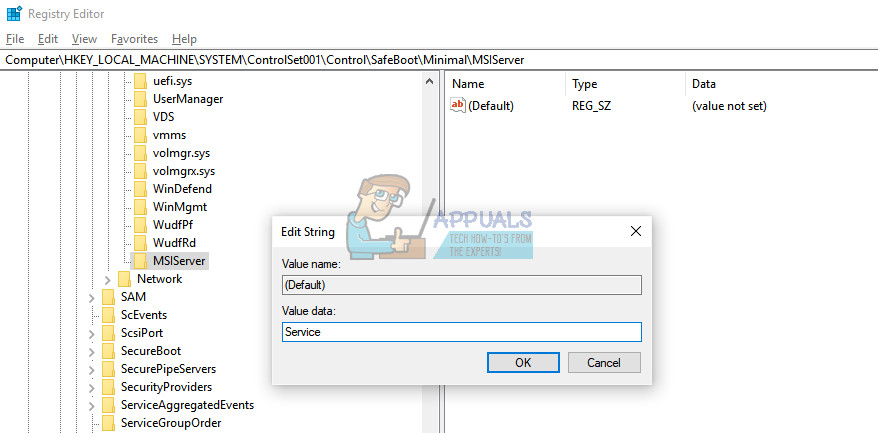
- Double-click the value ‘(Default)’ and set the value data as “Service”. Press OK to save changes and exit.
- Boot your computer in Safe Mode and try uninstalling the program.
Solution 5: Editing permissions of the uninstallation file
Each file has its defined set of permissions which dictate how the application is to be used and which user groups have the permissions to modify it. We can change the permissions of the uninstall executable and see if this does the trick. Do note that you will require administrator privileges to perform this solution.
- Locate the directory where the program is saved. Right-click on the uninstall executable and select “Properties”.
- Select the Security From here you have to get all the permissions and take ownership of the file so you can execute the uninstall file.
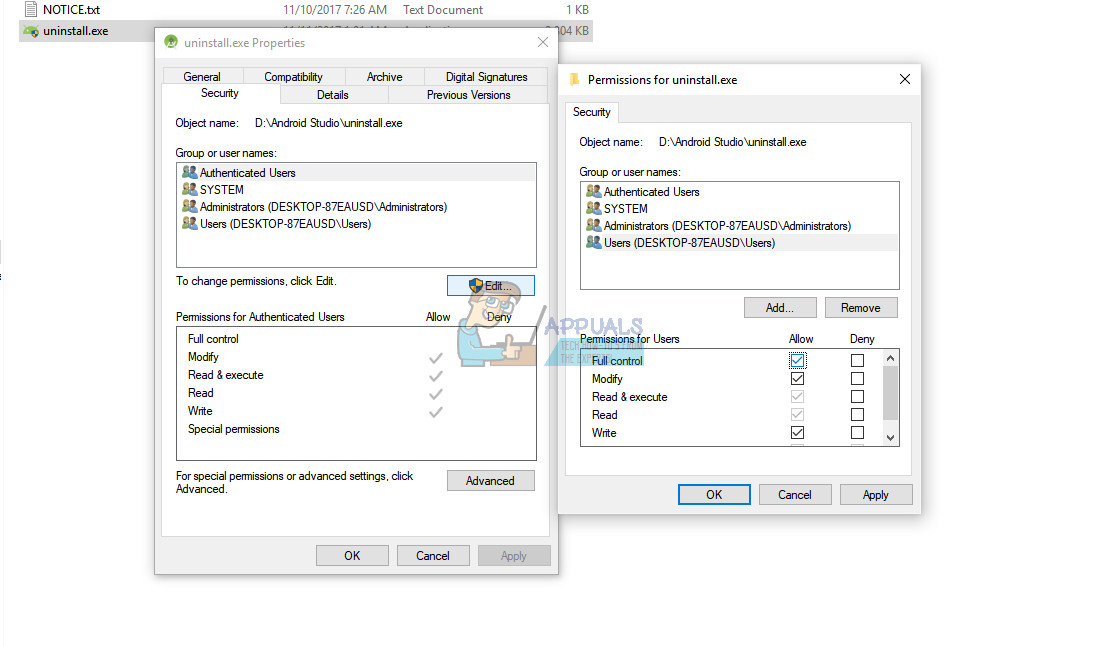
- After you have taken full ownership, try executing the uninstaller and check if this makes any difference.
Solution 6: Deleting Files and Uninstalling (Last Resort)
If all the above solutions don’t prove to be useful, we have no choice but to remove all the files by force. Do note that there is no guarantee that the application will be uninstalled perfectly; there may still be some leftover files present using this solution.
- Navigate to the directory of the installed files. Select the entire directory and press Shift-Delete. This will permanently delete the entire data of the file. At this stage, the data will be removed but the entry of the application will still be present in the computer.
- Press Windows + R, type “appwiz.cpl” in the dialogue box and press Enter. Here all the applications will be listed. Right-click on the application and select “Uninstall”.
- Restart your computer after the uninstallation and check if the problem at hand got solved.