How to Fix Xbox One ‘No Signal’ Error?
Some Xbox One users are reporting that they are suddenly unable to get their console to display on their TV or Monitor. Even when the console is fully booted up, they still see a ‘No Signal‘ error on their display as if the console was powered off. This problem is reported to occur with both Xbox One X and Xbox One S models.
In some cases, the ‘No Signal’ error can end up being caused by a firmware glitch that’s inhibiting the console’s ability to override the TV resolution. In this case, you should be able to fix the issue by power cycling your Xbox console in order to clean any temporary data that might be causing the issue.
However, you might also see this error due to the fact that you mistakenly plugged the TV into the HDMI In port instead of HDMI Out. Either that or you’re dealing with a faulty HDMI cable that needs to be replaced.
Another potential scenario is that the current resolution for your Xbox One exceeds the maximum resolution supported by the TV or monitor you’re trying to use. In this case, you need to force your console to launch in low-resolution mode before you can use the Settings menu to change to the maximum resolution allowed.
In case you are encountering the problem on Xbox One X (Scorpio), you might be dealing with a manufacturer defect due to a bad soldier. In this case, you should use your warranty to send it for repairs or contact a console technician.
Power Cycling your Xbox Console
Since this problem can be caused by a firmware glitch that is inhibiting the console’s ability to force switch the TV resolution, if the TV resolution is Higher than the on your Xbox, you might end up seeing the ‘No Signal’ error.
If this scenario is applicable, you should be able to fix the by resolving the firmware glitch with a power cycling procedure. This operation will end up draining the power capacitors of your console, clearing any temporary data that might trigger these problems.
Here’s a quick guide on power cycling your Xbox One Console:
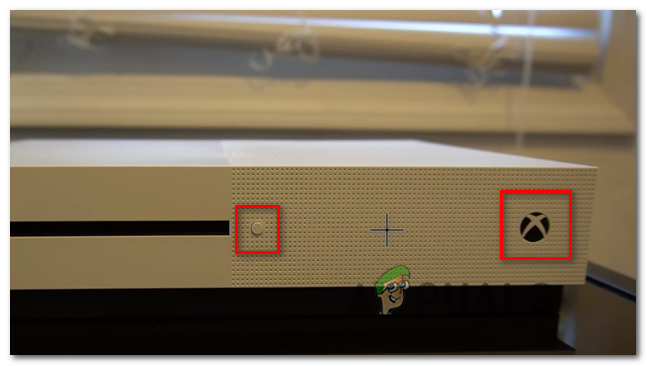
- With your console fully turned on, press and hold on the Xbox button (on your console, not your controller) for 10 seconds or until you notice that the front LED stops flashing.
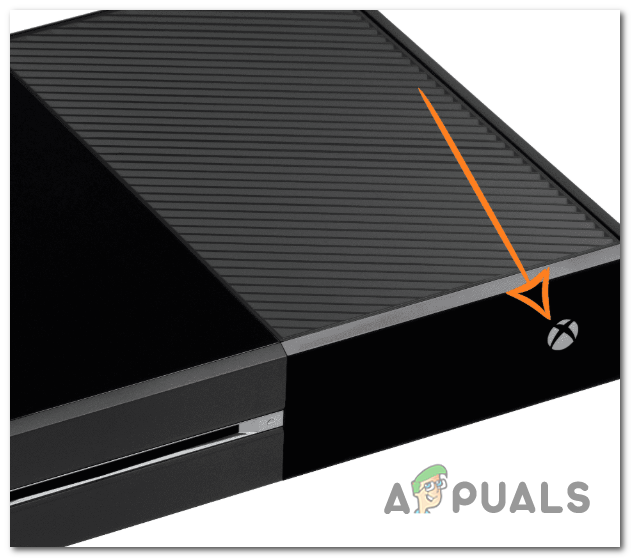
Pressing the power button on Xbox One - After the machine is turned off completely, wait for a full minute before attempting to turn it back on.
Note: In case you want to ensure that the operation is a success, also disconnect the power cable from your power outlet before plugging it back in. - Start your Xbox One console once again by pressing the Xbox button again – But this time do not keep it pressed like before.
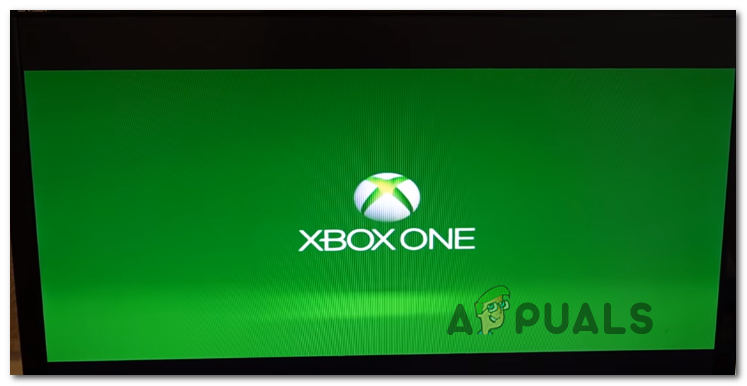
- During the next startup, pay attention to your TV display and see if you see the initial animation logo. If it does appear, take it as confirmation that the operation is complete.

Xbox One Starting Animation
In case your TV/monitor screen still shows a ‘No signal’ error, move down to the next potential fix below.
Connecting using HDMI Out slot
Both Xbox One X and Xbox One S have two HDMI slots on the rear – HDMI Out and HDMI In.
The HDMI Out is designed to be used to connect a display source to the console and HDMI In should be used when connecting an SAT/Cable device to watch TV directly on your console.
One of the most common reasons that will actually spawn this ‘No Signal‘ error is users mistakenly plugging their display into the HDMI In slot (typically happens after they clean their console).
To make sure that’s not the case in your scenario, turn your console off and unplug your console from the power outlet. Next, take a look at the back and see in which port does is the HDMI display plugged in.
If it’s plugged into HDMI In, connect it to HDMI Out to fix the issue. As soon as you do so, your Xbox One console will be able to send the signal to your TV or monitor.

In case the HDMI cable was already plugged into HDMI Out, move down to the next potential fix below.
Cleaning / Changing the HDMI cable
If you previously determined that the HDMI cable was plugged into the correct slot, you should proceed by investigating if you’re not dealing with a faulty HDMI cable.
In case there’s an underlying problem with the HDMI cable that you’re using, your Xbox One console might be unable to establish and maintain a connection with the displaying device – This is very likely if you experiencing screen flickering prior to the apparition of the ‘No Signal’ error on your TV/monitor.
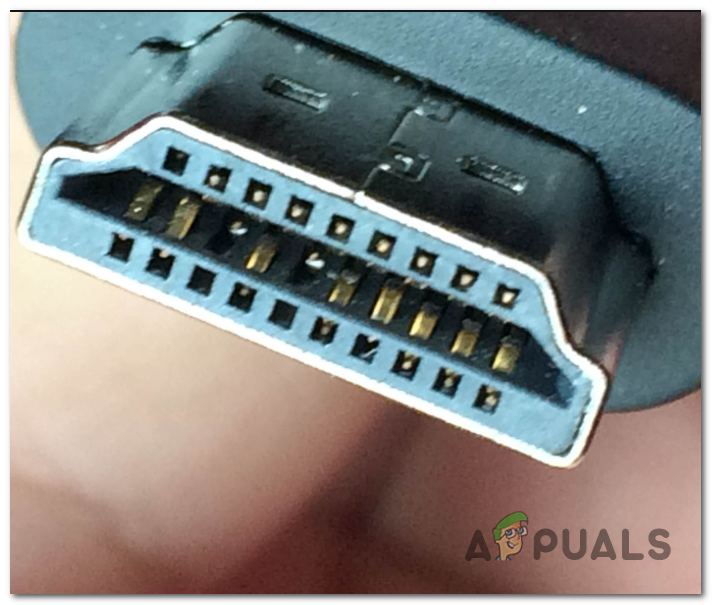
You can also inspect your HDMI cable and see if you notice any bent pins that might cause the connection interruption.
If you suspect that your HDMI cable might be responsible for this issue, change it with a different one and see if the problem is still occurring – In case you don’t have one that’s not used for anything, take one from a different device just for testing purposes.
Note: You can also try turning the cable around and using the opposite ends to see if the connection resumes.
If you confirm that the problem was indeed caused by a faulty HDMI cable, order a replacement in order to fix the issue.
Launching Xbox One in Low-Resolution Mode
You might also see the ‘No Signal’ error with an Xbox One console in a scenario in which you plug your console into a TV that doesn’t support the current resolution currently set for your Xbox console.
If this is applicable, you should be able to fix the issue by forcing your Xbox One console to launch in a low-resolution model.
Fortunately, Microsoft has implemented an elegant solution for situations like this one, so you don’t have to try and change it blindly without a display. On both Xbox One S and Xbox One X, you can force the console to start in the lowest resolution possible by using a combination of buttons during startup
Follow the instructions below to launch your Xbox one console in resolution mode and fix the “No Signal” issue:
- First, press the power button on your console and keep it pressed for about 10 seconds or until you hear a beep and the cooling fan grinding to a halt.
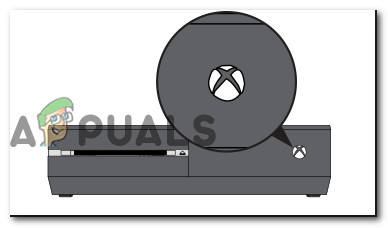
The power button on the Xbox One - Wait for 30 seconds or so to make sure that your system is turned off, then press the power button + the Eject button (on your console) at the same time and keep them both pressed until you hear the second beep (after 15 to 20 seconds).
Starting the Xbox Console in Low-Resolution mode Note: This will force the console to start in low-resolution mode.
- Your console should power up, and if the process is successful you will be able to tell that your console has booted in a low-resolution mode via the two bars at the bottom and top of the screen (and the generally low quality of the image).
Low-Resolution mode Note: When you see the Troubleshoot menu, click on Continue.
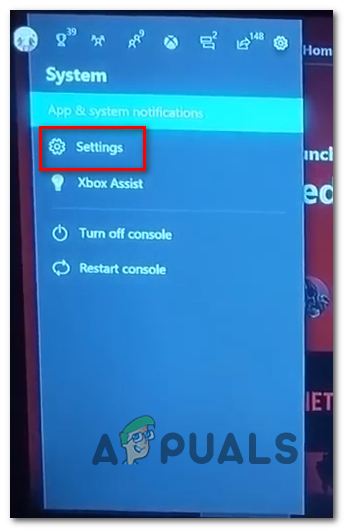
- If the operation is successful, all you have to do now is change the display to the highest resolution that your TV supports in order to get the best picture possible. To do this, press the Xbox button on your controller, then navigate to the System from the newly appeared guide menu and tap on Settings from the newly appeared menu.
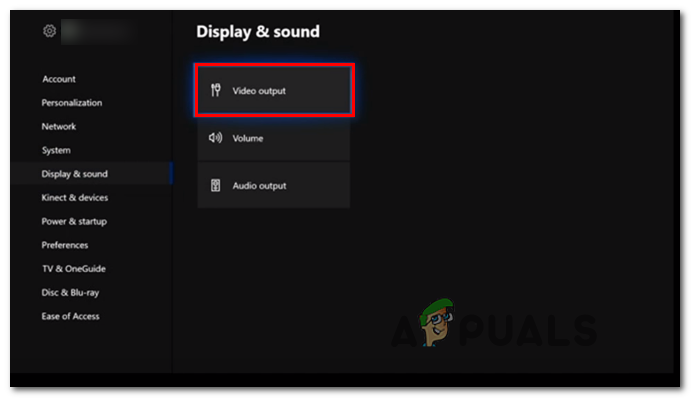
Accessing the Settings menu on Xbox One - From the Settings menu, select Display & Sound from the left-hand menu, then move to the right section and access the Video output menu.
Accessing the Video Output settings - Next, from the Video Output settings, change the Display resolution to the maximum Output accepted by your TV or monitor.
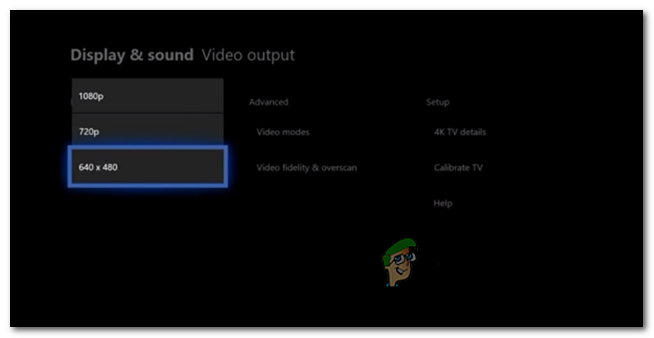
Changing the resolution of your Xbox One - After you do this, confirm and you should be good to go.
In case the same problem is still occurring, move down to the final fix below.
Sending it for repairs
If none of the potential fixes above have allowed you to fix the issue, it’s very likely that you are dealing with a hardware issue that cannot be resolved conventionally.
There is also an ongoing problem with some old Xbox One X (Scorpio) revisions where a bad solder eventually leads to the HDMI Out port to lift off its pad. This will prevent it from making contact so the signal with the image will not arrive at your display device.
If you’re still under warranty, send it for repairs. Else, take it to a console technical and he’ll reseat the pads with a heat gun/soldering iron and press the port legs back down.

this works for me in xbox series s