WSClient.dll Missing Error on Startup: 9 Methods to Troubleshoot
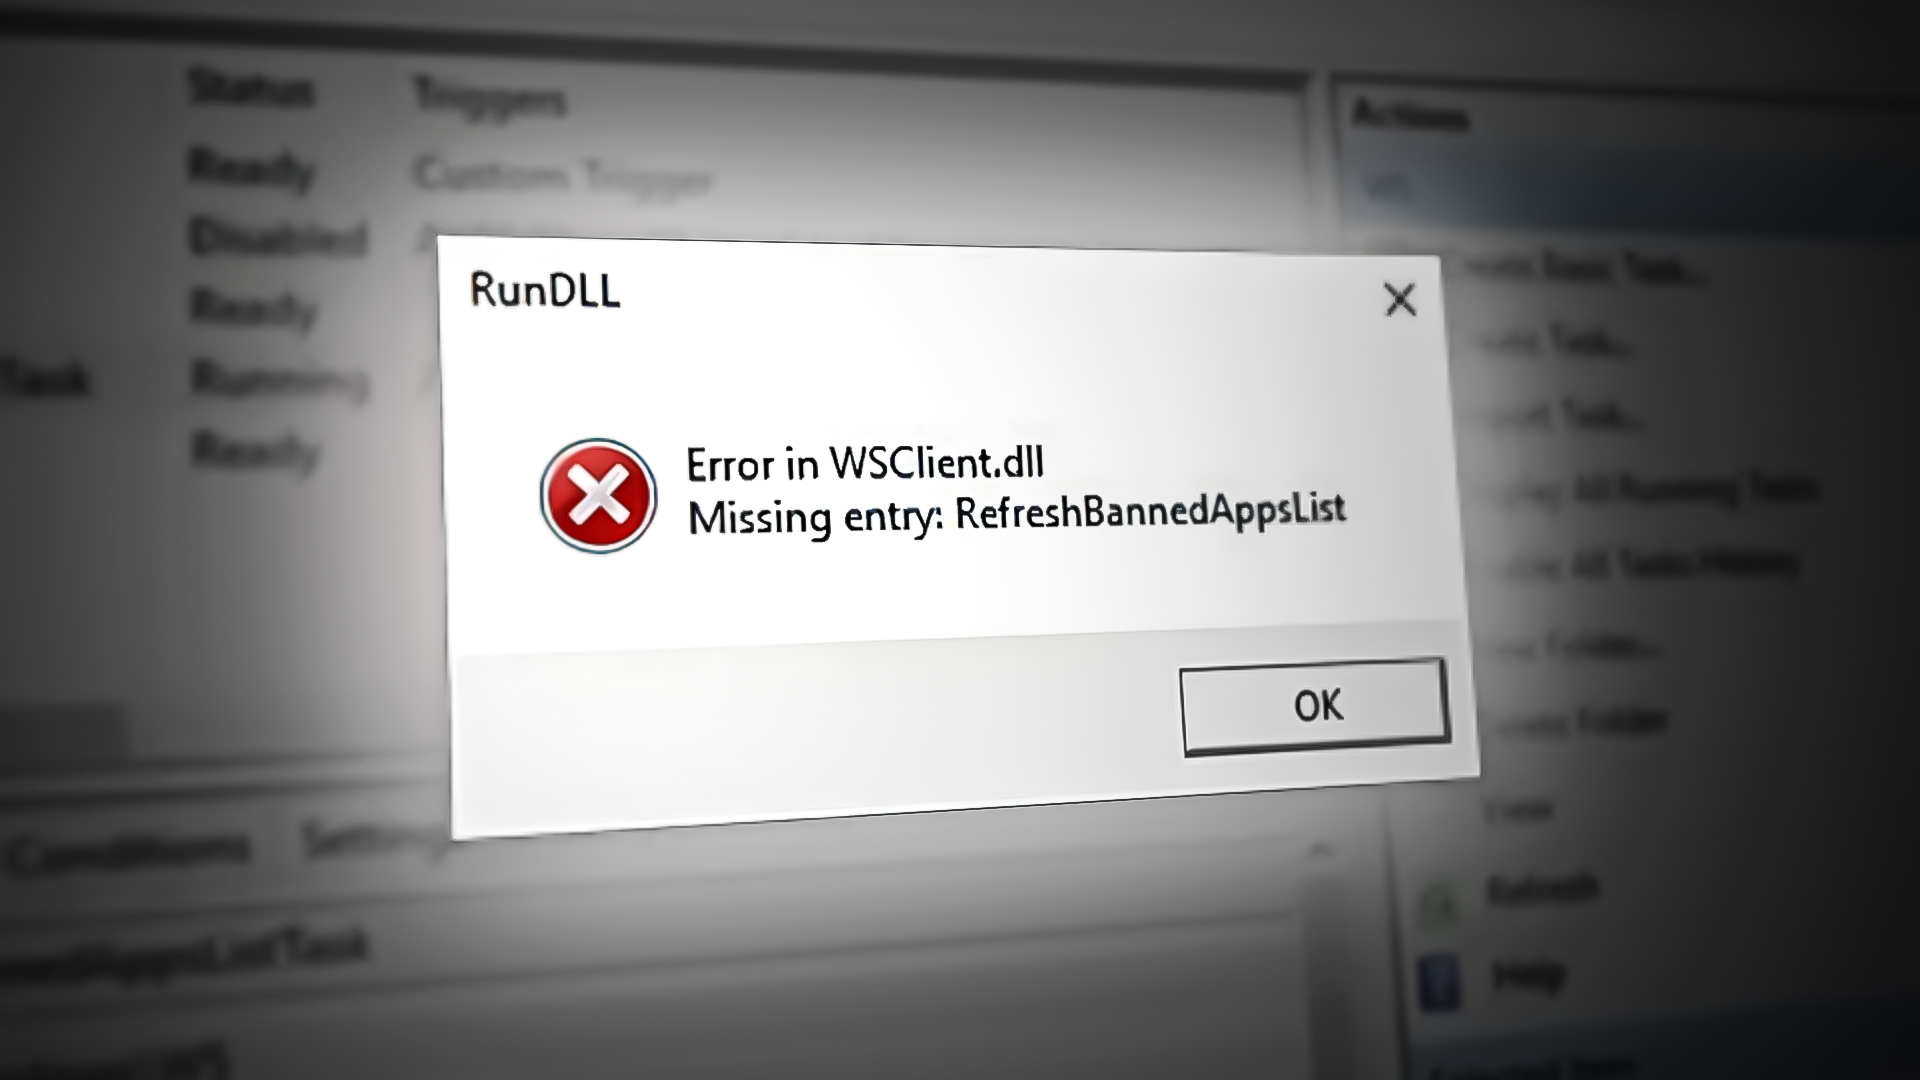
The error WSClient.dll (Missing entry: RefreshBannedAppsList) will typically occur when the Windows OS boots up or is restarted. You can click away and close the error with no consequence, but the error will reappear the next time your PC boots up. This problem is confirmed to occur on both Windows 10 and Windows 11.
If you experience the same problem on Windows 10 or Windows 11, there are a few common causes why you might see this error popup at every system startup: outdated Windows build, system file corruption, corrupted Windows cache, de-registered WSclient.DLL file, active WSRefreshBannedAppsListTask task, 3rd party interference or an inconsistent DNS.
If you haven’t managed to fix your issue yet, follow the methods below to troubleshoot the issue away regardless of your Windows version.
1. Update Windows to Latest Version
Looking back, the first major surge of WSClient.DLL errors happened when Microsoft rolled out build 11099 for Insider Preview builds of Windows 10. Since then, the issue has not been completely eradicated despite the fact that Microsoft has pushed several different hotfixes aimed at resolving this issue.
However, it’s still worth installing these hotfixes since they might just make the error go away. One of these hotfixes will specifically prevent WSRefreshBannedAppsListTask (the task responsible for throwing this startup error) from spawning startup points that will raise this error.
If you have outstanding updates that you keep delaying and you get this message every time you start or restart your computer, applying all pending Windows updates should in most cases resolve the issue.
Here’s how to carry on this procedure:
Note: the following methods apply to both Windows 10 and Windows 11.
- Use the keyboard shortcut Windows key + R to launch the Run dialog box.
- To open the Windows Settings menu, enter “ms-settings:” and hit Enter.
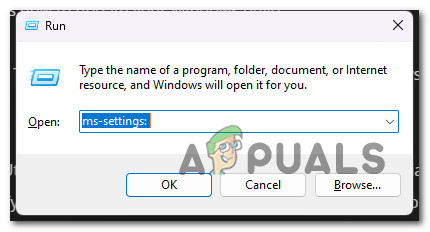
Access the Settings menu on Windows 10 and Windows 11 Note: If User Account Control requests administrative authority, choose “Yes.”
- Select Windows Update from the menu on the left side of the Settings screen.
- On the subsequent screen, select Check for Updates to determine whether any updates need to be installed.
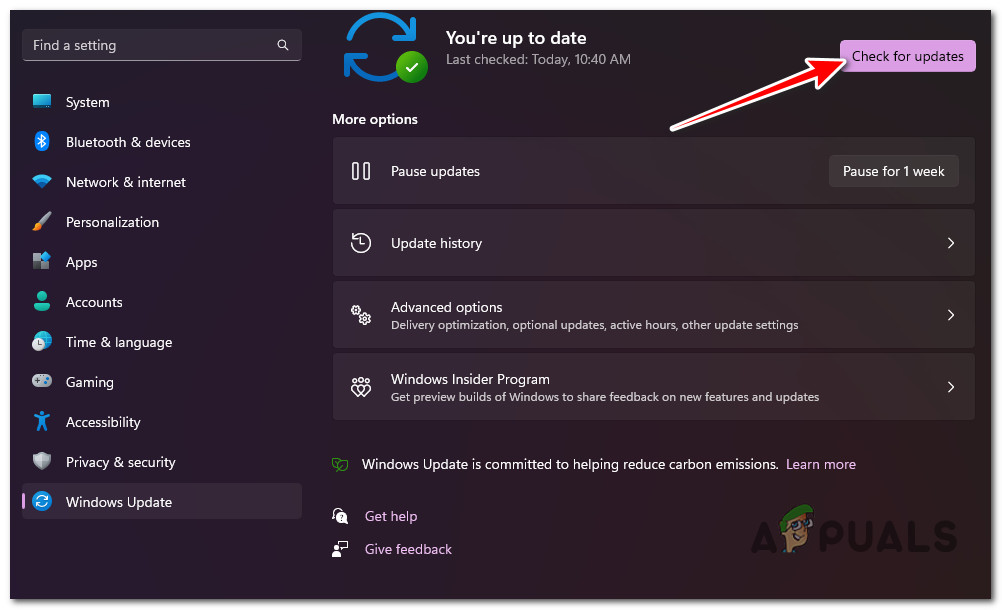
Checking for new Windows Updates - Click Download & Install if the driver is ready for installation.
- Be patient and wait for all required updates to be released. It may be necessary to restart your computer for the changes to take effect.
- Restart your computer and see if the WsClient.DLL error is now fixed.
2. Run SFC & DISM Scans
The WsClient.DLL startup error could also be related to some kind of system file corruption that affects this dynamic link library (DLL) file.
Luckily, Windows ships with a set of tools (SFC & DISM) that allow you to diagnose typical system file corruption and fix the vast majority of them with no manual user intervention.
You can run both of these tools in quick succession from an elevated Command Prompt window and essentially fix the underlying causes of this error.
Here’s a quick step-by-step guide that will walk you through the process of running System File Checker and Deployment Image Servicing & Management scans:
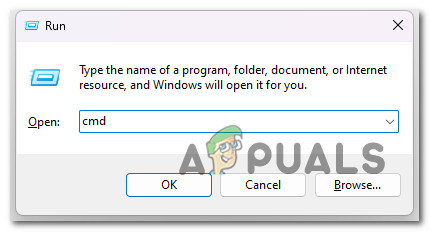
- Press the Windows key + R to launch the Run dialog box.
- Next, type “cmd” and press Ctrl + Shift + Enter to launch a Command Prompt with elevated privileges.

Open up an elevated Command Prompt - Click Yes on the User Account Control (UAC) prompt to give administrative access.
- At the elevated CMD line, execute the following command and press Enter to execute the first SFC scan:
sfc /scannow
Note: The SFC tool has a proneness to freeze in the middle of a scan, despite the fact that the scan is still in progress. If you see this behavior during the scan, do not terminate it, as doing so might cause logical errors on your OS disk. Instead, wait for some time, and the utility should unfreeze by itself.
- Following the completion of the SFC scan, let’s do a DISM scan. Enter the following command to accomplish this:
Dism /Online /Cleanup-Image /CheckHealth
Note: DSM utilizes a subcomponent of Windows Update to download healthy copies to repair faulty system files; hence, an internet connection is necessary to execute this sort of scan.
- Once both types of scans have been completed successfully, reboot your PC and see if the problem is now fixed.
3. Reset the Windows Store cache
If you also get this error pop-up when opening the Windows Store or an associated dependency, the issue is most likely caused by a Windows Sore cache issue.
This is way more common than you think especially on Windows 11 where the cache is prone to break whenever there’s an unexpected interruption when an app is downloaded or updated.
If this scenario looks like it could be applicable, you should be able to fix this issue by resetting the Windows Store using an elevated command prompt. This procedure is quite simple and should be effective in most situations where the Microsoft Store is to blame.
For step-by-step instructions on resetting the Windows Store cache and addressing the WsClient.DLL startup error:
- Launch the Command Prompt as the initial step. To accomplish this, press Windows key + R, type ‘cmd’ in the search field, and then press CTRL + Shift + Enter to launch the Command Prompt with administrative rights.
Open up an elevated Command Prompt - Once the Command Prompt with administrative rights has been launched, you must type the following command and press Enter to continue:
WSreset.exe
- After completing these steps, close the elevated Command prompt and see of the startup error is now fixed.
4. Re-register the WSClient.dll
Because WSClient.dll is a Windows Store licensing client file, one of the first things that you should try if you encounter the ‘Missing entry: RefreshBannedAppsList‘ error at every startup is to re-register it.
To do this, you will first need to unregister it from an elevated CMD command, then register it again with a separate command.
Several affected uses that we’re experiencing this pop-in error whenever the WSClient.dll dependency was supposed to be used have managed to fix this by running a series of commands from an elevated CMD to re-register it.
Here’s a quick guide on how to do this:
- Press Windows key + R to open up a Run dialog box.
- Next, type ‘cmd’ inside the text box, then press Ctrl + Shift + Enter to open up a Run dialog box.
Open a CMD window - At the User Account Control (UAC), click Yes to grant admin access.
- Once you’re inside the elevated CMD prompt, type the following command to un-register the WSClient.dll:
regsvr32 /u WSClient.dll
Note: If the file is already un-registered, this command will not produce any effects
- Now that the file has been un-registered, follow the instructions below to re-registered WSClient.dll:
regsvr32 /i WSClient.dll
- Once both commands have been processed successfully, reboot your PC and see if the issue is now fixed.
5. Disable the WSRefreshBannedAppsListTask Task
What actually happens when you see the WSClient.dll is in the background there’s a task (WSRefreshBannedAppsListTask) that’s most likely calling this dependency into action at every system startup.
If none of the instructions above have allowed you to get rid of the issue, one quick and painless fix to consider is to open Task Scheduler and disable the WSRefreshBannedAppsListTask manually.
Note: Going this route will most likely mean that the error message will disappear completely, but the drawback is that app licenses will not get resynced automatically once you disable this task.
If you haven’t tried this fix yet and you understand the consequences, follow the instructions below to temporarily disable the WSRefreshBannedAppsListTask task and prevent the WSClient.dll from occurring again:
- Press Windows key + R to open up a Run dialog box.
- Next, type ‘taskschd.msc’ inside the Run box, then press Ctrl + Shift + Enter to open up a Run dialog box.
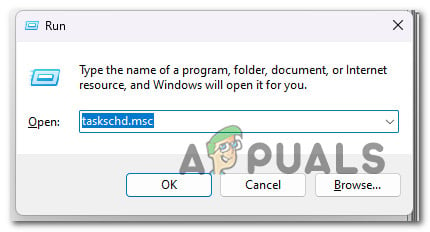
Open the Task Scheduler - At the next UAC (User Account Control) prompt, click Yes to grant admin access.
- Inside the Task Scheduler, expand the drop-down menu associated with Task Scheduler Library (left-hand section of the screen).
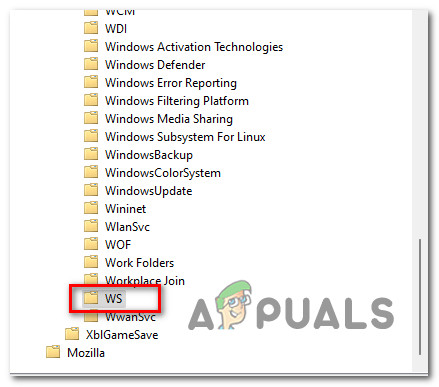
- Next, navigate to the following location using the same left-hand side menu:
Microsoft > Windows > WS
- Next, select the WS folder task folder from the left-hand section, then move over to the right-hand section pane.
Access the WS Task folder - Right-click on the WSRefreshBannedAppsListTask and click on Disable from the context menu.
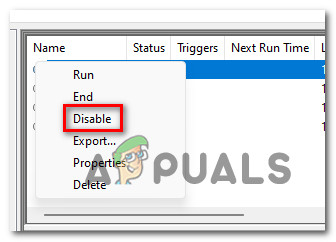
Disable the WSRefreshBannedAppsListTask - Confirm your choice, then reboot your PC and see if the problem is now fixed.
If you always see the WSClient.dll error at every boot (immediately after the login screen), the problem is most likely caused by a remnant dependency facilitated by the WSRefreshBannedAppsListTask.
Important: Keep in mind that even if you followed the method above to disable the WSRefreshBannedAppsListTask, a remnant dependency might still cause this behavior.
To ensure that WSRefreshBannedAppsListTask is prevented from causing this startup error, you’ll need to open an elevated CMD prompt and deploy a schtasks command that will effectively delete this task and prevent it from producing its effects.
Here’s a quick guide on how to do this:
- Press Windows key + R to open up a Run dialog box.
- Next, type ‘cmd’ inside the text box, then press Ctrl + Shift + Enter to open up a Run dialog box.
Open a CMD window - At the User Account Control (UAC), click Yes to grant admin access.
- Once you’re inside the elevated CMD prompt, type the following command to effectively delete the WSRefreshBannedAppsListTask and its unintended consequences:
schtasks /delete /TN "\Microsoft\Windows\WS\WSRefreshBannedAppsListTask" /F
- Once this command has been processed successfully, reboot your PC and see if the problem is now fixed.
6. Clean boot
This issue can also be caused by third-party applications that interfere with the data exchange between the WSClient.dll local component and Microsoft’s servers.
This will most commonly occur with backup tools & general resource optimization software that are way too aggressive.
Boot your computer in a clean boot mode that prevents the execution of any third-party apps or processes and see if the startup error stops occurring.
Note: This will determine whether an external service, process, or starting item is the cause of WSClient.dll startup error.
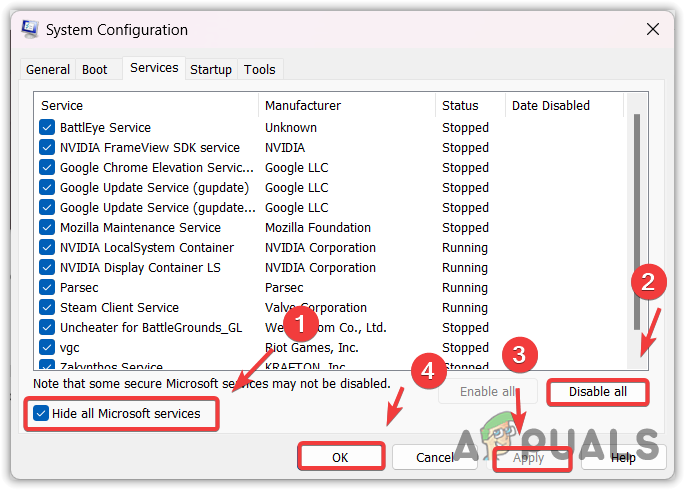
A clean boot will force your Windows installation to boot with just the necessary Windows applications and services. Once the clean boot state is achieved, no third-party services, processes, or beginning objects will be allowed to execute.
Follow our step-by-step guide on achieving a clean boot state on Windows 10 or Windows 11.
If the error no longer occurs while you’re clean booting, you’ve just confirmed that the problem is occurring due to a 3rd party service, process, or startup item. In this case, re-enable the previously disabled services systematically until you discover the culprit that causes the issue in your particular case.
8. Change the DNS to Google
The WSClient.dll startup error can also be caused by an inconsistent DNS range that ends up inhibiting the connection between a WS dependency and the Microsoft servers.
This cause is much more common in Europe and Asia where ISPs (Internet Service Providers) tend to use Layer 3 nodes that end up producing a lot of network-related inconsistencies.
Note: A layer 3 adds a header with the source and destination IP addresses to the data received from the Transport layer prior to transmission. The created packet is subsequently transmitted to the MAC or Data Link layer.
This cause is most likely applicable if you get similar errors when running other applications of games.
To fix this issue, we recommend migrating your DNS (Domain Name System) to the Google equivalent to achieve the maximum degree of stability. Even while Google Meet utilizes IPv4, we will demonstrate how to modify your IPv6 DNS range to Google’s counterparts to prevent this issue with other apps.
Here’s a quick guide on changing your DNS range to Google equivalents:
Note: The steps below are applicable on both Windows 10 and Windows 11.
- Pressing the Windows key + R key simultaneously will launch the Run dialog box.
In the search box, enter “ncpa.cpl” and hit Enter to open the Network Connection window.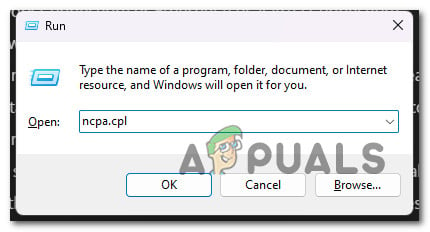
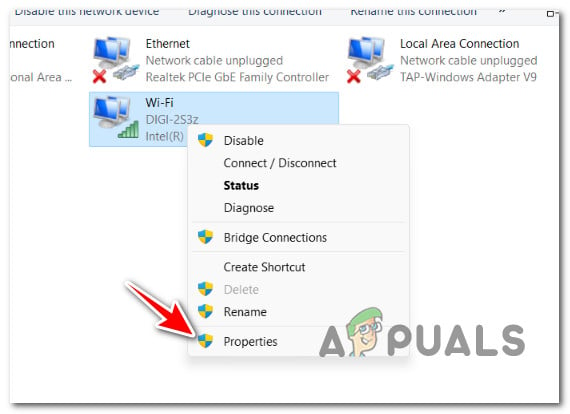
Open the Network Connections menu - In the Network Connections box, right-click on Wi-Fi (Wireless Network Connection) or Ethernet (Local Area Connection), depending on the type of connection you’re employing.
Note: If you have both a Wi-Fi and an Ethernet connection, make sure you choose the connection that is currently active. - The next step is to choose Properties from the new menu that displays.
Accessing the Properties screen - When the Properties window appears, navigate to the section titled “Networking” and then scroll down the list under “Network Connections”.
- Scroll down until Protocol Version 4 (TCP/IPv4) appears, select the checkbox below it, and then click Properties.
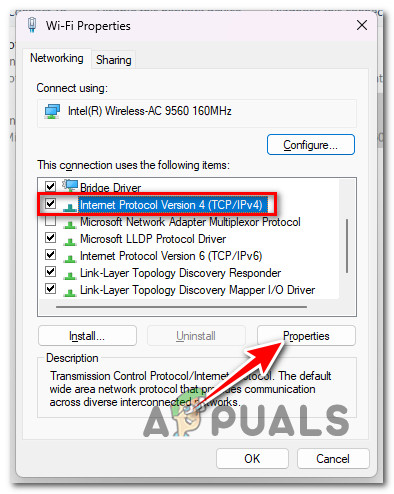
Accessing the Properties screen - Then, alter the Preferred DNS server to 8.8.8.8 and the Alternate DNS server to 8.8.4.4.
- Return to the main menu and repeat the procedure for Internet Protocol Version 6: set the Preferred DNS server to 2001:4860:4860::8888 and the Alternate DNS server to 2001:4860:4860::8844.
- Restart your computer and see if the startup error is now fixed.
9. Run the Microsoft Safety Scanner
You should not exclude a potential malware, adware, or rootkit that is actually causing this startup error.
If the genuine wsclient.dll has been replaced by malware that’s camouflaging as the legitimate system component, you will get this type of startup error as the functionality expected from this file is not available.
This is very likely if you receive this error whenever you attempt to download something through official Microsoft channels (for example, when installing a Windows Update or a new virus signature for Windows Defender), you should investigate the possibility of malware.
There are a number of third-party tools that may aid you with this, but most are either pricey or require you to join up for a free trial that culminates in a monthly or quarterly subscription.
Downloading the Microsoft Safety Scanner from the official website and employing it to run a system-wide scan is the finest option. However, equip yourself with patience (especially if you’re using a traditional HDD) as this tool is painfully slow and will take up most of your system resources.
Note: Depending on the size of your normal HDD, this process might take longer than 10 to 15 hours. If you utilize an SSD, you will likely complete the task in two hours.
Here’s a quick guide on using the official Microsoft Safety Scanner to get rid of malware, adware, or rootkit that might cause this problem:
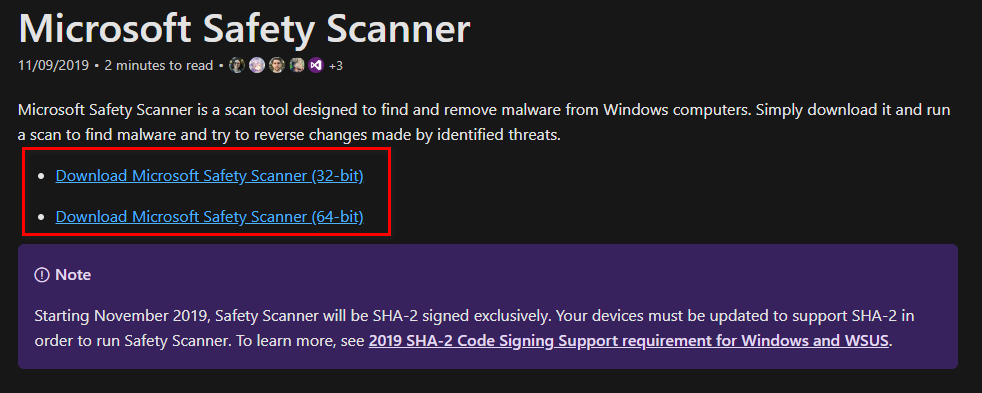
- The first step is to download the Microsoft Safety Scanner.
Note: Our recommendation is to download this from the official Microsoft update to ensure you’re using the latest version updated with the latest virus signatures. - To begin the download, select the system-appropriate choice for your bit version of Windows.
Download the Microsoft Safety Scanner - After the download is complete, launch the scanner and utilize User Account Control to confirm that you want to enable modifications to be made to your computer.
- Follow the subsequent instructions to proceed to the next screen. Be sure you pick a full scan to look for adware, rootkits, and PuPs too.
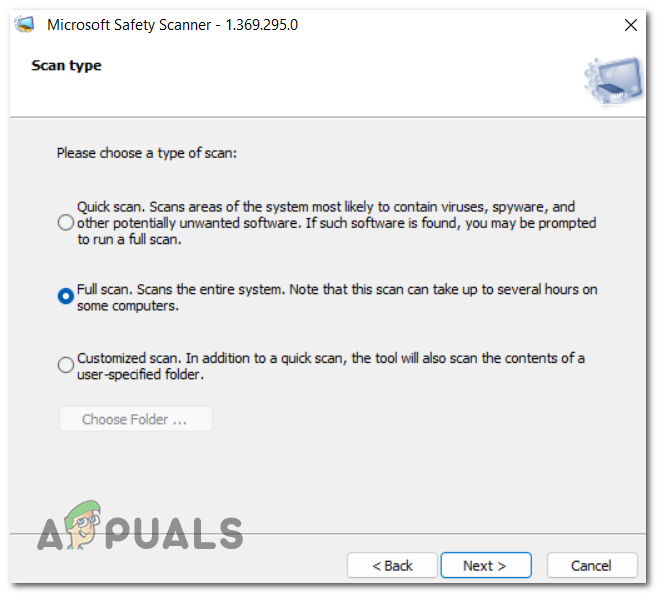
Deploying a Full scan Note: Going this route means that this procedure will take several hours to complete. Depending on whether you are using an HDD or SSD, the scanning procedure might take between two and twenty hours.
- After the scan is complete, restart your computer and see if the wsclient.dll error is now fixed.
10. Perform a clean install or Repair install
If none of the methods presented in this article have allowed you to address the WSClient.DLL startup error, there’s a good possibility you’re dealing with a form of system file corruption that cannot be handled routinely. In this instance, the only possible solution is to execute a sequence of commands that reset every OS component.
On top of helping you eliminate all types of file corruption that might cause the WSClient.DLL startup error, this will also re-register the file and fix the problem.
You have two options for accomplishing this: a repair install or a clean install.
• A clean install is a simple process that involves only a few mouse clicks and no installation discs. However, the biggest disadvantage is that you will likely lose the majority of your personal data (apps, games, user preferences, etc.) if they are not backed up beforehand.
• A repair install would be the most efficient method. This will require Windows 11 installation DVD that is compatible, but it will allow you to retain all of your personal components, including applications, games, user preferences, and personal media. The process will only affect the OS components, leaving the rest untouched.


