How to Fix World War 3 ‘ServerAttached Timeout’ Error
Fix: ServerAttached Timeout (RPCERROR Cannot Find Server with Given Parameters) on World War 3
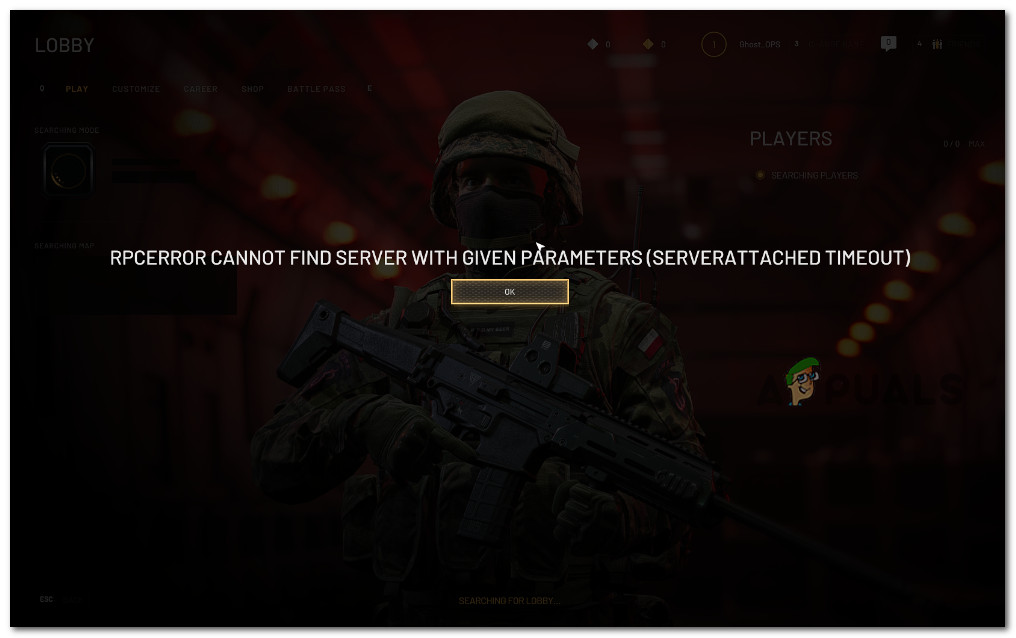
World War 3 attracted a loyal following on Twitter and a lot of gamers seem eager to participate in the closed beta program. The game is not out yet, so crashes, bugs and glitches are to be expected. But there’s currently one issue that seems to be very widespread – ServerAttached Timeout (RPCERROR Cannot Find Server with Given Parameters)
This particular issue (Server Attached Timeout Error) is mostly related to an underlying server issue that is entirely beyond the player’s scope.
However, as some users have reported, you can also expect to face this issue in situations where your antivirus actually ends up blocking communications between the local game installation and the game server.
If you’re currently stuck with the ServerAttached Timeout and you can’t play an online game inside World War 3, follow the instructions below to investigate the issue and pinpoint the culprit that is most likely responsible.
Check the game Server status
In the past, the ServerAttached Timeout has almost always been associated with some type of server issue.
So before trying any of the other fixes below, you should take the time to see if other World War 3 players are also dealing with this kind of issue.
Start by opening up DownDetector and check if other players are currently also reporting the same issue.
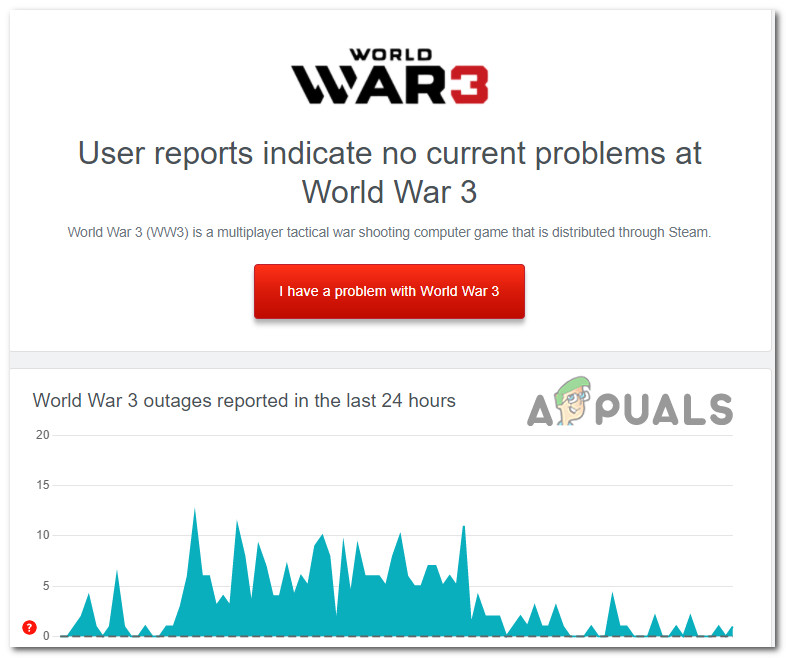
Look at the amounts of reports related to the game lately, then scroll down and see what people are saying about their problems with World War 3 on social media.
If you discover evidence of an underlying server issue, you should also take the time to check out the official Twitter page of World War 3.
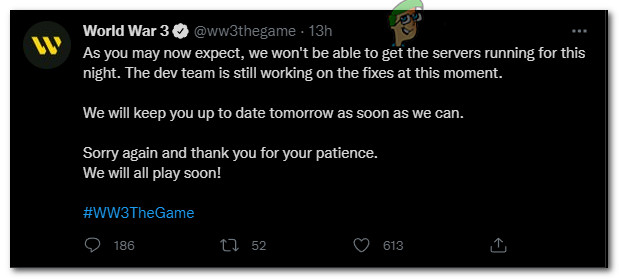
This is where they post updates about ongoing server issues. So if they’re currently dealing with an issue that is beyond your control, you should find it mentioned here.
Note: If you manage to uncover a server issue, there’s nothing you can really do other than wait for the developers to fix the issue. Hang tight and play something else until the problem is fixed.
If you already investigated both locations and found no evidence of an ongoing server issue, move down to the first potential fix below.
Whitelist the World War 3 in Firewall settings
Now that you’ve confirmed that you’re not actually dealing with a server issue, the next thing you should turn your attention to is your firewall. We’ve managed to locate a few user reports of World War 3 players confirming that in their case the problem was actually caused by their firewall.
Both 3rd party firewalls and the native Windows Firewall are blamed for this kind of issue.
If you find yourself in this particular scenario, simply whitelist World War 3 as well as the launcher that you use to open the game.
Note: If you’re using a 3rd party firewall, the specific steps of whitelisting the game in your antivirus will be different. In this case, search online for specific instructions on how to do this.
But if you’re using Windows Firewall, follow the instructions below to whitelist the game’s executable along with the launcher that you use to launch it:
- Press Windows key + R to open up a Run dialog box. Next, type ‘control firewall.cpl’ and press Enter to open up the Windows Firewall window.
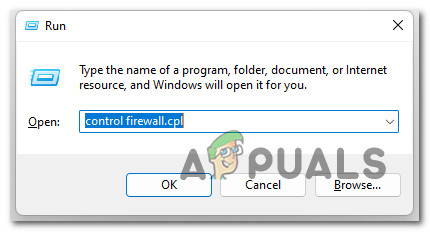
Open up the Control Firewall - If you’re prompted to grant administrative privileges, click Yes to grant access.
- Once you’re inside the main firewall menu, use the side menu on the left to click on Allow an app or feature through Windows Defender firewall.
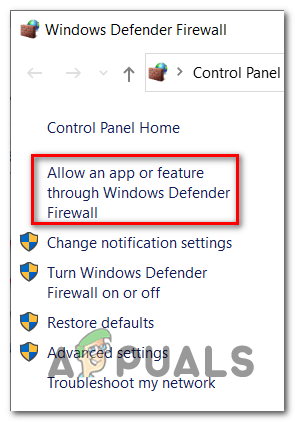
Allowing an app or feature through Windows Firewall - Once you’re inside the whitelisting menu, click on the Change settings button at the top, then click on Yes at the User Account Control window.
- Once the list of allowed items becomes editable go directly under it and click on Allow another app, then click on Browse and navigate to the location where you installed World War 3.

Allowing World War 3 - Next, make sure to add both the main executable of World War 3 and the game launcher (most likely Steam) to the list.
- Once you manage to do this, ensure that the boxes associated with Private and Public for both the game executable and Steam are checked before clicking Ok to save the changes.
- Launch the game normally once again and see if you’re still seeing the same ServerAttached Timeout error.
If the problem was not resolved by whitelisting World War 3 in your firewall settings, move down to the next potential fix below.
Forward the ports used by World War 3
If you followed the instructions above and you realized that the firewall is not actually causing the issue in your case, the next thing you should turn your attention to is your router.
World War 3 is a multiplayer game, and just like every other online experience, it uses a series of ports to facilitate the connection between your PC and the game server.
If your router doesn’t have the required ports forwarded on your machine and UPnP is disabled, you can expect to face this ServerAttached Timeout error precisely for this reason.
On newer router models, this problem can be resolved simply by enabling UPnP in order to allow your router to forward required ports on-demand.
But if you’re using an older router that doesn’t support UPnP or you are forced to keep this setting disabled for some reason, follow the steps below to forward the ports used by World War 3 in your router settings.
Here’s what you need to do:
Note: Keep in mind that the instructions will be slightly different depending on the router that you’re using.
- Open any browser on your PC and type the address of your router inside the navigation bar at the top.
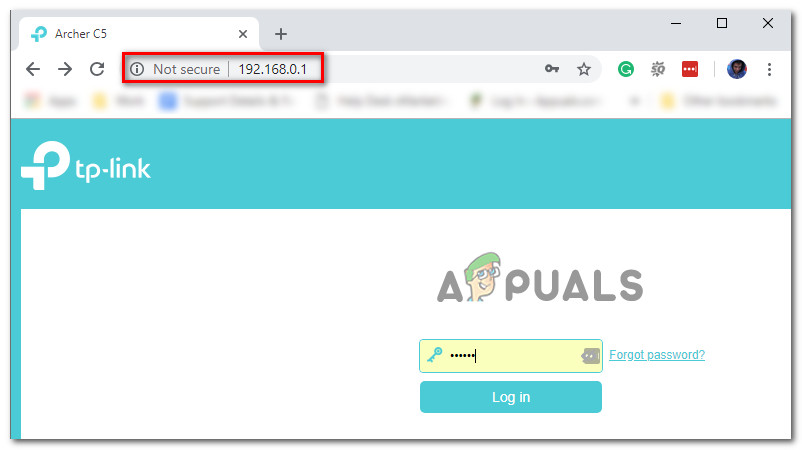
Accessing your router settings Note: Unless you’ve established a custom IP for your router, the address will be one of the following: 192.168.0.1. or 192.168.1.1.
- Next, you’ll be asked to type the login credentials of your router settings. In most cases, the defaults are admin, *blank* (nothing), or 1234. If these credentials don’t match, search online for specific instructions according to your router model.
- After you’ve successfully logged into your router settings, look for the NAT Forwarding (Port Forwarding menu).
- Next, make sure the following ports are forwarded:
TCP: 27015-27030, 27036-27037
UDP: 4380, 27000-27031, 27036
- Save the changes and reboot your router in order to allow the changes to take effect.
- Launch the game once again and see if the problem is now fixed.


