How to Fix WLAN Extensibility Module has Stopped Error in Windows?
The ‘WLAN Extensibility Module has stopped unexpectedly’ error message typically occurs due to a faulty network driver installed on your system. This issue often arises after receiving a recent Windows update that installs new network drivers on your PC.
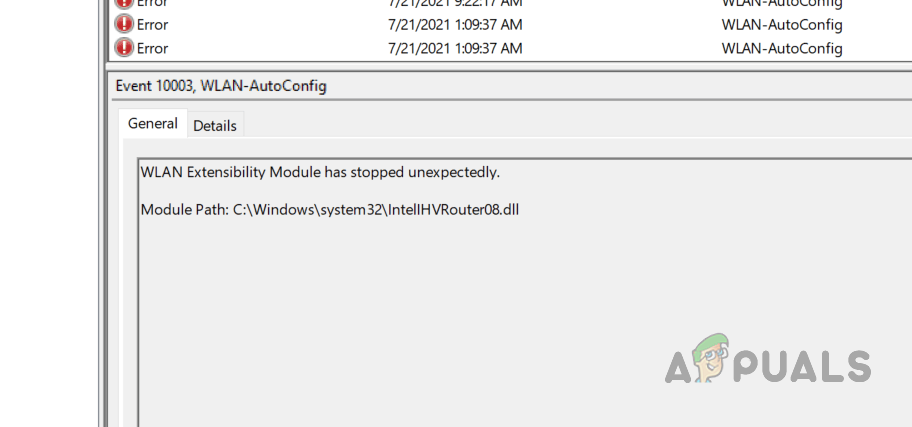
The WLAN Extensibility Module is a Windows feature that enables manufacturers and software vendors to provide custom wireless networking capabilities to users. This is accomplished by integrating features not offered by Windows to enhance the functionality of Windows networking.
When the WLAN Extensibility Module stops working, you might experience frequent network drops on your PC or the adapter may completely fail to connect. This guide will present several methods to help you resolve the error message in question.
1. Change Power Mode
Start by altering the power mode in Windows to prevent it from disabling the wireless driver for power savings.
- Press Win + I on your keyboard to open the Settings app.
- Navigate to System > Power and Battery within the Settings app.
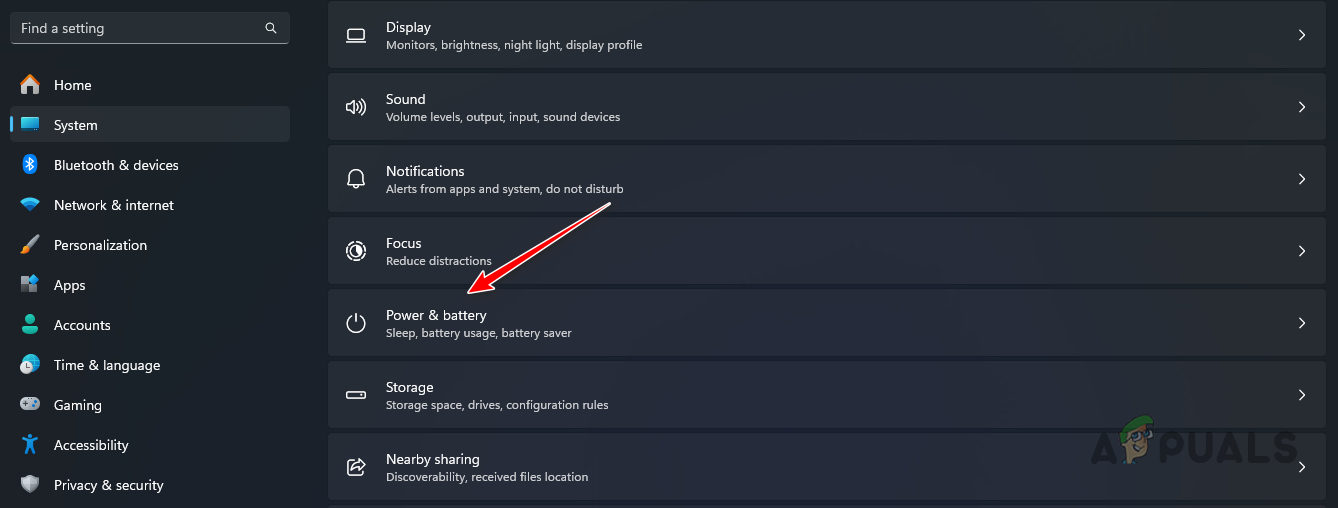
Navigating to Power and Battery - Use the Power Mode menu to select Best Performance.
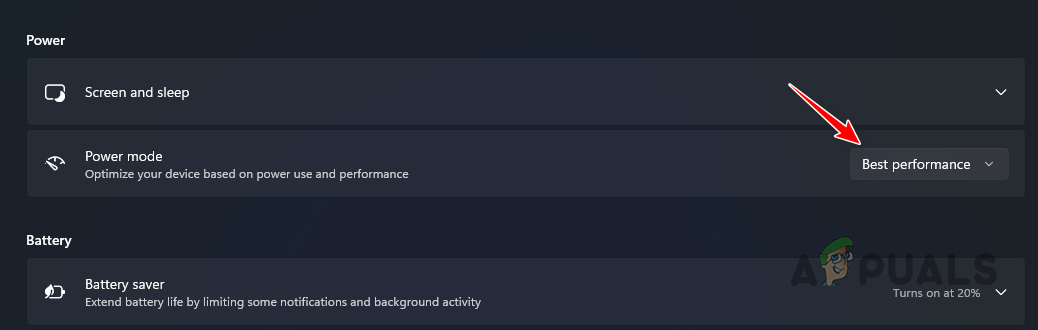
Changing Power Mode in Windows - If using a laptop and it’s currently plugged in, unplug the power cable and reselect Best Performance.
- Check if the issue has been resolved.
2. Check Wireless Driver
Windows may download and install a new driver during updates, which can sometimes disrupt your existing wireless connection.
You should check for additional wireless drivers or utilities that could be interfering with your network driver.
- Open the Start Menu and search for Device Manager, then open it.
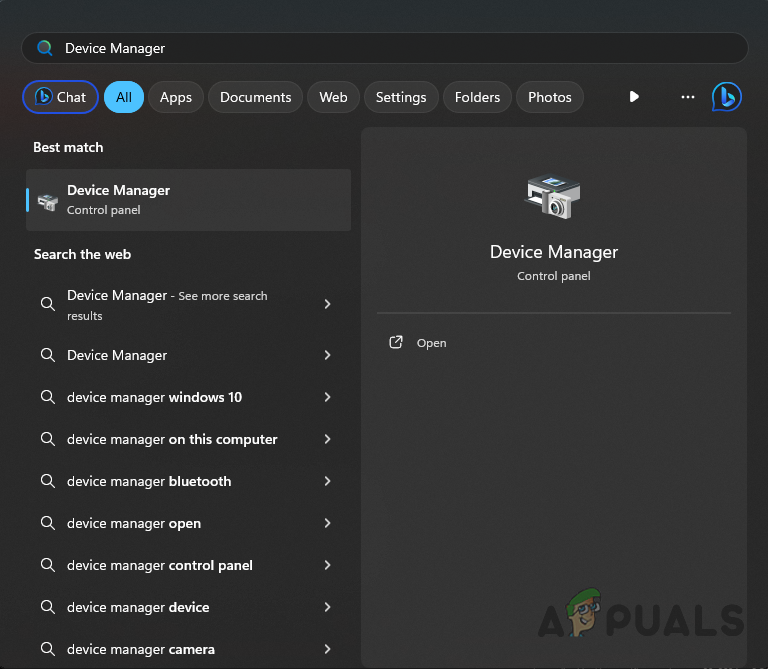
Opening Device Manager - In the Device Manager window, expand the Network adapters list.
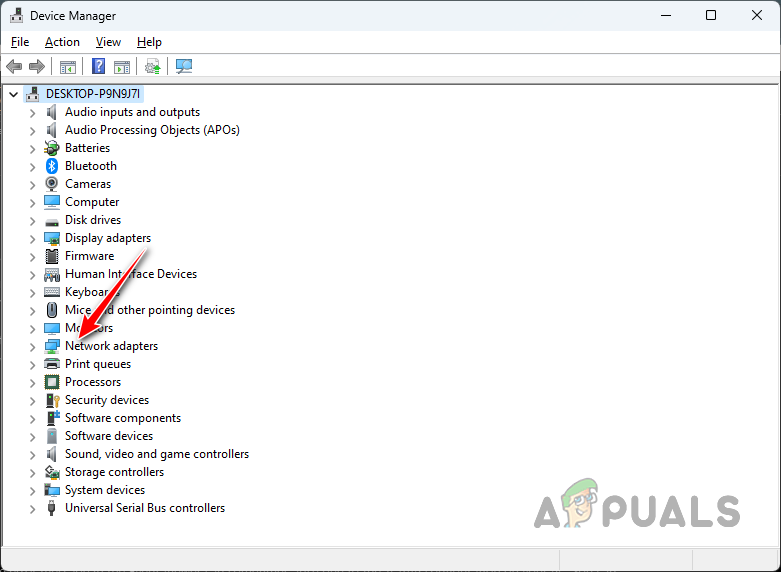
Expanding Network Adapters List - Identify any extraneous network drivers besides your primary one and right-click to select Uninstall device.
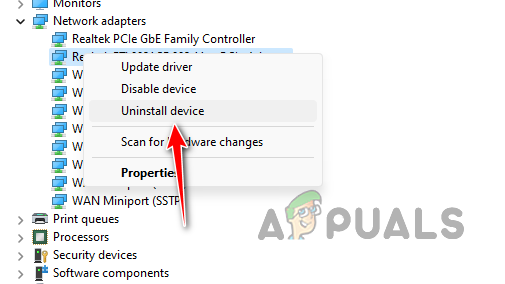
Uninstalling Network Driver - Alternatively, choose the Disable device option to be cautious.
- Do not meddle with the WAN Miniport drivers as they are essential for Windows.
3. Reset TCP/IP
Issues in the TCP/IP configuration can sometimes trigger the error message displayed in the Event Viewer. Resetting the TCP/IP stack through the command prompt in Windows can resolve this.
- Open Start Menu, search for command prompt, and select Run as administrator.
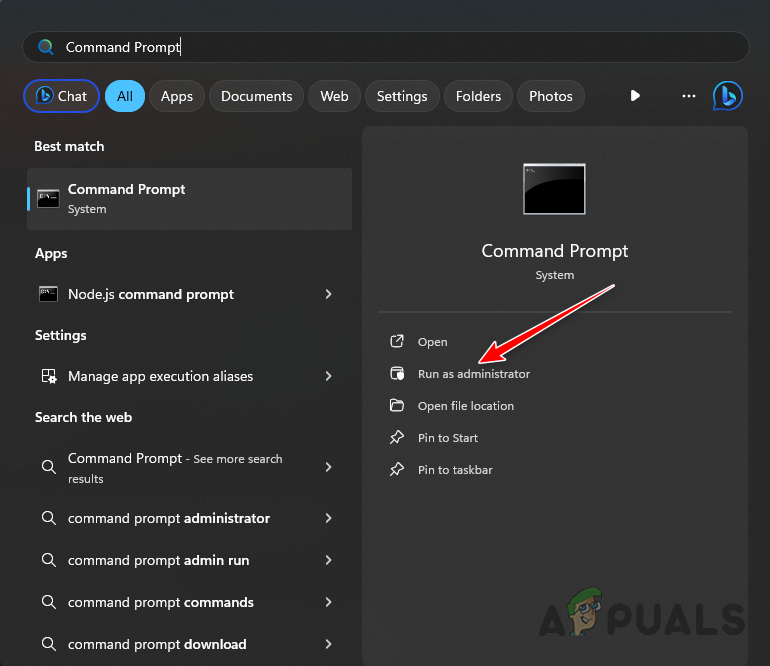
Opening Command Prompt as Admin - Type “netsh int ip reset” (omit the quotation marks) in the command prompt and press Enter.
- Check if the issue still occurs.
4. Manually Reinstall the Network Driver
It’s often the case that the network driver installed on your computer is to blame for the “WLAN extensibility module has stopped” error message. Reinstalling the correct network driver for your network adapter can fix the issue.
Windows typically installs generic drivers that can sometimes cause compatibility problems. To install the appropriate network driver, follow these steps:
- Press Win key + R to open the Run dialogue box.
- Type “msinfo32” and press Enter to open the System Information window.
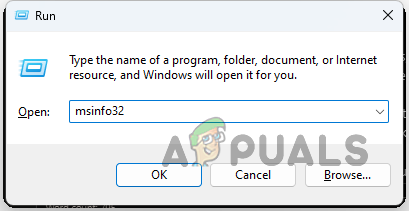
Opening System Information - Under the System Information window, locate the BaseBoard Manufacturer and BaseBoard Product sections for details on your motherboard.
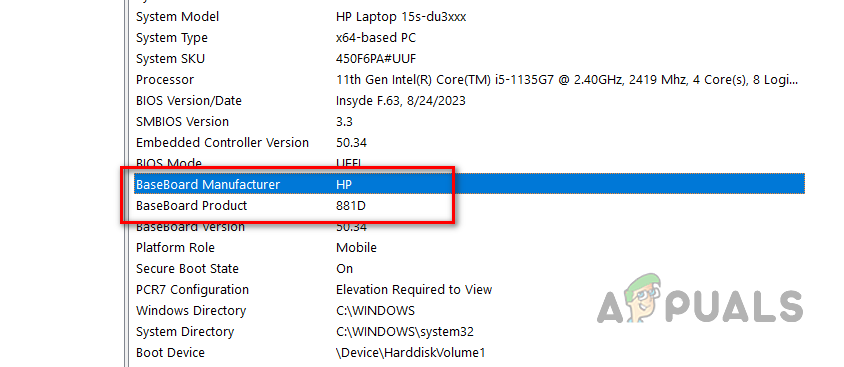
Locating Motherboard Information - Search for your motherboard’s model and manufacturer on Google and navigate to their Driver & Utility web page.
- Download the relevant Wireless and LAN drivers.
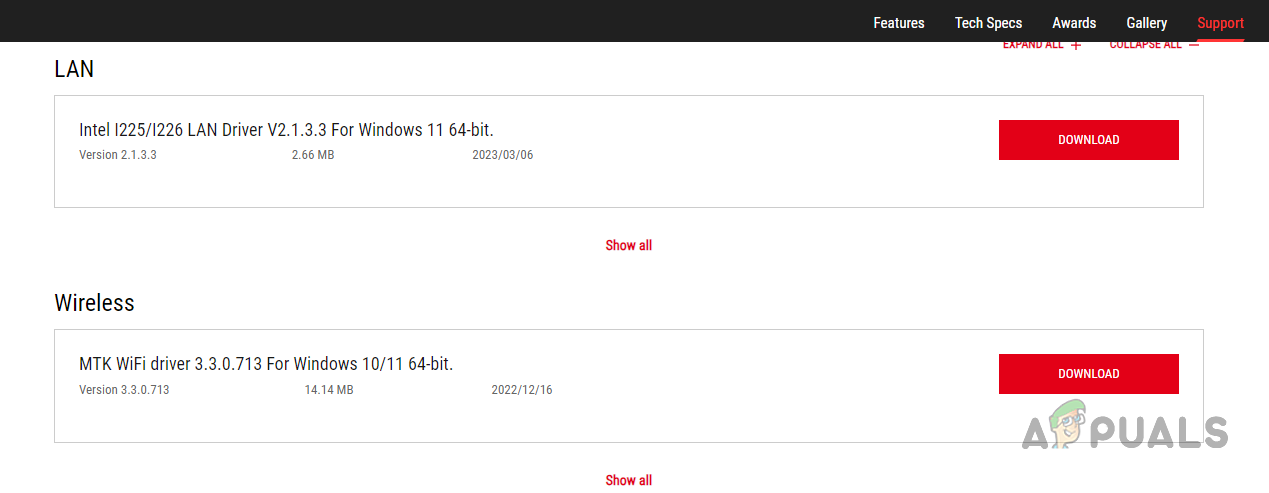
Downloading Network Drivers - Open Device Manager, expand the Network adapters category, and right-click on your network driver to select Uninstall device.
Expanding Network Adapters List Uninstalling Network Driver - Install the previously downloaded network drivers.
- Recheck for the occurrence of the problem.
5. Change Driver Roaming Aggression
The Roaming Aggression setting of your network driver could also be causing the error message. This setting governs how aggressively your PC seeks a different access point for a stronger signal.
Set this to the lowest setting to prevent interference with the connection.
- Access the Start Menu, search for Device Manager, and open it.
Opening Device Manager - Expand the Network adapters category and right-click on your network adapter.
- Select Properties.
- Switch to the Advanced tab.
- Select Roaming Aggressiveness and set its Value to Lowest on the right-hand side menu.
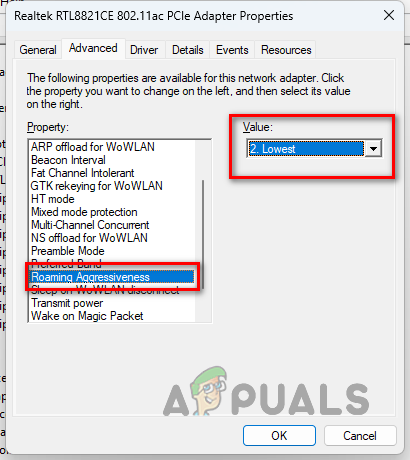
Changing Roaming Aggressiveness - Click OK and verify if the problem has been resolved.
6. Disable Preferred Activities (Google WiFi only)
For those using Google WiFi, the error message may be triggered by a setting in the Google Home app. Preferred activities can prioritize your network for certain types of traffic, potentially causing disconnections.
- Launch the Google Home app on your mobile device.
- Go to Wireless network settings.
- Tap on Preferred Activities.
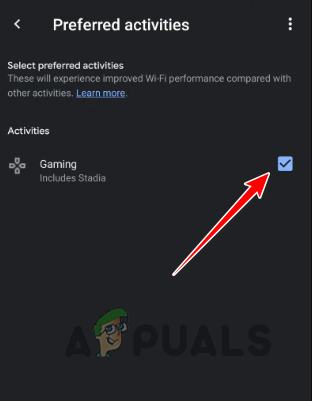
Turning off Preferred Activities - Uncheck any listed activities and observe if the error message persists.
7. Clean Install Windows
If none of the above solutions work, a clean installation of Windows on your PC is advised to rectify any network adapter issues and eliminate the error message.
You’ll need a USB drive and a Windows ISO image for this.
- Download the Windows ISO image from the official website here if you haven’t already.
- Obtain Rufus from the official source here.
- Connect your USB drive to the computer.
- Run the Rufus application and select the Choose option.
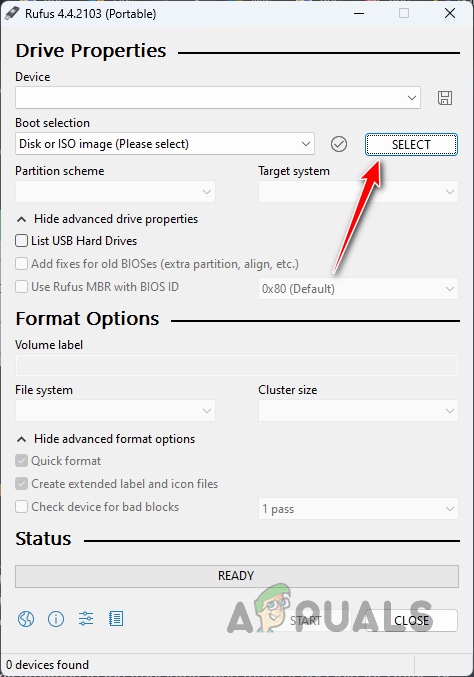
Selecting Windows ISO Image - Select the downloaded Windows ISO image.
- Rufus will automatically configure the correct settings.
- Ensure the right USB drive is chosen in the Device field if you have more than one.
- Hit the Start button to initiate the bootable USB creation process.
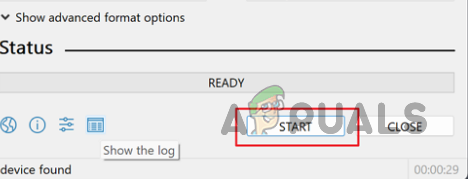
Starting USB Flashing in Rufus - After it’s done, restart your computer and boot from the newly created USB by accessing the Boot Menu.
- Follow the Windows Setup instructions to perform a clean installation.
By following these solutions, you should be able to resolve the “WLAN extensibility module has stopped” error message. If the error persists, consider reaching out to the official Windows support team for further assistance.


