Fix: Windows Update Error 0xc1900204
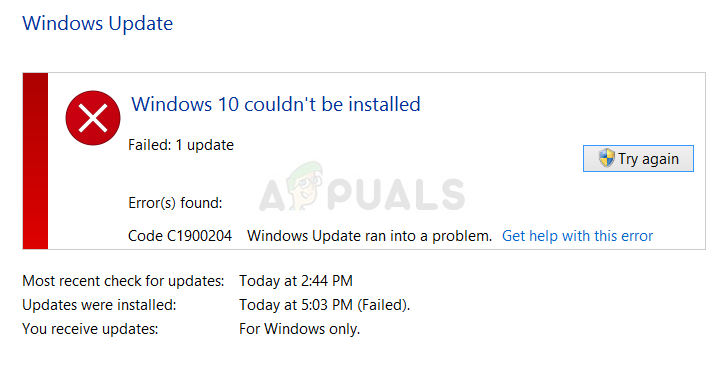
The Windows update Error 0xc1900204 appears when users are trying to download the new update released by Microsoft. Usually the update is downloaded easily but the installation fails to even start and this update error appears. Various methods can be used in order to fight this error which usually appears on the Windows 10 operating system but it’s no stranger to the older versions as well.
We have prepared a set of solutions which can be used to fix this error so make sure you follow them carefully and you should definitely solve your problem before reaching the end!
Solution 1: Use the Following Registry Tweak
This method is highly useful if the default Program Files directory for installing Windows-based programs has been changed by another process or similar. This can be useful to fight the error but you will have to edit the registry in order to change it. You will also have to continue installing programs in the old Program Files folder, at least until you process the update which is causing this error.
Since you will have to edit the registry in order to proceed with the solution, we recommend you check out this article we have prepared in order to safely backup your registry to prevent further problems. Still, nothing wrong will occur if you follow the instructions properly.
- Open the Registry Editor tool by typing “regedit” in either the search bar or the Run dialog box. You will probably have to confirm a UAC prompt saying that the tool might change settings on your computer.Navigate to the following key in Registry Editor by navigating in the left pane:
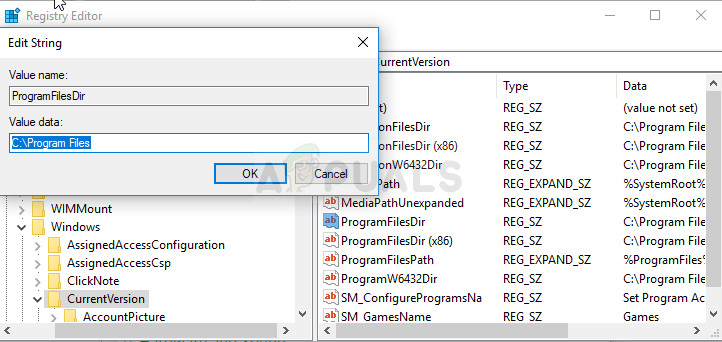
HKEY_LOCAL_MACHINE\SOFTWARE\Microsoft\Windows\CurrentVersion

- Under the CurrentVersion key, you should be able to see a REG_SZ type entry named ProgramFilesDir so make sure you right-click on it and click on Modify.
- Under the Value data entry, you should delete the current path and paste the correct path to the Program Files folder you have on your computer.
- If you are running a 32bit operating system, the correct path would be “X:\Program Files (x86)” and if you are running a 64bit version of Windows, the path would be “X:\Program Files” where X is the letter of the drive where Windows is installed. Make sure you don’t miss out any backslashes or letters as the consequences might be dangerous.
- Confirm the changes by pressing OK and restart your computer in order to fully apply the changes. After that, navigate to Windows update and check to see if the problem has been resolved now.
Solution 2: Run the Windows Update Troubleshooter
Luckily, Windows comes with various built-in troubleshooters which excel at some basic error solving and diagnosing. They are not magical and they won’t fix every problem you encounter but sometimes they can at least pinpoint the module which went corrupt.
Regarding this Windows update error, users have reported that the automated troubleshooter was able to fix the problem completely so we recommend you try this out:
Windows 10:
- Open the Settings app on Windows by clicking on the Start button and then the gear icon just above. You can also search for it in the start menu or with the Search button next to it.
- Open the Update & Security section at the bottom of the Settings window and navigate to the Troubleshoot tab.
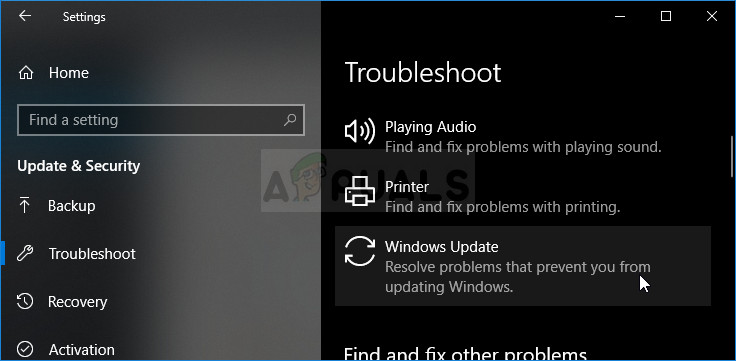
- First of all, click on the Windows Update option and follow the instructions on screen after the Windows Update troubleshooter opens to see whether there is something wrong with Windows Update services and processes.
- After the troubleshooter finishes, navigate to the Troubleshoot section again and open the Internet Connections troubleshooter.
- Check to see if the problem is solved after you restart your computer and run Windows Update again.
Older Versions of Windows:
- Open Control Panel by locating it in the Start menu. You can also search for it using the Start menu’s search bar.
- After the Control Panel window opens, change the “View by” option at the top right part of the window to “Large Icons” and scroll down until you locate the Troubleshooting entry.
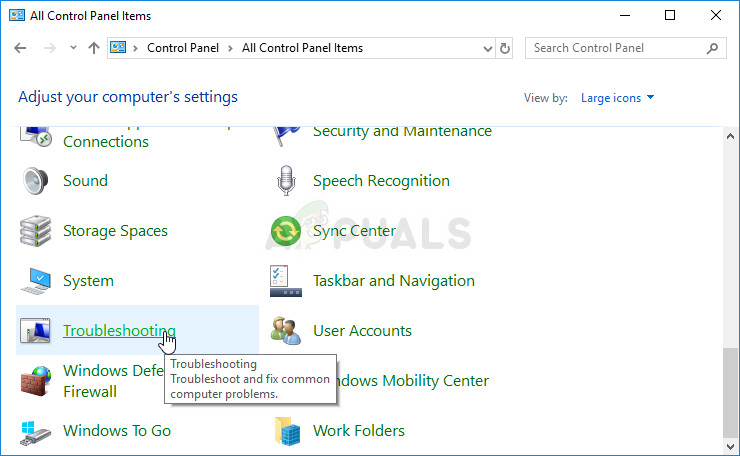
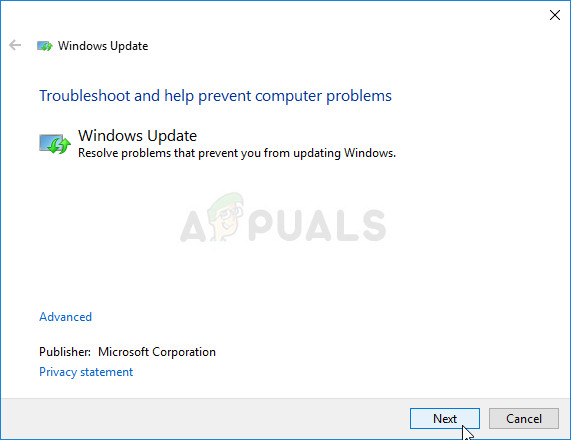
- After clicking on Troubleshooting, check the bottom of the window, under the System and Security section for the “Fix problems with Windows Update” option. Click on this entry, choose Next from the initial window and wait for the troubleshooter to finish.
- Check to see if your problem is now solved.
Solution 3: Make Sure You Have Enough Disk Space
This error is more aimed at users who receive the error when trying to update using the Windows Media ISO tool. Even though the setup may seem small in size, you will still need as much space as you can gather in order for the process to finish without problems.
We suggest you clear out as much space as you can, either manually or by using a tool which can get rid of unused files on your disk. Pay extra attention to programs and applications you no longer use as they tend to take up the most space on your disk.
Solution 4: Reset Windows Update Components
This method is a sort of a last resort when it comes to troubleshooting Windows updates. It’s a brute way to force the Windows Update service to reset itself but it’s definitely one of the most useful things you can do in order to fix the broken Windows update service.
The only reason why we have chosen to put it at the last place is because the methods above are shorter to do for users and they are more specific to the error code whereas this method is lengthy, more complicated, and also more general.
Since you are going to edit the registry, we recommend you check out this article in order to safely backup your registry to prevent further problems.
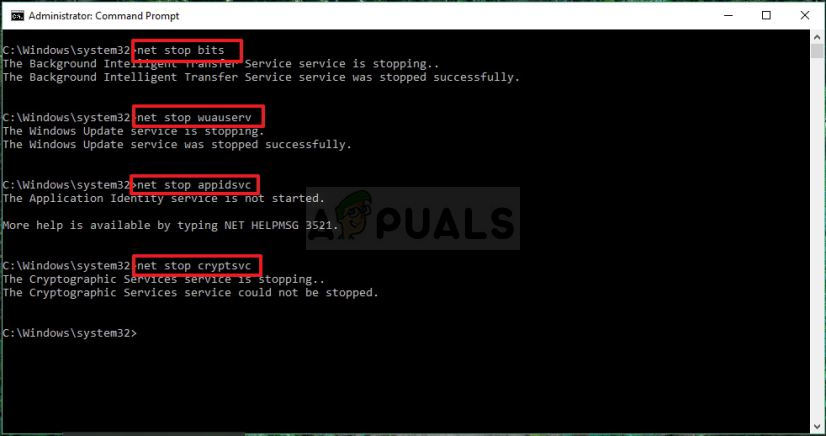
- Let’s start with the method by shutting down the following services which are the core services related to Windows Update: Background Intelligent Transfer, Windows Update, and Cryptographic Services. Shutting them down before we start is very important if you want the remainder of the steps to perform without errors.
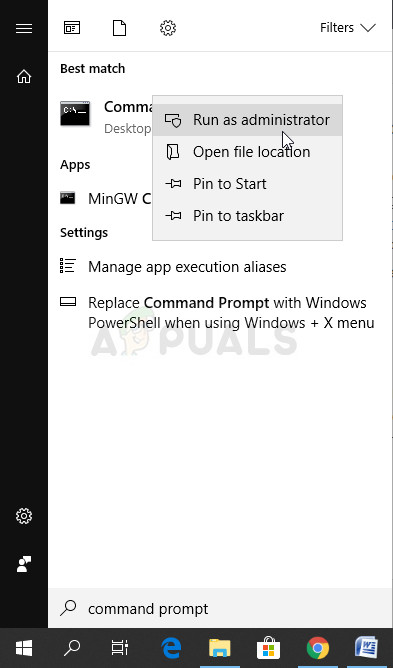
- Search for “Command Prompt” either right in the Start menu or by tapping the search button right next to it. Right-click on the first result which appears at the top and select the “Run as administrator” option.
- Users who are using an older version of Windows can use the Windows Logo Key + R key combination in order to bring up the Run dialog box. Type in “cmd” in the box and use the Ctrl + Shift + Enter key combination in order to run Command Prompt as an administrator.
- Copy and paste the command shown below and make sure you click the Enter key on your keyboard.
net stop bits
net stop wuauserv
net stop appidsvc
net stop cryptsvc
- After this step, you will have to delete some files if you want to continue with resetting the update components. This should also be done via Command Prompt with administrative privileges. Run this command:
Del “%ALLUSERSPROFILE%\Application Data\Microsoft\Network\Downloader\qmgr*.dat”
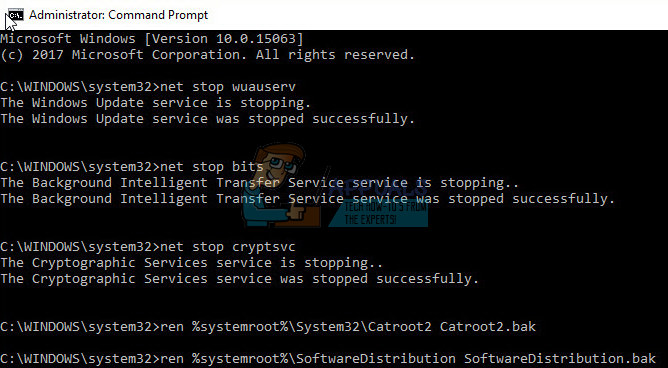
- Change the name of the SoftwareDistribution and catroot2 folders. In order to do this, at a command prompt with admin privileges, copy and paste the following two commands and click Enter after copying each one.
Ren %systemroot%\SoftwareDistribution SoftwareDistribution.bak
Ren %systemroot%\system32\catroot2 catroot2.bak
- The following commands will help us reset the BITS (Background Intelligence Transfer Service) and the wuauserv (Windows Update Service) to their default settings. Make sure you don’t modify the commands below so it’s for the best if you simply copy them because of their complexity.
exe sdset bits D:(A;;CCLCSWRPWPDTLOCRRC;;;SY)(A;;CCDCLCSWRPWPDTLOCRSDRCWDWO;;;BA)(A;;CCLCSWLOCRRC;;;AU)(A;;CCLCSWRPWPDTLOCRRC;;;PU)
exe sdset wuauserv D:(A;;CCLCSWRPWPDTLOCRRC;;;SY)(A;;CCDCLCSWRPWPDTLOCRSDRCWDWO;;;BA)(A;;CCLCSWLOCRRC;;;AU)(A;;CCLCSWRPWPDTLOCRRC;;;PU)
- Let’s navigate back to the System32 folder in order to proceed with the final part of this method. This is how to do so in Command Prompt.
cd /d %windir%\system32
- Since we have completely reset the BITS service, we will need to reregister all of the files necessary for this service to run and operate properly. However, each of the files requires a new command in order to make it reregister itself so the process may end up being quite long. Copy the commands one by one and make sure you don’t leave out any of them. You can find the complete list if you follow this link in a Google Drive file.
- The next thing we are going to do is reset Winsock by copying and pasting the following command back into the administrative Command Prompt:
netsh winsock reset
netsh winhttp reset proxy
- If all of the steps above have gone through painlessly, you can now start the services you closed in the first step by using the commands below.
net start bits
net start wuauserv
net start appidsvc
net start cryptsvc
- Restart your computer after following through with the steps provided and try running Windows Update again. Hopefully, you will now be able to srtart Windows Update without receiving the error 0xc1900204


