[FIX] Windows Update Error Code 646
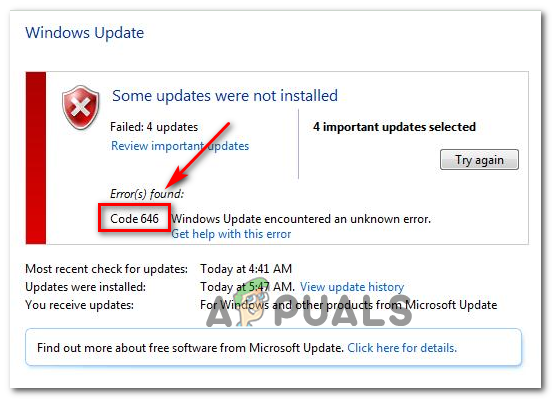
Some Windows users are reporting that certain updates that they attempt to install with the built-in WU component end up failing with the Error Code 646. As it turns out, this particular error code seems to be exclusive to Windows 7 and Windows 8.1.
If you’re encountering this issue on Windows 7 or Windows 8.1, you should start this troubleshooting guide by running the Windows Update troubleshooter and seeing if your computer is not actually capable of fixing the issue automatically.
According to affected users, one of the most common causes that might lead to the apparition of the 646 error code is a Windows Update or Background Intelligent Transfer Service that is forcibly disabled.
However, another fairly common problem that might lead to this issue on Windows 7 is an Appdata key that is pointing to the wrong location. In this case, you can fix the issue by modifying the Registry using Registry Editor.
Overprotective firewalls are also known for causing issues of this kind after clicking communications with the MS due to a false positive. In this case, the only fixes are to whitelist WU in your AV settings or move to a more lenient security suite and uninstall the current one.
In case you want to work around the issue (without fixing the root cause), downloading the update from the official Windows Update Catalog is probably the best and safest way to go.
If you’re dealing with a software conflict, you will be able to resolve the issue by using the System Restore utility to return your computer back to a state when this conflict was not occurring. But if the problem is OS-related, you will need to go for a repair install or clean install in order to fix the Windows Update component.
Running the Windows Update Troubleshooter
In case you’re encountering this issue on Windows 7 or Windows 8.1, there’s a chance that the problem you’re having is already covered by a repair strategy included by Microsoft. If that’s the case, your OS will be able to deploy the fix automatically.
If this scenario is applicable, you should attempt to run a scan with the Windows Update troubleshooter and see if this utility can identify and fix the problem you’re having with the updating component automatically.
The Windows Update troubleshooter holds an essential collection of automated repair strategies that can fix a wide variety of issues. After you launch this utility, this tool will analyze the WU component for inconsistencies and automatically recommend a fix if it determines that it’s viable.
If you didn’t run this utility already, follow the instructions below to launch the Windows Update Troubleshooter on Windows 7 or Windows 8.1 and fix the Error Code 646:
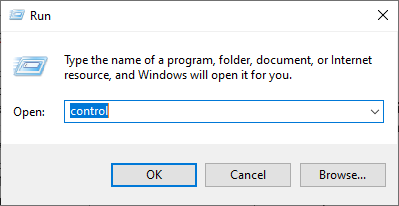
- Open up a Run dialog box by pressing Windows key + R. Next, type ‘control’ inside the text box and press Enter to open up the Classic Control panel interface.
Accessing the Classic Control Panel interface - From the main Control Panel interface, use the search function in the top-right corner of the screen to search for ‘troubleshoot’. Next, from the list of results, click on the Troubleshooting entry to expand the list of integrated troubleshooters.
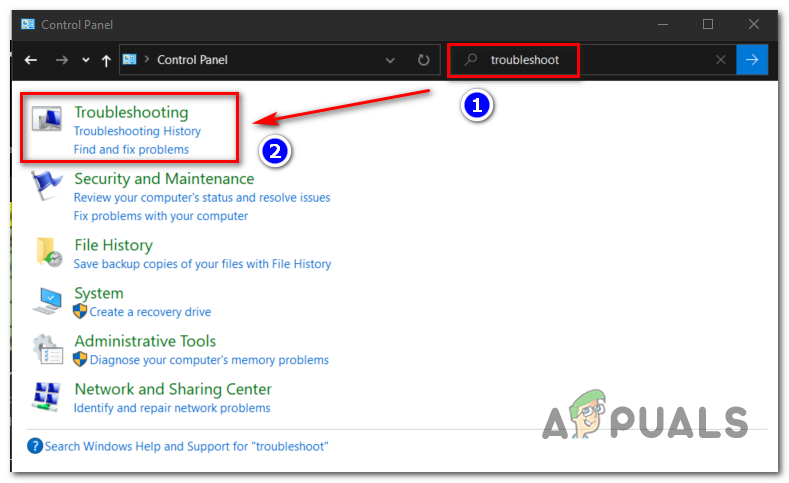
Accessing the classic troubleshooting menu - Once you’re inside the Troubleshooting menu, move forward by clicking on System and Security.
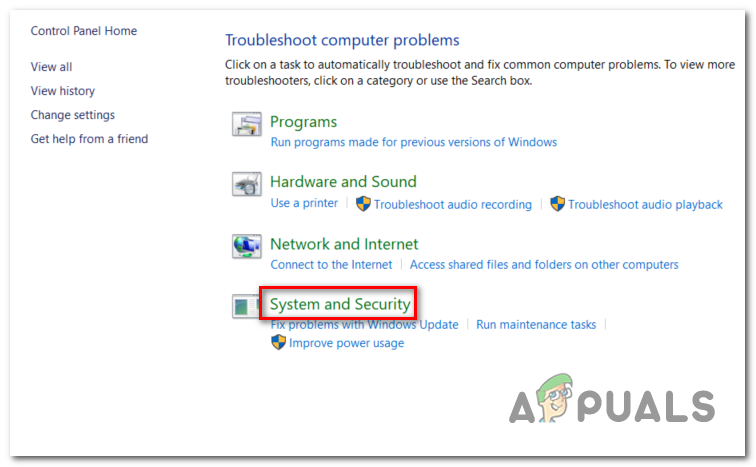
Accessing the System and Security Troubleshooting menu - After you’re inside the System and Security menu, click on Windows Update (under Windows) to open the Windows Update Troubleshooter.
- Once you see the first menu of the Windows Update troubleshooter, start by clicking on Advanced, then check the box associated with Apply repairs automatically.
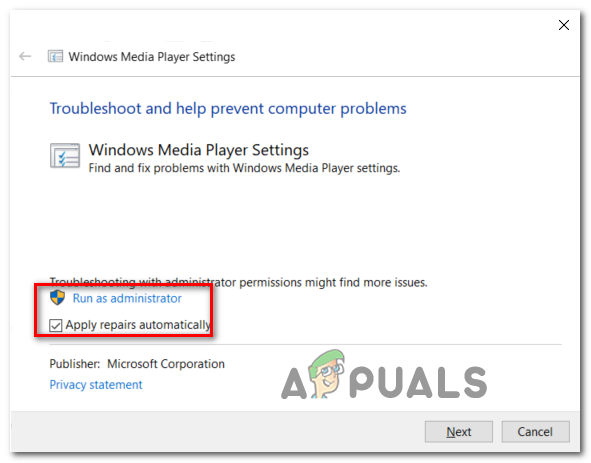
Applying repairs automatically - Wait until the process is complete, then click on Apply this Fix and follow the on-screen prompts in case additional steps need to be taken for the fix to be applied successfully.
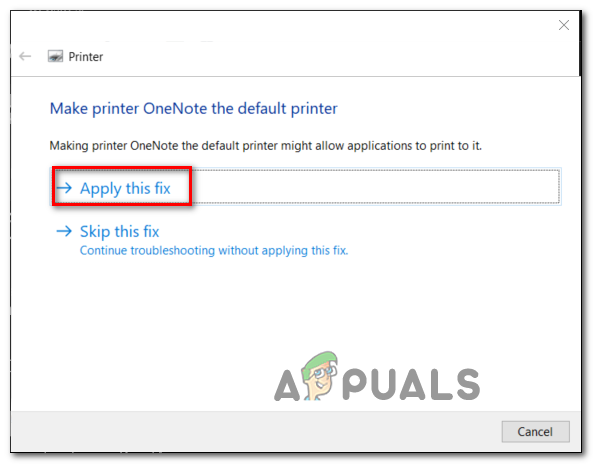
Applying the Fix - In case you are prompted to restart, do so, and see if the problem is fixed once the next startup sequence is complete. Just return to the Windows Update screen and install any other pending update and see if you’re still encountering the same Error Code 646.
In case the same error code is still occurring, move down to the next potential fix below.
Installing the Update via Windows Update Catalog
In case the Windows Update troubleshooter wasn’t able to locate and fix the local WU component problem that is preventing you from installing certain Windows updates, you can get past this component altogether if you want.
As it’s’ been reported by some affected users, you can probably install the failing updates yourself by downloading them from the Microsoft Update Catalog and installing them manually. Sure, this is a little tedious (especially if multiple updates are failing), but it’s still better than running an outdated machine.
In most cases, the error code 646 is confirmed to occur with the following updates:
- KB972363
- KB973709
- KB972581
- KB974234
- KB974810
If you decide to go this route and install the pending updates manually, follow the step by step instructions below:
- Open your default browser and access this link (here) to land directly to the root address of the Microsoft Update Catalog.
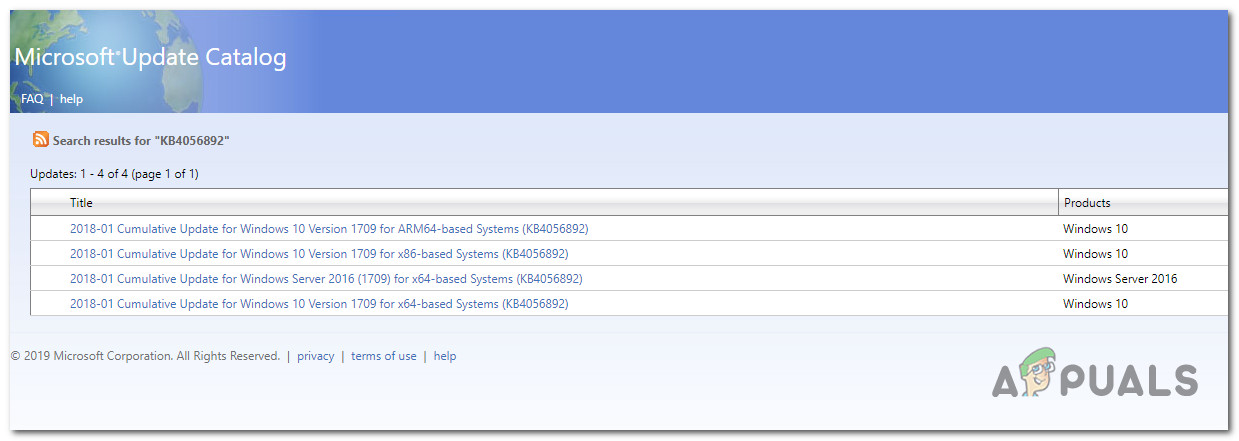
- Once you are inside, use the search function (top-left corner of the screen) to search for one of the updates that are failing with the error code 646.

Searching for the update that you want to install manually - Once the results are generated, look for the appropriate update while keeping in mind your CPU architecture and the Windows version that you’re utilizing.
Choosing the right Windows Update - After you manage to identify the correct update, click on the Download button associated with it and wait until the operation is complete.
- After the download is complete, open File Explorer and navigate manually to the location where it was downloaded, then click on the .inf file and choose Install from the newly appeared context menu.
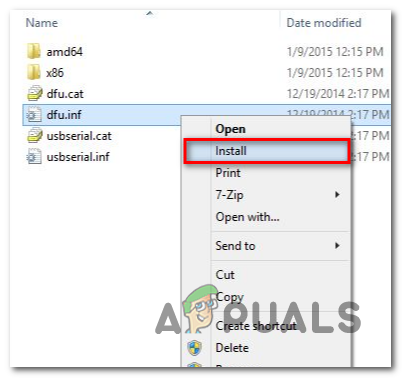
Installing the Inf driver - Repeat the steps above with every Windows that’s failing to install with the error code 646
- Once every failing update is installed, reboot your computer to complete the operation.
In case the attempt to install the failing updates via the Windows Update Catalog leads you to the same error, move down to the next potential fix below.
Force Starting Windows Update and Background Intelligent Transfer services
On every recent Windows version, there are a couple of essential services that your computer needs to make use of to install new pending Windows updates: Windows Update and Background Intelligent Transfer Services.
If these services are disabled by default or the Status type is NOT set to Automatic, you might expect to encounter problems associated with the installation of new Windows updates.
To test this theory out, take a trip into your Services screen and check on these two services – In case they are indeed disabled or not configured to run Automatically, make the necessary changes to fix the updating component of Windows Update.
Here’s a quick step-by-step guide that will guide you through the whole thing:
- Press Windows key + R to open up a Run dialog box. Next, type ‘services.msc’ inside the text box and press Enter to open up the Services screen.
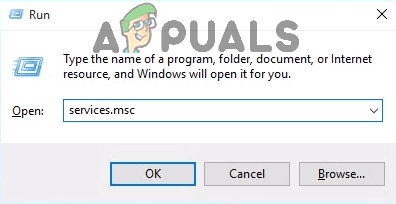
Type “services.msc” into the Run dialog and press Enter - Once you’re inside the Service screen, move down to the right-hand section and scroll down through the list of active services and locate Windows Update. Once you see it, right-click and click on Properties from the newly appeared context menu.
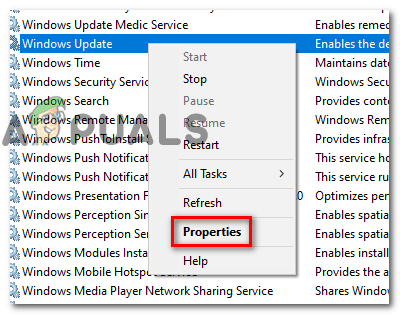
Accessing the Properties screen of the Windows Update service - Once you’re inside the Properties scene, select the General tab and change the Startup type to Automatic and click on Start in case the service is not currently running. Next, click Apply to save the changes.
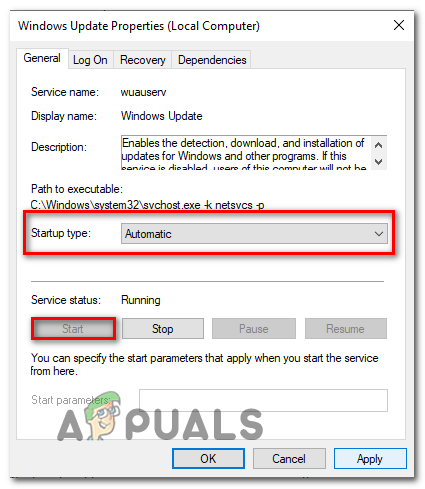
Starting the Windows Update service - Repeat steps 2 to 4 with the Background Intelligent Transfer Services and make sure that the service is running before clicking on Apply.
- Return to the Windows Update screen and initiate the installation of the Windows Update again and see if the issue is now fixed.
In case the two services were already started or this operation didn’t make a difference and you’re still encountering the same error code 646, move down to the next potential fix below.
Clearing the AppData Key via Registry Editor
As it turns out, on Windows 7 and Windows 8.1, the error code 646 can very well be caused by corrupted temporary data located in the registry key associated with AppData.
Some users also encountering this issue have confirmed that the problem was resolved after they used Registry Editor to navigate to the location of the AppData key and verify it’s content (on multiple different directories). According to affected users, this registry key can hold a flawed location that might be responsible for this particular issue.
To enforce this fix, follow the instructions below to clear the contents of the AppData key in an attempt to fix the error code 646:
Note: If you’re not comfortable with editing the Registry, it’s advisable to back up your data in advance.
- Press Windows key + R to open up a Run dialog box. Next, type ‘regedit’ inside the Run text box and press Enter to open up the Registry Editor. When prompted by the UAC (User Account Control), click Yes to grant administrative privileges.
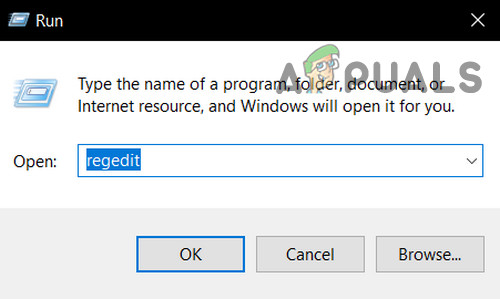
Open Regedit - Once you’re inside the registry editor, use the left-hand section of the utility to navigate to the following location:
HKEY_USERS\.DEFAULT\Software\Microsoft\Windows\CurrentVersion\Explorer\User Shell Folders
Note: You can either navigate there manually or you can paste the location directly into the navigation bar and press Enter to get there instantly.
- When you get to the correct location, move over to the right-section and double-click on AppData to inspect its value.
- In case the value of AppData is different from ‘%USERPROFILE%\AppData\Roaming’, modify it to this value and click Ok to save the changes.
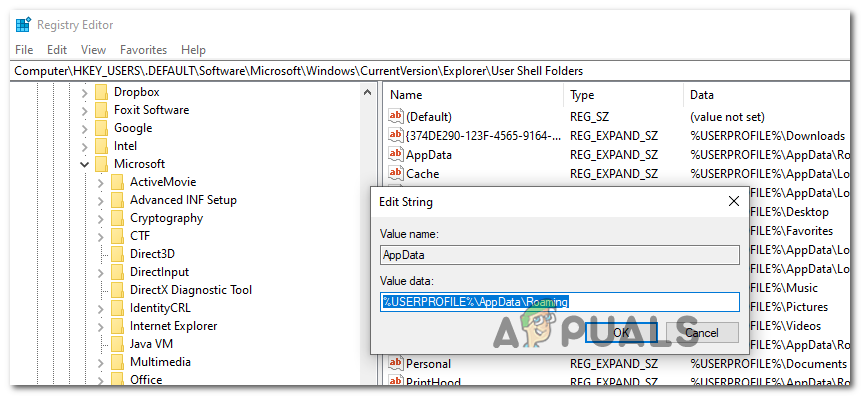
Modifying the Value of AppData - Next, use the left-section of Registry Editor again to navigate to the following location and repeat steps 3 & 4 all over again with the AppData folder:
HKEY_CURRENT_USER\Software\Microsoft\Windows\CurrentVersion\Explorer\User Shell Folders
- Finally, navigate to this location and repeat steps 3 and 4 all over again:
HKEY_CURRENT_USER\Software\Microsoft\Windows\CurrentVersion\Explorer\User Shell Folders
- Once you’ve ensured that the AppData folder holds the correct value, reboot your computer one final time and see if the problem is fixed at the next computer startup.
In case the same error code 646 is still occurring, move down to the next potential fix below.
Disabling / Uninstalling 3rd party firewall (if applicable)
In case you’re using a 3rd party security suite instead of the default Windows Security, the problem may be caused by your firewall. Some affected users that were using ESET or Comodo have confirmed that in their case, the problem occurred because their AV ended up blocking the communications between the local WU component and the Microsoft servers.
Keep in mind that if you want to test out this theory, disabling or closing the background process of the firewall will not be enough since the same security rules will remain in place.
The only viable method that will allow you to determine if your 3rd party firewall is indeed responsible for the problem is to uninstall the 3rd party program altogether and attempt to reinstall the failing Windows Updates afterward.
If you are prepared to go this route, start following the instructions below:
- Press Windows key + R to open up a Run dialog box. Next, type ‘appwiz.cpl’ and press Enter to open up the Programs and Features window.

Type appwiz.cpl and Press Enter to Open Installed Programs List - Once you’re inside the Programs and Features screen, scroll down through the list of installed programs and locate the 3rd party firewall that you want to uninstall.
- When you manage to locate the problematic firewall, right-click on it and choose Uninstall from the newly appeared context menu.
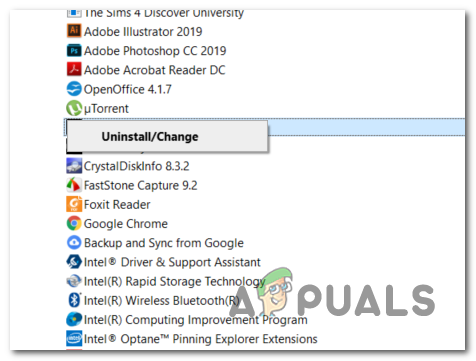
Uninstalling Avast Firewall - Inside the uninstallation prompt, follow the on-screen instructions to complete the process, then restart your computer.
- At the next computer startup, attempt to re-install the Windows update now that the 3rd party suite is uninstalled and see if the problem is fixed.
If the problem is still not resolved, you can reinstall the 3rd party suite you were previously using and move down to the next potential fix below.
Using System Restore
In case you only noticed this problem occurring after your system went through certain changes (like the installation of a driver, or a 3rd party app), the error code 646 might be caused by a 3rd party conflict.
But since the list of potential interference is virtually endless, the best course of action is to revert your machine state to a time in which the software conflict was not occurring.
Fortunately, every recent version of Windows allows you to do this easily via System Restore – a utility that relies on restore snapshots to revert the machine state to previous points in time.
Note: If you didn’t modify the default behavior, this utility is configured to save regular system snapshots at important system events such as the installation of a new driver, the updating of an app, etc.
If you think a software conflict might be responsible for the error code 646, use System Restore to return your machine to a healthy state.
In case this doesn’t work or this scenario is not applicable, move down to the next potential fix below.
Performing a Repair install / Clean Install
If none of the fixes above have allowed you to fix the issue, there’a very high chance that your system is dealing with some type of system file corruption that will not be resolved conventionally. If that’s the case, the only viable fix left is to reset every Windows component completely with a procedure like clean install or repair install (in-place upgrade).
A clean install is an easier procedure since it will not require you to provide a compatible installation media. Bun unless you take some extra step to back up your data in advance, you will lose your files, user preferences, and every installed program and game.
On the other hand, a repair install (in place repair) is more tedious to deploy, not to mention that you’ll need a compatible installation media (unless you have this problem on Windows 10). But the main advantage is that this operation will only touch Windows components – This means that personal files, games, applications, documents, and everything else that’s not OS related will not be affected by this procedure.


