Troubleshoot Windows 10 Stuck on “Repairing Disk Errors”
The ‘Repairing disk errors‘ screen is often associated with a systemic corruption issue a hardware issue or a software conflict that’s affecting the booting sequence. This screen typically appears after an unexpected system BSOD crash.
We’ve managed to identify a series of common scenarios that might be the end cause of this stuck screen. Check out a few potential scenarios that might cause this behavior:
- OS File Corruption – The most desirable culprit that might cause the repair function on Windows 10 to remain stuck on the Repairing Disk Error screen is an underlying OS file corruption issue affecting the CHKDSK utility. If you find yourself dealing with this issue, forcing an Automatic Repair operation from a Windows CD or USB drive should allow you to fix the issue. In more serious circumstances, you might need to go for a repair install or clean install procedure.
- Software conflict / Incomplete installation – If you started to see this problem after your PC crashed during the installation of a pending update or driver, chances are you’re dealing with some kind of conflict that is affecting the booting sequence. If this scenario is applicable, you should use the System Restore utility via the Recovery menu to bypass the problematic screen.
- Failing HDD / SSD Drive – If you’re dealing with a hardware issue, none of the fixes recommended in this article will be effective in your case. In this case, you’ll need to test the health of your HDD or SDD and order a replacement if a critical hardware issue is discovered.
To simplify things for you, we’ve created a couple of sub-guides that will hopefully help you get to the bottom of the ‘Repairing disk errors‘ screen:
Perform an Automatic Repair
In case you see this screen and your system freezes at every system startup, the hopeful scenario is the problem occurs due to a series of corrupted sub-system files belonging to the built-in repair function.
If corrupted OS files are actually causing this problem, you would be able to resolve the issue by using the recovery tools on your installation media to access the Automatic Repair utility.
Note: You’ll need to insert an Windows Installation media (DVD Media or USB stick). If you don’t have one at the ready, follow this article to create an installation media for Windows 10.
Here’s what you need to do:
- Start your PC normally
- Insert the Windows media (or plug it in) into your DVD drive or USB slot.
- When the boot screen appears, press any key to boot from the Windows media.

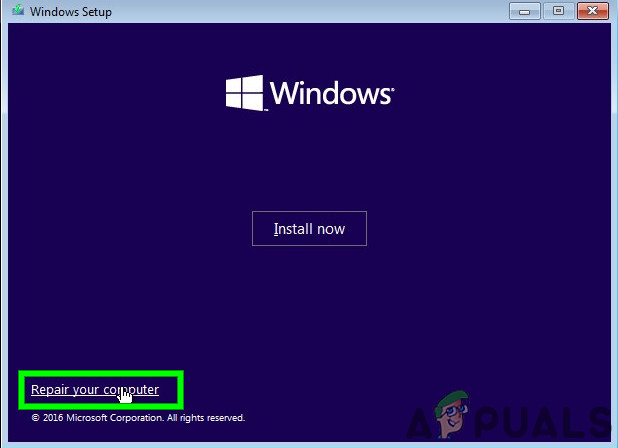
Pressing any key - When you’re given the option, select ‘Repair your Computer‘ from the bottom-left corner.

Accessing the Repair utility of Windows 10 - After the initial loading screen, you should arrive inside the Troubleshoot menu.
- Next, click on Troubleshoot.
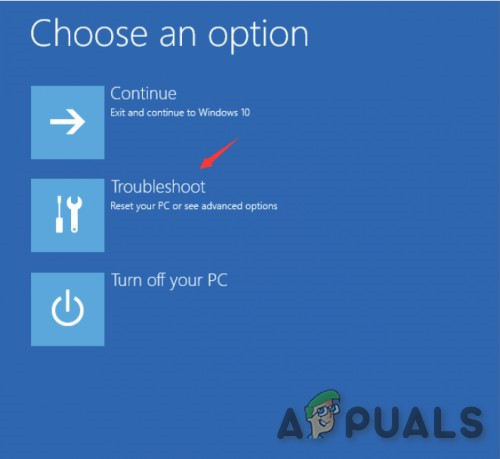
Accessing the Troubleshooting screen - Next, click Advanced Options.
- After a couple of seconds, you’ll need to choose the OS version that you are currently on.
- Finally, the utility will begin the scanning process and repair any errors that might be causing your system to freeze during the repairing of potentially corrupted sectors.

Running the Auto Repair utility - Restart your computer and see if the problem is now fixed.
If the problem is still ongoing, try the next fix directly under.
Use a System Restore point via Recovery Menu
If you only started seeing your computer trying to repair corrupted OS files after installing a pending update or new driver version, you shouldn’t exclude some kind of software conflict from the list.
To treat this potential concern, the best course of action should be to utilize System Restore to revert your Windows 10 computer back to a state in which this problem was not occurring.
Note: System Restore is configured by default to create new snapshots during crucial system changes. This includes the installation of new Windows Updates, new 3rd party tools, new driver versions, etc. The only reason why you’ll find that you don’t have any restore snapshots to choose from is if you previously modified the default behavior of WU.
But since you are unable to boot normally, you will need to launch the System Restore utility from the Recovery menu. Here’s a step-by-step guide on how to do so:
- Open your PC and insert or plug in the Windows media.

Boot from the Installation Media Note: Even if you don’t have access to a compatible installation media, you can force the Recovery menu to show up by forcing 3 consecutive startup interruptions.
- Next, click on Repair your computer in order to bring up the Advanced Options menu.
Repairing the computer - From the Advanced Options menu, access the System Restore menu.

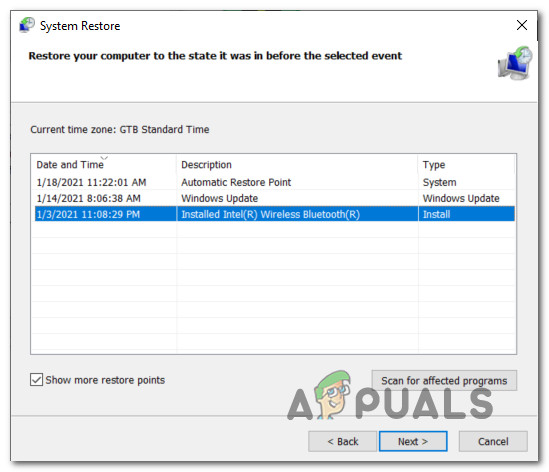
Accessing the System Restore tool - Once you’re inside the System Restore utility, start by checking the box associated with Show more restore points.
- When you get an overview with every available restore snapshot, select one that was created right before the apparition of this issue, click on it once to select it, then click on Next to advance forward.
Using a Restore Snapshot - Wait until the utility will restore your computer with the snapshot that you previously selected.
if you see the same ‘Repairing disk errors‘ when you boot up your computer, move down to the next potential fix below.
Test the health of your HDD / SSD
If you repeatedly tried allowing the repair utility to run its course unsuccessfully (it gets stuck forever), there’s a very big chance that your hard disk is about to die.
But before you order a replacement, you should check if your HDD or SSD reparable bad sectors with consequent data loss.
An ideal way of troubleshooting a failing drive is to use the TestDisk utility to find out if bad storage clusters on your HDD are causing this issue.
Note: You’ll need to perform the instructions below after connecting the HDD or SSD to a different computer as a secondary drive.
- Access the official download page of TeskDisk.
- Next, click on the Download button and wait for the operation to complete.
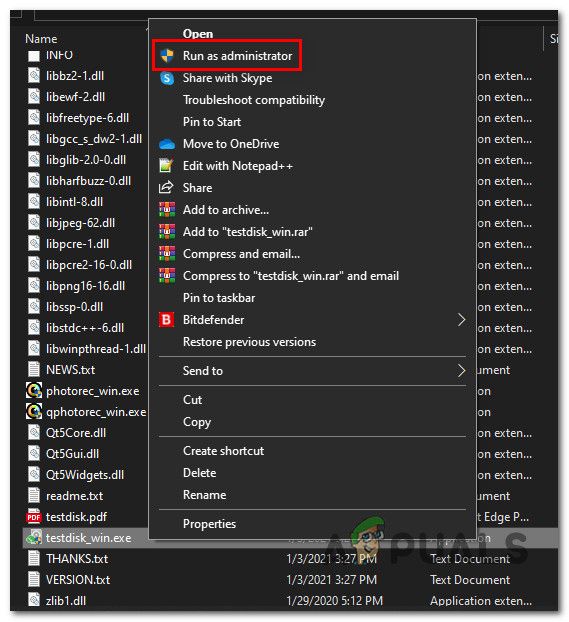
Downloading the TestDisk utility - Use an unpacking utility to extract the contents of the archive.
- Open testdisk_win.exe and then open as an administrator using the dedicated menu.
Running as administrator - Next, use the arrow keys to select Create, then hit Enter to make the selection permanent.
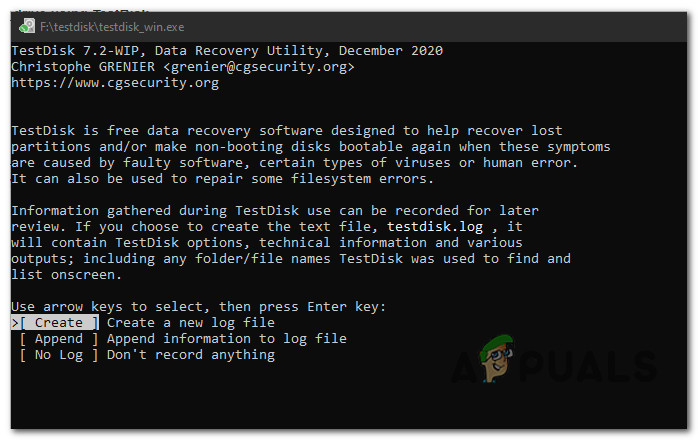
Using the TestDisk - Wait until the operation is complete, then select the correct Windows partition and hit Enter again.
- At the next screen, select Intel and hit Enter.
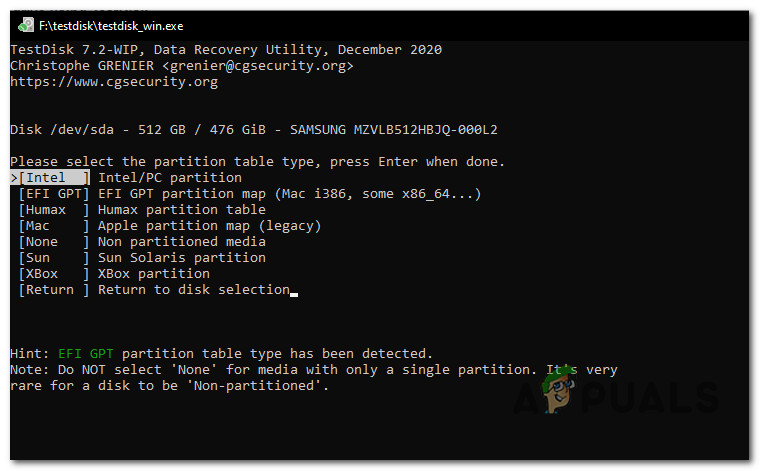
Choosing the Intel Command - At the next point, select Analyse, then go ahead and hit Enter to force TeskDisk into analyzing all the partitions.
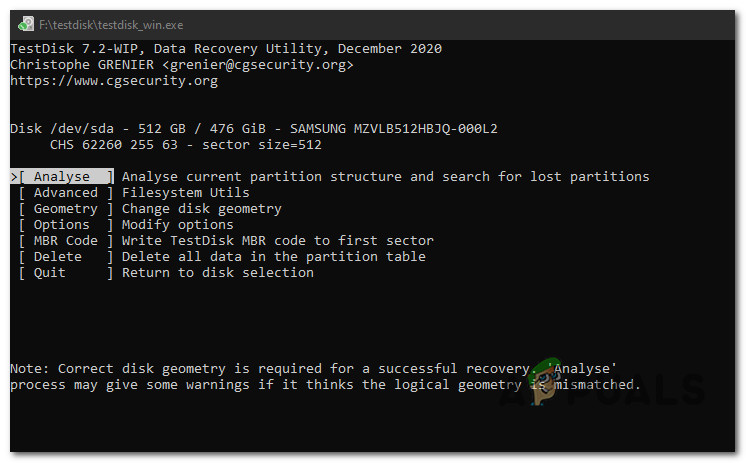
Checking the failing partitions - After the operation is complete, hit Quick Search and hit Enter.
- Hit the Y key when asked to do so to confirm your choice.
- Select the partition that holds your Windows files using the arrow keys, then press the P key to list the contents of that partition.
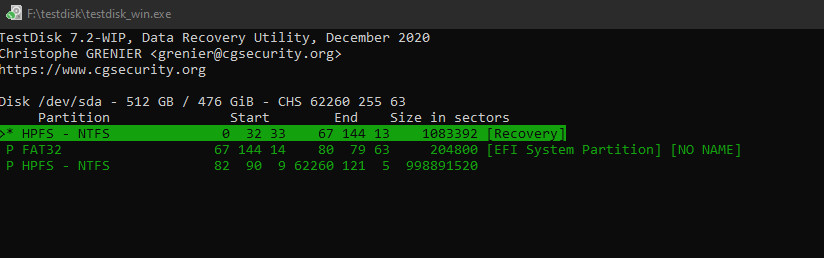
List the contents of the partition - Select Write from the list of optios and press Enter to make the utility analyze the HDD / SSD drive.
- Once the results are in, check to see for any corrupted data clusters that the utility deems as irreparable – If you find any occurrences of this hind, you can regard the drive as unsalvagable.
Note: If the investigation above has revealed that you’re dealing with a failing drive, you can’t do anything else other than order a replacement. If you have any important data on the HDD or SSD, take it to a technician specialized in data recovery.
On the other hand, if the scan has revealed no underlying hardware issue related to your hard drive, follow the last potential fix below.
Clean Install or Repair install
If the investigation above has ruled out a hardware issue, you should check if corruption is actually interfering with your OS’s ability to conduct drive repairs.
When dealing with an issue of this kind, the best course of action is to refresh every Windows component that might be causing this problem with a procedure like clean installing or repair installing:
- Perform a Repair Install (In-Place Repair) – If the affected drive currently holds important information, use this method because you get to keep all your personal data.
- Clean installing – If you don’t care about wiping your entire drive, save yourself the trouble and go with this operation. You can deploy it from the Settings menu of your Windows installation and you are not required to insert a compatible Windows media installation.


