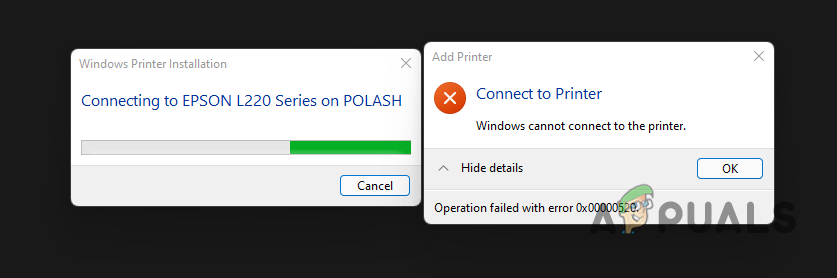
Windows Printer Error 0x00000520? Try these fixes
Users have been experiencing an issue while trying to install a printer on Windows machines. Upon trying to connect to a printer in their local network, users stumble upon the “Windows cannot connect to the printer” error message with the 0x00000520 error code. As it turns out, issues like these have been known to be caused by Windows updates, however, that may not always be the case either. There is a fix available for this from Microsoft which you can install on your computer to resolve the issue in case it was being triggered by an update. In this article, we will be taking you through the process and showing you how to connect to your printer without any issues.
As it turns out, Windows updates had recently caused an error with network printers in addition to security vulnerabilities that surrounded the area. While Microsoft released an update to resolve the issue, it didn’t actually do much and the problem remained. However, there is an update that has happened to fix the issue. In addition to this, there are also cases where the problem may not be caused due to the Windows update but rather another problem on your end. Do not fret as we have additional workarounds here as well that can help you resolve the problem in case the problem wasn’t really caused by installing a Windows update in the first place. With that said, let us get started and show you the different methods that you can implement to fix the error in question.
Check Domain Authentication
The first thing that you should try when you encounter the 0x00000520 error code while connecting to a printer is to check the authentication of the domain that you are trying to connect to. As it turns out, the error code in specific refers to the fact that the specified login session was not found, or it was terminated.
Therefore, if this case is applicable to you, the first thing that you should do is to check your domain authentication and make sure that everything is fine there. In case the issue is not being generated by an issue with domain authentication, simply move on to the next method down below.
Check Network Settings
As it turns out, another possible thing that can cause the problem in question is your network settings. The problem can arise when your public and private network settings are not updated in which case you will have to double-check them and see if that could be causing the issue. Make sure that your computer is allowed to be discoverable by other devices on your network.
In order to check your network settings, follow the instructions that are given down below:
- First of all, open up the Windows Settings app by pressing Windows key + I on your keyboard.
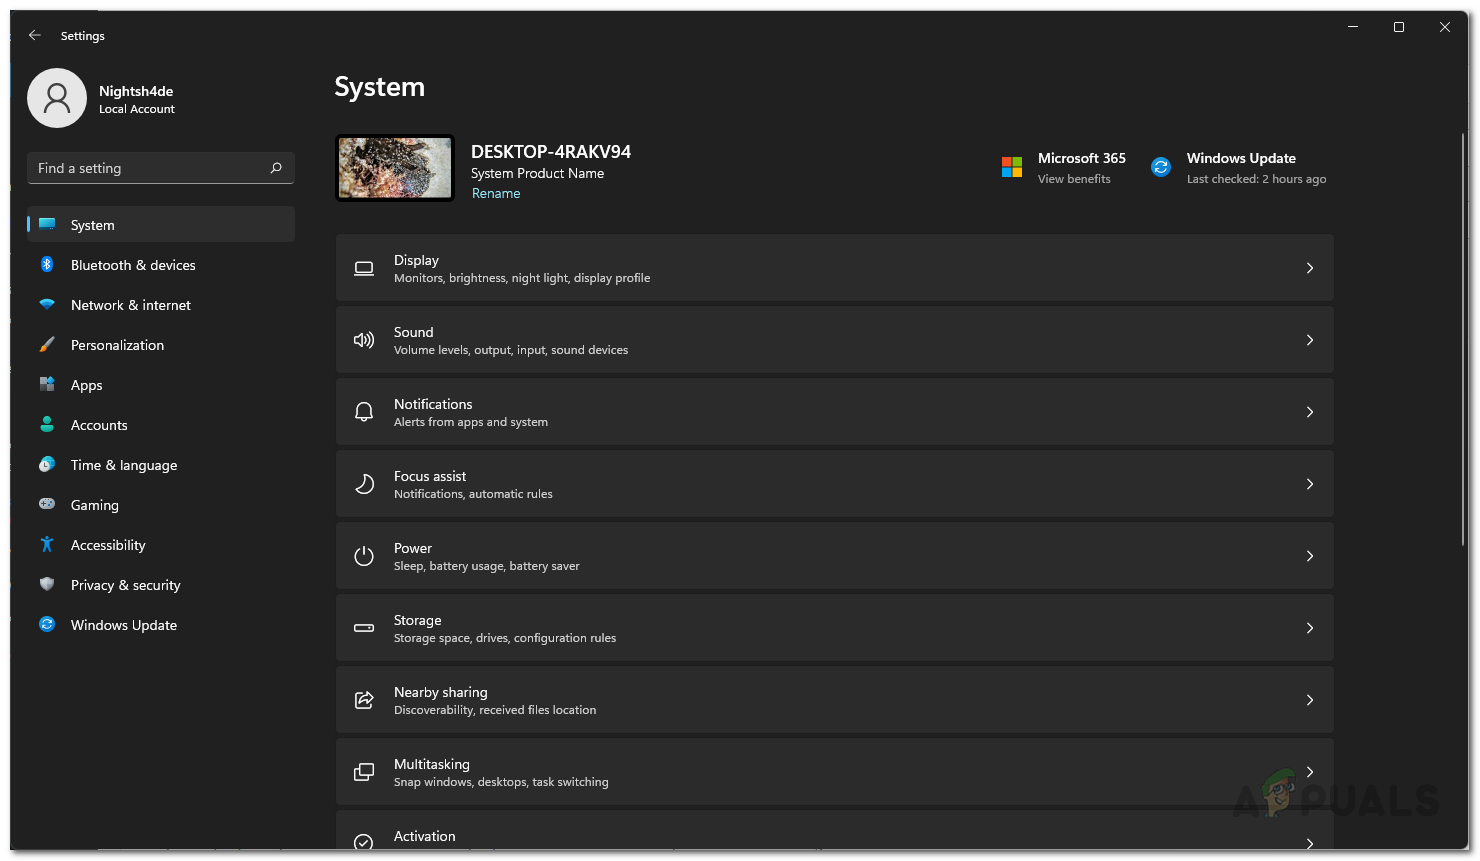
Windows Settings - Once the Settings window is up, on the left-hand side, click on Network and Internet if you are on Windows 11. In case you are using Windows 10, simply click the Network and Internet option provided.
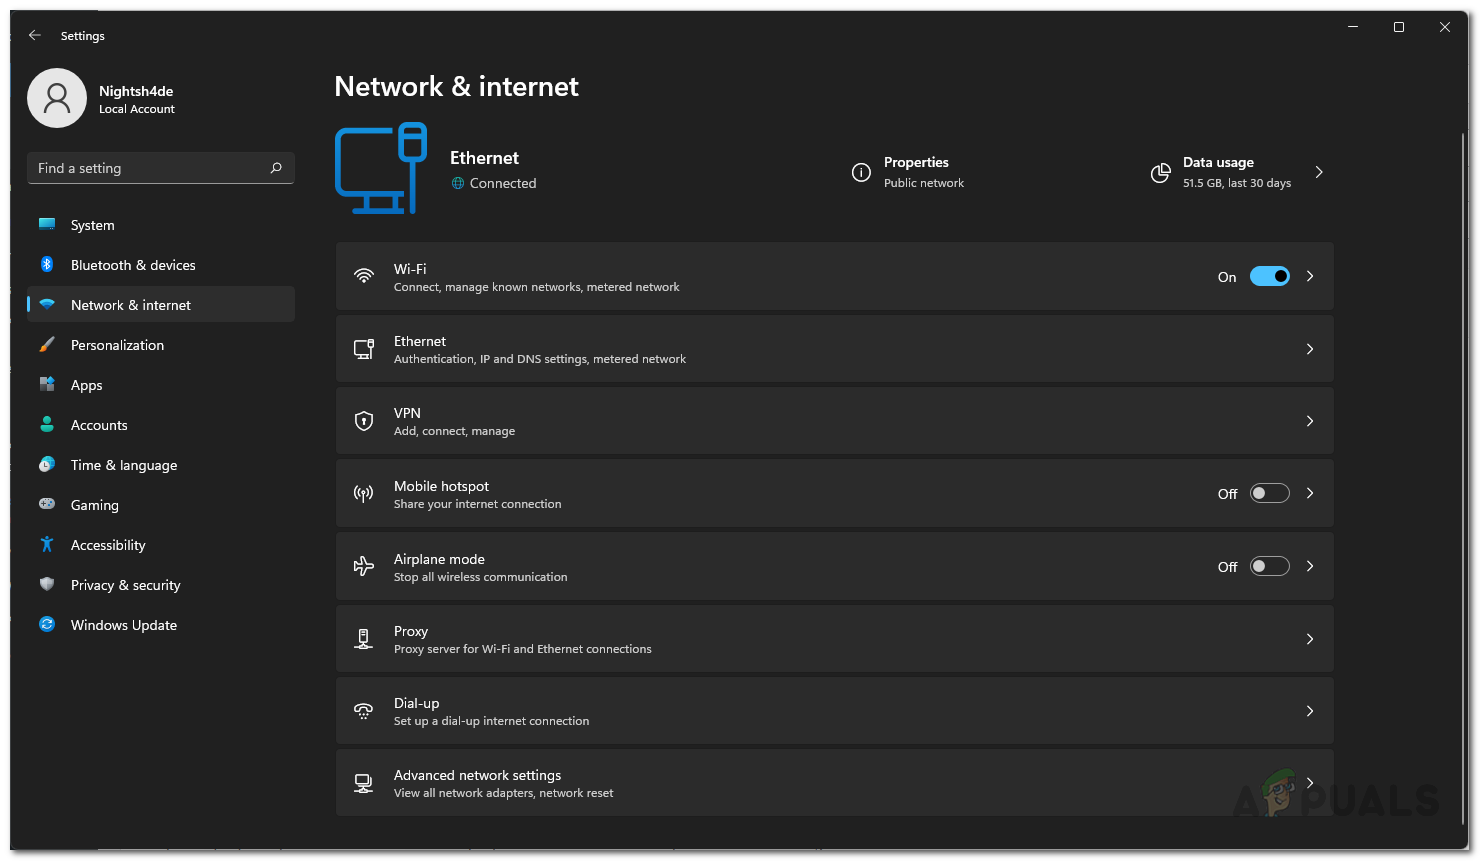
Network Settings - After you are in network settings, make your way to Ethernet settings and there check your Public and Private network settings.
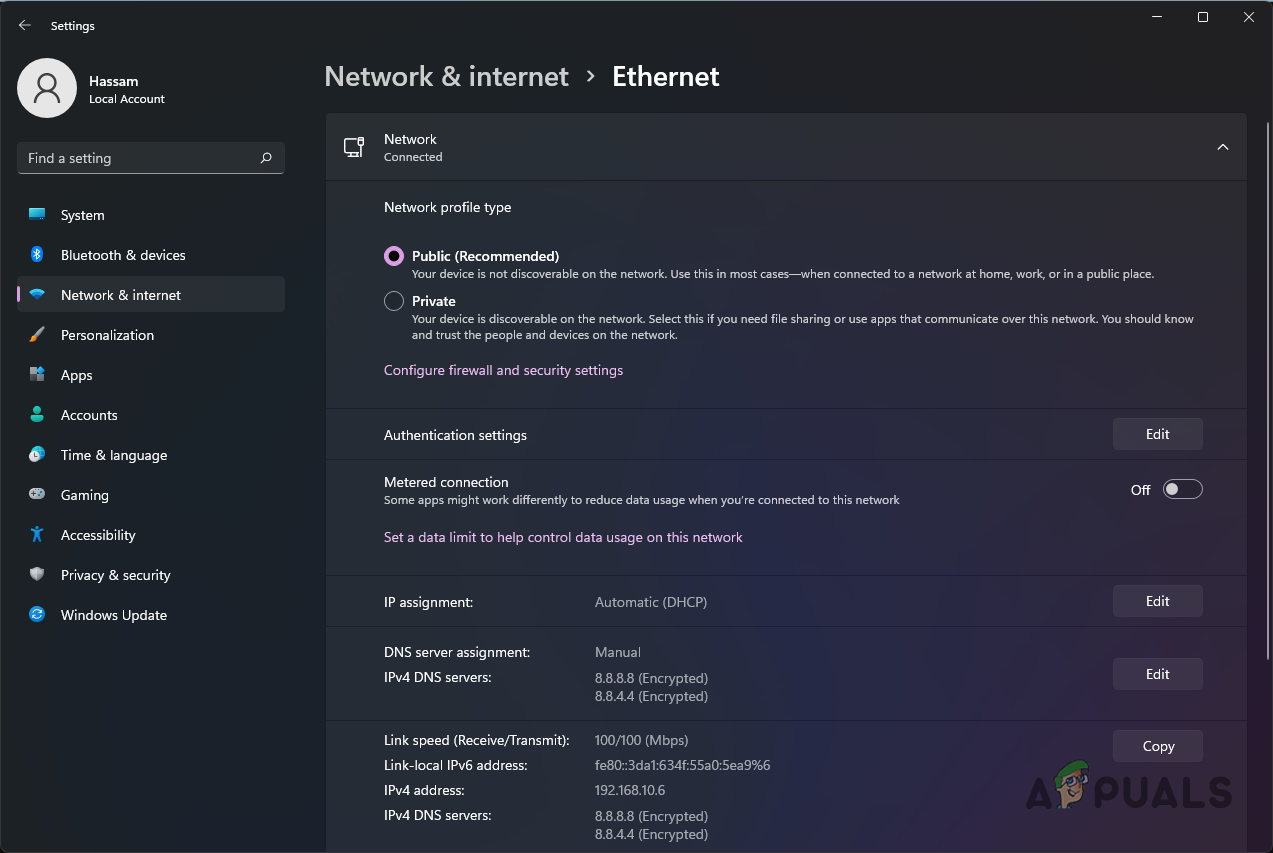
Ethernet Settings - Once you have done that, see if the problem still appears.
Install Windows Update
Finally, if none of the above-mentioned methods have helped you in solving the 0x00000520 error code, then it is very likely that the problem is being caused by an installed Windows update. Now, some people might think of going ahead and uninstalling the Windows update but that is not the best case scenario. The reason being that Microsoft has already released an update that will fix the network printer issues for you and all you need to do is simply download and install it on your computer.
The update that we are talking about is referred to as KB5006674. Thanks to Microsoft Update Catalog, you can simply search up the update via the provided ID and it should be available to download. We would recommend simply checking for any updates available on your Windows machine and then installing them. This will automatically install the required updates for you and as a result, the problem should be gone. However, while we recommend the aforementioned strategy, you can also choose to download and install only the update that fixes the problem. To do this, follow the instructions that are given down below:
- First of all, in your browser, open up the Microsoft Update Catalog website by clicking here.
- Once you are there, search for the KB5006674 update via the search field provided.
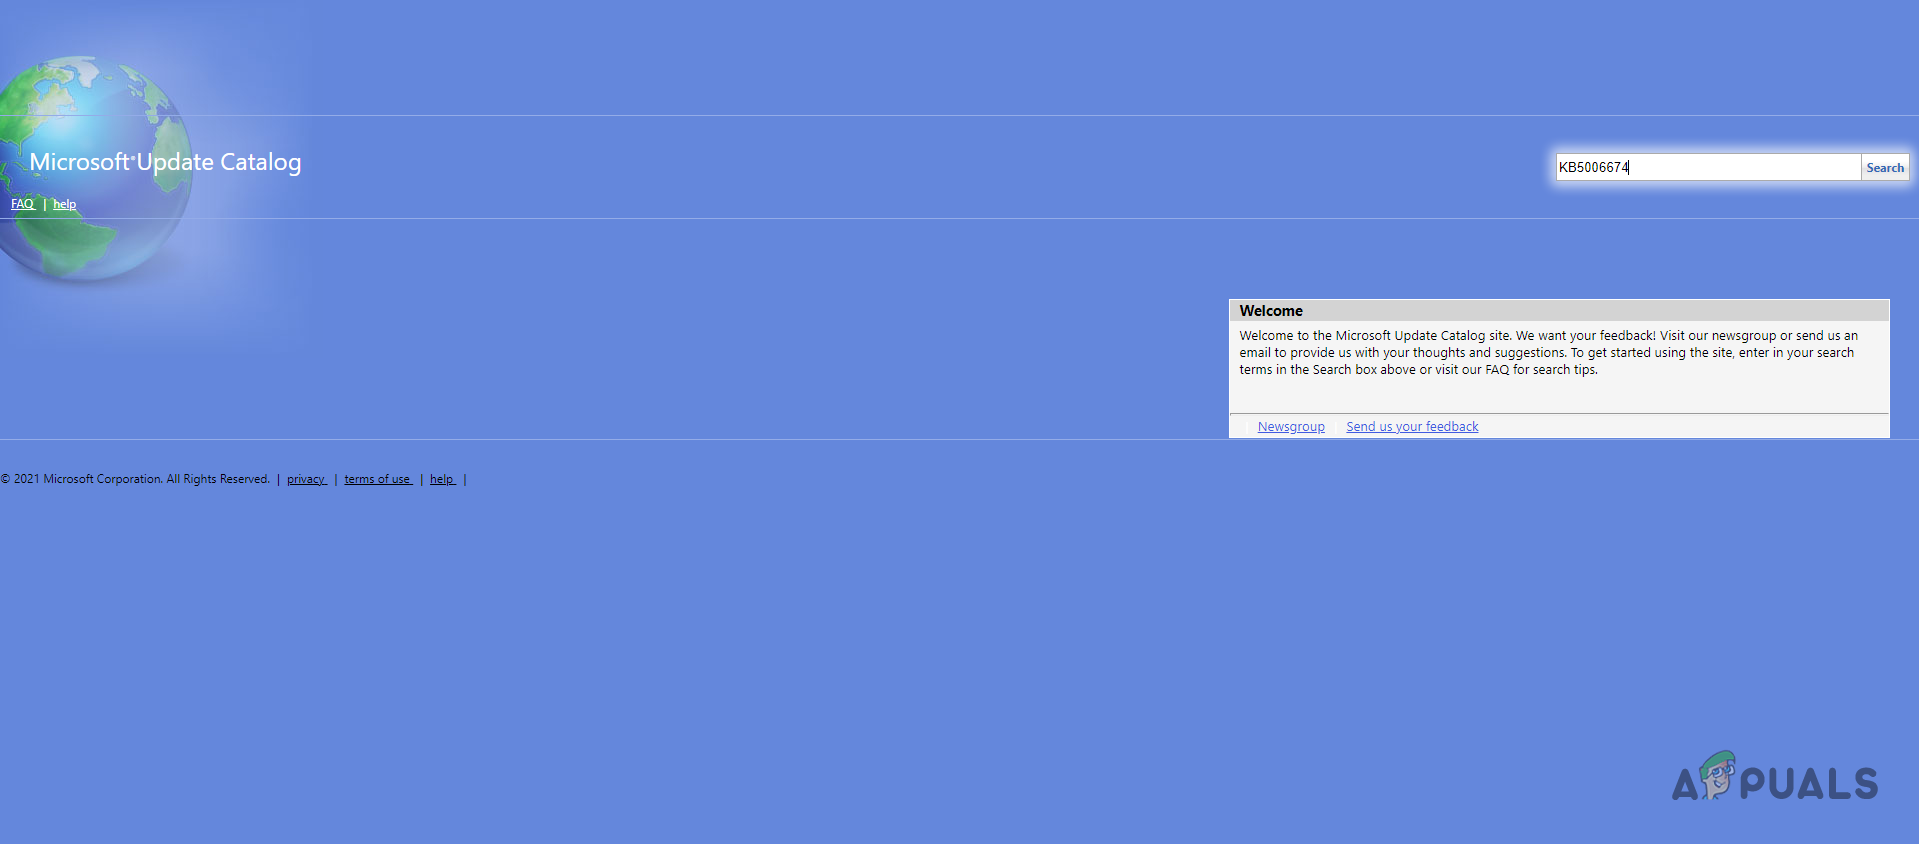
Searching for KB5006674 Update - In case you are using Windows 10, you should search for KB5007253 instead.
- Download the update for your respective from the results shown by clicking the Download button provided.
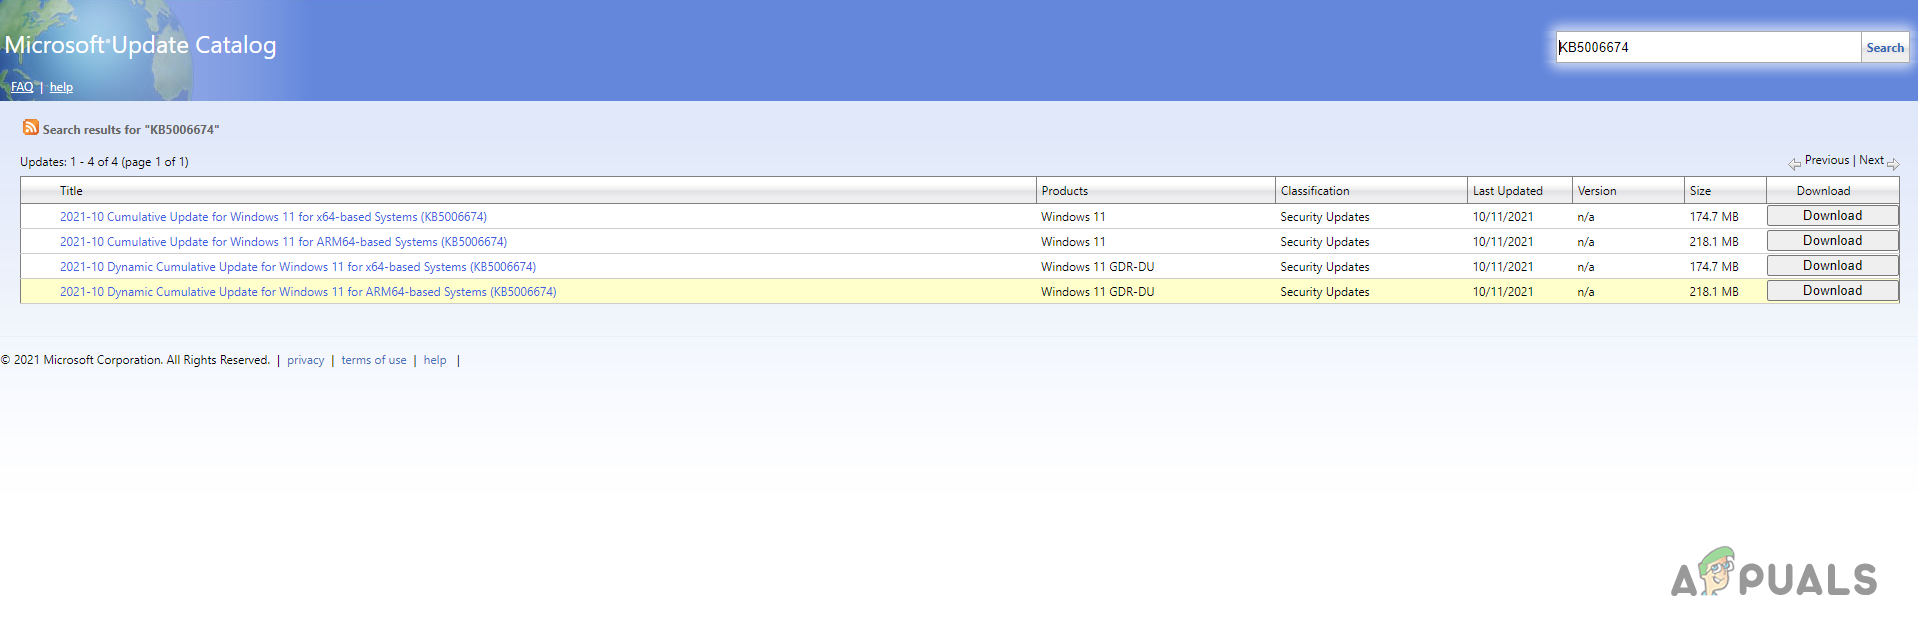
Update KB5006674 Results - Once the update has been downloaded, go ahead and install it on your computer.
- Then, perform a system restart for the changes to take effect.
- After your PC boots up, see if the problem is still there.


