Windows Mail App Won’t Send Emails? Try These Fixes!
The Windows Mail app fails to send emails in Windows due to a corruption error within the application, incorrect network settings, and disabled location services. Apparently, the emails do appear in the drafts, outbox, and even the sent folder.
Below, we take a look at the causes of this issue and the solutions to fix it in detail.
1. Check Your Internet Connection
Before we move towards the complicated system-related fixes, we recommend that you check your internet connection first. The Mail app might be unable to perform the requested operations because it cannot connect to a stable internet connection.
You can try switching to a different connection or run the network troubleshooter to rule out any internet-related issues. Once you are sure that the issue is not related to the internet connection, you can proceed with the next methods below.
2. Enable Location
One easy fix that worked for quite a few users was enabling the location feature on their system. While it is still unclear when this fix works, since it managed to fix the issue for quite a few users, we recommend you give it a shot.
We will be using the Settings app to enable the location.
- Open Windows settings by pressing Win + I together.
- Navigate to Privacy & security > Location on the right side of the window.
- Now, locate the Location services option and turn the toggle on.
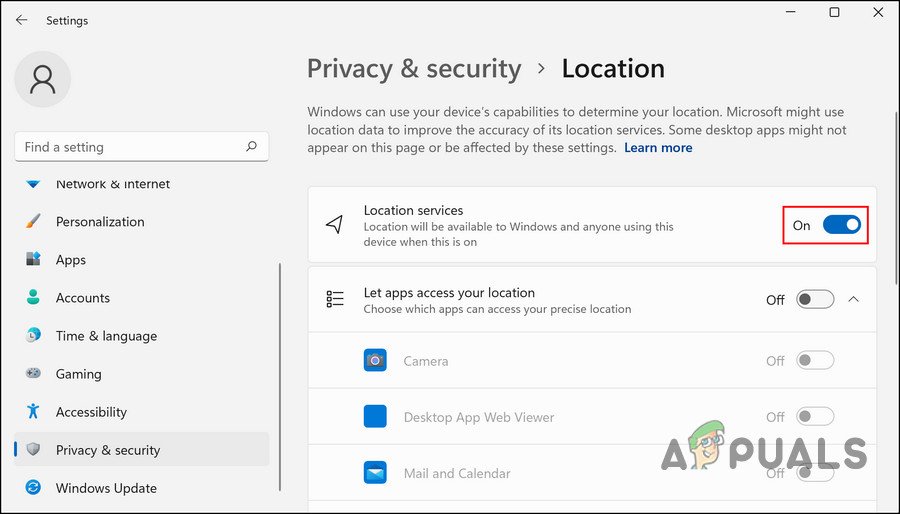
Enable the location services
Once done, close the Settings app and check if the issue is resolved.
3. Update the Mail App
Here is how you can update the Mail app:
- Launch Microsoft Store and click on the Library icon in the bottom left corner of the window.
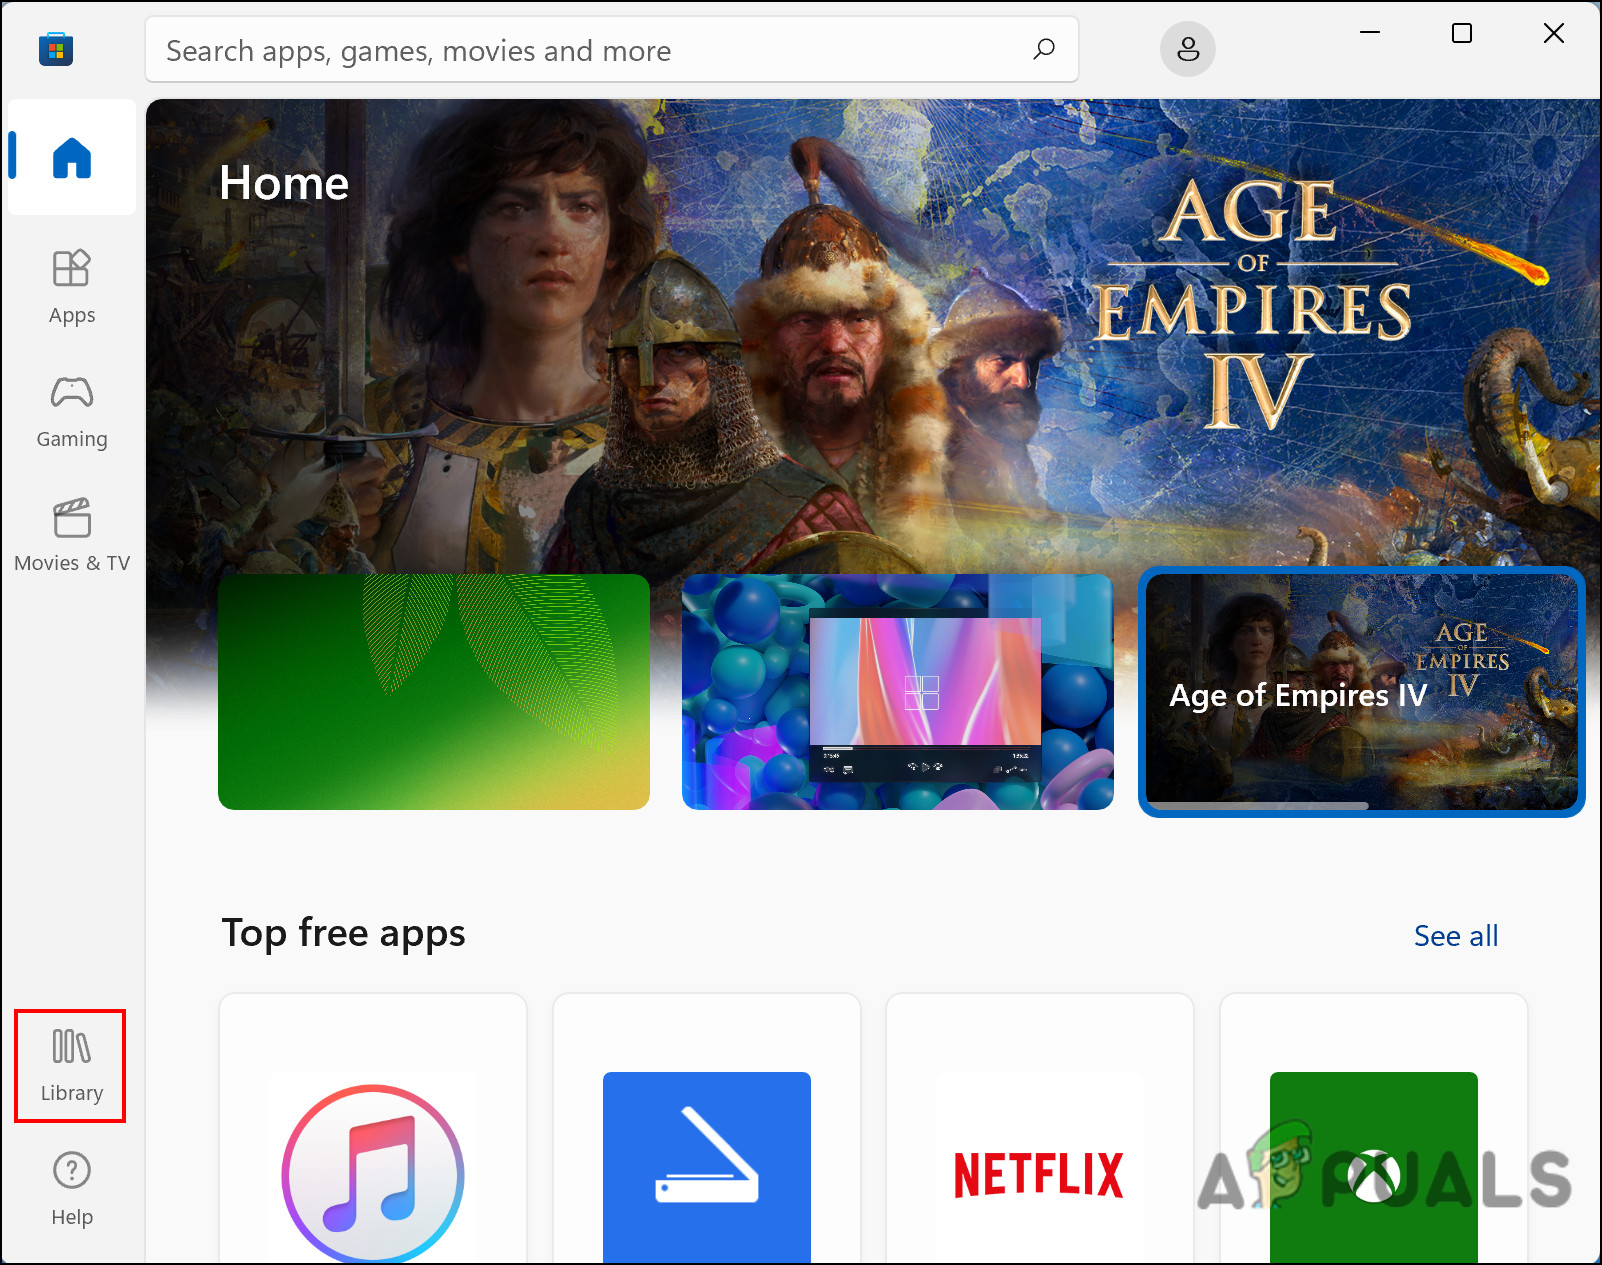
Click on the library icon - In the following window, click on the Get updates button.
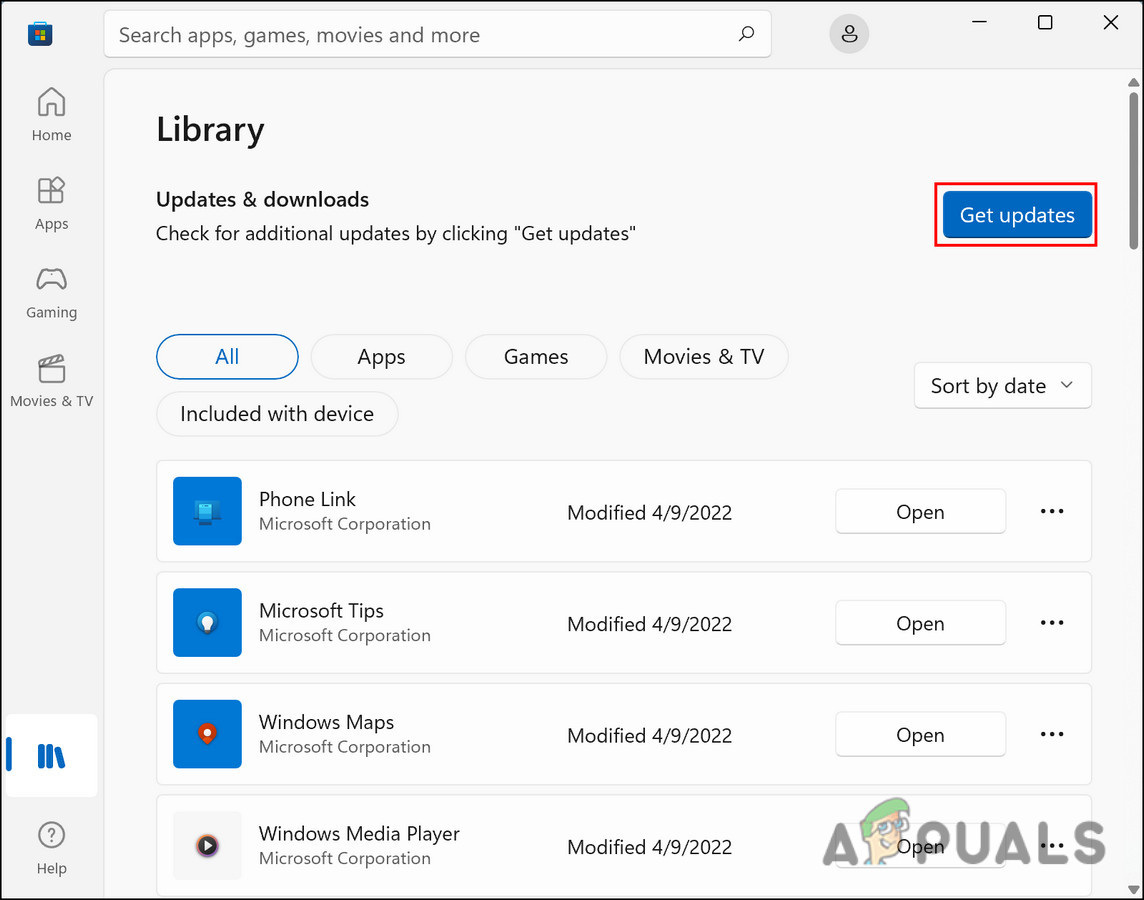
Click on the Get updates button - Now, the Store will display the applications in need of updating and start installing their latest updates automatically. If the Mail app is outdated, you will see it in the list as well. After installing the updates, reboot your computer.
- Upon reboot, launch the Mail app and try adding the targeted email account again.
4. Repair or Reset the Mail App
Using the built-in repair feature of the Mail application is another way to fix Mail application-related problems. Using this feature, you can scan the app for any inconsistencies and fix them.
It is usually sufficient to repair the application in most cases. In case the issue persists, you can try resetting the app, which will restore it to its default state.
In this method, we will first try to repair the app. In the event that this doesn’t work, we will perform a reset.
Follow these steps to proceed:
- Launch Settings by pressing the Win + I keys together.
- Navigate Apps > Apps & features.
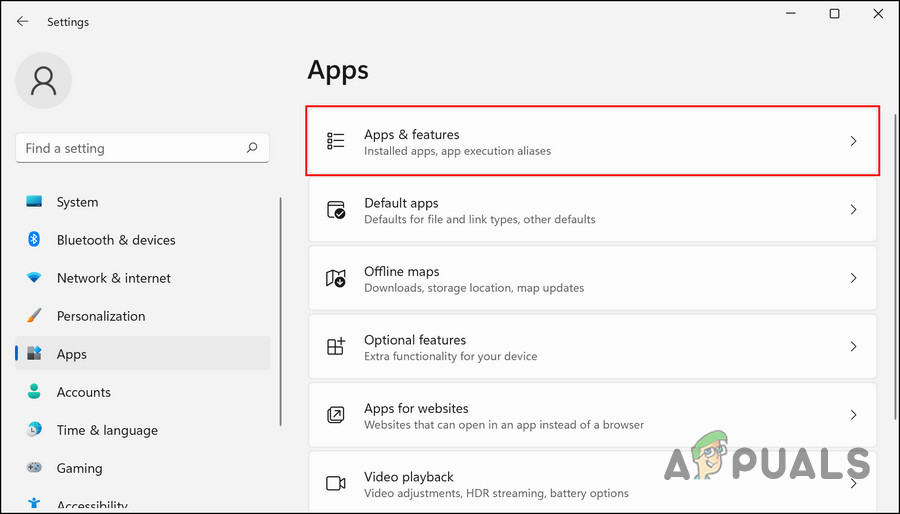
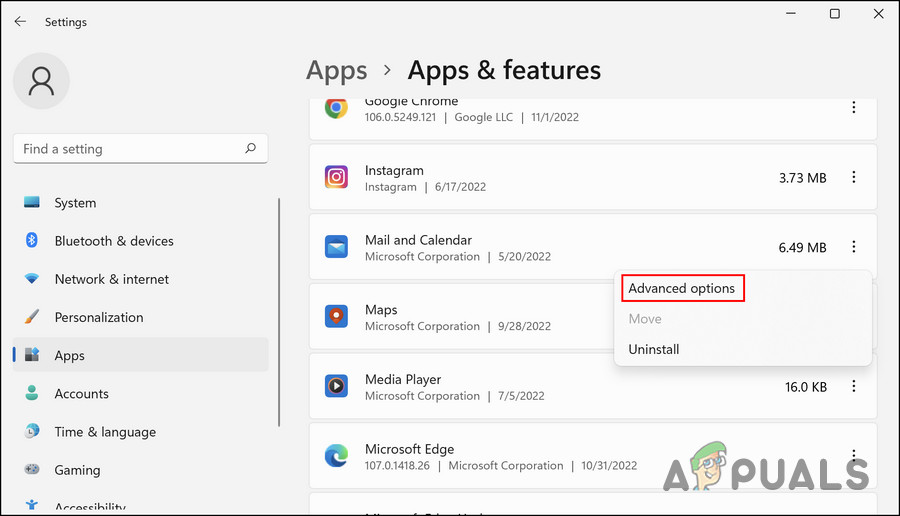
Click on Apps & features - Click on the three dots associated with the Mail and Calendar app in the following window.
- Choose Advanced options from the context menu.
Access the Advanced options - Now, scroll down to the Reset section and click on the Repair button.
Wait for the process to complete, and then check if you can now send emails. If the issue persists, then follow these steps:
- Launch the Advanced options window again and click on the Reset button.
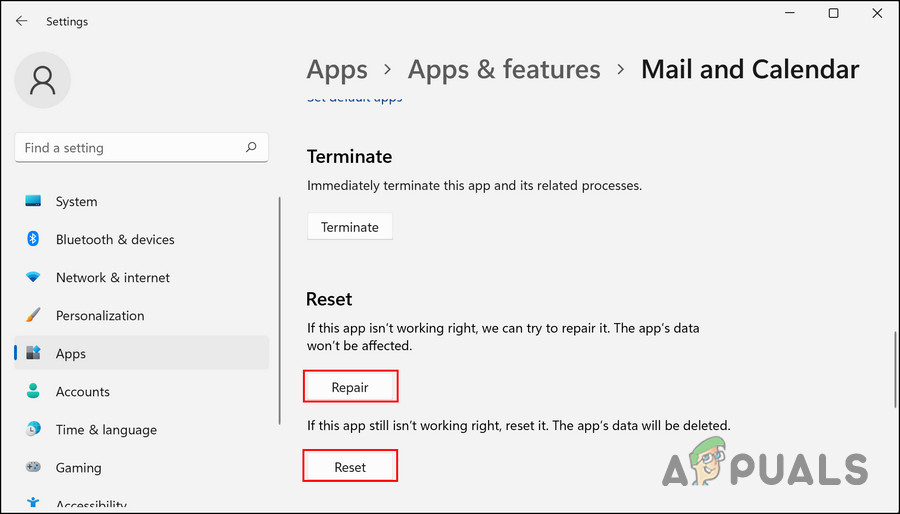
Repair or reset the app - Follow the on-screen instructions to proceed.
However, keep in mind that in the event that you reset the app, you may lose the personalized settings and preferences you have created.
5. Run the Windows Store Apps Troubleshooter
Issues within the Microsoft Store apps can also be fixed by running the built-in troubleshooter, called the Windows Store Apps troubleshooter. This utility is designed by Microsoft to scan for any issues that might be preventing the Windows Store apps from running properly.
It will identify the problems and then apply the fixes automatically. Windows Store Apps troubleshooter is found in Settings > Troubleshoot.
Here is how you can run the Windows Store troubleshooter:
- Open Settings by pressing the Win + I keys together.
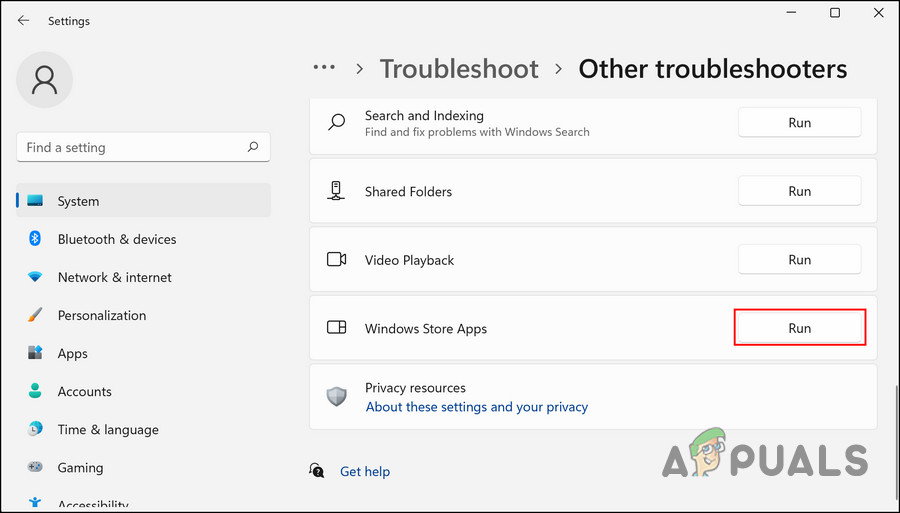
- Navigate to System > Troubleshoot > Other troubleshooters.
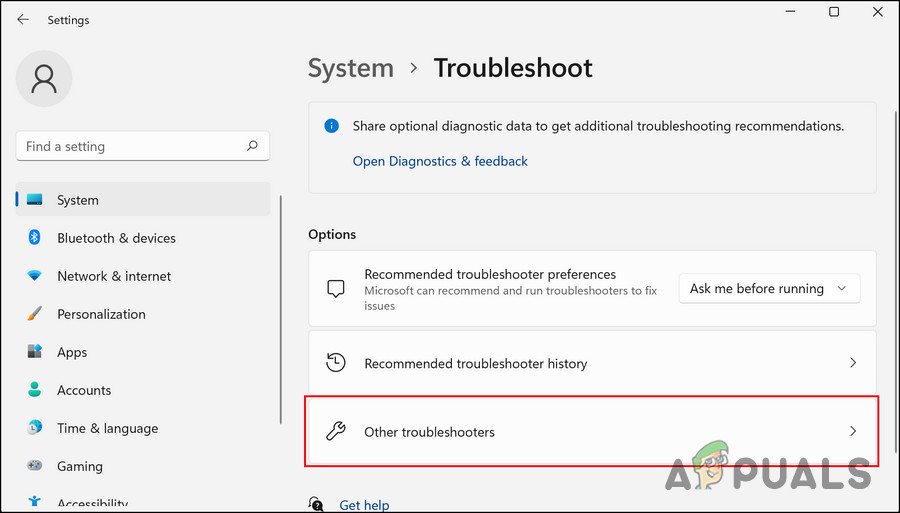
Access the other troubleshooters in Windows - Now, locate the Windows Store Apps troubleshooter and click on the Run button for it.
Run the Windows Store Apps troubleshooter - After the troubleshooter has completed its scan, view the results. In the event that the tool suggests any fixes, click on Apply this fix to implement the changes.
- Otherwise, click on Close the troubleshooter and move to the next method below.
6. Use System Restore
Windows uses a system restore utility to create restore points periodically. In the event of a malfunction, restore points can be used to bring your system back to the state it was in at any given point in time.
In this case, we will use System Restore to restore the system to a previous state where the Mail app was working fine.
Follow the steps below to proceed:
- Press Win + R together to open Run.
- Type control in Run and click Enter.
- Search for System restore in the top-right search bar.
- Click on Create a restore point from the results.
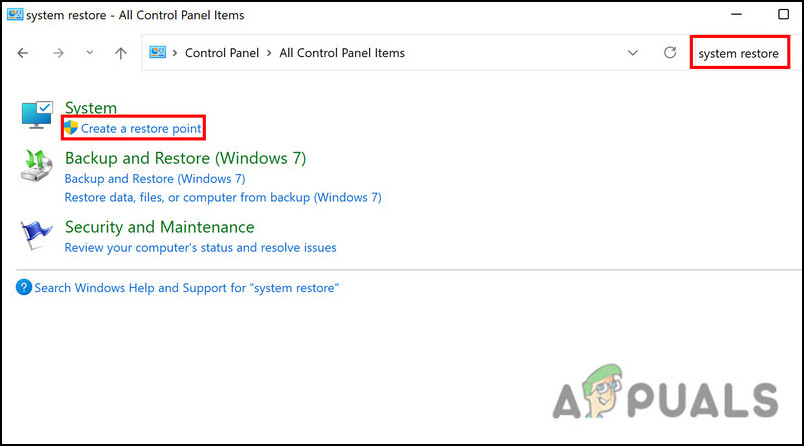
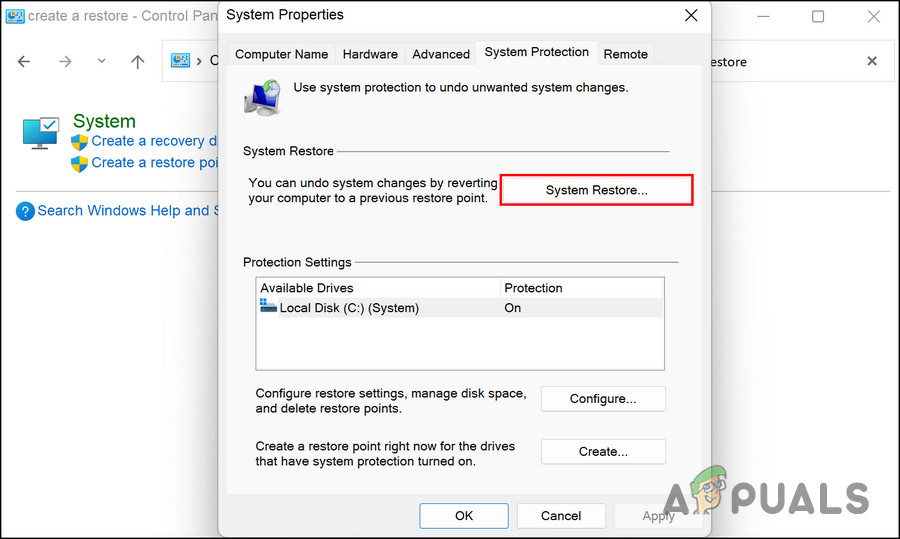
Click on the Create a restore point option - In the following dialog, click on the System Restore button.
Click on the System Restore button - You should now see a list of restore points. Choose the preferred one and click Next. We suggest you use the most recently created one.
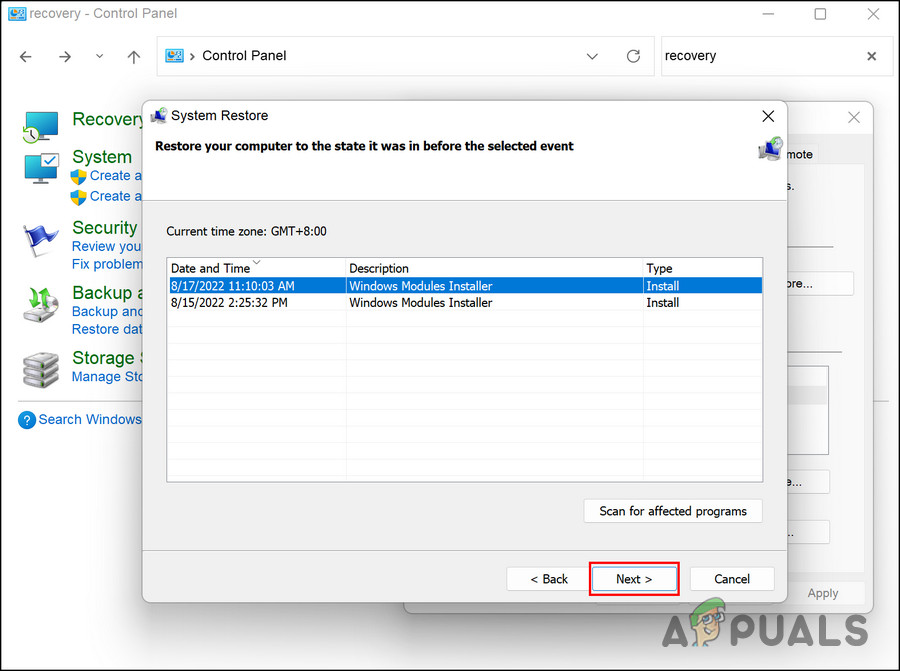
Choose a restore point to proceed - Follow the on-screen instructions to proceed.
7. Reinstall the Mail App
Finally, if none of the methods above have worked for you, then you can proceed with reinstalling the Mail app. This will place the app back to its default state and erase any data/preferences in the app during the process.
Here is how you can proceed.
- Type Mail in the search area of the taskbar and click on the Uninstall button in the results.
- Follow the on-screen instructions to proceed.
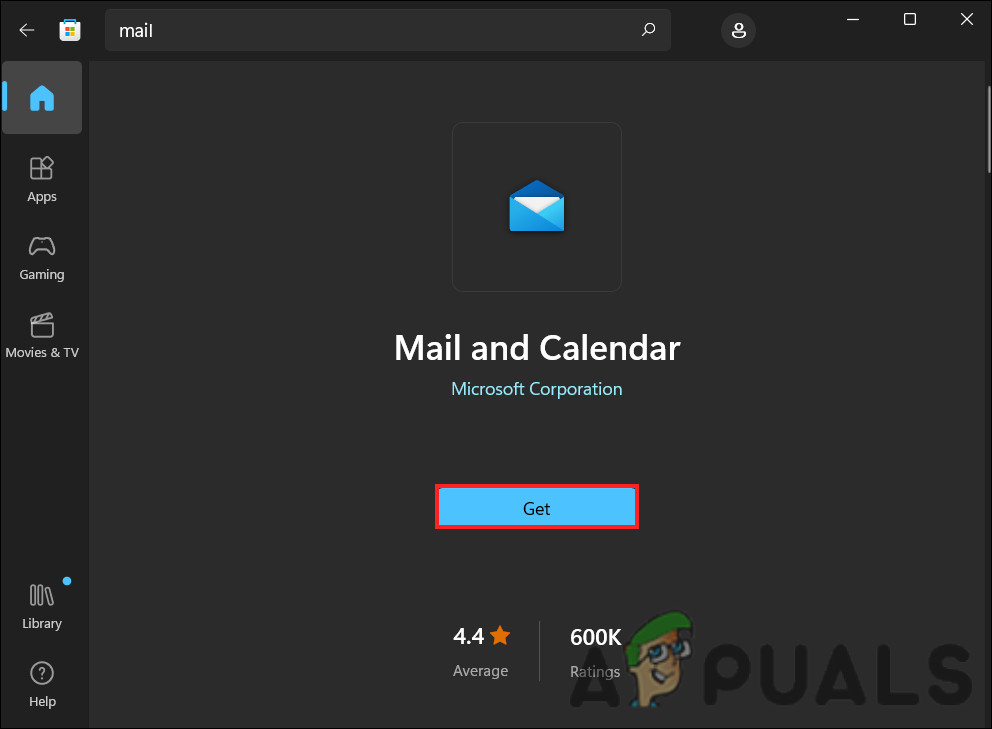
- Once the app is uninstalled, launch Microsoft Store and search for the Mail app.
- Click on the Get button for it and wait for the installation to complete.
Install the Mail app - Once done, check if the issue is resolved.


