Fix: “Windows Installer Service Could not be Accessed” Error While Installing Application
The error often triggers due to outdated Windows installer, not starting service correctly, and corrupted files. As we can see in the image, the error itself says that this can occur if the Windows Installer is not installed correctly. Several users have reported to us that the error also appears when they upgrade Windows to the latest.

There could be many reasons behind this. We have listed most of them below:-
- Windows Installer Service not Working- If the windows installer service stops working, you might experience this error. To avoid this, you have to restart Windows Installer Service.
- Unregistered Microsoft Installer Services- It may be possible that Microsoft Installer Services got unregistered, which might be the reason for this error message.
- Duplicated msiexec File- Msiexec is a Windows Installer Program used to interpret installation packages of Windows Installer. However, there may be a duplicate file of msiexec that can trigger this issue.
- Corrupted Windows Installer Files- Corrupted System files are also included in causing this issue. Corrupted files can bring many problems such as this one.
- Outdated Windows Installer- If you are using an outdated Windows Installer. Therefore it can cause this issue, and you will have to update it manually by following the below method.
1. Reset Windows Installer Service From Registry
The first solution on the list is resettling the registry’s Windows services. If the services are not functioning correctly and keep intercepting the installation process, we will have to reset the Windows Installer from the registry as it can potentially eliminate the Error: Windows Installer Service Could Not Be Accessed.
- To Reset Windows Installer Service From Registry, first, we advise you to create a registry backup before modifying anything to the registry. So you will easily restore the registry files if something goes wrong.
- After creating a registry backup, click the Start Menu and type Notepad
Launching Notepad - Open notepad and paste the following code
Windows Registry Editor Version 5.00 [HKLM\SYSTEM\CurrentControlSet\services\MSIServer] "DisplayName"="@%SystemRoot%system32msimsg.dll,-27" "ImagePath"=hex(2):25,00,73,00,79,00,73,00,74,00,65,00,6d,00,72,00,6f,00,6f,00, 74,00,25,00,5c,00,73,00,79,00,73,00,74,00,65,00,6d,00,33,00,32,00,5c,00,6d, 00,73,00,69,00,65,00,78,00,65,00,63,00,20,00,2f,00,56,00,00,00 "Description"="@%SystemRoot%system32msimsg.dll,-32" "ObjectName"="LocalSystem" "ErrorControl"=dword:00000001 "Start"=dword:00000003 "Type"=dword:00000010 "DependOnService"=hex(7):72,00,70,00,63,00,73,00,73,00,00,00,00,00 "ServiceSidType"=dword:00000001 "RequiredPrivileges"=hex(7):53,00,65,00,54,00,63,00,62,00,50,00,72,00,69,00,76, 00,69,00,6c,00,65,00,67,00,65,00,00,00,53,00,65,00,43,00,72,00,65,00,61,00, 74,00,65,00,50,00,61,00,67,00,65,00,66,00,69,00,6c,00,65,00,50,00,72,00,69, 00,76,00,69,00,6c,00,65,00,67,00,65,00,00,00,53,00,65,00,4c,00,6f,00,63,00, 6b,00,4d,00,65,00,6d,00,6f,00,72,00,79,00,50,00,72,00,69,00,76,00,69,00,6c, 00,65,00,67,00,65,00,00,00,53,00,65,00,49,00,6e,00,63,00,72,00,65,00,61,00, 73,00,65,00,42,00,61,00,73,00,65,00,50,00,72,00,69,00,6f,00,72,00,69,00,74, 00,79,00,50,00,72,00,69,00,76,00,69,00,6c,00,65,00,67,00,65,00,00,00,53,00, 65,00,43,00,72,00,65,00,61,00,74,00,65,00,50,00,65,00,72,00,6d,00,61,00,6e, 00,65,00,6e,00,74,00,50,00,72,00,69,00,76,00,69,00,6c,00,65,00,67,00,65,00, 00,00,53,00,65,00,41,00,75,00,64,00,69,00,74,00,50,00,72,00,69,00,76,00,69, 00,6c,00,65,00,67,00,65,00,00,00,53,00,65,00,53,00,65,00,63,00,75,00,72,00, 69,00,74,00,79,00,50,00,72,00,69,00,76,00,69,00,6c,00,65,00,67,00,65,00,00, 00,53,00,65,00,43,00,68,00,61,00,6e,00,67,00,65,00,4e,00,6f,00,74,00,69,00, 66,00,79,00,50,00,72,00,69,00,76,00,69,00,6c,00,65,00,67,00,65,00,00,00,53, 00,65,00,50,00,72,00,6f,00,66,00,69,00,6c,00,65,00,53,00,69,00,6e,00,67,00, 6c,00,65,00,50,00,72,00,6f,00,63,00,65,00,73,00,73,00,50,00,72,00,69,00,76, 00,69,00,6c,00,65,00,67,00,65,00,00,00,53,00,65,00,49,00,6d,00,70,00,65,00, 72,00,73,00,6f,00,6e,00,61,00,74,00,65,00,50,00,72,00,69,00,76,00,69,00,6c, 00,65,00,67,00,65,00,00,00,53,00,65,00,43,00,72,00,65,00,61,00,74,00,65,00, 47,00,6c,00,6f,00,62,00,61,00,6c,00,50,00,72,00,69,00,76,00,69,00,6c,00,65, 00,67,00,65,00,00,00,53,00,65,00,41,00,73,00,73,00,69,00,67,00,6e,00,50,00, 72,00,69,00,6d,00,61,00,72,00,79,00,54,00,6f,00,6b,00,65,00,6e,00,50,00,72, 00,69,00,76,00,69,00,6c,00,65,00,67,00,65,00,00,00,53,00,65,00,52,00,65,00, 73,00,74,00,6f,00,72,00,65,00,50,00,72,00,69,00,76,00,69,00,6c,00,65,00,67, 00,65,00,00,00,53,00,65,00,49,00,6e,00,63,00,72,00,65,00,61,00,73,00,65,00, 51,00,75,00,6f,00,74,00,61,00,50,00,72,00,69,00,76,00,69,00,6c,00,65,00,67, 00,65,00,00,00,53,00,65,00,53,00,68,00,75,00,74,00,64,00,6f,00,77,00,6e,00, 50,00,72,00,69,00,76,00,69,00,6c,00,65,00,67,00,65,00,00,00,53,00,65,00,54, 00,61,00,6b,00,65,00,4f,00,77,00,6e,00,65,00,72,00,73,00,68,00,69,00,70,00, 50,00,72,00,69,00,76,00,69,00,6c,00,65,00,67,00,65,00,00,00,53,00,65,00,4c, 00,6f,00,61,00,64,00,44,00,72,00,69,00,76,00,65,00,72,00,50,00,72,00,69,00, 76,00,69,00,6c,00,65,00,67,00,65,00,00,00,00,00 "FailureActions"=hex:84,03,00,00,00,00,00,00,00,00,00,00,03,00,00,00,14,00,00, 00,01,00,00,00,c0,d4,01,00,01,00,00,00,e0,93,04,00,00,00,00,00,00,00,00,00[HKEY_LOCAL_MACHINESYSTEMCurrentControlSetServicesmsiserverEnum] "0"="RootLEGACY_MSISERVER000" "Count"=dword:00000001 "NextInstance"=dword:00000001
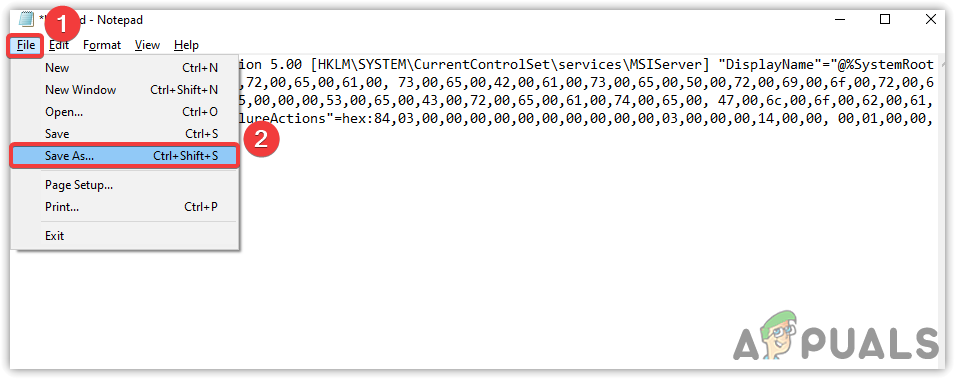
- Once done, click on File and click Save As from the list of options
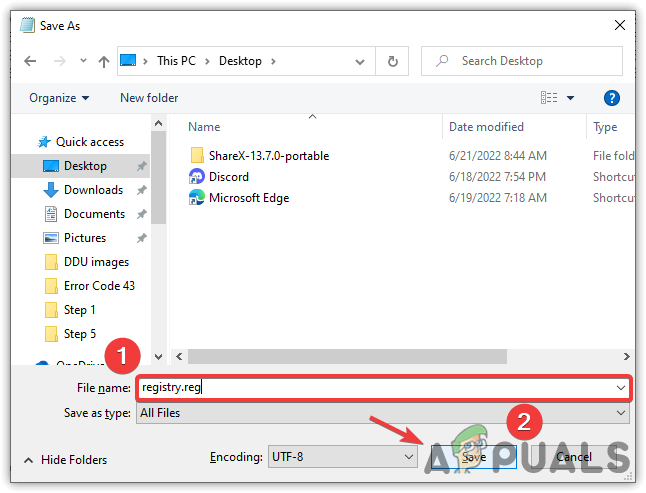
Saving Registry File - Now name the file whatever you want but make sure to put the .reg extension at the end of the file name
- Select the All Files from the File Type and click Save
Click Save - After that, navigate to the location where you saved the .reg file
- Double-click on the file and click Yes when asked for permissions
- Once done, try to install the problematic application to see if the Error: Windows Installer Service Could not be Accessed persists.
2. Start the Windows Installer Service
There is a good possibility that your Windows Installer services may stop for some reason and might not be started correctly at the start-up, which can be the primary cause of this issue.
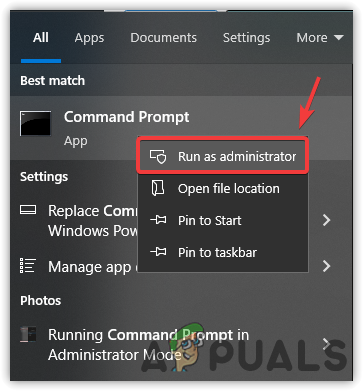
- To start the Windows Installer service, click the Start Menu and type Command prompt
- Right-click on command prompt and click Run As Administrator
Launching Terminal in Administrator Mode - Once the command prompt opens, type the below command to start the Windows Installer service
net start MSIServer
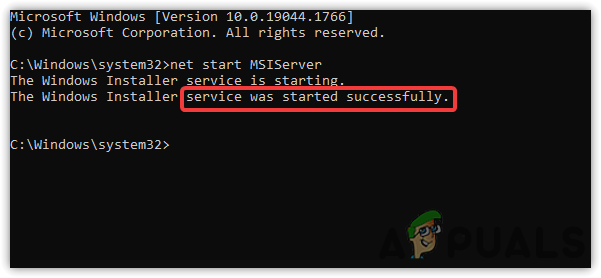
Restart-Service Through Command - To check if the service is running or not, press the Windows + R keys to open the Run program
- Type services.msc and press Enter
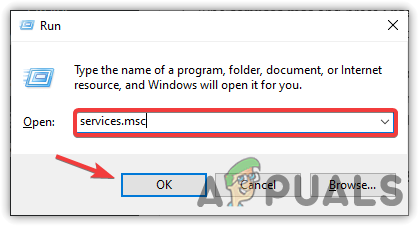
Open Services Window - This will take you to the services page, now press the W on the keyboard to find the Windows Installer service
- Right-click on service and select Properties from the list of options
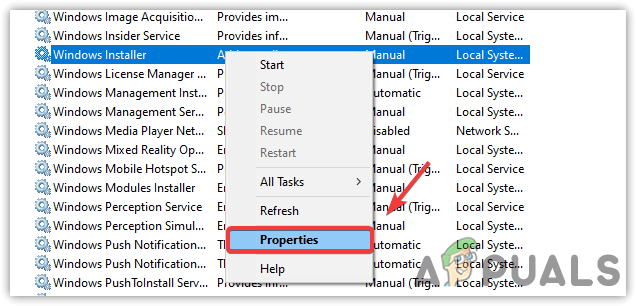
Navigating to the Service Properties - Now check the service status, if the service is not working, click on the Start button
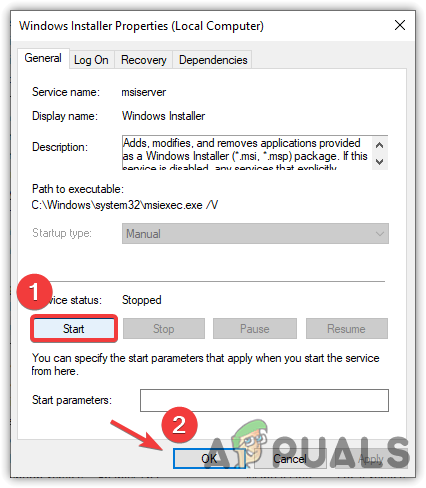
Starting Windows Service - Once done, try to install the problematic application and check if this method worked.
3. Re-register Windows Installer Service
If the error is still casing, try registering the Microsoft Installer Service as it may get unregistered, and due to which, you may encounter the error.
Follow the steps that help you to re-register Windows Installer Services:-
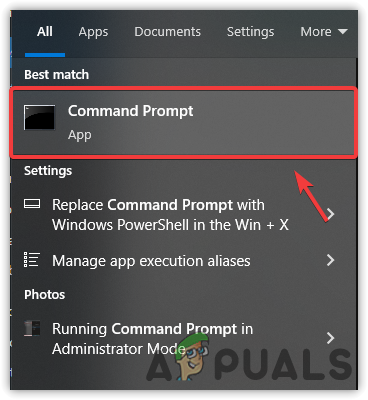
- Click the Windows Icon from the bottom left annd type Command Prompt
- Open command prmpt
Open Command Prompt - Once the terminal opens, insert the below commands one by one and hit Enter key after each code of the line
%windir%system32msiexec.exe /unregister
%windir%system32msiexec.exe /regserver
%windir%syswow64msiexec.exe /unregister
%windir%syswow64msiexec.exe /regserver
- Once done, restart your computer
- For 32-bit users, enter the below commands and hit enter after each line
msiexec /unregister
msiexec /regserver
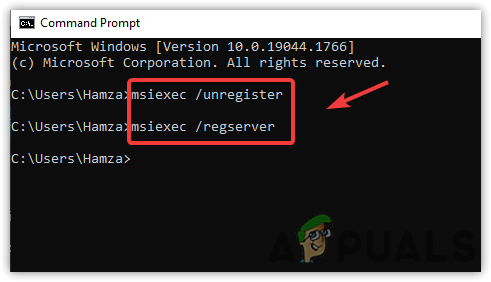
Re-register Windows Installer Service - Then, restart your computer and try to install the problematic application to see if the error is fixed.
4. Run regsvr32 command
If the above method does not work, use the regsvr32 command line, a utility from Microsoft used to register and unregister OLE controls, such as DLLs and ActiveX controls. Below are the steps:-
- Click Start Menu and type command prompt
- Right-click on the command prompt and choose Run As Administrator
Run Command Prompt in Administrator Mode - Wait for the terminal to open, insert the below command, and hit Enter
regsvr32 c:windowssystem32msi
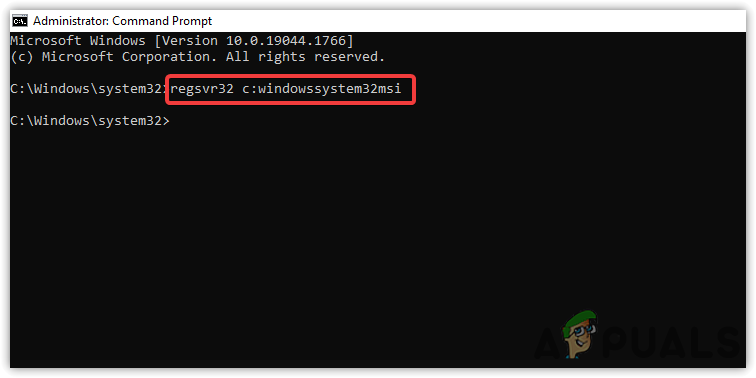
Register Windows Installer - Once done, close the terminal and try to install a problematic application to see if the error persists.
5. Rename the Duplicated msiexec File
As we told you before, there may be a chance of a duplicate file name as msiexec file. You may encounter this error if you have multiple files with the same name in the Windows Installer directory. To avoid this, you will have to rename the file by following the below steps:-
- Open File Explorer and navigate to the following directory
C:\Windows\System32
- Look for the duplicate msiexec file. The size of the file must be 0 KB
- Rename the duplicated msiexec file to msiexec.old
- Once done, go to services and restart the Windows Installer service
- Now try to install the problematic application to see if the error is fixed.
6. Run SFC and DISM commands
SFC or System File Checker is a utility command that allows users to repair system files. On the other side, DISM includes three commands CheckHealth, ScanHealth, and RestoreHealth. CheckHealth command checks in the database for any errors that may cause issues. ScanHealth allows users to scan more advanced to discover any damage to the Windows images. At last, RestoreHealth allows us to repair Windows images. These commands are mighty as they contain advanced DLL packages along with the Windows files.
These commands have the potential to fix corrupted windows installer files that cause errors.
- To run SFC and DISM commands, click Start Menu and type the command prompt
Run Command Prompt - Open the command prompt as administrator by pressing the Ctrl + Shift + Enter on the keyboard
- Once the command prompt is opened, put the following commands one by and hit Enter after each command
DISM /Online /Cleanup-Image /CheckHealth
DISM /Online /Cleanup-Image /ScanHealth
DISM /Online /Cleanup-Image /RestoreHealth
sfc /scannow
- Once you entered all of these commands, then close the terminal and try to install the application causing error.
7. Uninstall the old version of the program
If you already have a program you wish, then make sure you use an updated version. In case you have an old version of that program you want to install, then delete it first from the computer. If you are having Windows Installer Service Could Not be Accessed error while removing a program, you can visit our article on How to Uninstall Programs on Windows 10 That Won’t Uninstall.
8. Install Latest Windows Installer Redistributable
If the issue is still there and none of the methods worked, try installing the latest Windows Installer Redistributable, which will fix the error if it appears due to an outdated Windows Installer application.
Below are the steps:-
- Download Latest Windows Installer Redistributable
- After the downloading, open the installer and follow the on-screen instructions
- Once done, check if the issue persists.


