How to Troubleshoot and Repair the Snipping Tool in Windows?
The default app configuration in Windows, damaged app data, or the Snipping Tool’s notification settings can all contribute to the program malfunctioning. When such issues arise, you may find that the preview window doesn’t open by default or that the app won’t launch using the usual shortcuts.
This guide will walk you through resolving these issues with the Snipping Tool, enabling worry-free use of the utility.
1. Check Default App Setting
Begin by verifying the default app settings for the screen sketch feature in Windows. If the Snipping Tool isn’t set as the default app, it won’t open with keyboard shortcuts.
- Open the Settings app by pressing Windows key + I.
- Navigate to Apps > Default Apps.
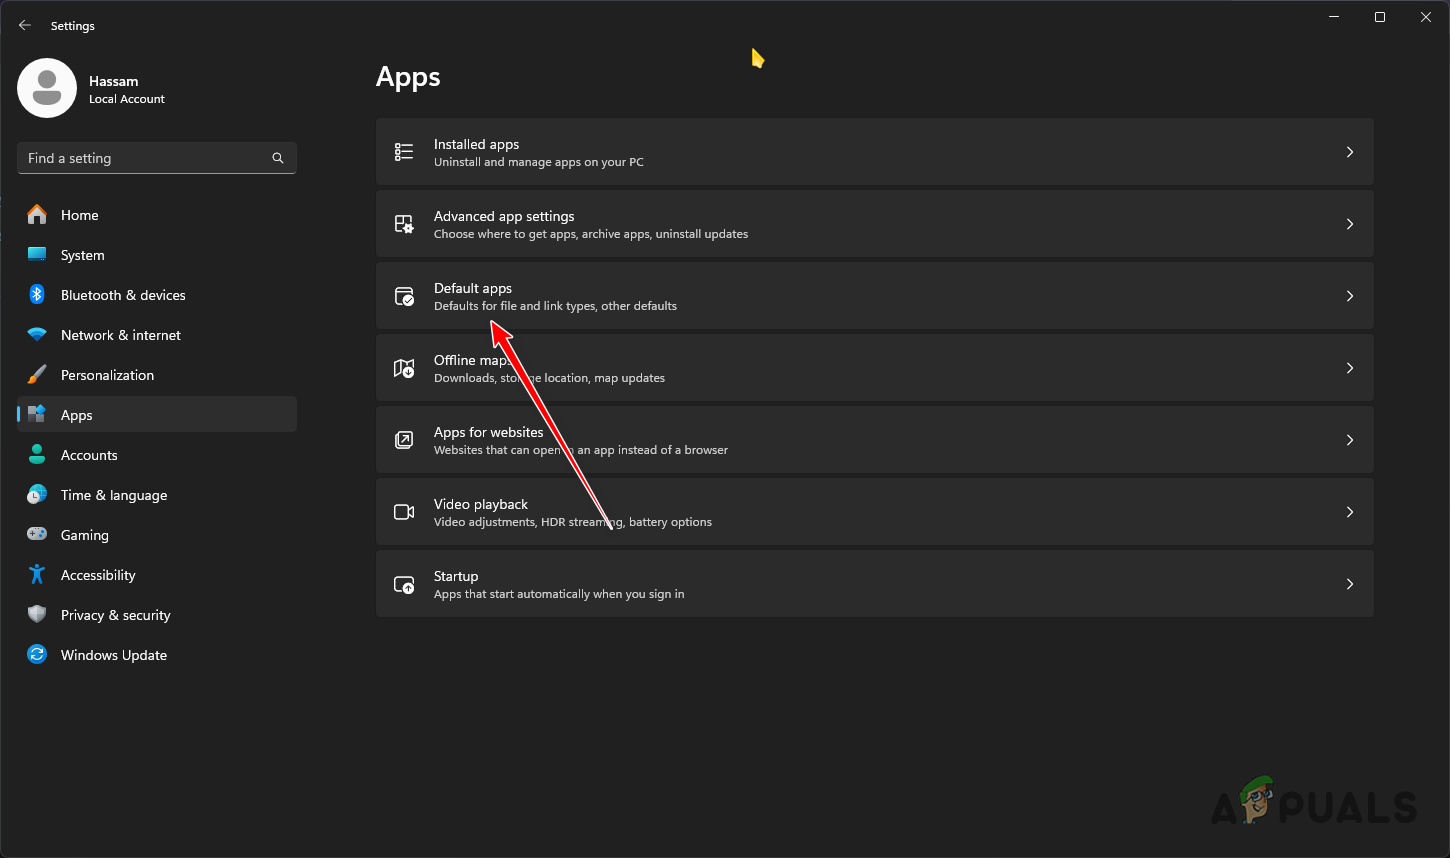
Navigating to Default Apps - Search for MS-SCREENSKETCH using the provided field.
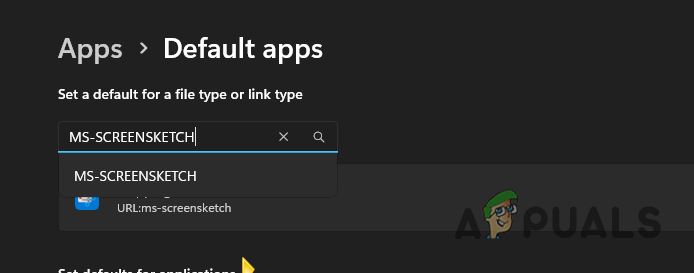
Searching for Screen Sketch Default App - Select the resulting entry and make sure the Snipping Tool app is checked as the default.
- See if the issue still occurs after this adjustment.
2. Restart Explorer Process
The Snipping Tool might not work correctly if the background Explorer process becomes unresponsive and requires a restart.
- Right-click on the Start Menu icon and choose Task Manager from the context menu.
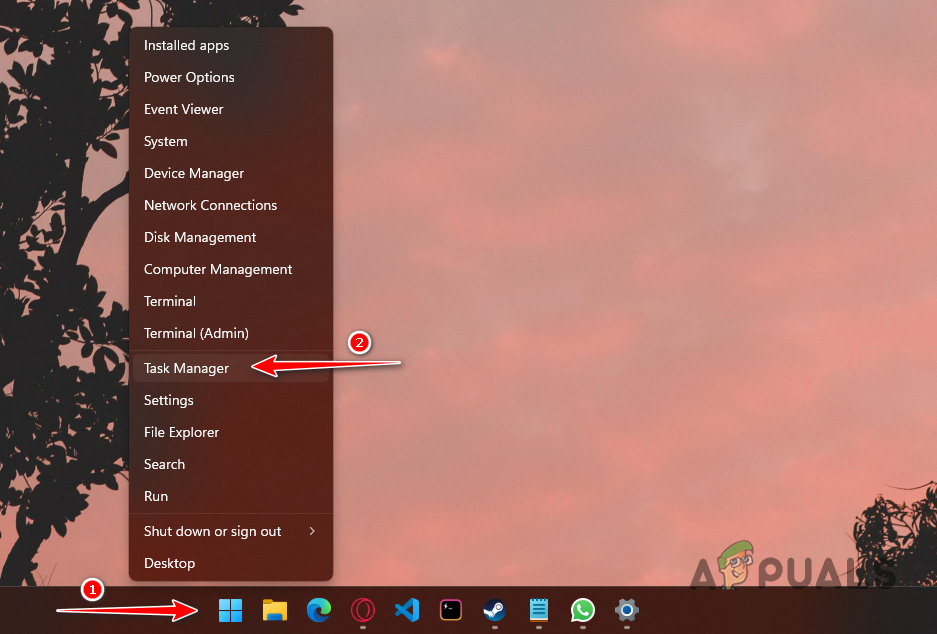
Opening Task Manager - Find and right-click on the Windows Explorer process in Task Manager.
- Select Restart.
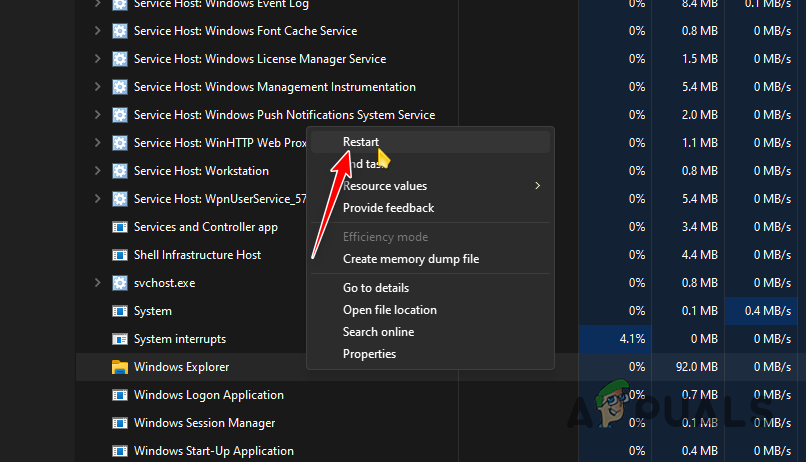
Restarting Windows Explorer Process - After restarting Windows Explorer, try using the Snipping Tool to confirm it is working.
3. Configure Snipping Tool Notifications
If the Snipping Tool’s screenshots don’t appear automatically, adjust your Windows notifications settings.
- Press Windows key + I to open Settings.
- Go to System > Notifications.
- Toggle on notifications globally using the slider at the top.
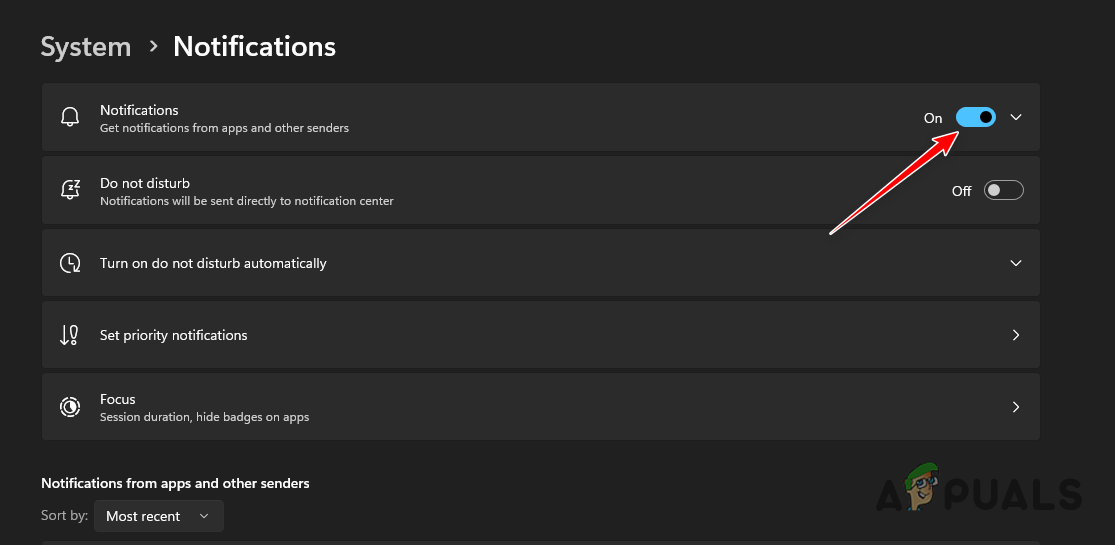
Enabling Windows Notifications - Enable notifications specifically for the Snipping Tool using its slider.
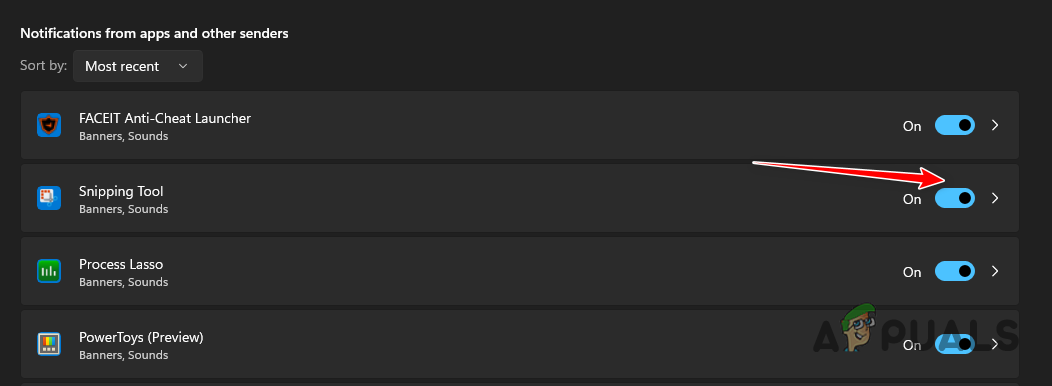
Enabling Snipping Tool Notifications - Check to see if the issue persists after making these changes.
4. Change Snipping Tool Graphics Preference
The Snipping Tool’s performance may also be affected by its graphics preference settings. Ensure it is set to high performance and utilizes the appropriate GPU.
- Press Win key + I to open the Settings app.
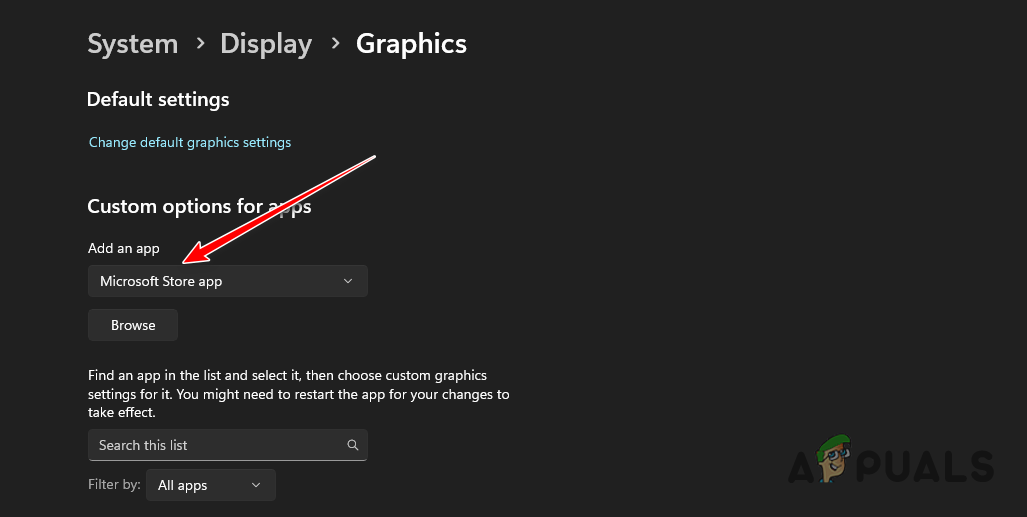
- Navigate to System > Display > Graphics.
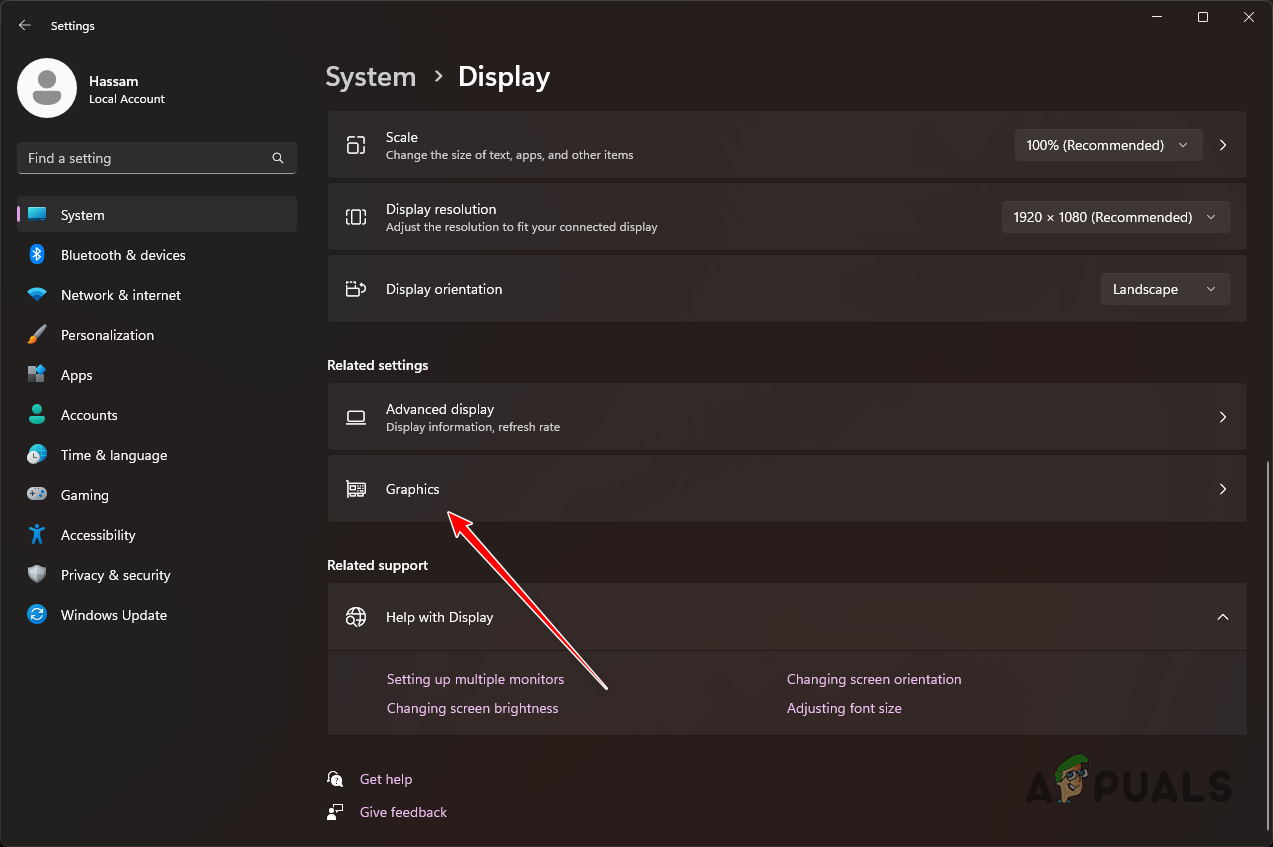
Navigating to Graphics Settings - Select Microsoft Store app from the Add an app dropdown menu.
Adding a Microsoft Store App - Click Browse and select the Snipping Tool.
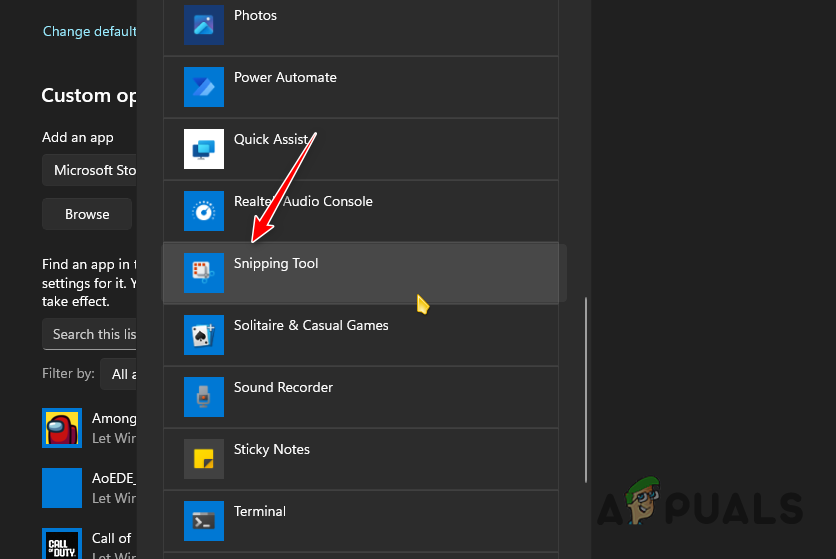
Adding Snipping Tool - Upon adding the app, select Options.
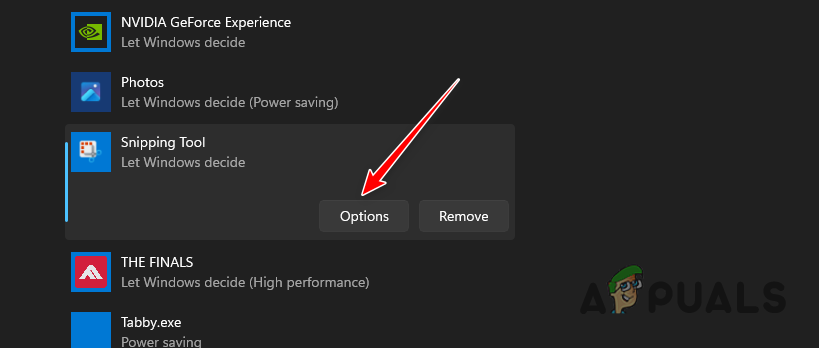
Navigating to the Snipping Tool Graphics Options - In the Graphics Preference dialog, choose High Performance.
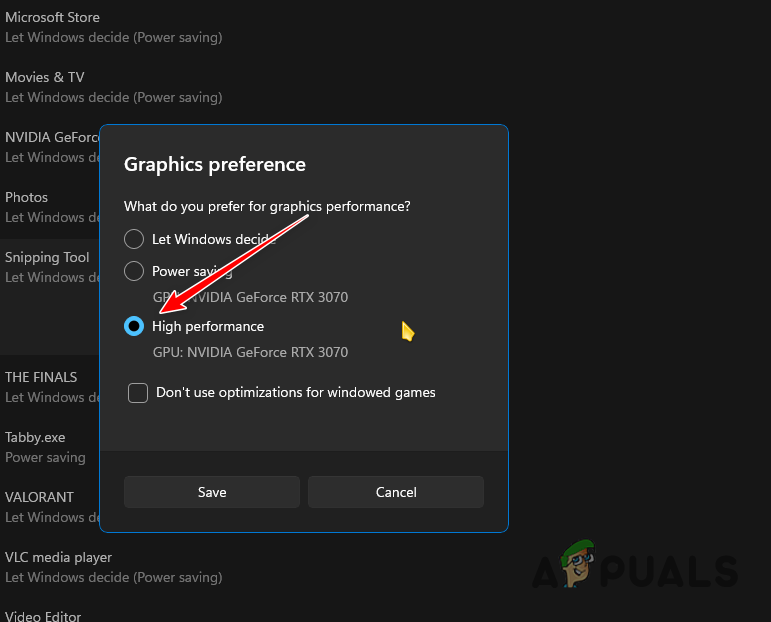
Changing the Snipping Tool Graphics Preference - Click Save and verify if the problem has been resolved.
5. Update Snipping Tool
Certain issues with the Snipping Tool may stem from Windows updates, which are often fixed in subsequent patches. It’s important to have the latest Windows build to avoid any app-related bugs.
- Search for and open the Microsoft Store from the Start Menu.
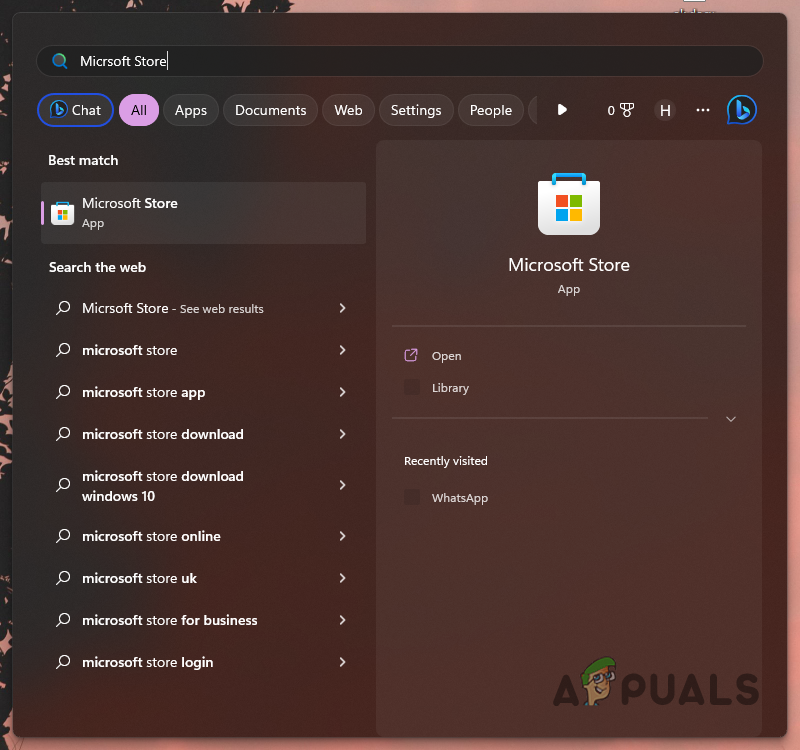
Opening Microsoft Store - Type Snipping Tool in the search bar and press Enter.
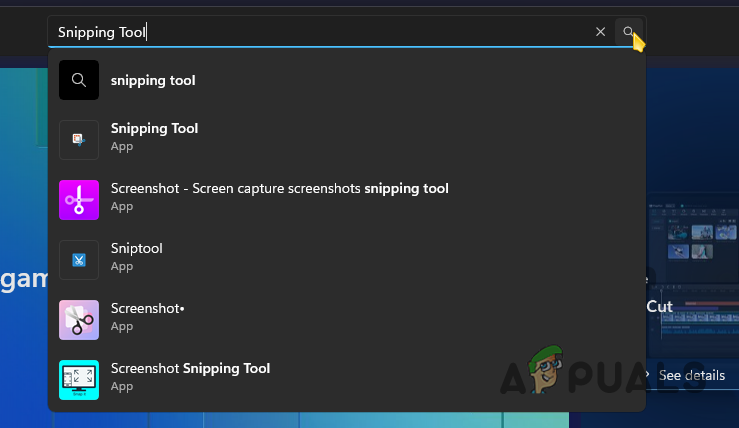
Searching for Snipping Tool in Microsoft Store - Choose Snipping Tool from the list of apps.
- Click the Update button, if available, to install updates.
- Determine whether the problem persists.
- If there is no Update option, you’re already using the latest version.
6. Reset Snipping Tool
Damaged local data stored by the Snipping Tool can hinder its proper function. Resetting the app can help isolate and fix the problem.
- Launch Settings with the Win key + I shortcut.
- Navigate to Apps > Installed Apps.
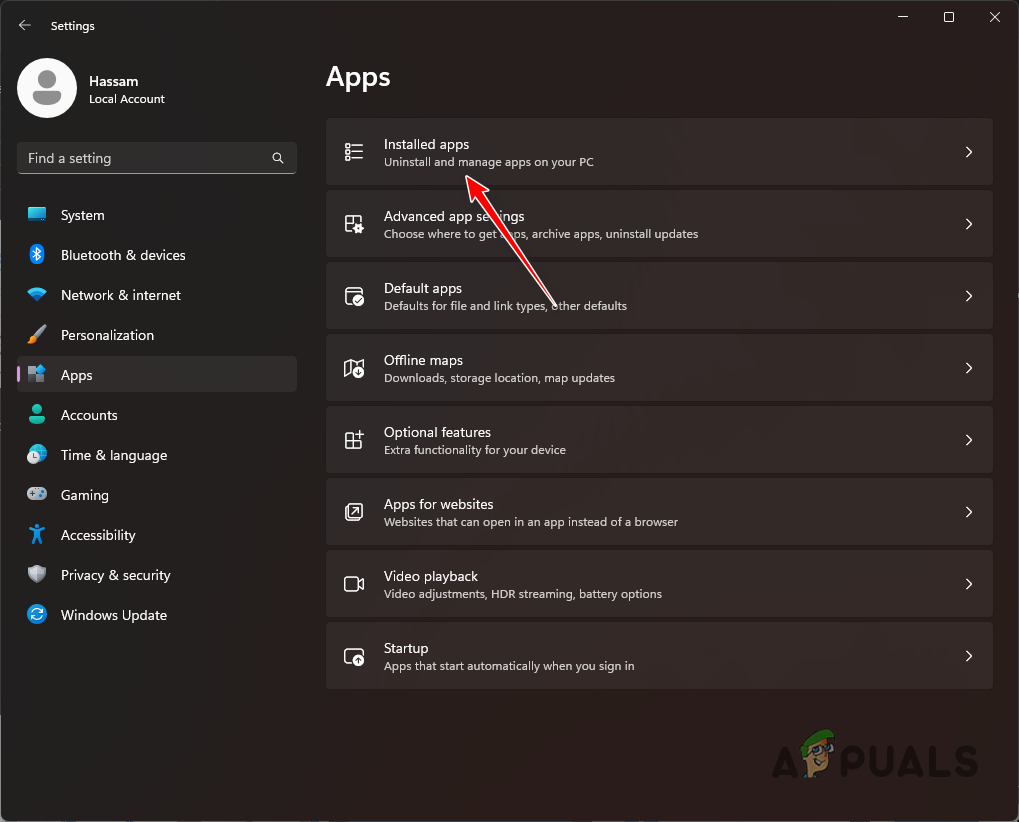
Navigating to Installed Apps - Find the Snipping Tool, then click the three dots for more options.
- Next, select Advanced Options.
- Scroll to the bottom and click Reset.
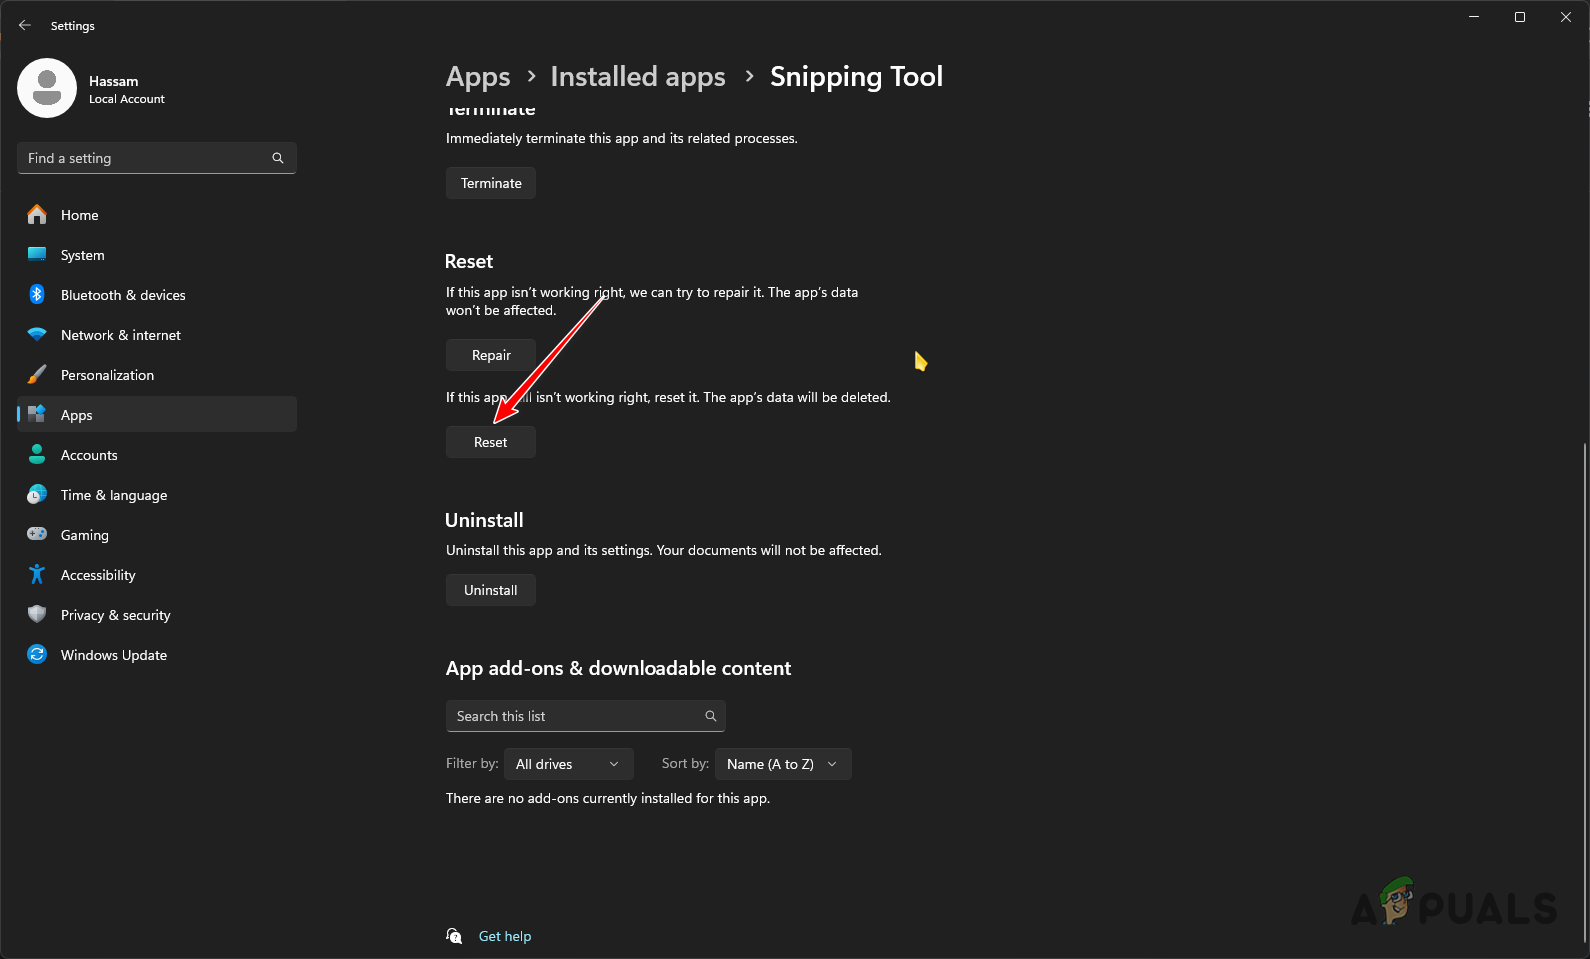
Resetting Snipping Tool - Finally, check if the issue still occurs.
7. Perform a Clean Boot
If none of the above methods resolve the issue, a clean boot might help. This can be useful for determining if a background application is causing the problem with the Snipping Tool.
A clean boot disables third-party programs and services from starting with Windows. This enables you to test if the app functions without these running in the background.
- Bring up the Run dialog box by pressing Win key + R.
- Type msconfig and hit Enter.
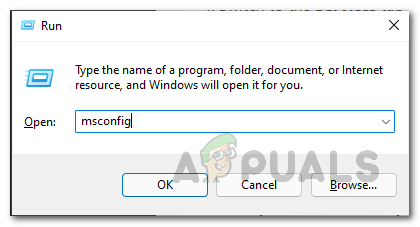
Opening System Config - In the System Configuration window, go to the Services tab and select the Hide all Microsoft services checkbox.
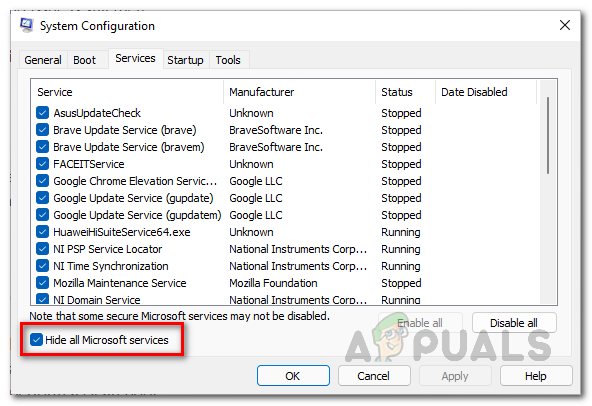
Removing Windows Services from the List - Click Disable all to turn off third-party services on startup.
- Press Apply.
- Switch to the Startup tab and click on Open Task Manager.
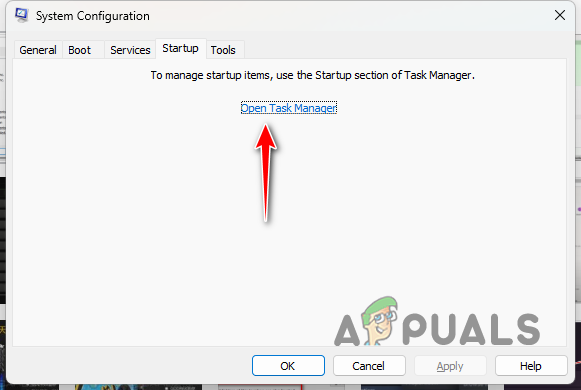
Opening Task Manager - In Task Manager, disable each startup application individually.
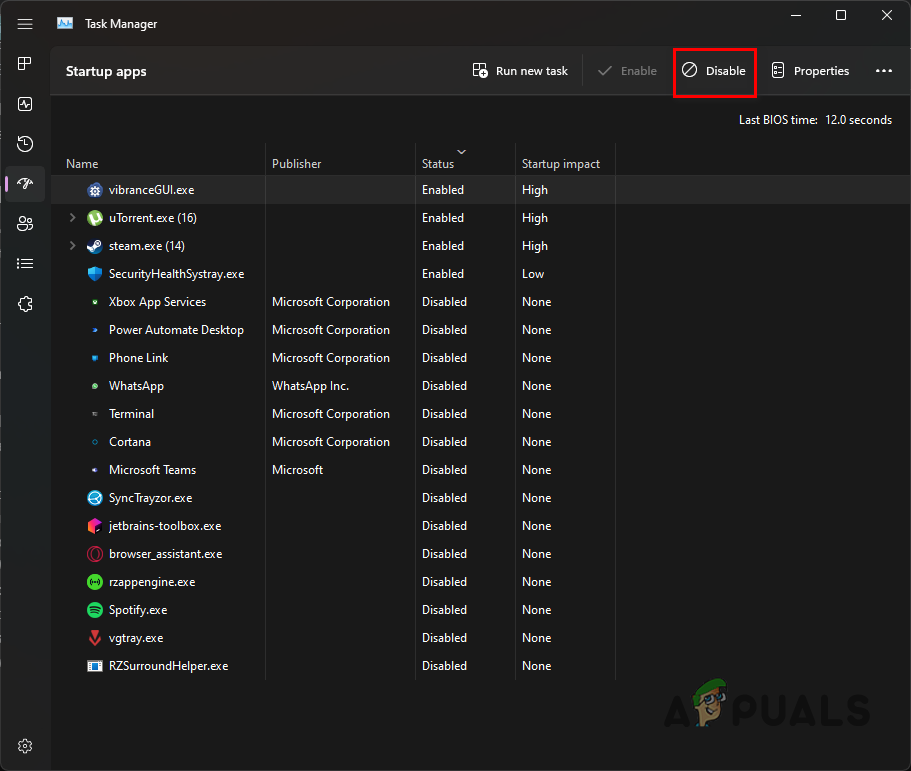
Turning off Startup Apps - Restart your computer to effectuate the clean boot.
Following these methods should enable you to address the issue of the Snipping Tool not working. If your efforts prove unsuccessful, reach out to the Microsoft support team for assistance. Meanwhile, you could consider switching to third-party alternatives like the free software ShareX.


