How to Fix Windows 11 Freezing Issue at Startup?
There have been reports of Windows 11 freezing at startup and sometimes after the user has logged into Windows and begun using it. When the user force restarts the computer, they face the freezing issue again.

Below, we take a look at the troubleshooting methods to try if you encounter a similar problem. Proceed with the method that fits your situation the best.
1. Remove USB Peripherals
Before you begin, make sure your PC is not connected to any USB peripherals. If the hardware devices you’re using (keyboard, mouse, for example) are corrupt, you will have problems using the system.
After you remove all peripherals, check to see if anything has changed after a few minutes. Continue with the next method if this doesn’t work.
2. Run System Scans
One of the most common reasons behind the system freezing at startup is corruption errors and bugs within the system. Many different factors can cause corruption, but fortunately, it can be fixed and identified quite easily.
The best way to identify and resolve these issues is by using the two troubleshooting utilities that come built into Windows; SFC and DISM. They can be run using the Command Prompt.
The first tool, DISM, is responsible for fixing a corrupt system image. Instead of reinstalling Windows, the original image is downloaded from the Internet. The method can be used to fix errors that can’t be fixed conventionally.
On the other hand, the File Checker scans the protected system files and replaces the corrupt ones with their healthier counterparts. Essentially, both tools solve errors you encounter on your Windows PC by working together.
Here is how you can run both utilities:
- Press the Win + R keys together to open a Run dialog box.
- Type cmd in the text field of the dialog box and press Ctrl + Shift + Enter to launch Command Prompt with administrative privileges.
- Alternatively, you can type cmd in the search area of the Windows taskbar and click on Run as administrator.
- Inside the Command Prompt window, type the command mentioned below and hit Enter.
DISM.exe /Online /Cleanup-image /Restorehealth
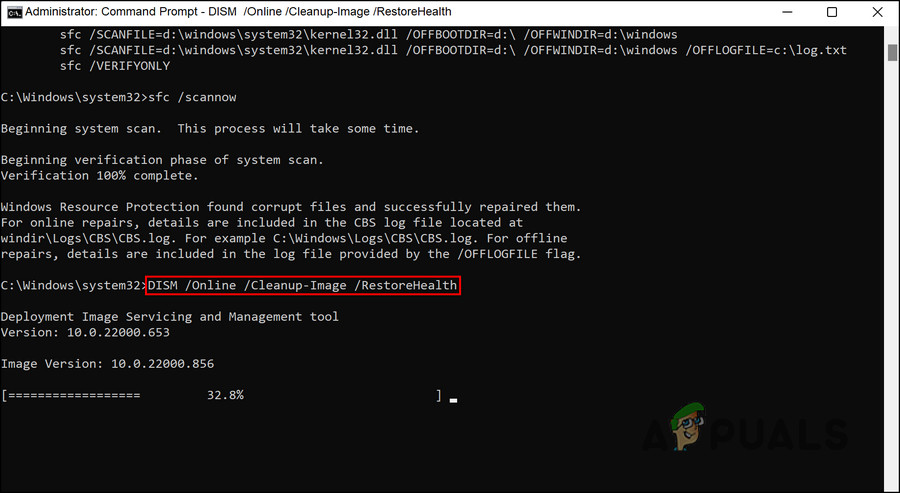
Execute the DISM command - It may take up to half an hour for the command to run successfully. Once it is done, execute the following command in the same window.
sfc /scannow
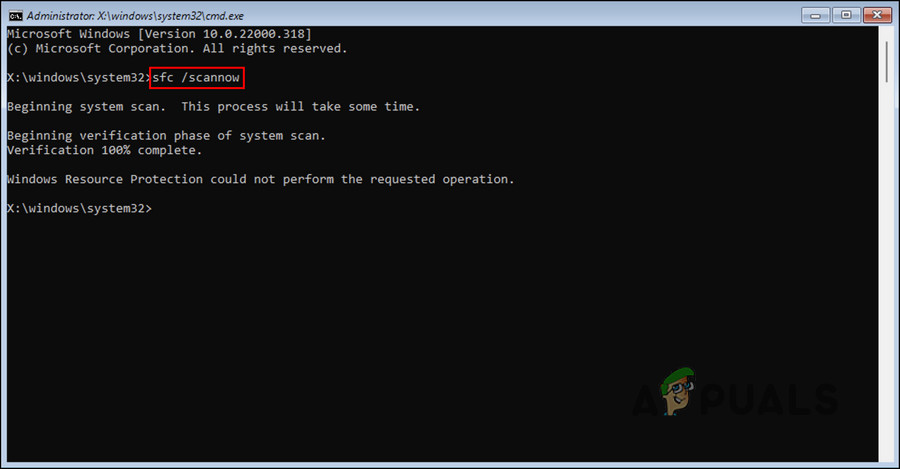
Execute the DISM command
Once it is executed, restart your PC and check if the error is resolved.
3. Update the Driver
Another fix that worked for users was updating their outdated drivers. Two drivers that were found to be the culprit in most cases were the Network drivers and the graphics drivers.
The best way to counter issues with these drivers is by updating them to their latest build. The driver can be updated in two ways – either through Device Manager or by visiting the manufacturer’s website and downloading the driver from there.
The driver can also be downgraded if updating fails. A downgrade will return the driver to the previous state of functioning, allowing you to use the system normally.
If you want to use the Device Manager for this process, follow these steps:
- Type Device Manager in Windows search and click Open.
- In the following window, expand the Network adapters section and right-click on the network driver.
- Choose Update driver from the context menu.
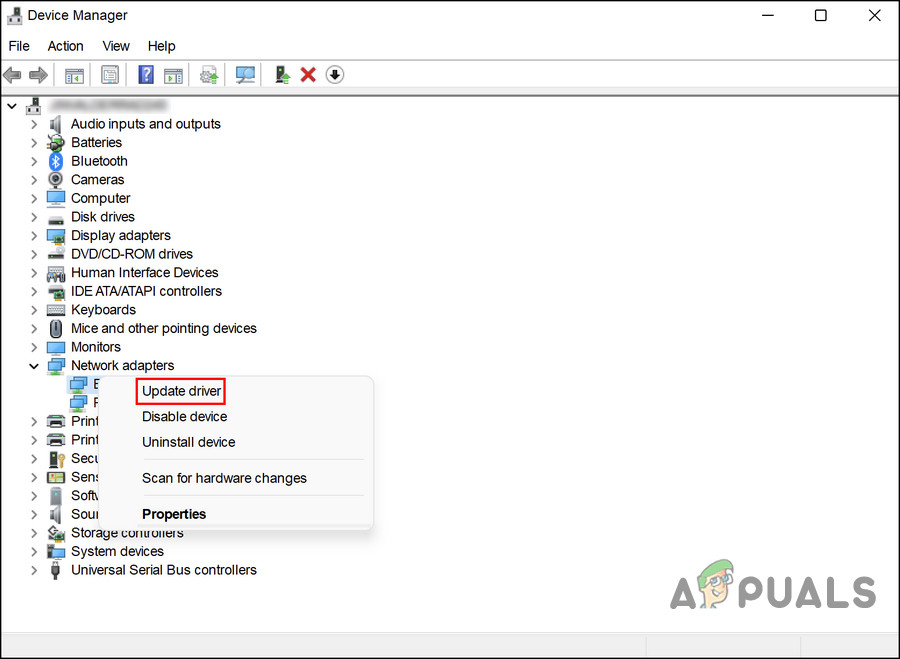
Choose the Update driver option from the context menu - After that, click on Search automatically for drivers and wait for the system to find the right driver.
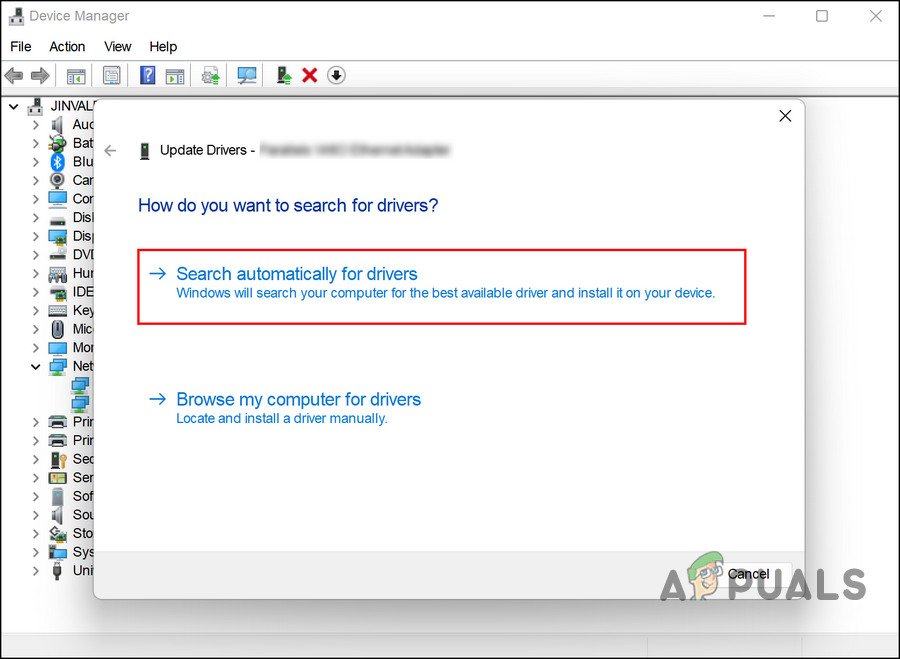
Search the system for drivers - Once found, follow the on-screen instructions to proceed.
Perform the same steps to update your graphics driver as well.
In case you want to roll back the driver to a previous working state, follow these steps:
- Follow the steps above to expand the Network adapters section in Device Manager.
- Right-click on the network driver and choose Properties from the context menu.
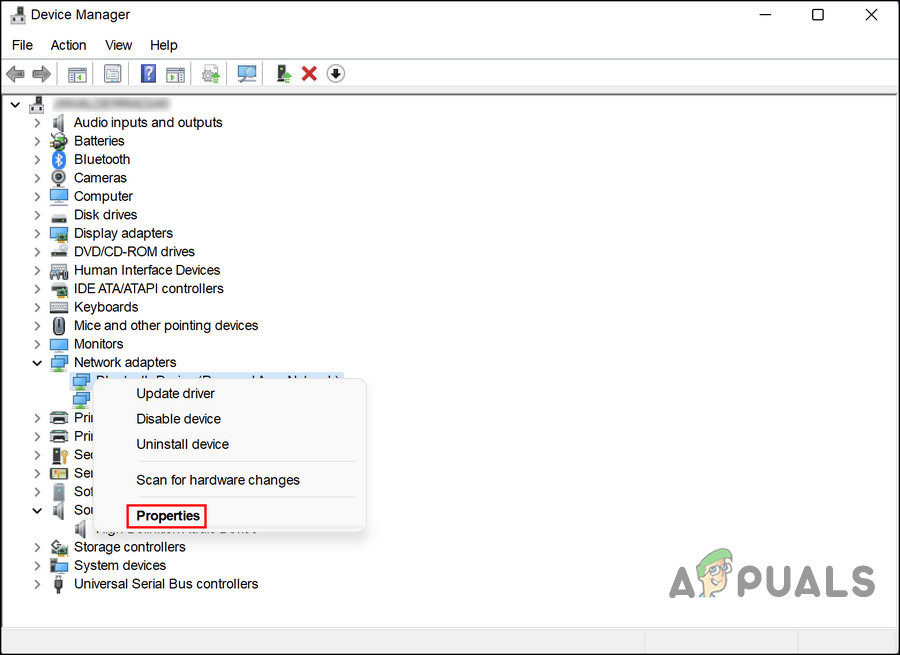
Choose Properties from the context menu - On the Drivers tab of the Properties dialog, click the Roll back driver button.

Click on the Roll back driver option - Follow the on-screen instructions to proceed and then check if the issue is resolved.
Alternatively, you can download the latest driver from the official manufacturer’s website if you do not want to use Device Manager.
4. Disable Fast Startup
You can use Windows 11’s Fast Startup feature to restart your computer more quickly after shutting it down. By default, Fast Boot puts your computer in hibernation rather than shutting it down completely. By default, Fast Boot is enabled on computers that can hibernate.
It is true that a fast startup can enhance the startup speed of PCs with hard drives (HDDs), but it can also cause problems such as the one we are currently discussing. If this scenario is applicable, then the solution is quite simple, as you only need to disable the fast startup feature to resolve the issue.
If this scenario is applicable, here is how you can disable Fast Boot:
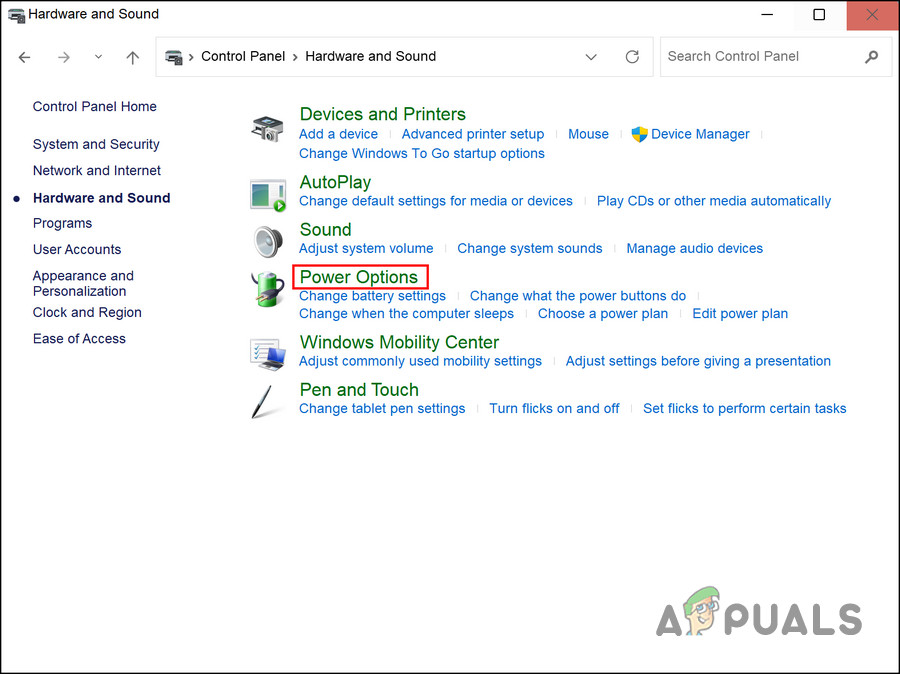
- Type Control Panel in the search area of your taskbar and hit Open.
- Click Power Options in the Control Panel. In the event, you are unable to find this option, select Large icons from the View by menu.
Click on the Power Options button - Now select Choose what the power buttons do and uncheck Turn on fast startup. The option may be grayed out, in which case click Change Settings that are currently unavailable and perform the step above.
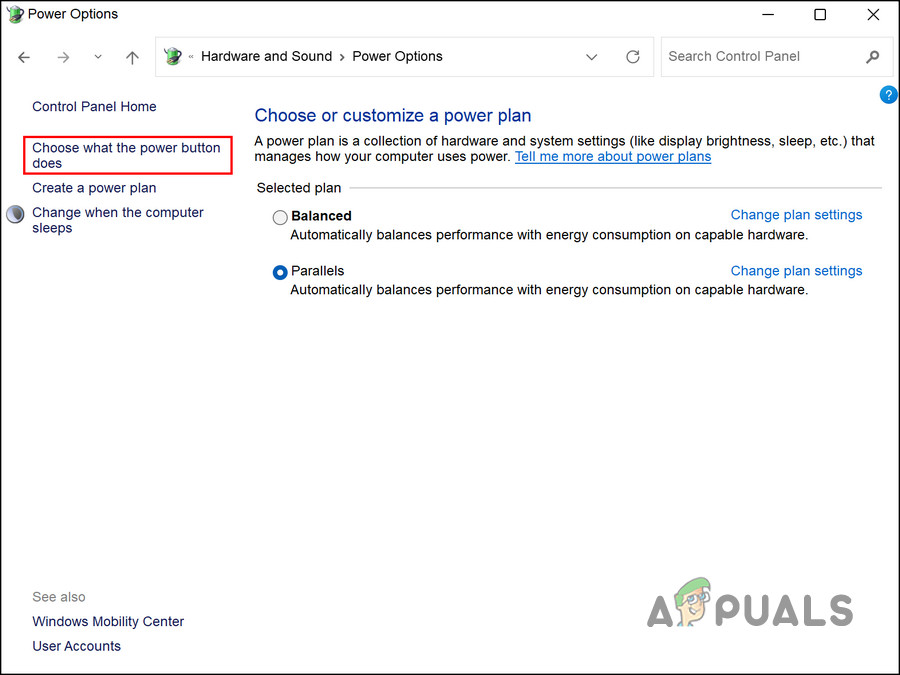
Modify the power options
5. Perform a Clean Boot
There is also the possibility that third-party applications are interfering with the processes of the system. The first step in this scenario is to uninstall any applications installed recently that you suspect might be causing the problem.
Alternatively, you can run your PC in a clean boot state to identify the culprit if you are not sure which app is causing the problem. When the system starts in this state, it only has the essential drivers and programs installed. When the error does not recur after launching the system in a clean boot state, it means that a background process is indeed responsible.
Here is how you can perform a Clean Boot in Windows. Using this method, you should be able to identify and remove the third-party app that is causing the issue.


