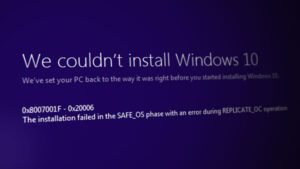
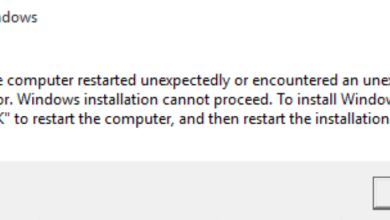
[FIX] Windows 10 Update Keeps Failing – ‘0x8007001f – 0x20006’
This error is encountered when users try to update their Windows Operating System. This is a system error that is caused due to a corrupt system file. This can lead to other problems such as Windows not being able to update or other System applications that might not update. It can also cause third-party Software Applications installed on your system to stop working.
It is important to keep the Windows updated because if you miss the security updates then you leave your system vulnerable to cyber attacks, viruses, and malware. Even if the update does not remove the security vulnerability, it still enhances the overall stability of the computer system and it also installs the latest features offered by the Windows Operating System and also patches the already installed software.
Method 1: Manually Update the Windows
In this method, we will try to update the Windows Operating System through the Command Prompt also known as the Power Shell. Windows Power Shell offers more control over the operating system and allows the user to perform tasks that are otherwise not possible to perform in the native Graphical Environment.
- Open Windows Power Shell by going to Windows Start > Windows Powershell, run this program as administrator.
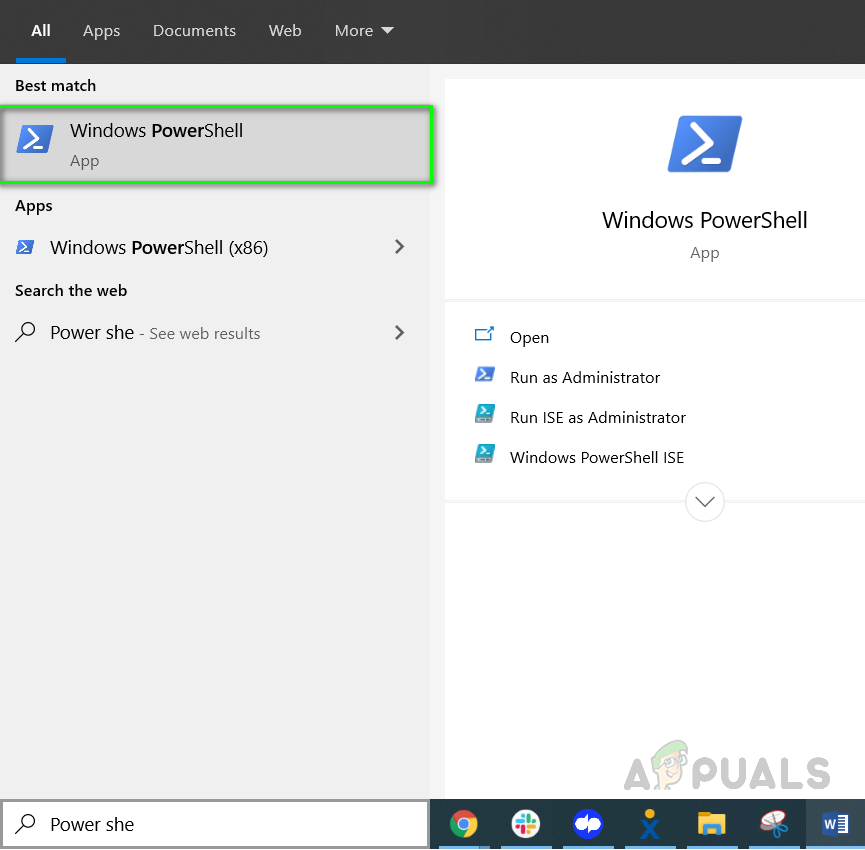
Open Window s Power Shell as administrator - In the PowerShell type in the following commands in the sequence.
net stop wuauserv
net stop cryptSvc
net stop bits
net stop msiserver
Ren C:\Windows\SoftwareDistribution SoftwareDistribution.old
Ren C:\Windows\System32\catroot2 Catroot2.old
net start wuauserv
net start cryptSvc
net start bits
net start msiserver
- Now to go to Windows Search Box and type the following command and press Enter.
%systemroot%\Logs\CBS
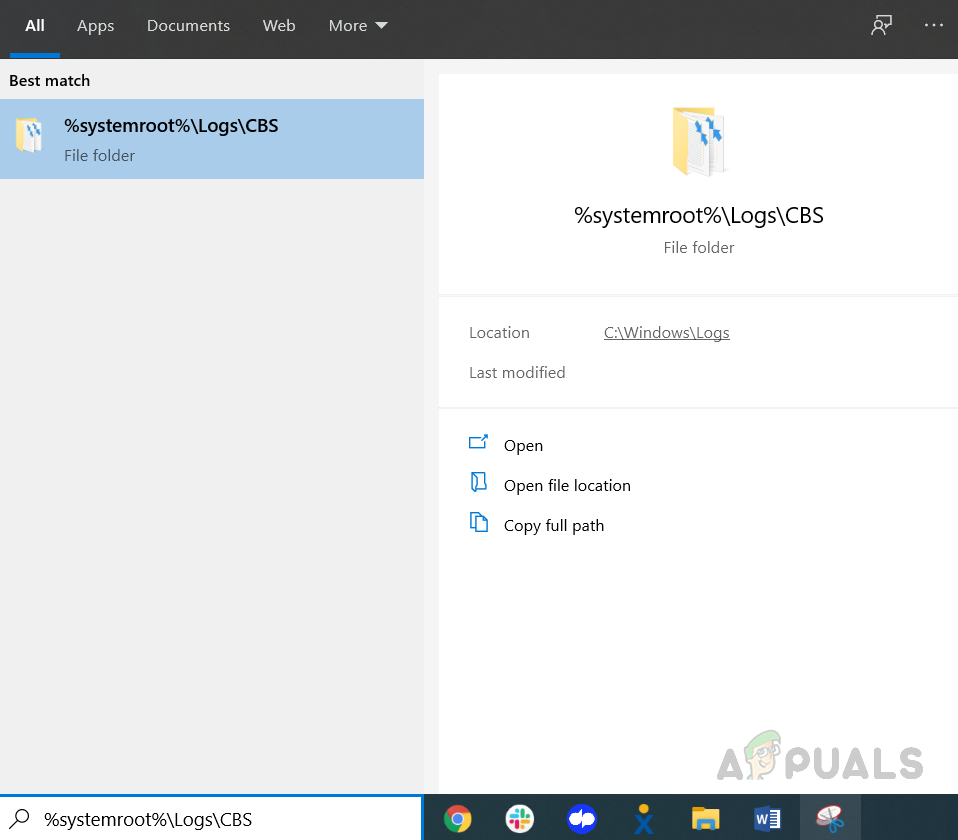
Open CBS.log file folder - You will see the file with the name CBS.Log, rename it to something else.
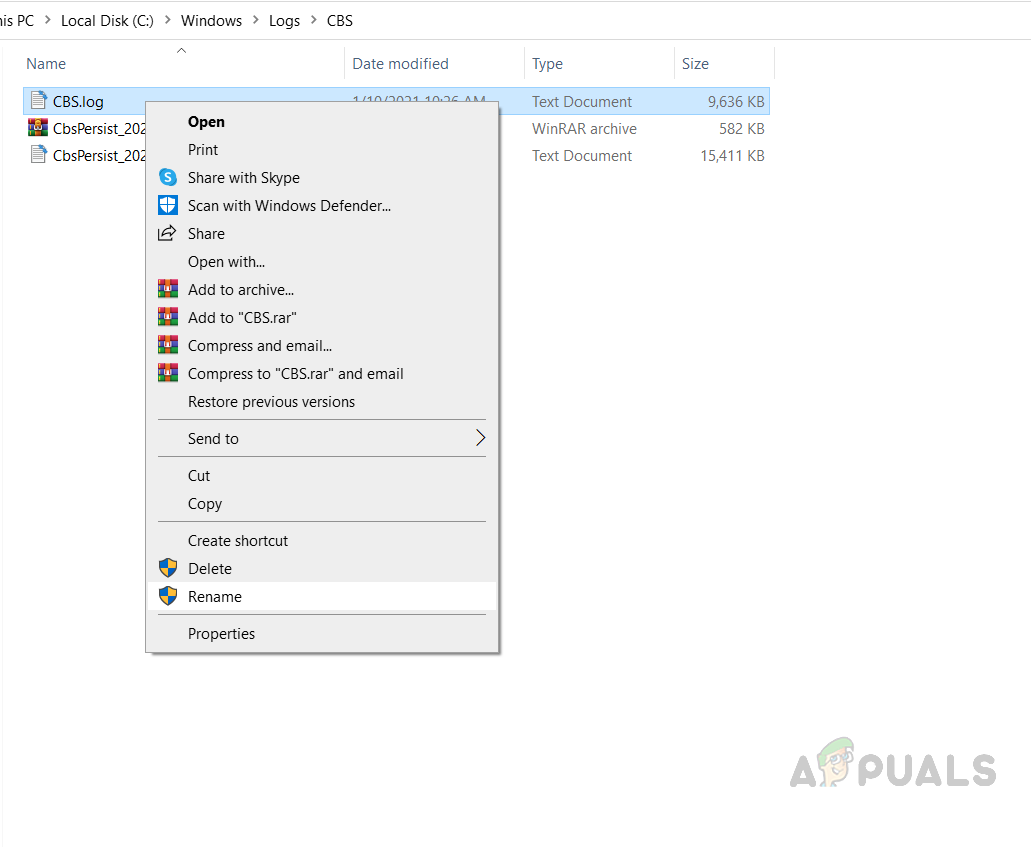
Rename CBS Log file to something else - If you are unable to rename the file then again go to the Search box and type in Services.
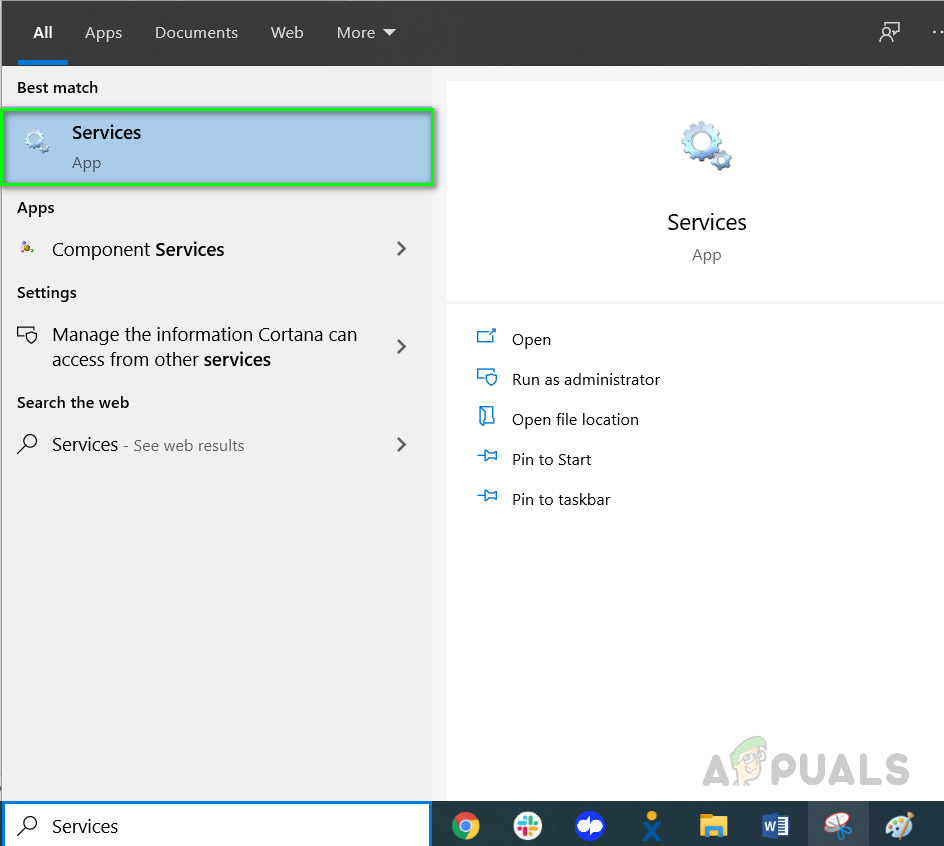
Open Windows Services - Find the Windows Module installer Service and double click on it to open the properties
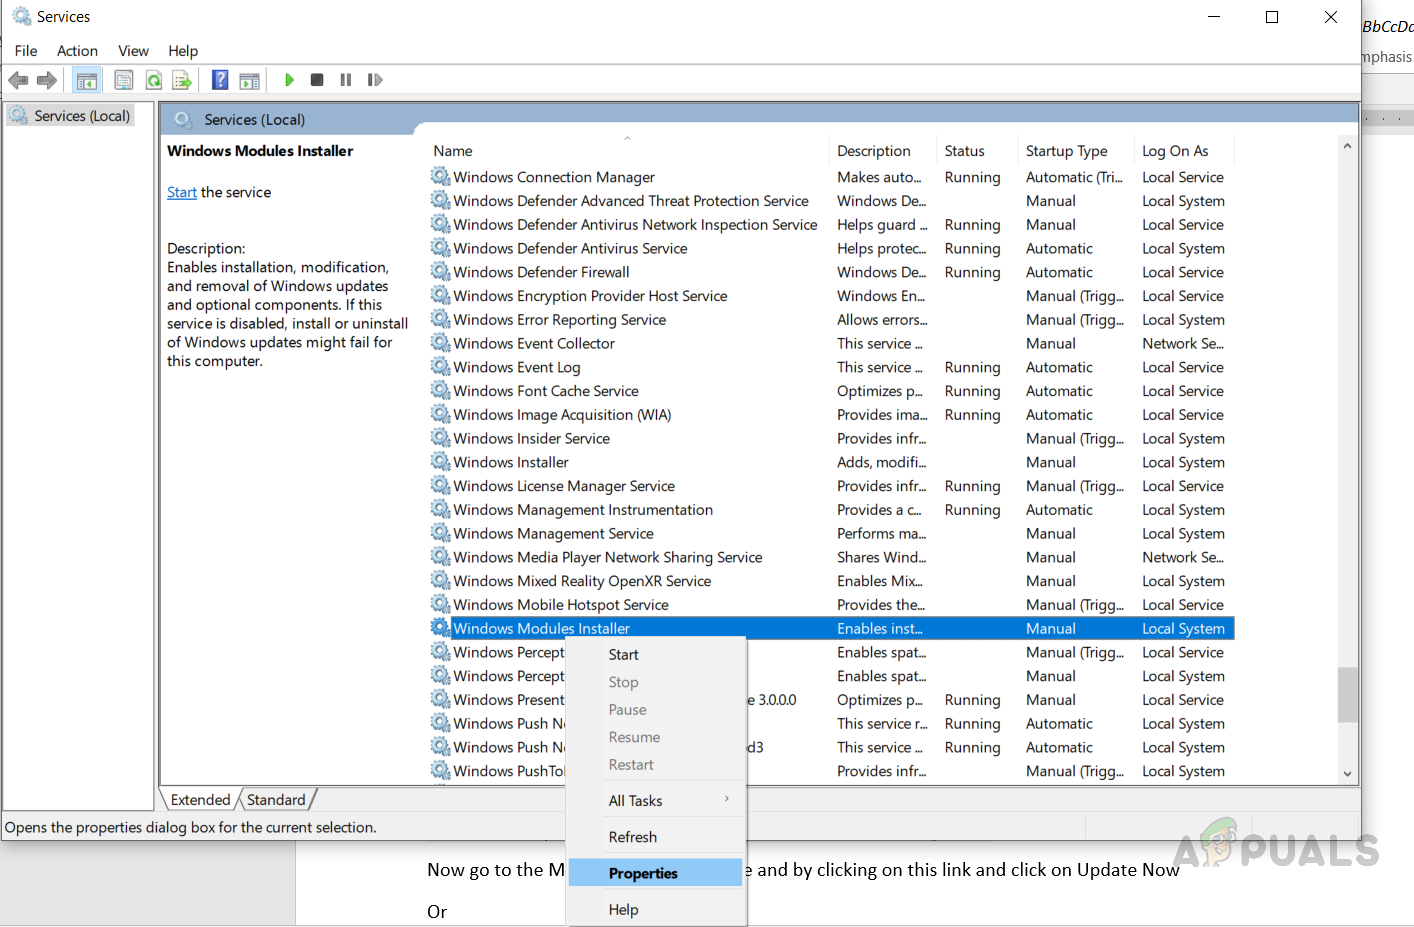
Open Windows Module Installer Properties - Change the startup type to Manual and then restart the computer.
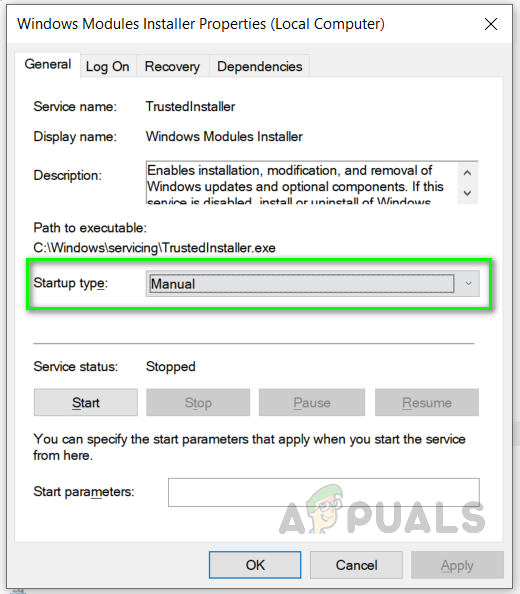
Change the Startup type to manual - Now try to Rename the CBS.log file as instructed in step and then again restart the computer.
- Once restarted change the Windows Module Installer Startup Type to Automatic.
- Now go to the Microsoft Oficial website and by clicking on this link and click on the Update Now button.
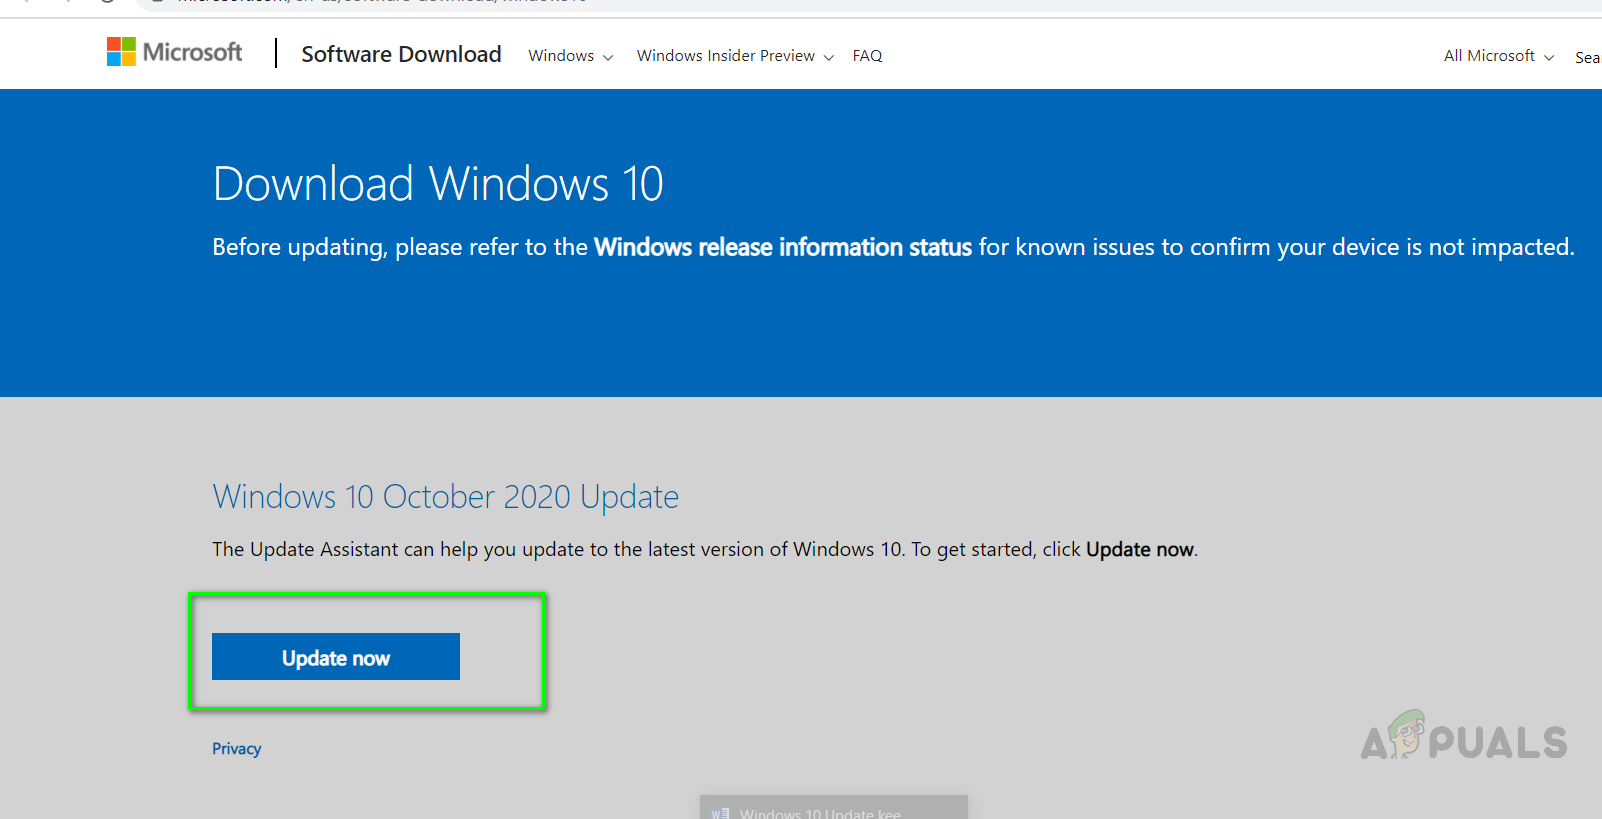
Click Update now
Method 2: Perform a Repair Install of Windows 10
In this method, we will perform a repair install of Windows 10. This method allows an in-place upgrade without losing anything other than all installed Windows Updates. You will keep all the previously installed applications and programs since an in-place upgrade works the same as a normal upgrade. You do not need to go into boot or Safe Mode to perform this upgrade, it can be done directly from the Windows Environment. You will need to make sure that you have the following available:
- At least 9GB of free space on the drive where Windows is installed
- An installation media (CD or Bootable USB) which has the same .ISO image file that is already installed on your computer including the exact same edition and build
- The installation media should be in the same language as the system default language of your currently installed Windows.
- The .ISO image should be the same as your current Windows architecture, i.e. if you have 32-bit Windows installed the .ISO should be 32-bit as well and if you have the 64-bit version installed then .ISO image should also be the 64-bit version.
- You should be logged in as an Administrator account to perform this upgrade
- Download the Windows .ISO file and mount it by
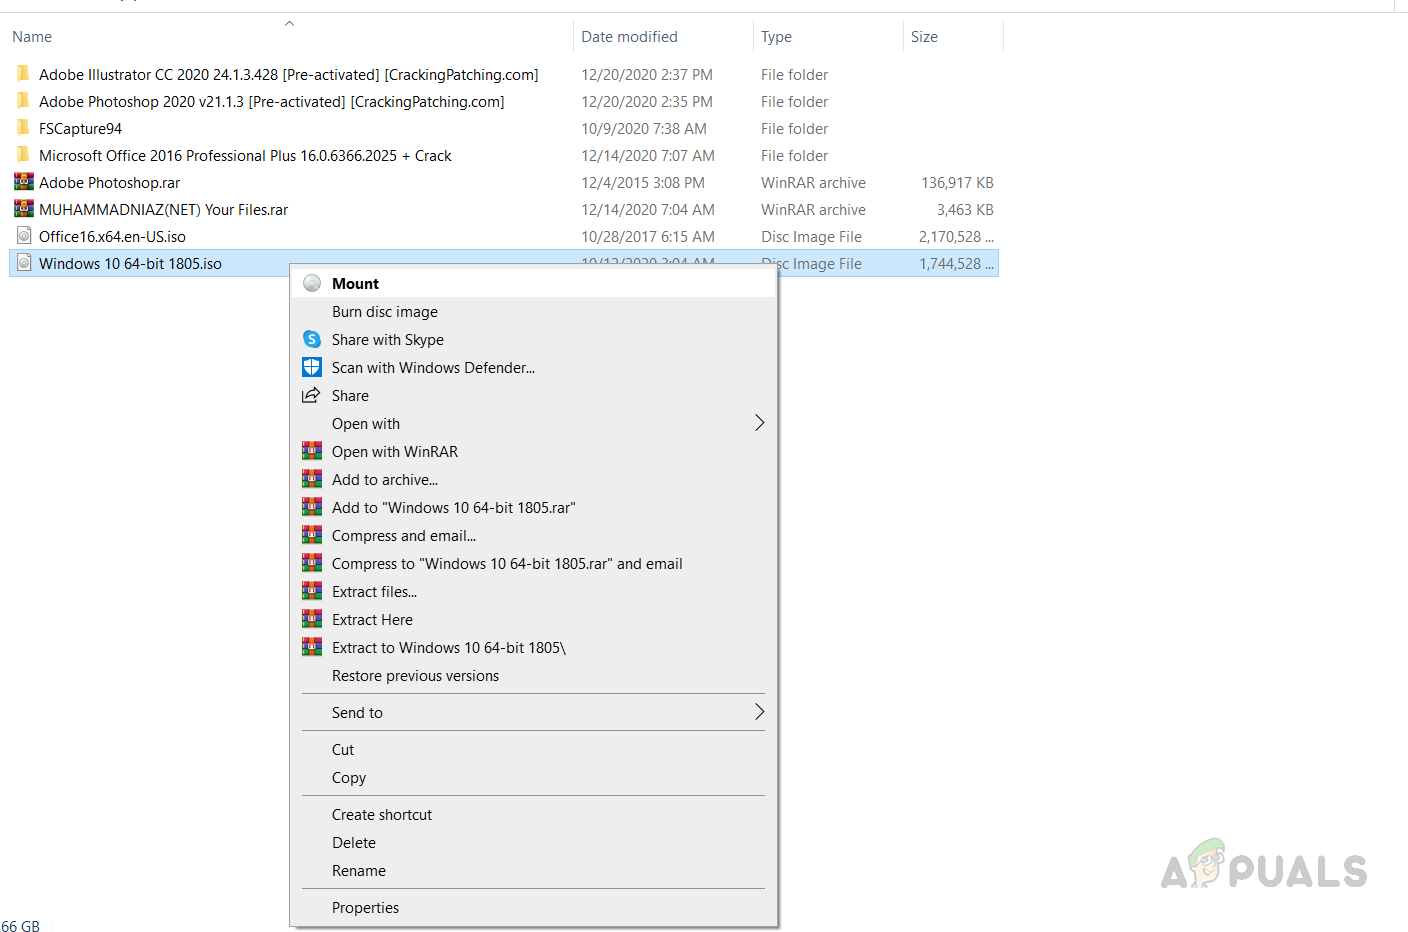
Right-click the ISO image file and then click Mount - If you do not see the Mount option then click the Open with option and select Windows Explorer. This will mount the .ISO file.
- Once the Image File has been mounted you will be able to see it in the My Computer
Windows 10 mounted image - Open the Drive which has the mounted .ISO file and run setup.exe to start Windows Setup.
- If a dialog box appears that prompts you to allow the program to make changes click Yes.
- You will see a message box that says Windows is preparing the setup.
- Once the preparation is done click on Change how Windows Setup downloads updates.
- Select the option not right now and click Next.
- You will see the setup Getting things ready.
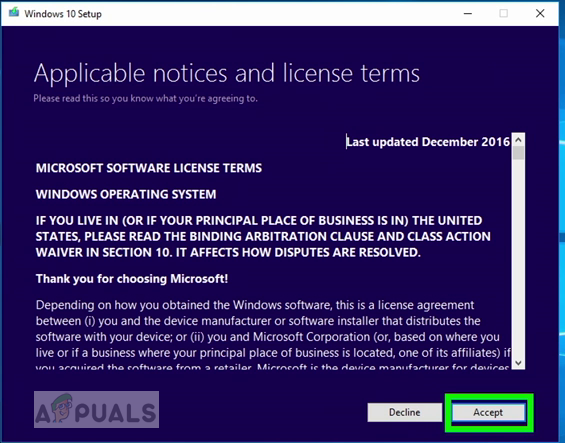
Windows In-Place upgrade getting ready to install - Accept the License Agreement and then the Windows Setup will begin to search for and install any updates
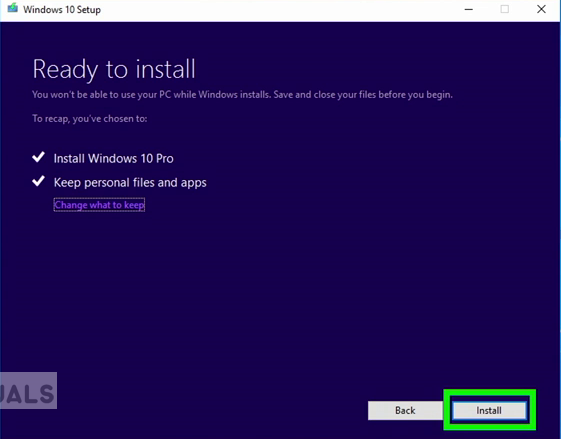
Accept Microsoft License Agreement - When updates are ready, click on the Install button but keep in mind once you click the install button you will not be able to cancel the process until updates have been installed.
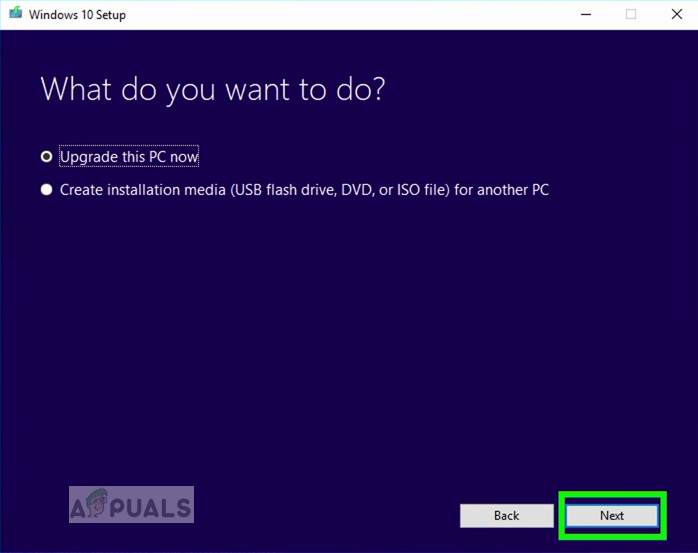
Choose Upgrade this PC now - You will be prompted to choose whether you want to keep your files and apps or not, choose the appropriate option and click Next.
- Windows Setup will start the process of in place upgrade to repair the Windows.
- Once the process is finished you will then be taken to the Sign-in screen.

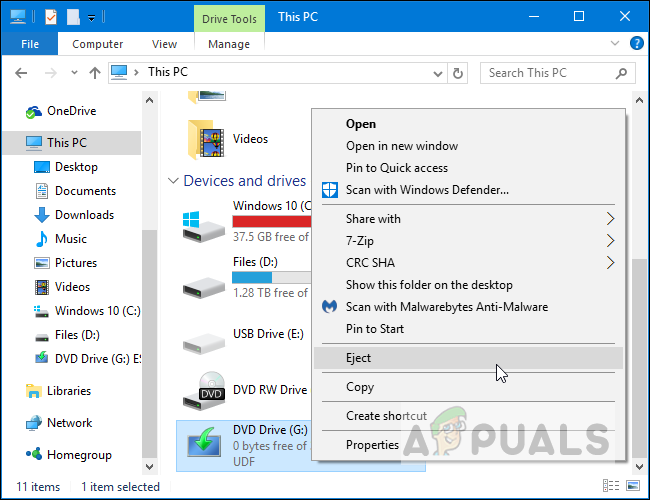
Windows Sign-In Screen - Make sure you unmount the Image file and set up the Time and Date according to your Time zone.
- Now go to Command Prompt and Run as Administrator.
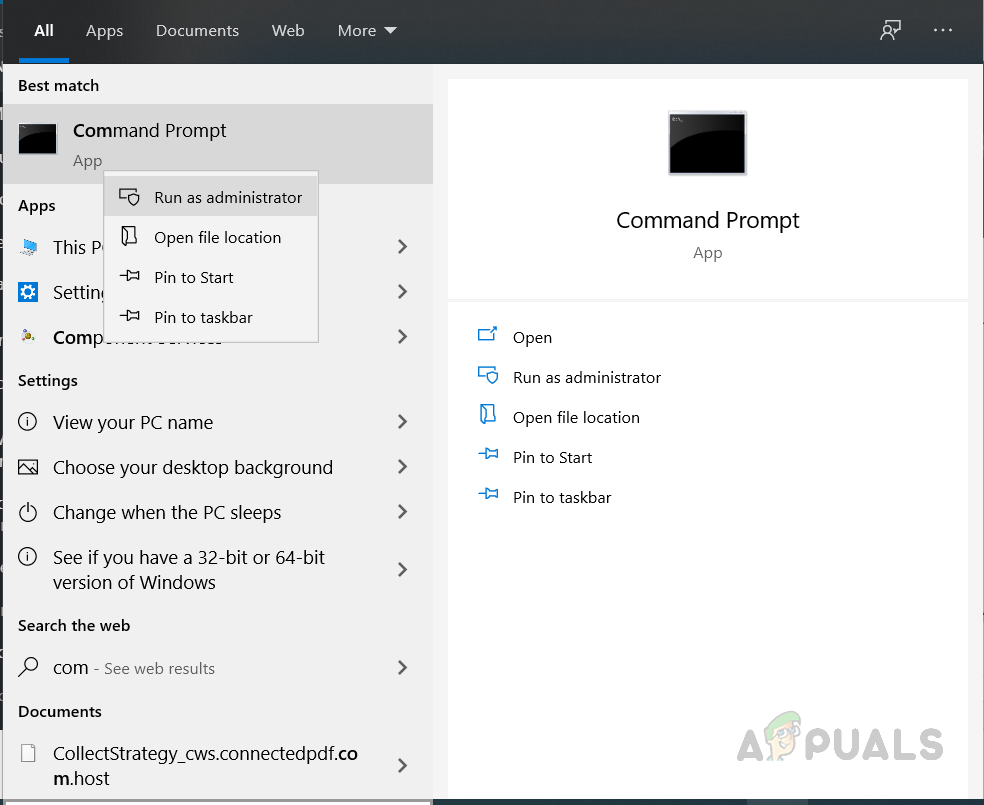
Open Command Prompt as Administrator - Enter the command sfc /scannow to repair the missing or corrupted files
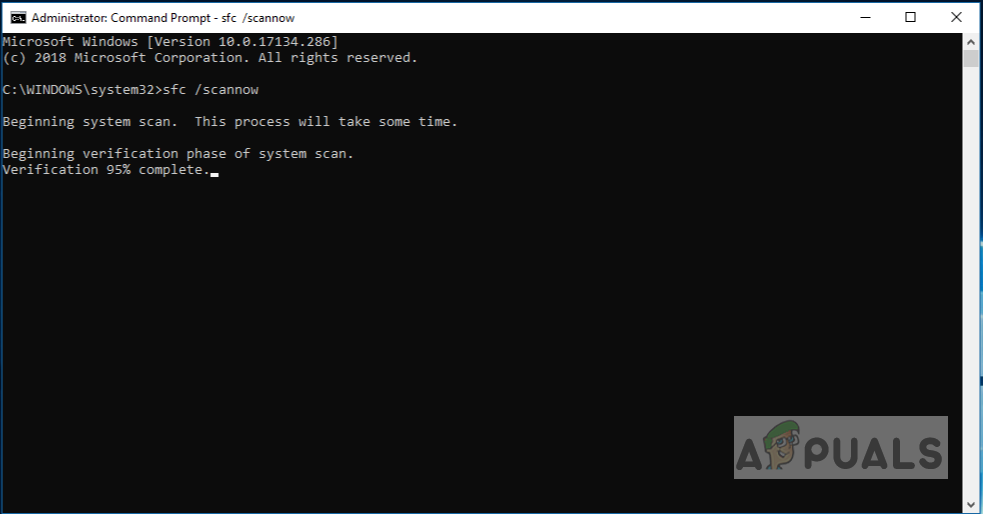
Run sfc scannow - Now Turn off the Fast Startup Option if you have it enabled, open the Control Panel in Icons view and click on Power Options
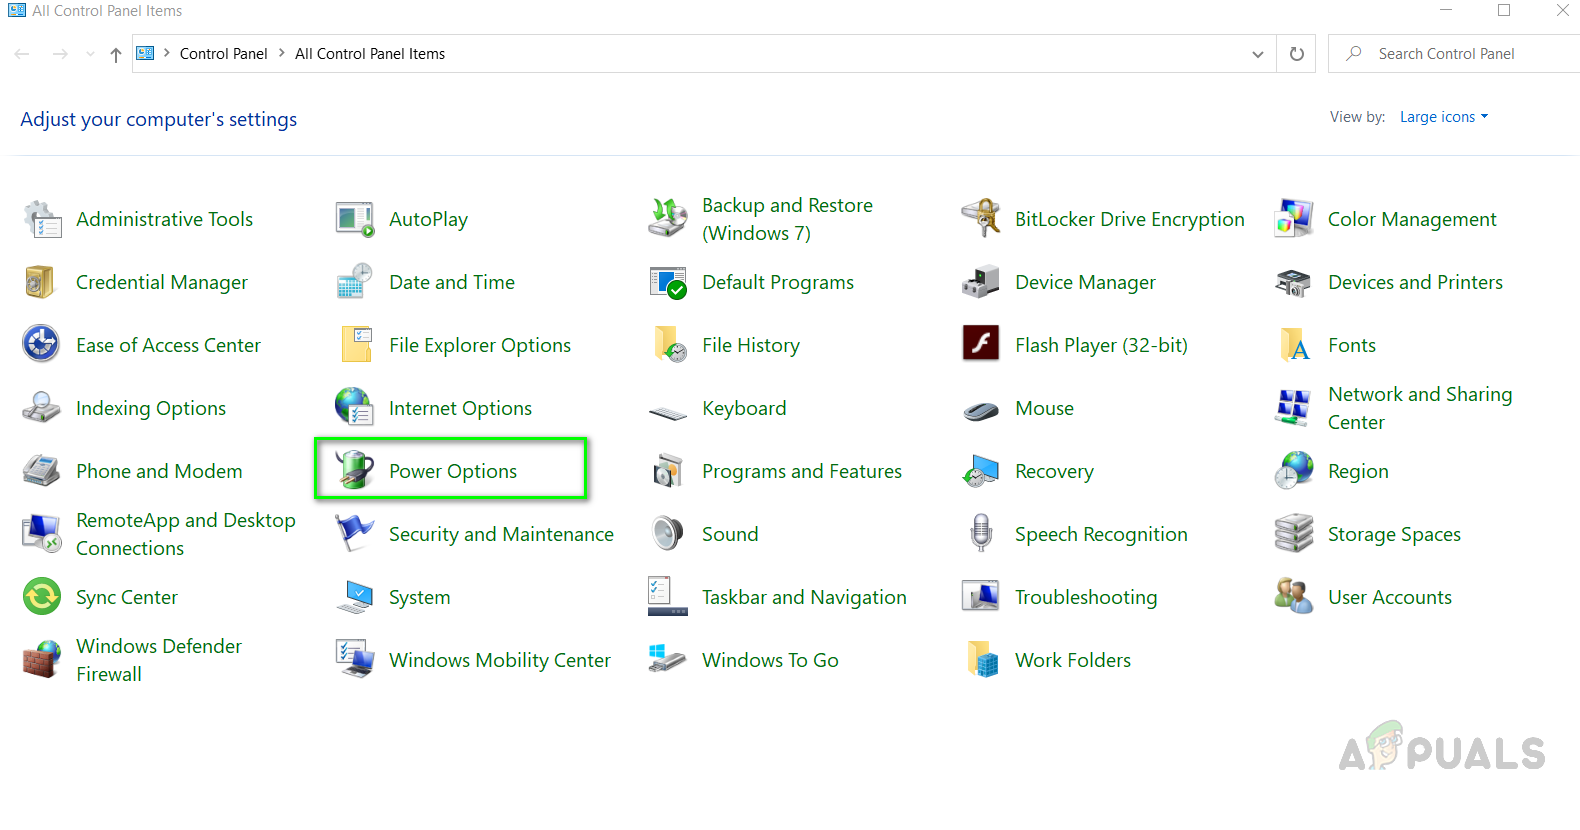
Control Panel icons view - Click the option Choose what the power buttons do.
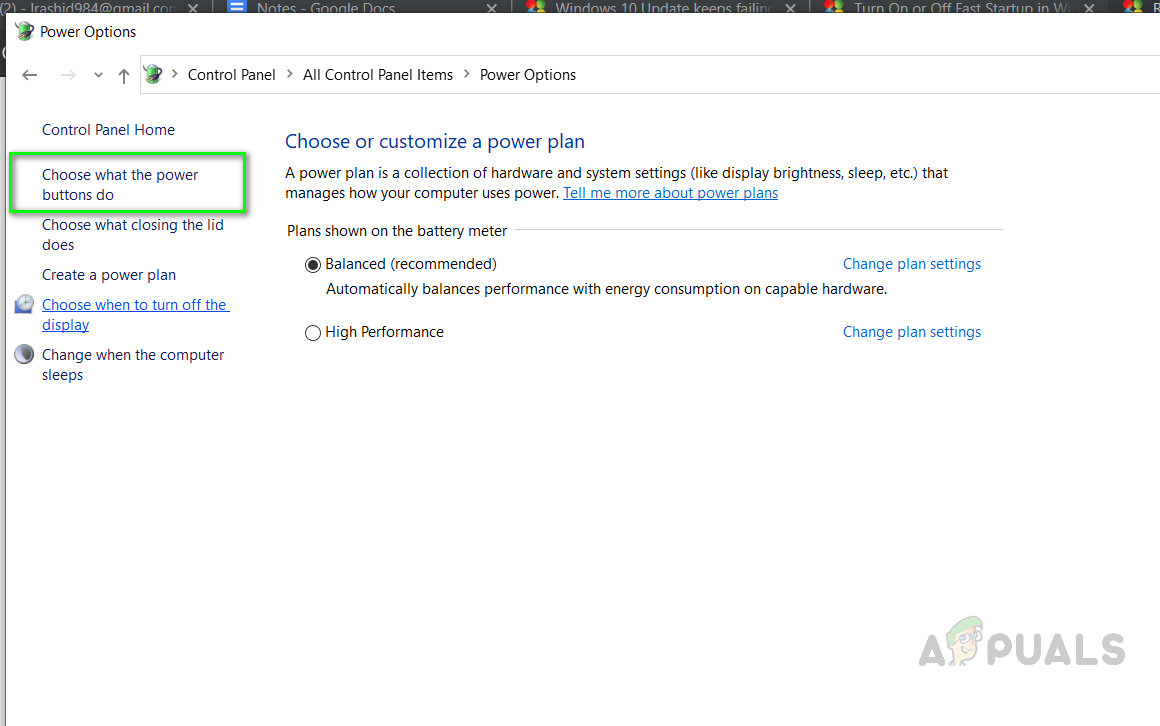
Click Choose what the power buttons do - Click on the link that says change settings that are currently unavailable

Change settings that are currently unavailable - Under the Shutdown settings, uncheck the Turn on Fast Startup box and then click the Save Changes button to apply changes
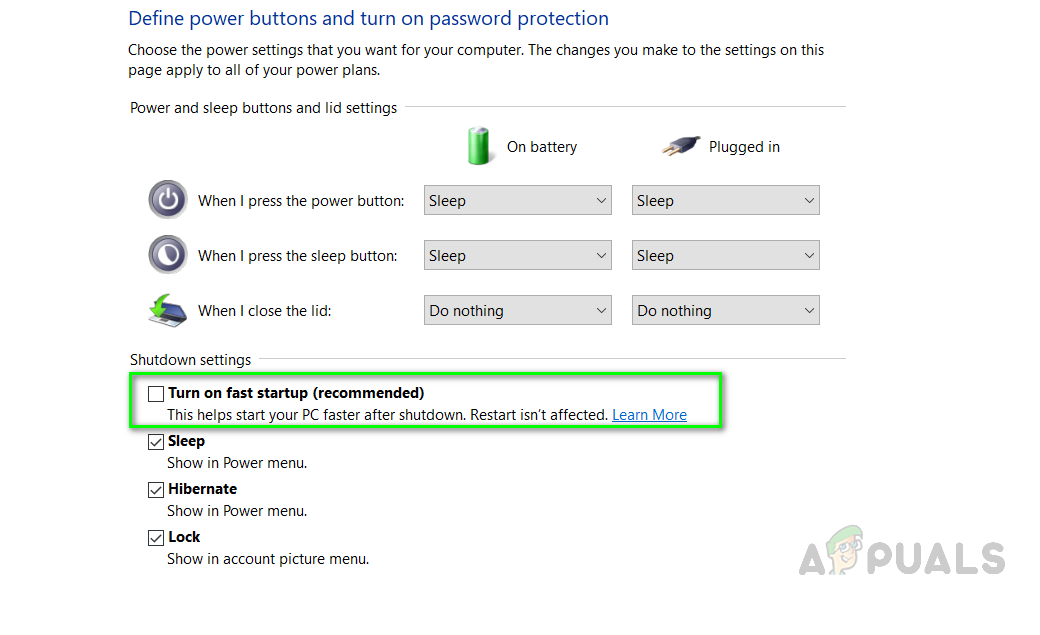
Uncheck Turn on fast start up


I had win 7 with ‘0x8007001f – 0x20006’ ’The installation failed in safe OS phase with an error during REPLICATE_OC operation’ error that kept failling to upgrade to win 10. (when using the windows 10 media creation tool, the install of win10 was successful with the windows 10 media creation tool (blue screen), but when computer restarted and tryed to update, it failed at 15% every time and reverted back to win 7)
At first I though it was some simple stuff is antivirus blocking upgrade or maybe running the windows 10 media creation tool in administrator mode or meddling with some settings inside the windows 10 media creation tool like telling it not to patch drivers right away or unplugging extra stuff from computer or stuff like that. (none of that worked)
I did read some guides saying you had to update drivers or have windows 7 to the latest patch for the upgrade to win10 to work…my though is that those are crappy advices and I lost lot of time on that. (none of that worked)
My thinking is that the issue seemed to be that my win 7 was old and got some files corrupted.
sfc /scannow (in cmd administrator mode) was unable to fix the issue, but it showed that some files were corrupted.
I fixed the issue by getting a win7 recovery iso (you can get it inside win7)=>doing a clean win7 install with the default factory settings (lost every files on the hard drive and got an hard drive with only win7 on it)
(don’t forget to save bookmarks and whatever you wanna save on a usb stick or whatever before using win7 iso)
(I didn’t want to use windows 10 media creation tool in order to go directly to win10 (with the option to only keep win10, no files, nor application) in case something went wrong, I wasn’t sure I would have a way to go back)
Then used the windows 10 media creation tool (after I had a clean not corrupted win7)(didn’t even update driver nor get any win7 updates nor unplug anything if I remember correctly) and it worked like a charm. The process to install win 10 from win 7 restarted my computer 3 times I think…unsure… After my computer booted with win 10 OS, stuff (correct drivers and win 10 updates) updated on my computer really fast and well directly from windows updates and it was really fast.
Note: I thought about updating directly to windows 11, but I am glad I didn’t do so, win10 has a tool called Windows11InstallationAssistant and it checks if your computer has the prequisites for windows 11. It seems that my computer have some parts that are not supported by windows 11 and the tool detected that.
Note2: Hope that me writting this can help some ppl.
Have a nice day,