Fix: Wificx.sys Blue Screen of Death on Windows 10/11
The wificx.sys BSOD is related to the Wi-Fi WDF class extension, which assists users in writing a driver for their Wi-Fi devices. The Wificx.sys BSOD has recently been causing frequent crashes within the system, and some common caused behind the error are corrupt human interface devices, outdated relevant drivers, corruption errors within the system, and outdated BIOS.
Regardless of what might be causing the issue for you, we have listed several troubleshooting methods below that will help you get rid of the problem for good.
1. Disconnect the Human Interface Devices
Before we move on to the system-related solutions, we suggest that you disconnect the human interface devices from the system one by one and check if that makes any difference.
Human interface devices (HIDs) are computer hardware devices that use human input to provide output, such as the keyboard. In quite a few similar cases, the error was caused due to one of these devices being corrupt.
This is why we suggest that you disconnect and uninstall these devices one by one. To find the culprit, repeat the action that triggered the error after removing each device. If the error does not appear after uninstalling a particular device, then that hardware component is most likely the culprit.
However, if this method does not work for you, then it is safe to say that the culprit is within the system. In this case, you can proceed with the troubleshooting methods below.
2. Check for Updates
The next thing you should do is check the system for pending updates. If you are running an outdated system, you are likely to encounter errors and crashes due to the incompatibility of system services with the system.
In case the wificx.sys BSOD is being caused by an outdated system, then installing the available updates should fix the problem.
Here is how to proceed:
- Press the Win + I keys to open Windows Settings.
- Choose Windows Updates from the left pane, and then click on the Check for updates button in the right side of the window.
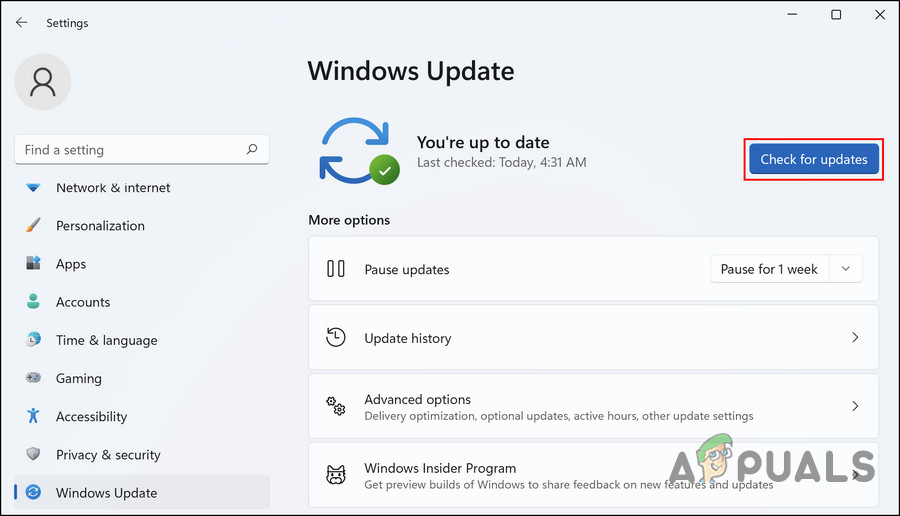
Check the system for available updates - Wait for the system to check for updates, and then install all the pending updates listed. We recommend installing both driver and system updates.
Finally, restart your PC and check if the wificx.sys BSOD appears again.
3. Run System Scans
If you have faced issues like this one before, you might already know that several built-in Windows troubleshooting utilities can come in handy in these situations.
In this method, we will be using the System File Checker (SFC) and Deployment Image Servicing and Management (DISM) utilities, which we will run through Command Prompt. The SFC tool is responsible for scanning the protected system files for potential issues and resolving them. DISM, on the other hand, fixes issues related to the Windows system image and is considered more powerful than the System File Checker.
Follow these steps to proceed:
- Type cmd in the search bar and click on Run as administrator to launch Command Prompt with administrative privileges.
- Inside the Command Prompt window, type the command mentioned below and hit Enter to execute it.
sfc /scannow
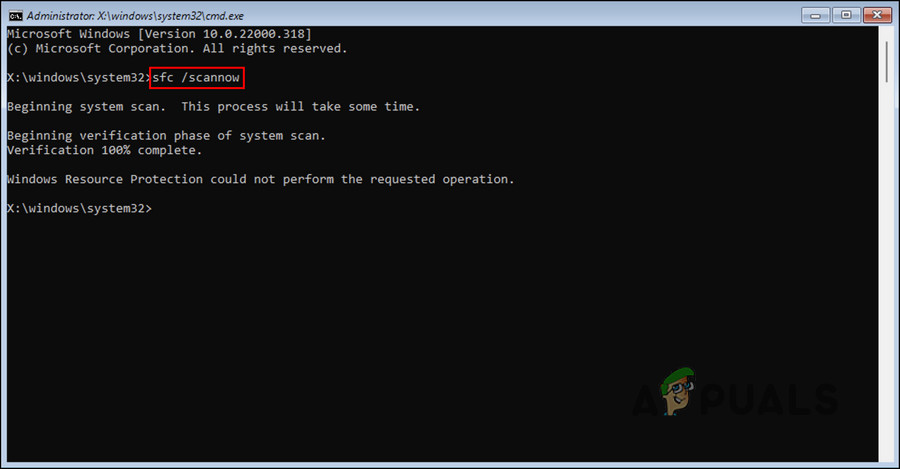
Execute the SFC command - Wait for the process to complete and then restart your computer.
- Then, open Command Prompt again by following the steps above, and execute the DISM command.
Dism /Online /Cleanup-Image /RestoreHealth
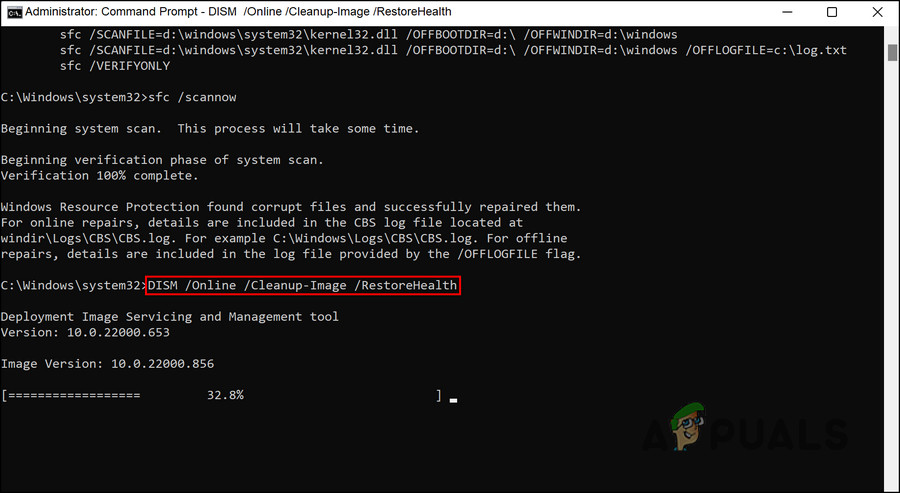
Execute the DISM command - Now, restart your PC again and check if the issue is resolved.
4. Disable Third-Party Antivirus Programs
If you are using a third-party antivirus solution, then there is also a chance that it is interfering with the system processes, leading to the error at hand.
This is especially common with Avast antivirus, so we recommend that you disable or uninstall it, and then check if the error appears again. The same goes for any other third-party security programs that you might be using.
All you need to do is right-click on the antivirus icon in the taskbar and choose Disable until the next restart. If disabling the security program fixes the issue for you, then you can consider switching to another service to prevent this issue from happening in the future.
5. Reinstall Drivers
As we mentioned earlier, this wificx.sys BSOD commonly pops up when the relevant drivers are not functioning properly. In the case of wificx.sys error, the NVIDIA GPU driver was causing the problem, and users managed to fix it by reinstalling these drivers from scratch.
We will be using the Display Driver Uninstaller (DDU) to uninstall the GPU driver in this method.
Here is what you need to do:
- Boot into Safe Mode as the first step.
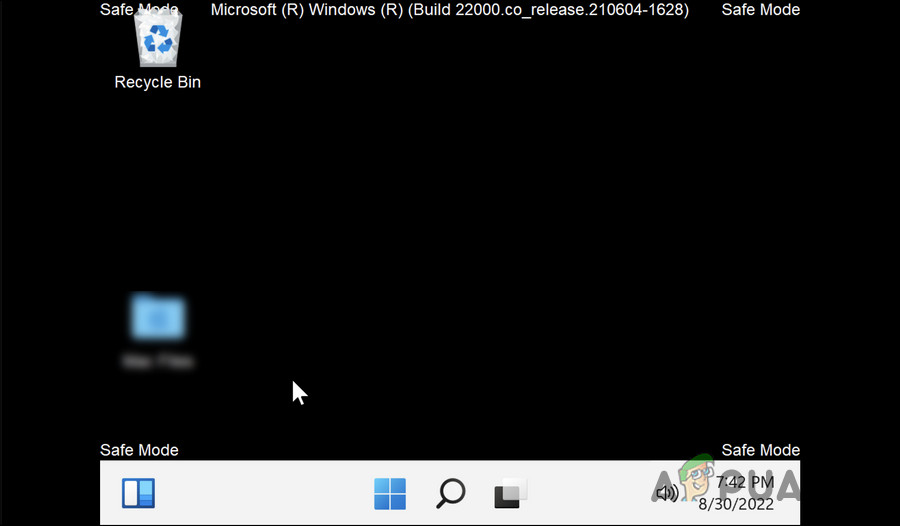
Safe mode in Windows - Once you are in the Safe Mode, install the Display Driver Uninstaller
- After the file is downloaded, extract it.
- You should see a 7-zip file after extraction. Double-click on it.
- It will extract again and then you will have the uninstaller ready.
- Right-click on the uninstaller and choose Run as administrator.
- In the following dialog, expand the dropdown for Select device and choose NVIDIA.
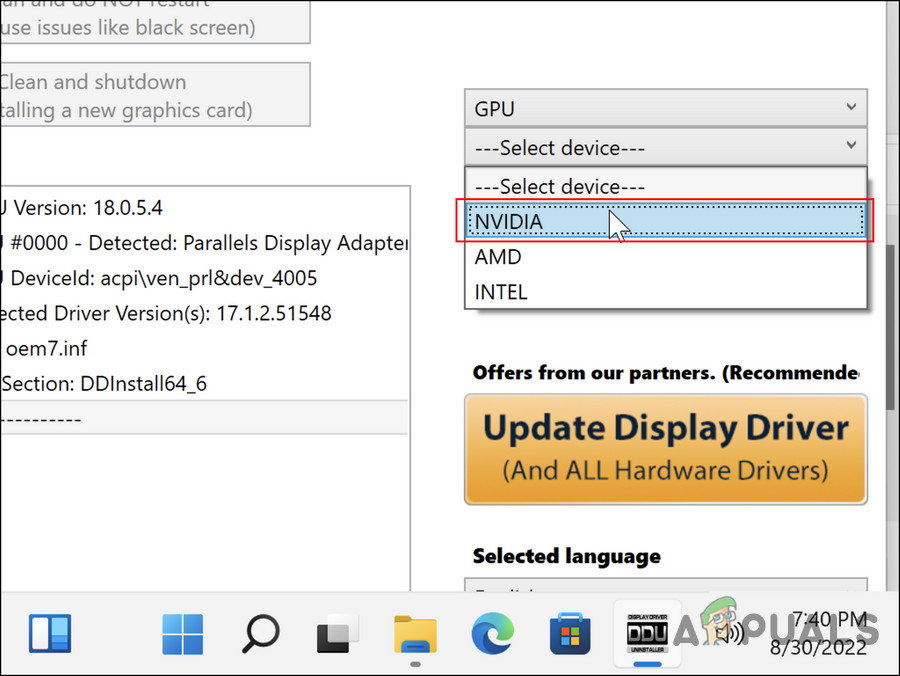
Choose NVIDIA graphics driver - Click on Clear and Restart and wait for the process to complete.
- Upon reboot, reinstall the driver from the manufacturer’s website.
Hopefully, you will not face the wificx.sys after reinstalling the driver.
6. Update BIOS
The issue might also occur if you are using an outdated BIOS version. If this applies to you, install the latest BIOS update to fix the wificx.sys error.
Follow these steps to proceed:
- Type cmd in Windows search and choose Run as administrator to launch Command Prompt with administrative privileges.
- Once you are inside the Command Prompt, type the mentioned below and hit Enter to execute it.
wmic bios get smbiosbiosversion

Find your BIOS version - Next, note down the BIOS version.
- Visit the OEM website of your device and access the download section.
- Enter your device details and check for updates.
- Download the update if available.

Download the latest BIOS version - Once the file is downloaded, follow the instructions in the readme.txt file to extract the downloaded file.
Once the BIOS is updated, hopefully, the wificx.sys BSOD will be resolved.


