How to Fix WIFI Icon is Missing on Windows 11?
The disappearance of the WiFi icon on Windows 11 typically indicates that the system is unable to detect or connect to a wireless network. This issue usually occurs because the operating system fails to recognize the wireless network adapter, often due to outdated or corrupted drivers.
Additionally, system updates or specific power management settings that disable the adapter to conserve energy can also trigger this problem. In some cases, the issue may arise after the system wakes up from sleep mode or after a restart.
Run the Network Troubleshooter
The first thing that you should do when you are facing this problem is to run the network troubleshooter. Windows comes with a list of built-in troubleshooters that can sometimes help you fix basic problems. While the troubleshooters are not good for issues that are a bit complicated, for a problem like this, the Windows Network Troubleshooter is a perfect fit and it can often locate why you are facing this issue. Thus, running the network troubleshooter should be the first step you take.
- First of all, open up the Windows Settings app by pressing the Windows key + I on your keyboard.
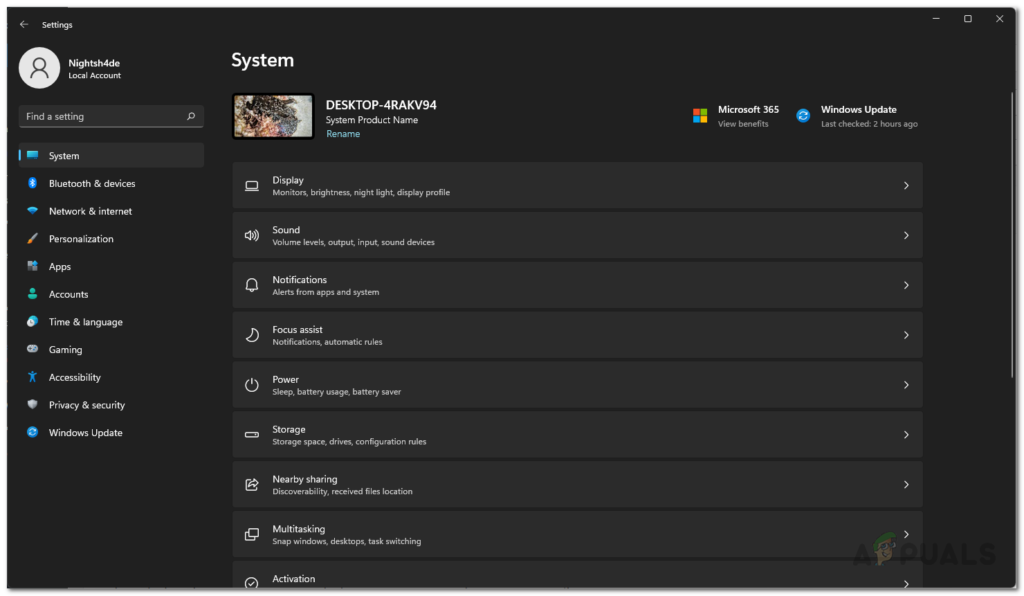
- Then, on the System tab of the Settings window, scroll down a little until you see the Troubleshoot option provided. Open it up.
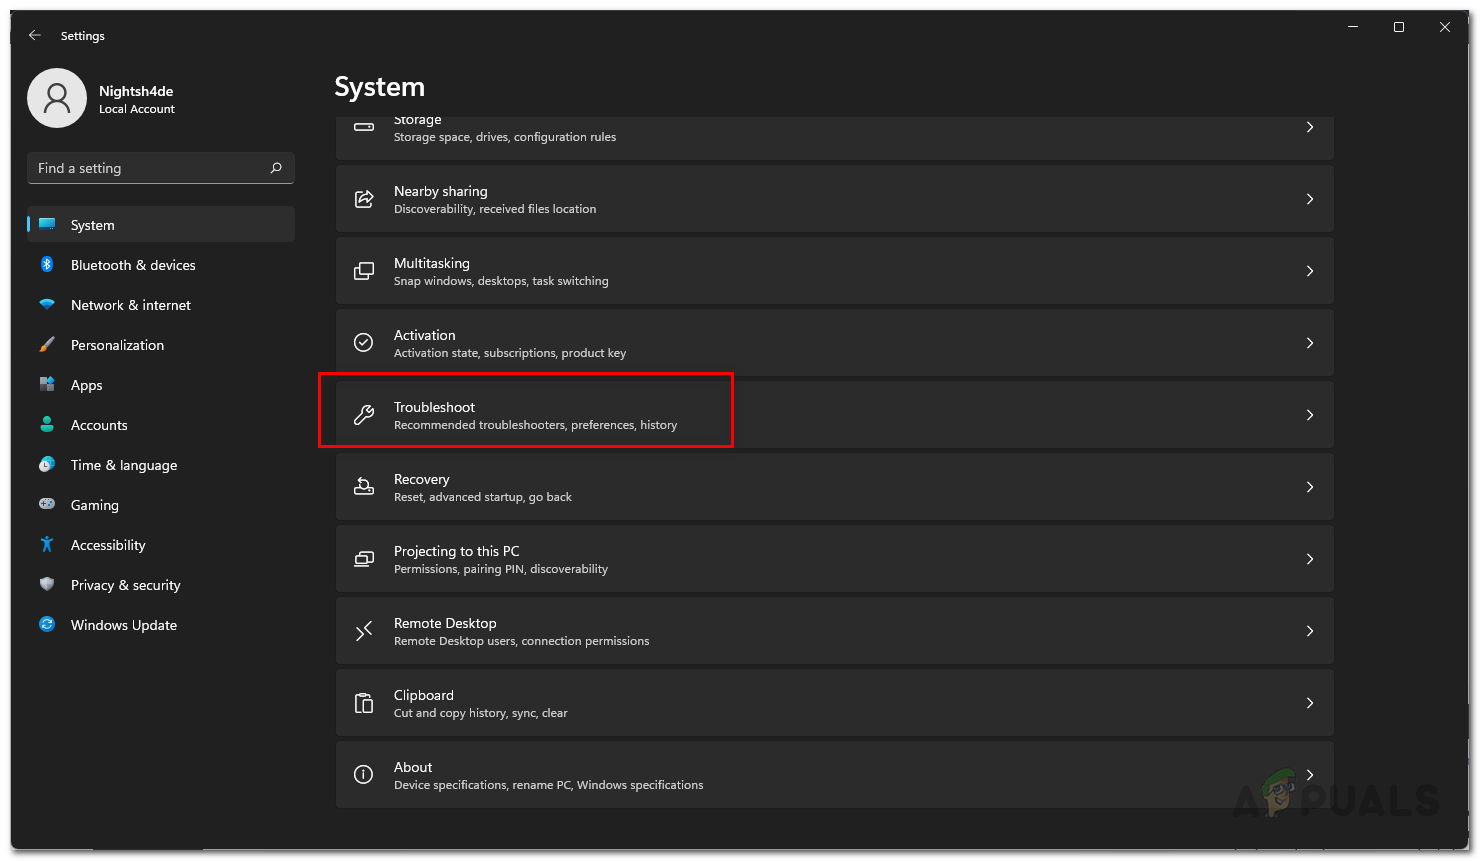
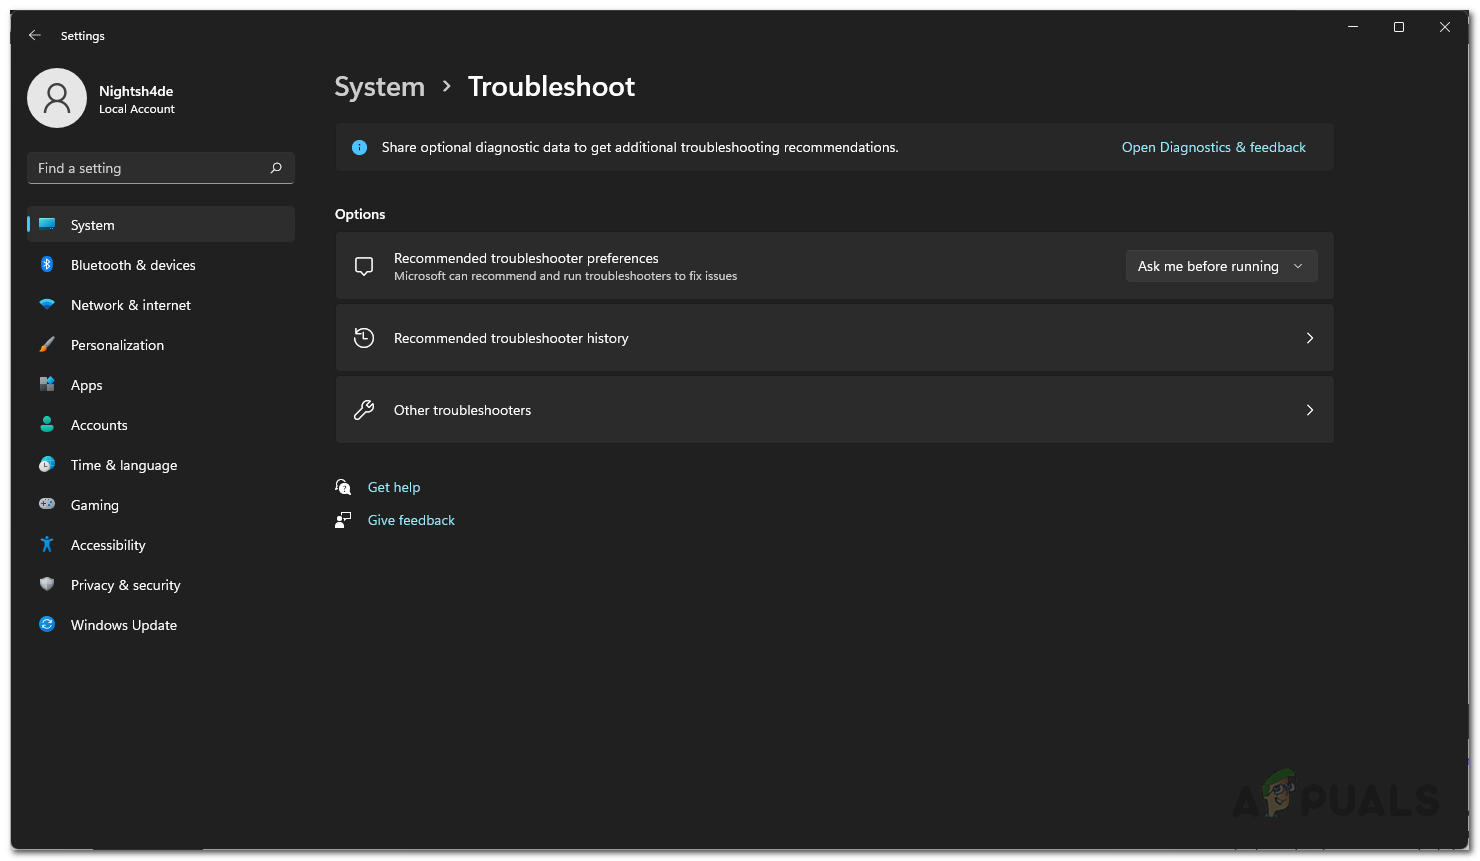
Opening up Troubleshoot Settings - After that, on the Troubleshoot screen, click on the Other troubleshooters option.
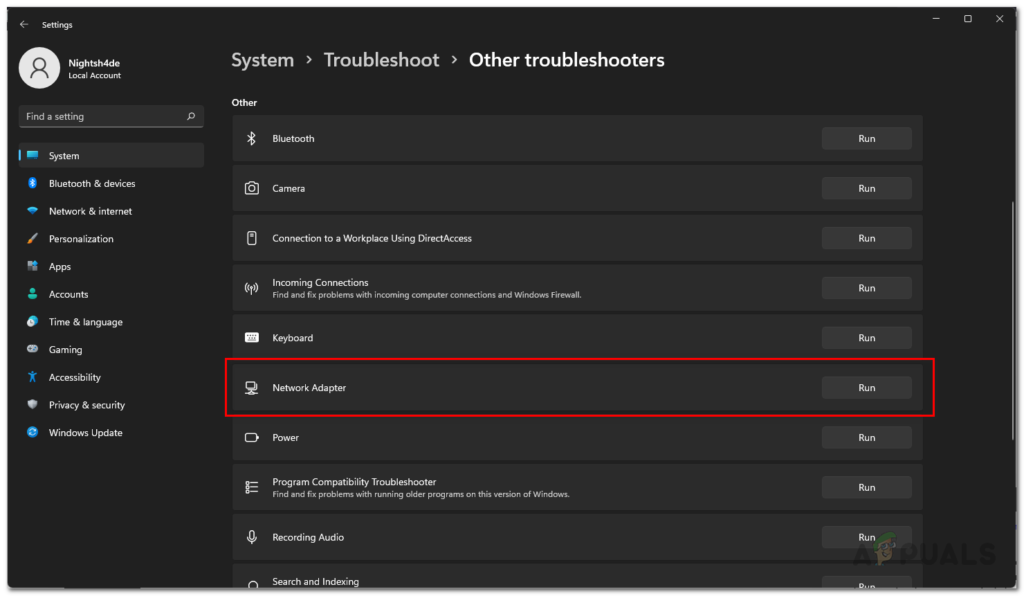
Navigating to Other Troubleshooters - Now, you should see a list of troubleshooters. Scroll down and look for the Network Adapter troubleshooter.
- Once you have located it, click the Run button next to it.
Running the Network Adapter Troubleshooter - Wait for the troubleshooter to finish scanning your system and look for any problems. If it has detected any problems, you will be shown the issue. If it is something the troubleshooter can fix, there will be an option provided. Otherwise, you will be only shown the details of the problem that you can use to resolve the issue on your own.
Check WiFi Adapter
One of the reasons that you may encounter this problem is if the WiFi adapter on your system is disabled. The WiFi adapter is essentially responsible for establishing a connection to your network through the wireless card or dongle. If the adapter is disabled from the settings menu, you will not be shown the WiFi icon on the taskbar.
- First of all, open up the Windows Settings app again by pressing the Windows key + I.
- On the left-hand side of the Settings window, switch to the Network and Internet tab.
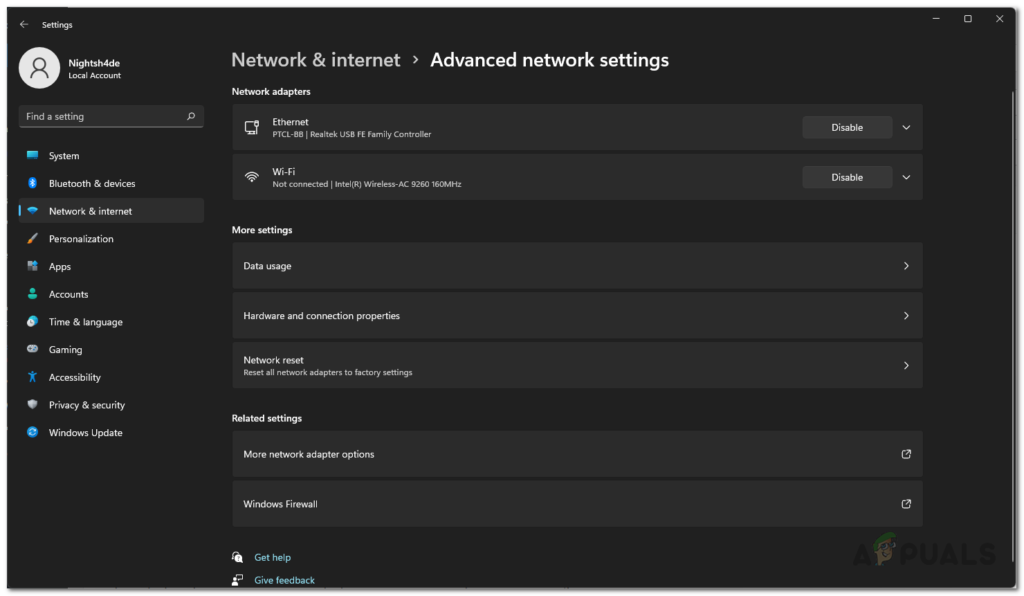
Windows Settings - There, scroll down and click on the Advanced network settings option.

Navigating to Advanced Network Settings - Then, under Related settings, click on the More network adapter options option provided.
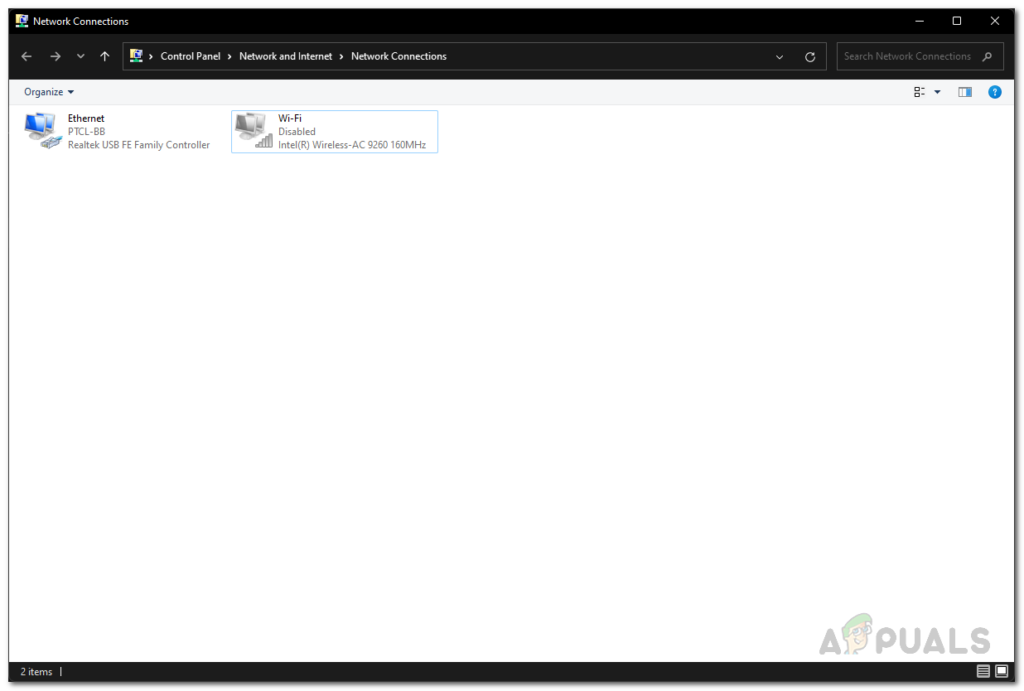
Opening up Network Connections Window - This will open up a new Network Connections window where all of your network adapters will be shown.
- Look for your WiFi adapter and make sure it isn’t disabled. If it is disabled, the adapter will be greyed out.
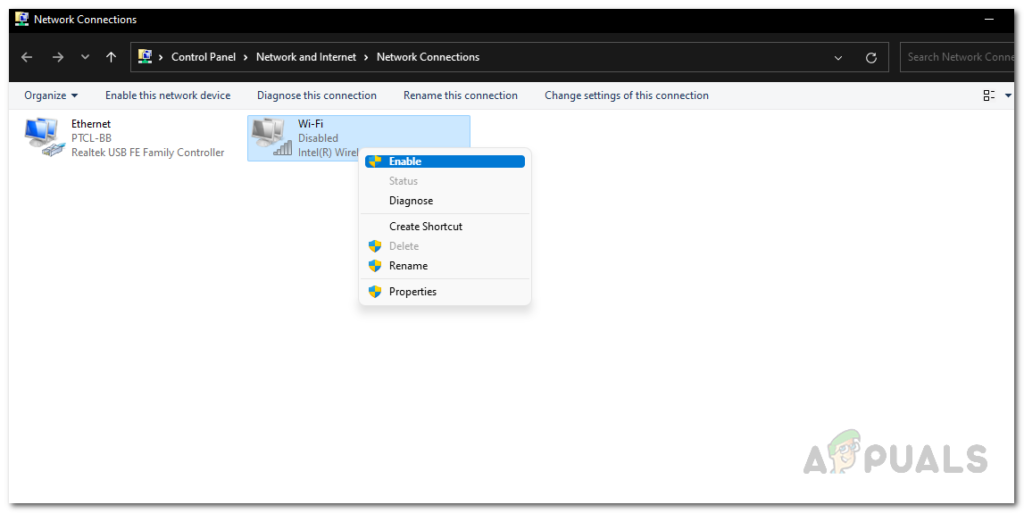
Network Adapters - Right-click on the adapter if it is disabled, and from the drop-down menu, click on the Enable option.
Enabling WiFi Adapter - Wait for it to enable, and then see if you get the WiFi icon on the taskbar.
Reinstall WiFi Drivers
As mentioned earlier, one of the reasons you might be missing the WiFi icon is when you do not have the required drivers installed on your computer. Additionally, if the WiFi drivers installed aren’t functioning properly, you won’t see a WiFi icon on your taskbar. To resolve this issue, you will have to reinstall the WiFi drivers on your computer.
As it turns out, there are actually two ways you can go about this. First, you can uninstall the drivers and then have Windows install the required drivers automatically. While this is an easy process because it is automatically done by Windows, there’s a catch. The caveat is that, in some cases, the drivers installed by Windows may not be appropriate for your wireless dongle/card, which can cause compatibility issues, and thus the WiFi will not work on your system. This is where the second method comes in.
The second way of installing the WiFi drivers would be to head to your manufacturer’s website and download the latest version available for your device. This certainly is a more manual approach, but it eliminates any possibilities of compatibility issues with the drivers, which is why we recommend going with the second approach.
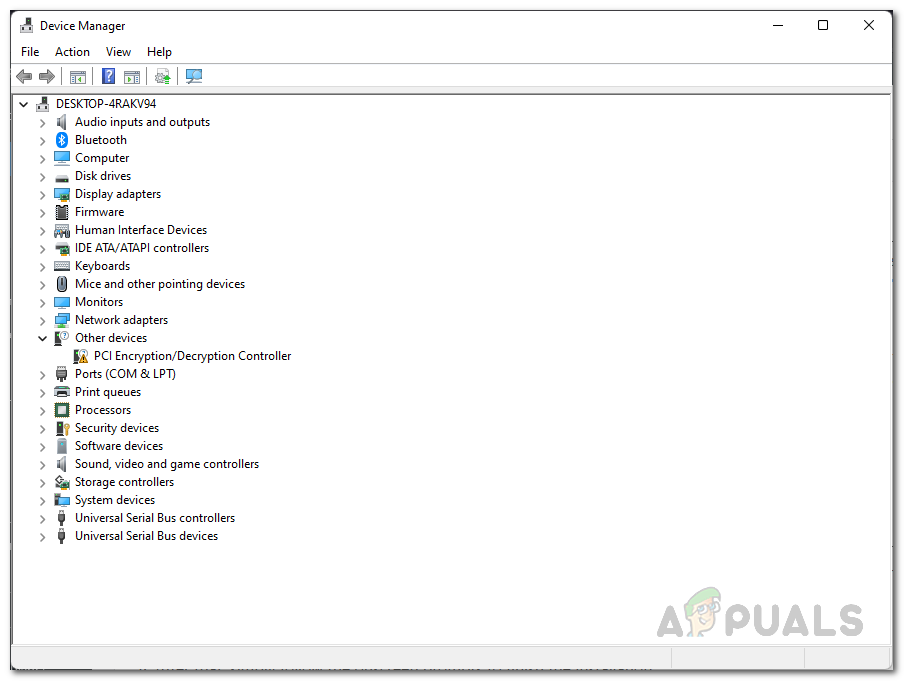
- First of all, open up the Device Manager by searching for it in the Start Menu.
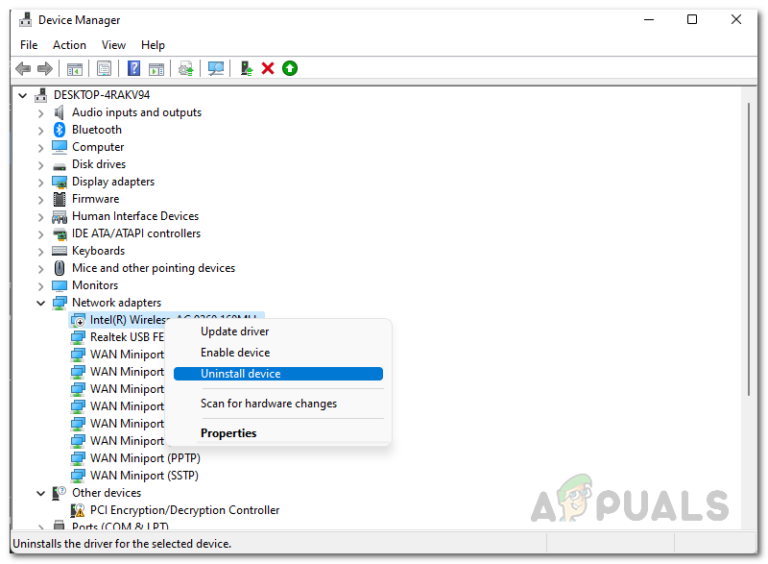
Opening up the Device Manager - Once the Device Manager is up, expand the Network adapters list.
Device Manager - From the list of drivers, right-click on your wireless driver and click the Uninstall device option.
Uninstalling WiFi Driver - Once you have uninstalled the driver, you can go ahead and restart your computer if you wish to let Windows automatically install the drivers. This can potentially fix your issue; however, it isn’t a guarantee.
- If the problem persists even after you have restarted, go ahead and uninstall the newly installed driver again by following the instructions above.
- After that, head to your motherboard’s manufacturer website if it is built into your motherboard and download the latest network drivers available. Install the drivers on your system and then see if the problem persists.


Not working bro!