How to Fix WIFI 6 (Mediatek MT7921) Disconnects Randomly?
There can be various reasons behind disconnecting wifi randomly. It turns out that corrupted or defective driver, interference from third parties and having private connections seems to contribute to randomly disconnecting wifi.

We had researched and found some of the main causes that might be responsible for the appearance of this issue:-
- Defective WIFI Drivers- If the wifi disconnects randomly, it’s most likely due to the corrupted driver that could be installed from the official or any third-party website. According to the affected users, the issue probably occurs when the network drivers get corrupted or defective.
- Having Public Connection- According to the research, a public network connection randomly disconnects the wifi. So it is best to switch on a private connection rather than a public.
- Interference of Third-Party Software- It has been observed that the wifi disconnects randomly due to the interference of the third-party software. It can be either antivirus software or some other application.
- Software Conflicts- In some scenarios, the problem might occur due to the absence of essential services that might not start correctly at the startup. You must perform a clean boot on your operating system to avoid this.
- Outdated Bios- If the issue is not solved after applying all the methods below, we recommend you to check if there is any update available for your motherboard because the error could appear due to the outdated Bios.
1. Reinstall Mediatek MT7921
Most of the time, the problem arises due to a corrupted or defective driver. Most users installed the corrupted drivers from the official website. However, these websites are very responsible, but for some reason, the websites’ drivers were corrupted. According to the affected users, installing the Mediatek MT7921 driver from a third-party such as a driver booster will fix your issue. Here are the steps:-
- Right-click Start Menu and select Device Manager from the listed options
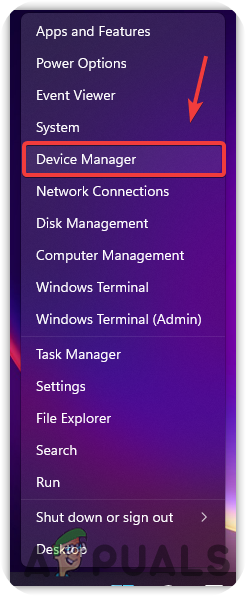
Open Device Manager - Once the device manager is opened, right-click on the network adapter and click Uninstall Device
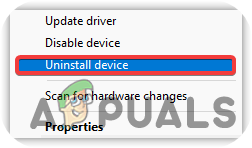
Uninstalling Network Driver - Once it is done, install the latest driver from any trusted third-party website.
2. Reset Network Settings
Incorrect Network Settings and corrupted cache data are one of the main causes that can trigger this issue. Try resetting the network settings, which will set the network settings to default.
Follow the steps to reset Network Settings:-
- Click Start Menu, and type Settings
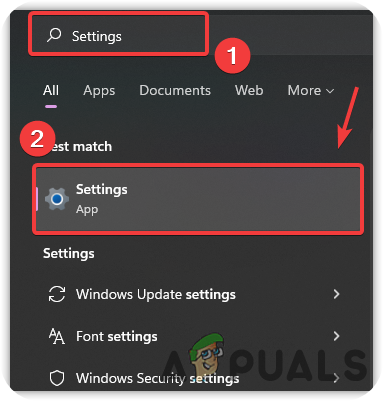
Launching Windows Settings - Open Settings and navigate to Network & Internet > Advanced Network Settings
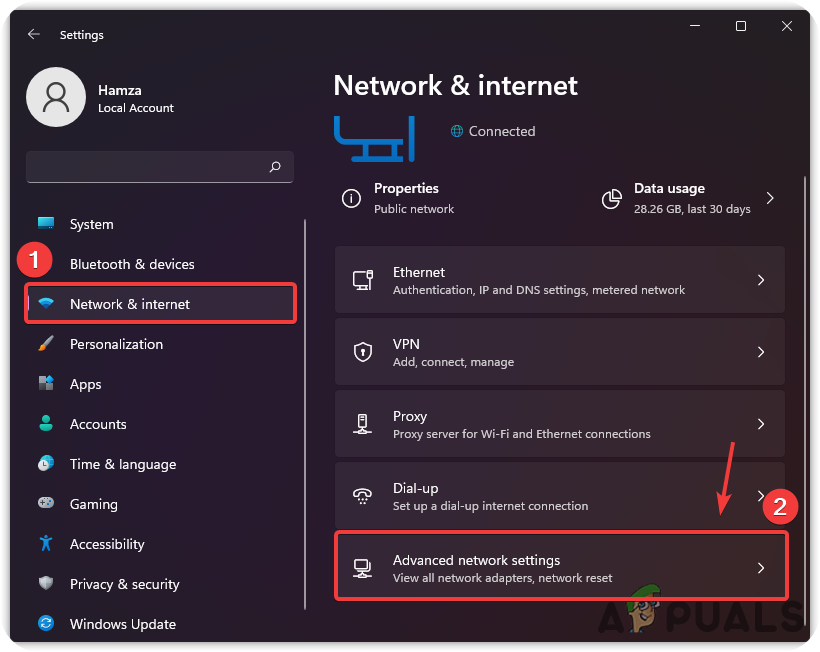
Network Settings to Advanced Network Settings - Click Network Reset under More Settings
- Click Reset Now, and your PC will be Restarted

Reset Network Settings - Now type Command Prompt in the search bar
- Right-click on the command prompt and choose Run as Administrator
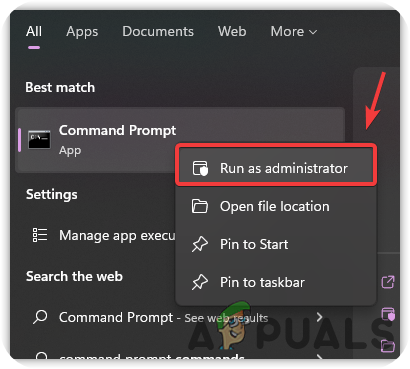
Run Command Prompt in Administrator Mode - In the command prompt, insert the following commands one by one and press Enter
netsh int ip reset
netsh winsock reset
ipconfig /release
ipconfig /renew
ipconfig /flushdns
- Once done, restart your computer and see if the issue persists.
3. Disable Power Management
Power Management controls the network card in sleep mode. It allows the computer to turn off this device to save power ins leep mode. If the network driver is missing, then this setting is helpful. However, the wifi could stop randomly due to this setting. To avoid this, you must uncheck this option by navigating to the device manager.
Below are the instructions to disable Power Management:-
- Right-click Start Menu and select Device Manager from the listed options
Launch Device Manager - Right-click on Network Driver and select Properties
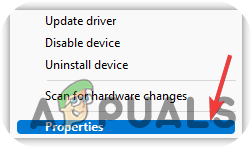
Select Properties - Go to Power Management, and untick the option Allow This Computer To Turn Off This Device to Save Power
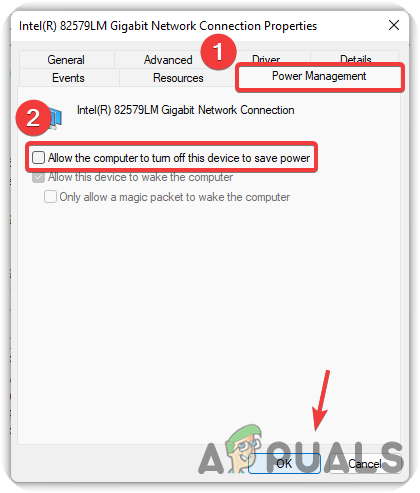
Making Changes Power Management - Once done, close the Windows and check if the WIFI still disconnects randomly.
4. Set Your Connection to Private
As it turns out, having a public connection randomly causes wifi disconnect. So make sure your network setting is set to private if it’s not, you can change it to private as it aids in resolving the wifi disconnect issue.
Below are the steps that will help you to set a Private connection:-
- Open Settings by pressing the Windows + I keys simultaneously
- Once the page loads up, go to Network & Internet
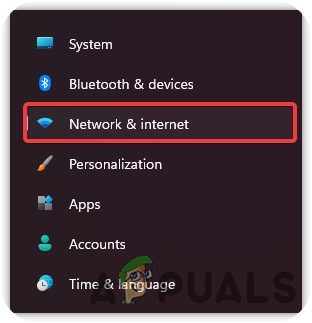
Navigating to Network - Click Ethernet and set the connection to Private
-
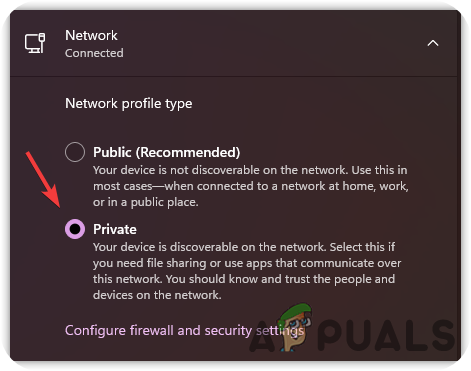
Set Network Connection to Private - Once done, check if the issue persists.
5. Run Network Troubleshooter
If the issue is still there, you may need to run the network troubleshooter utility, which aids in fixing the problems regarding the network adapters. If this does not work, you can follow other steps.
Here are the steps to run Network Troubleshooter:-
- Click Start Menu, and type Settings
- Open Settings, and navigate to System
- Scroll down to the bottom and click Troubleshoot from the list of options
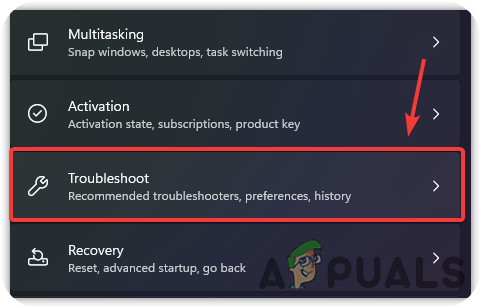
Navigate to Troubleshoot Settings - Click Other Troubleshooters, then click Run on Internet Connection Troubleshooter

Run Network Troubleshoot Utility - Select Troubleshoot My Connection To the Internet
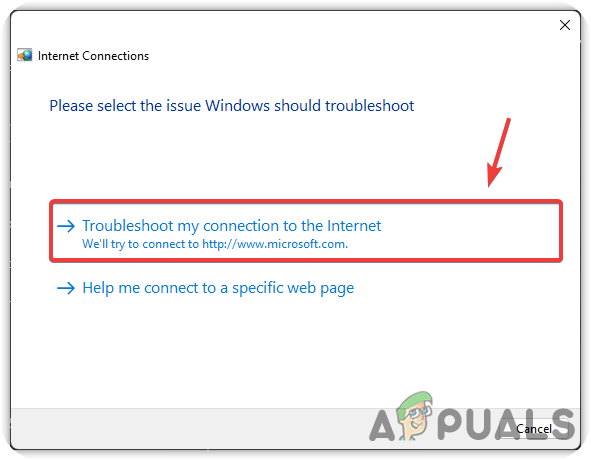
Troubleshooting Network Connection - Once it is finished, check if the issue persists.
6. Uninstall Any Third-party Antivirus
Another solution for fixing this issue is to disable any third-party antivirus, which can halt wifi from working properly. Generally, antivirus has access to block the device drivers. To avoid this, disable any third-party antivirus by following the below steps:-
- To uninstall any third-party Antivirus, click Start Menu and type Add or Remove Programs
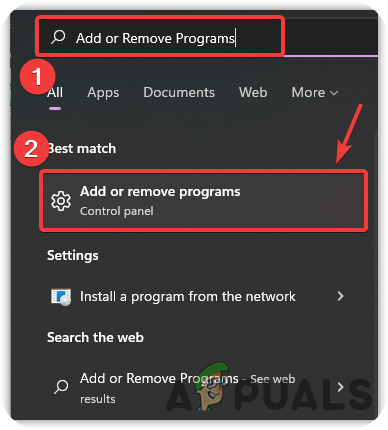
Searching Add or Remove Programs - Open the Settings and search for any third-party Antivirus
- Click on three dots on the right of the antivirus and select Uninstall

Uninstalling Third-Party VPN - Click Uninstall to confirm the action
- Once done, check if the issue is fixed.
7. Perform a Clean Boot
Performing a clean boot will start Windows with the minimum drivers and services. It is used to determine which application or program is interfering. As per the research, the issue could arise due to the interference of the program and services. For that reason, we will disable all the services to see if this fixes the problem. If it is, you have to enable the services half at a time and then restart, then again enable half and then restart. While doing this, make sure to check the appearance of this issue. If the problem arises after enabling the services, that means there is a third-party program that is interfering. You can easily troubleshoot this by enabling or disabling the services. Once you determine the program, delete or disable it from your computer.
Follow the steps to perform a clean boot:-
- To perform a clean boot, open the Run Dialog box by pressing Windows + R keys. Type MSConfig then press Enter

Launching System Configuration - Click on Selective Startup, and go to the Services tab
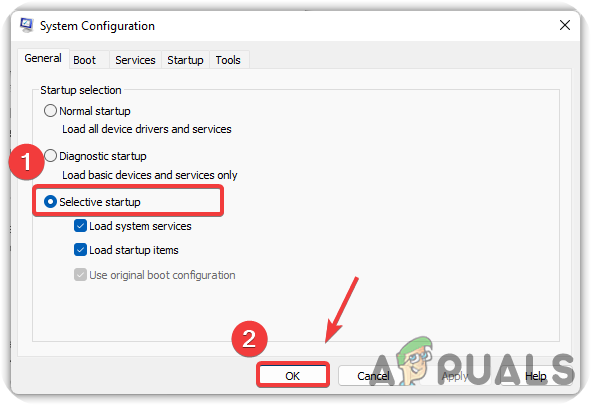
Changing Startup Mode - Tick the option Hide All Microsft Services, then click Disable All
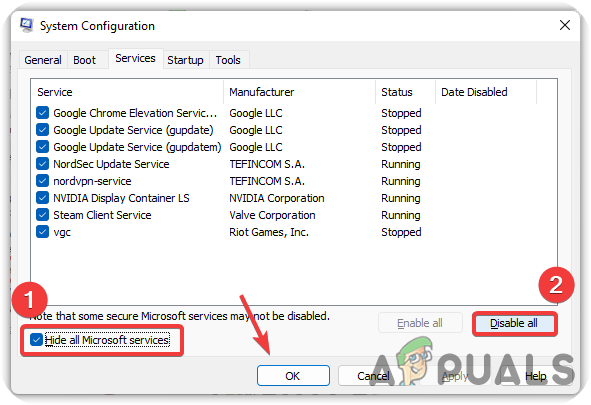
Performing Clean Boot - Once done, Reboot your computer and check if the issue persists.
8. Restart Wifi AutoConfig Service
Wireless Zero Configuration is a service included by Microsoft to manage the wireless connection. It aids in selecting network options based on user preference because this utility manages WIFI connections. We will try it and see if this fixes the wifi disconnect issue randomly.
Below are the steps to restart Wifi AutoConfig Service:-
- Press Windows + R keys on the keyboard to open Run Window
- Type services.msc and press Enter
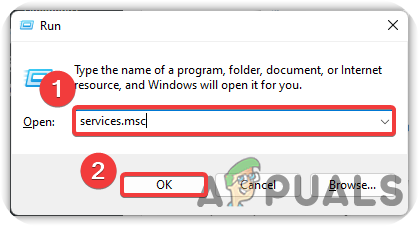
Search to Open Services Tab - Once the service page loads up, find WLAN AutoConfig and right-click on it to select Properties
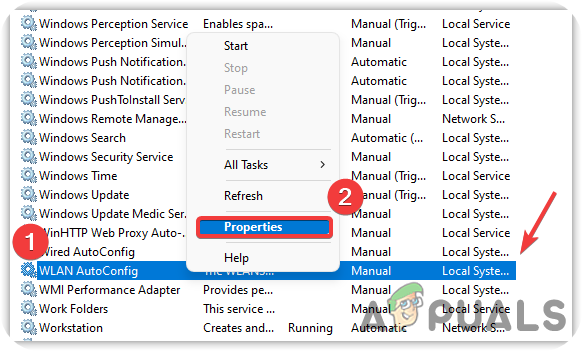
Select Properties - Now change the Startup type from Manual to Automatic, then click Apply
- If the service is stopped, then click the Start button
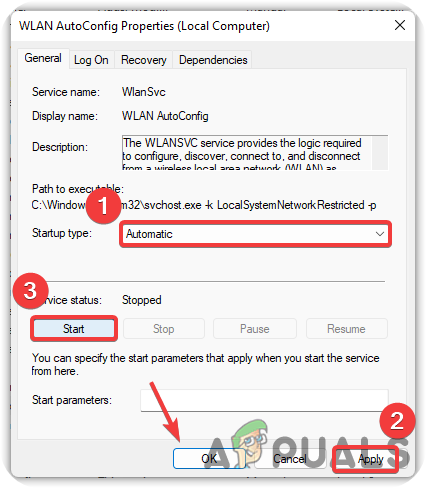
Change Service Startup Type - Close the Window and restart your computer to check if the issue persists.
If none of the methods worked, you might need to contact Microsoft or the manufacturers of your device.


“Go to Power Management, and untick the option Allow This Computer To Turn Off This Device to Save Power”
I don’t have this tab. How to turn it on.