Fix: WaasMedic.exe High CPU Usage Issue on Windows
WaaSMedic Agent.exe, also called the Windows Update Medic Service, is an essential Windows tool that runs in the background to help install important updates. When updates are available, WaaSMedic starts working under the wusvcs category in Task Manager, ensuring updates are applied smoothly. While it keeps systems safe by installing updates on time, it can sometimes use a lot of CPU and memory, slowing down performance.

This high resource use is usually because of corrupted files or internal problems with Windows Update and is sometimes wrongly thought of as malware. However, WaaSMedicSvc is a legitimate Windows process, crucial for keeping your computer secure by regularly updating to protect against viruses and malware.
In this article, we will discuss several ways to solve this error.
1. Check For Windows Update
Start by checking for Windows updates to get patches or fixes for issues with WaasMedic.exe. Regular updates often improve system processes like WaaSMedic, reducing CPU and memory use by fixing bugs or enhancing efficiency. This can directly address the high usage problem, keeping systems running smoothly and securely.
- Click the Start Menu and type Windows update.
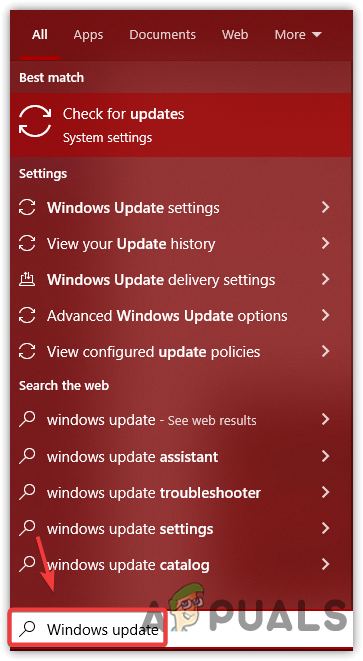
Opening Windows Update Settings - Open the Windows Update settings and click Check For Updates. If there is an option to retry, click it to attempt installing the update.
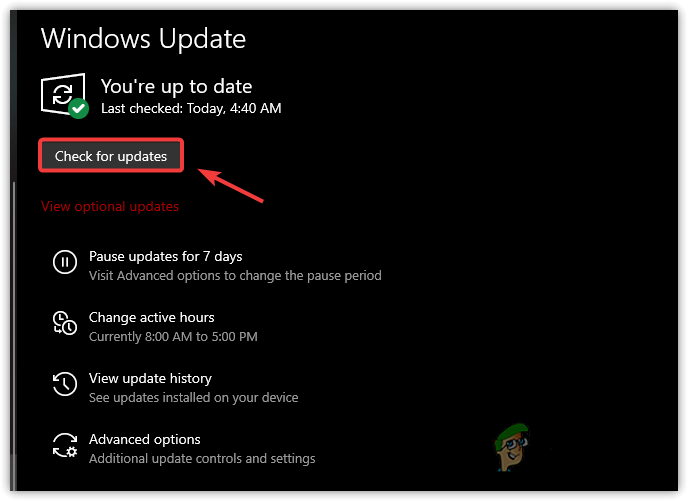
Updating Windows
2. Boot Windows in Safe Mode
Running Windows in Safe Mode can help identify why WaaSMedic.exe uses too much CPU. Safe Mode loads only essential drivers and services, making it easier to see if the issue is due to WaaSMedic.exe or other software conflicts or corrupted files.
- Open the Run Window by pressing Win + R together.
- Type msconfig and click OK.
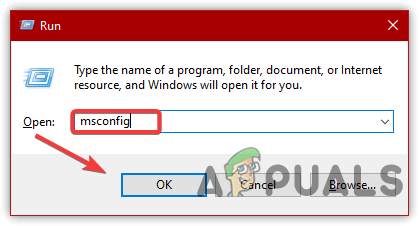
Opening System Configurations - Select Boot from the top bar to view options.
- Under Boot Options, check Safe Mode.
- Click Apply and then OK.
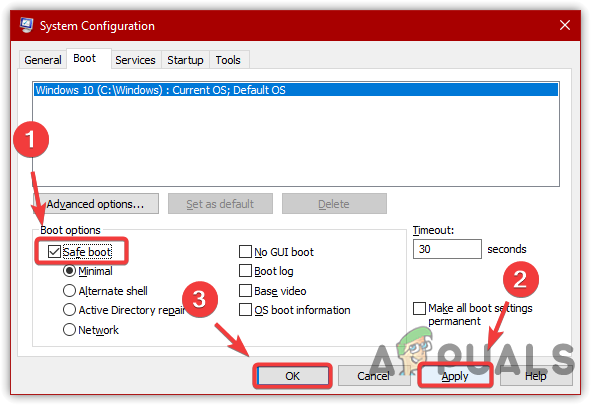
Configure Windows To Boot In Safe Mode - Restart your computer to boot Windows in Safe Mode.
2.1 Clear Software Distribution Folder
In Safe Mode, clear the Software Distribution folder to address high CPU usage by WaasMedic.exe. This action removes old or corrupted update files causing the issue, allowing Windows to download fresh updates and restore normal CPU and memory use.
- Open the Run Window by pressing Win + R simultaneously.
- Enter the following directory in the search box and click OK:
C:\Windows\SoftwareDistribution

Launching Software Distribution Folder - Select all files in this directory and press the Delete key.
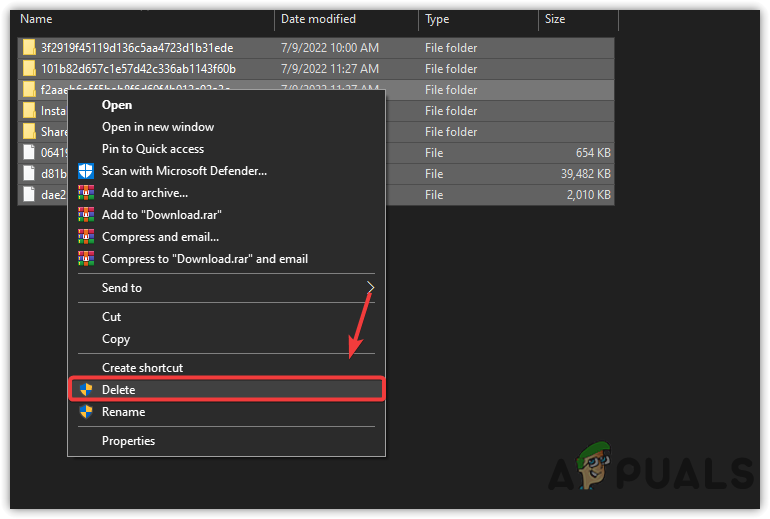
- After deleting the files, close the window and restart your computer.
- After restarting, click the Start Menu and type Windows update.
- Open the Windows Update settings and click Check For Updates to download and install any pending updates.
- Once all updates are installed, open the Task Manager to check if the issue is resolved.
3. Disable WaaSMedic Agent Exe Via Registry
You can stop WaaSMedic Agent Exe from starting automatically by changing the registry. This prevents it from using too much CPU and memory when managing updates. While this can free up resources, be aware that turning it off might delay important Windows updates needed for security and performance.
- Press the Windows key and type Registry Editor.
- Open the Registry Editor and go to the following path:
Computer\HKEY_LOCAL_MACHINE\SYSTEM\CurrentControlSet\Services\WaaSMedicSvc
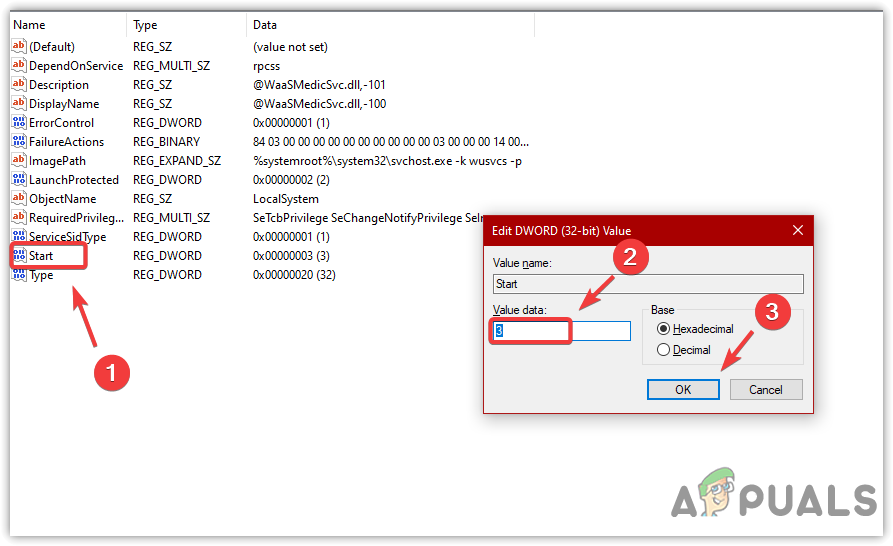
- Double-click the Start entry in the right pane.
- Set its value data to 3.
- Click OK and restart your computer to see if the issue is resolved.
Disabling WaaSMedic Agent
4. Run Sfc and Dism Commands
The DISM and SFC commands help repair Windows. SFC checks for and replaces corrupted system files. If SFC doesn’t fix deeper problems, DISM repairs the Windows image, which can fix errors in Windows Update. Running both ensures system integrity and can reduce high resource usage by WaasMedic.exe caused by file issues.
- Click the Start Menu from the bottom left corner.
- Type Command Prompt in the search box.
- Right-click Command Prompt and select Run As Administrator.
- In the terminal, enter the following commands and wait for each to complete:
DISM /Online /Cleanup-Image /RestoreHealth
sfc /scannow
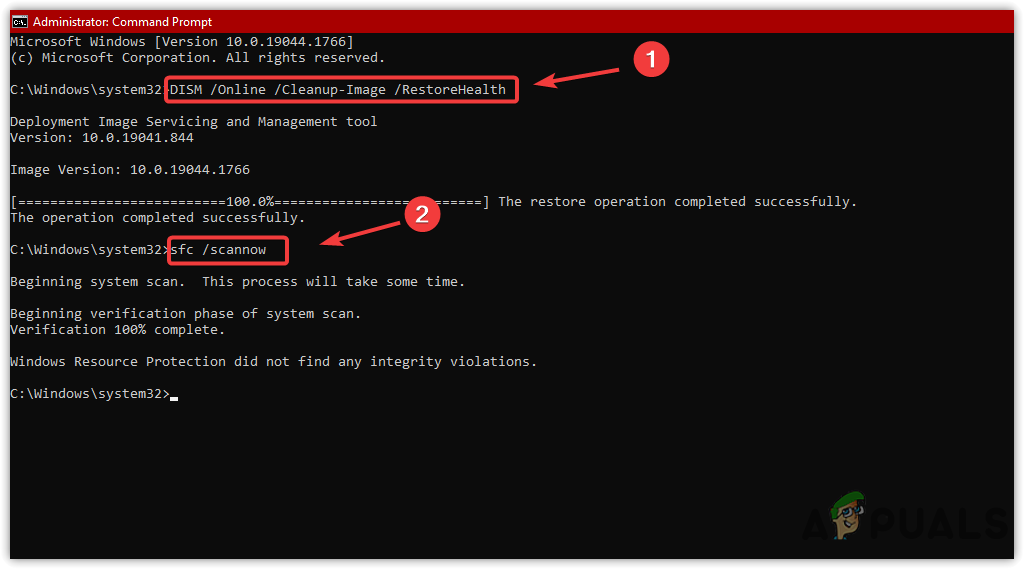
- Check if the issue is resolved. If not, consider manually installing the Windows update.
5. Install the Windows Update Manually
If none of the solutions work, try pausing Windows Updates to stop WaasMedic and related tasks, reducing CPU usage. This can help while you wait for a Microsoft patch. You can also contact Microsoft Support for specific fixes or advice to address the issue.
- Press Windows + R, type services.msc, and press Enter to open the Services window.

Opening Services Window - Locate and stop both Windows Update and Windows Update Medic Service by right-clicking and selecting Stop.

Stopping Windows Update Service - Press Windows + R, type C:\Windows\SoftwareDistribution, and press Enter.
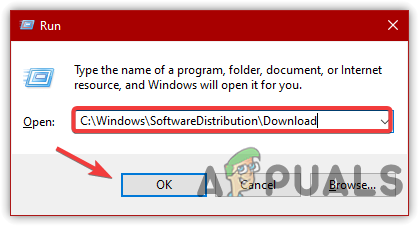
Go To Software Distribution Folder - Delete all the files in this folder.
- Go to the Microsoft Catalog, search for the updates that failed to install, and download them by clicking Download on the right side.
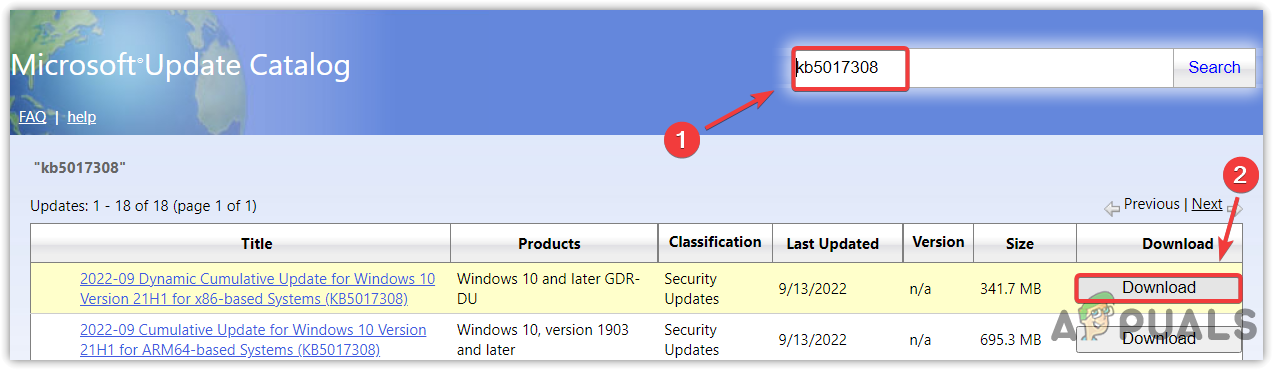
Downloading Windows Update - After downloading, double-click the update file to install it.
- Check if the issue is resolved.
In case none of the methods fixed your issue, try resetting or restoring Windows to a previous state by following the steps detailed in the linked articles.


