What is DDC/CI and How to Use It?
Most monitors today support a handy feature known as DDC/CI; however, its purpose and use are not widely known. This lack of awareness is partly because many monitor manufacturers choose not to create proprietary software for it.
What is DDC/CI?
Display Data Channel (DDC) / Command Interface (CI) is a means of communication between a computer and a monitor. It encompasses protocols that enable the transfer of display-related information from the display to the display adapter.
DDC/CI allows monitors to communicate their supported display modes to the computer and enables users to manage and modify monitor settings such as brightness, contrast, and color settings directly from their computer.
DDC/CI provides Plug & Play functionality for monitors. Considering many monitors have less-than-user-friendly interfaces, it’s clear why some users seek alternatives to the awkward buttons on many monitor models.
The Command Interface (CI) allows the computer and the monitor to send and receive commands. Some DDC/CI-compatible monitors even support auto-pivot technology, where an internal rotation sensor maintains the correct display orientation, regardless of the monitor’s physical movement.
How to Use DDC/CI
To use DDC/CI, first ensure your monitor supports it. Most monitors purchased in the last 3-4 years should support DDC/CI.
Some brands have proprietary software for DDC/CI (e.g., Samsung’s MagicTune), which is not cross-compatible with other brands.
For a universal solution, particularly useful for multi-monitor setups from various manufacturers, consider using ClickMonitorDDC. This portable freeware tool lets you adjust brightness and contrast on any DDC-compatible monitor via sliders, accessible from the Taskbar Tray.
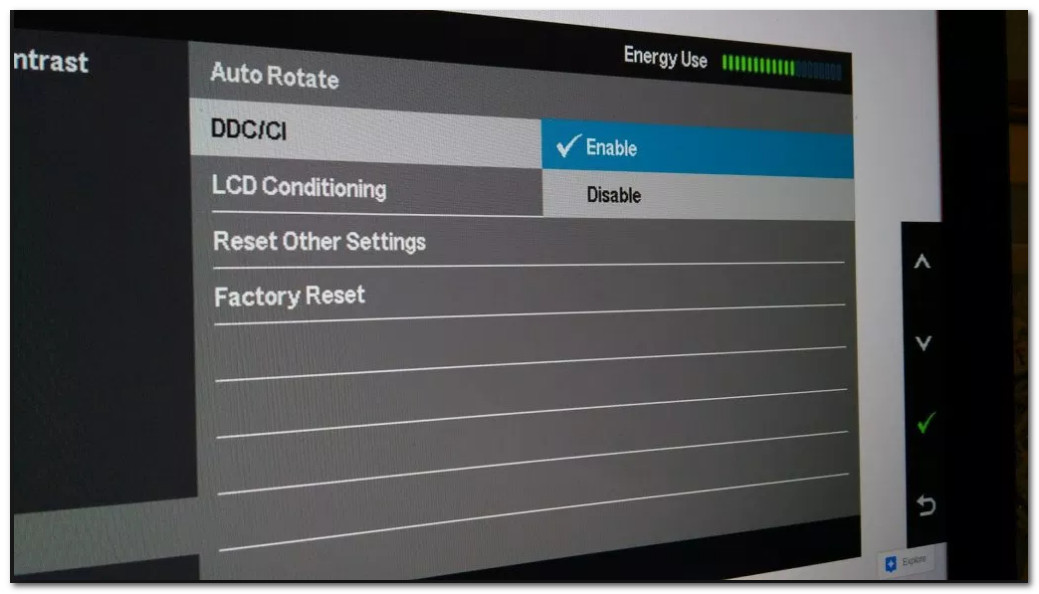
- Press the physical Settings button on your monitor and ensure DDC/CI is enabled. If not, turn it On. Procedures vary by manufacturer.
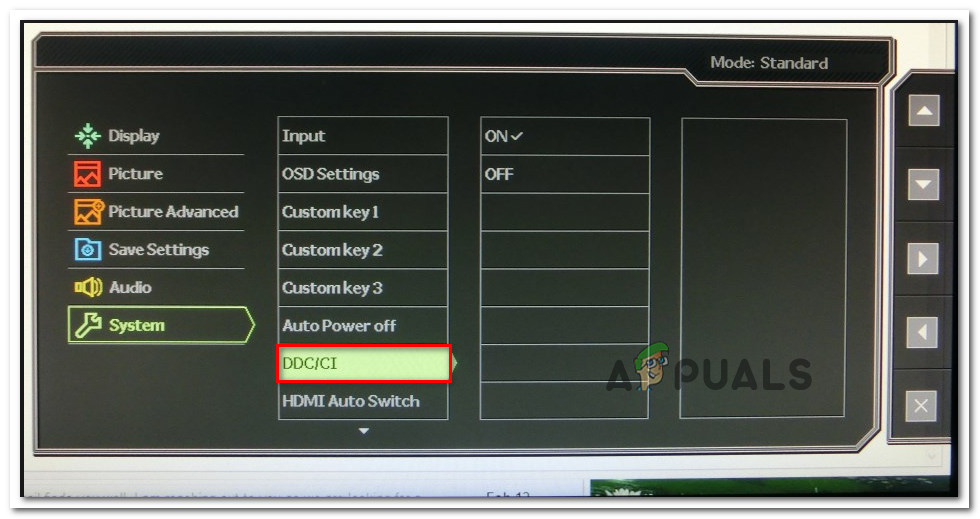
Note: Most models enable DDC/CI by default, but it’s always good to confirm before proceeding.
- Download the latest version of ClickMonitorDDC by clicking this Download Setup Version link.
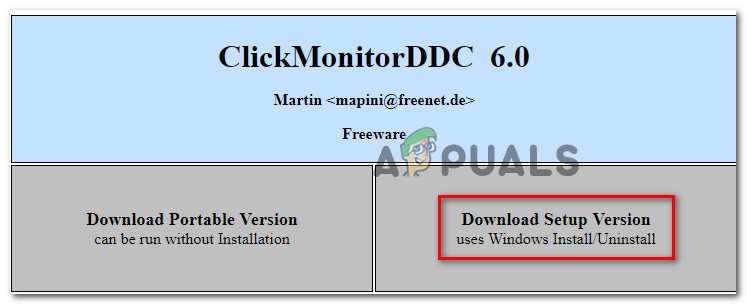
Note: Portable versions are available, but the Windows Installer version is more reliable.
- Double-click the ClickMonitorDDC installer, accept the User Account Control (UAC) prompt by clicking Yes to grant administrative privileges.
Note: If the installer is not signed, select Show more details to proceed at the UAC prompt. - Follow on-screen instructions to complete the installation and click Install.
- Launch ClickMonitorDDC.
On first use, ClickMonitorDDC will auto-detect all connected monitors. Tested successfully on a dual-monitor setup (Asus + Acer), the interface shows each monitor for individual control.
Besides adjusting brightness, contrast, and built-in speaker volume, you can toggle input sources or power off monitors without physical interaction. You can also personalize ClickMonitorDDC by assigning unique names to your monitors for quick access.
Note: Some monitors, particularly laptop displays, may not allow contrast adjustments.
For alternative interfaces, consider:
However, these may be manufacturer-specific or require technical knowledge. For ease and quick setup, ClickMonitorDDC remains our top recommendation.


are there graphic adapters that does not support DDC/CI??? I used to have an NVidia, and then i changed it wtih Sapphire AMD, clickmonitor and other softwares which use DDC protocol does not work anymore….