Fix: “We Have Disabled Your Account” on Instagram
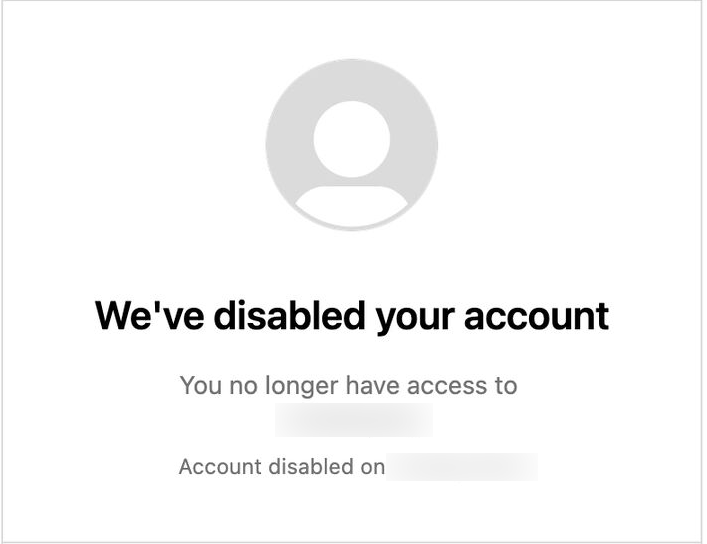
The “We have disabled your account“ message on Instagram is triggered when Instagram’s automated moderation systems believe that your account violated Instagram’s rules, terms, and conditions.
Most commonly, I have personally seen accounts get banned for the following violations:
- Using a modified or unauthorized version of the Instagram app
- Spam-like or irregular activity (such as mass following, liking, or multiple rapid logins)
- Being mass-reported by other users
- Entering an incorrect or suspicious date of birth
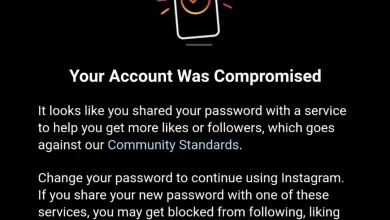
- Signs of a compromised account (unusual logins or behavior)
- Violating content guidelines (such as joining illegal groups or engaging with unethical content)
While many accounts are disabled for valid reasons, the system isn’t flawless.
Because Instagram’s moderation relies on a combination of pattern, activity, and content analysis, it’s also fairly common for accounts to be wrongfully disabled even when no actual rules have been broken.
This can be frustrating and surprising for someone who, in their mind, is just using Instagram “normally.” To make things worse, Instagram doesn’t even let you know why it disabled your account. No warnings, no alerts, just a straight disable.
In this article, I’m going to help you either regain access to your account or at least figure out why your account got disabled in the first place.
Okay, with all that in mind, let’s proceed.
First Step: Request for Review (Even if You Already Did)
IF YOU DO NOT HAVE A “REVIEW” OPTION AVAILABLE, MOVE TO NEXT STEP.
This step looks simple, but it works for many people. A lot of accounts are restored within 24–48 hours after sending a review request. Sending the request more than once, about four to six times over a few days, can help get your case noticed faster and increase the chance of a real person reviewing it. 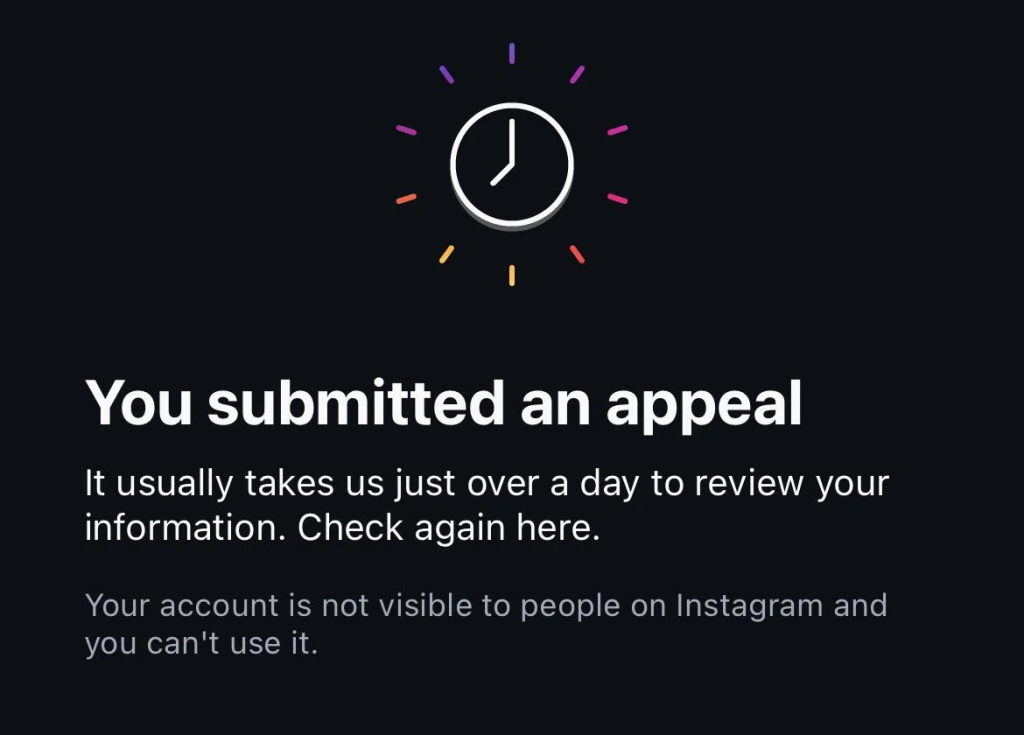
Second Step: Use the “Data Access / Account Access” Form
In most cases, the appeals sent through the app either get ignored or receive an automated, unclear response. This is where the Data Access / Account Access form becomes useful.
Instead of going through the same automated system, this form routes your request to a different support team that handles account access issues more directly.
Even though this form is meant for people who can’t access their data, it also works for disabled accounts because it reaches a support channel that isn’t connected to the regular appeal system.
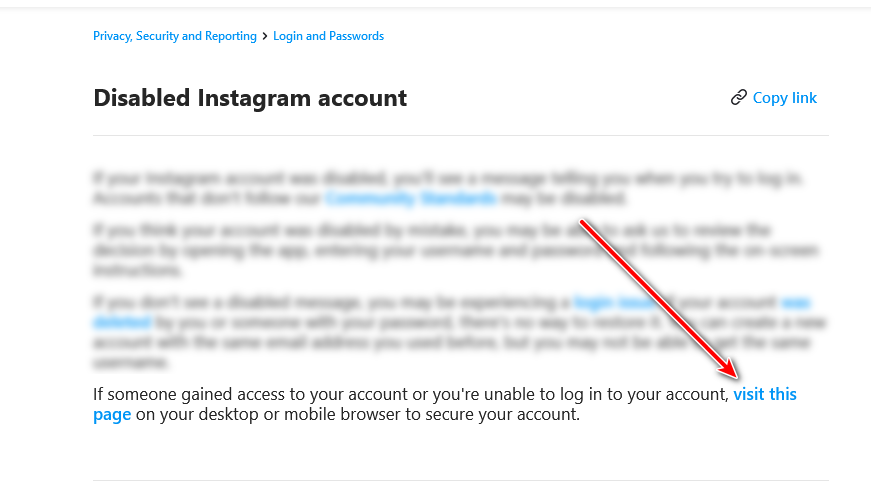
- Visit this official Instagram help page. In the fourth paragraph, find the sentence “If someone gained access to your account or you’re unable to log in to your account, visit this page on your desktop or mobile browser to secure your account.”
- Click on the blue, underlined phrase “visit this page”. It should redirect you to the Instagram app.
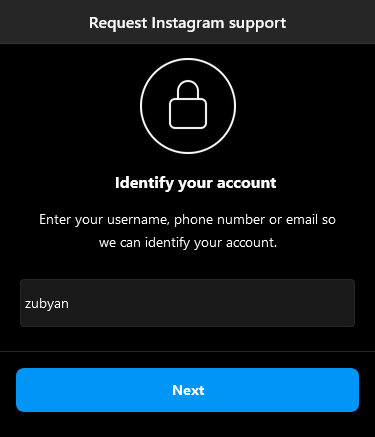
- On the next screen, you’ll see a Request Support page with multiple options. Select “My account was hacked” not “My account was disabled.” (Instagram often ignores requests submitted through the disabled account option.)
- Enter your username, phone number, or email associated with the account.
- Choose your contact information from the list (you’ll usually see two options: yours and the attacker’s). Select your correct email or phone number and continue.
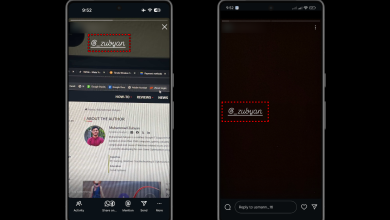
- When prompted for the attacker’s confirmation code, scroll down and click on “Try another way”, then select “Get support”.
- If your account has selfies, posts, or archived stories that show your face, Instagram can confirm your identity much faster. Accounts without any personal photos usually face delays or no response.
- Complete the selfie verification step and wait for a reply. Instagram says it can take up to 3–4 business days, but in many cases, it’s faster.
Third Step: Wait a Few Weeks
Once you’ve submitted your appeals through the regular and alternate methods, the best thing to do is give it time.
Instagram’s response can be slow, sometimes very slow.
Their internal review process often takes anywhere from 1 to 8 weeks, depending on the case and how it’s flagged in their system.
If your case is in the review queue, repeated submissions won’t speed it up. It can actually delay it or cause it to be ignored. That’s why it’s best to wait patiently for at least 1–2 months before assuming there’s no reply coming.
Tip: Keep your contact email active during this period. If Instagram decides to respond, it will almost always be through email.
No Response Yet? Here’s What You Can Do Next
Honestly, if you haven’t received any response by now, it’s usually not a great sign. But this doesn’t mean your chances are completely gone. It just means the standard process probably didn’t work in your favor.
Now what to do next? There are three ways you can move forward from here.
- Try Meta Verified‘s live chat feature (more about this below)
- File a legal complaint through your Attorney General
- Move on, create a new account, and forget about this one (if possible)
1. The “Meta Verified” Method (Paid)
Okay, about Meta Verified—yes, it worked for many users, but the main caveat is that it’s paid. Basically, the consensus is that you buy Meta Verified status, which allows you to communicate with a support person via the Live Chat feature. The idea is that your review request may not have reached a real person yet.
To use this option, log in to any active Instagram account (it can be a backup account), go to Settings → Meta Verified, and subscribe.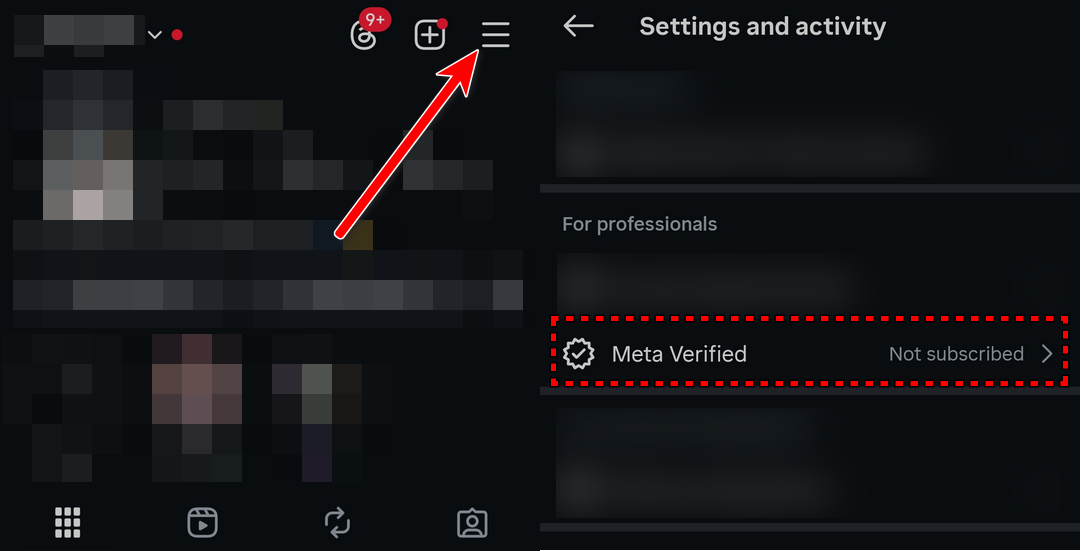 Once subscribed, open the Help section, and you’ll see the option to start a live chat with a support agent.
Here, you can explain that your main account was wrongfully disabled and provide the details. This method doesn’t guarantee instant recovery, but it often leads to a faster and more human response compared to automated appeals.
2. Legal Complaint Route (For Certain Countries)
I’m personally not very familiar with the legal complaint process, and it may not apply to everyone, especially if you’re living in countries where there isn’t a strong consumer protection or Attorney General system (like Pakistan).
This method is mostly relevant for USA, UK, Canada, Australia, and a few other regions with similar legal structures.
However, there are some excellent community discussions where people have shared their experiences filing legal complaints against Meta and successfully recovering their accounts.
If this option is available in your country, these threads are worth reading:
- Reddit Thread – Got my account back after 7 days (Legal Complaint)
- Reddit Thread – Legal complaint method explained
According to the discussions, this method has a very high success rate (reportedly around 99%) in countries where such legal routes are available. But again, this won’t work in every country, and you should only consider it if legal recourse is actually accessible in your region.
3. Create a New Account and Move On
If nothing has worked after multiple attempts, the honest truth is that your account may not be coming back. It’s not what anyone wants to hear, but at this point, your time and energy are better spent moving forward.
- Create a new account, rebuild your presence, and focus on protecting it from the start.
- Enable strong security measures, keep recovery options updated, and avoid risky third-party tools.
Many people actually grow their new accounts even stronger because they learn from what happened.
Sometimes the smartest move isn’t to keep fighting, it’s to start fresh.
Thank you for reading. Make sure to share this with someone who’s in a similar situation.