Fix: Valorant “We Couldn’t Install a Required Dependency” Error
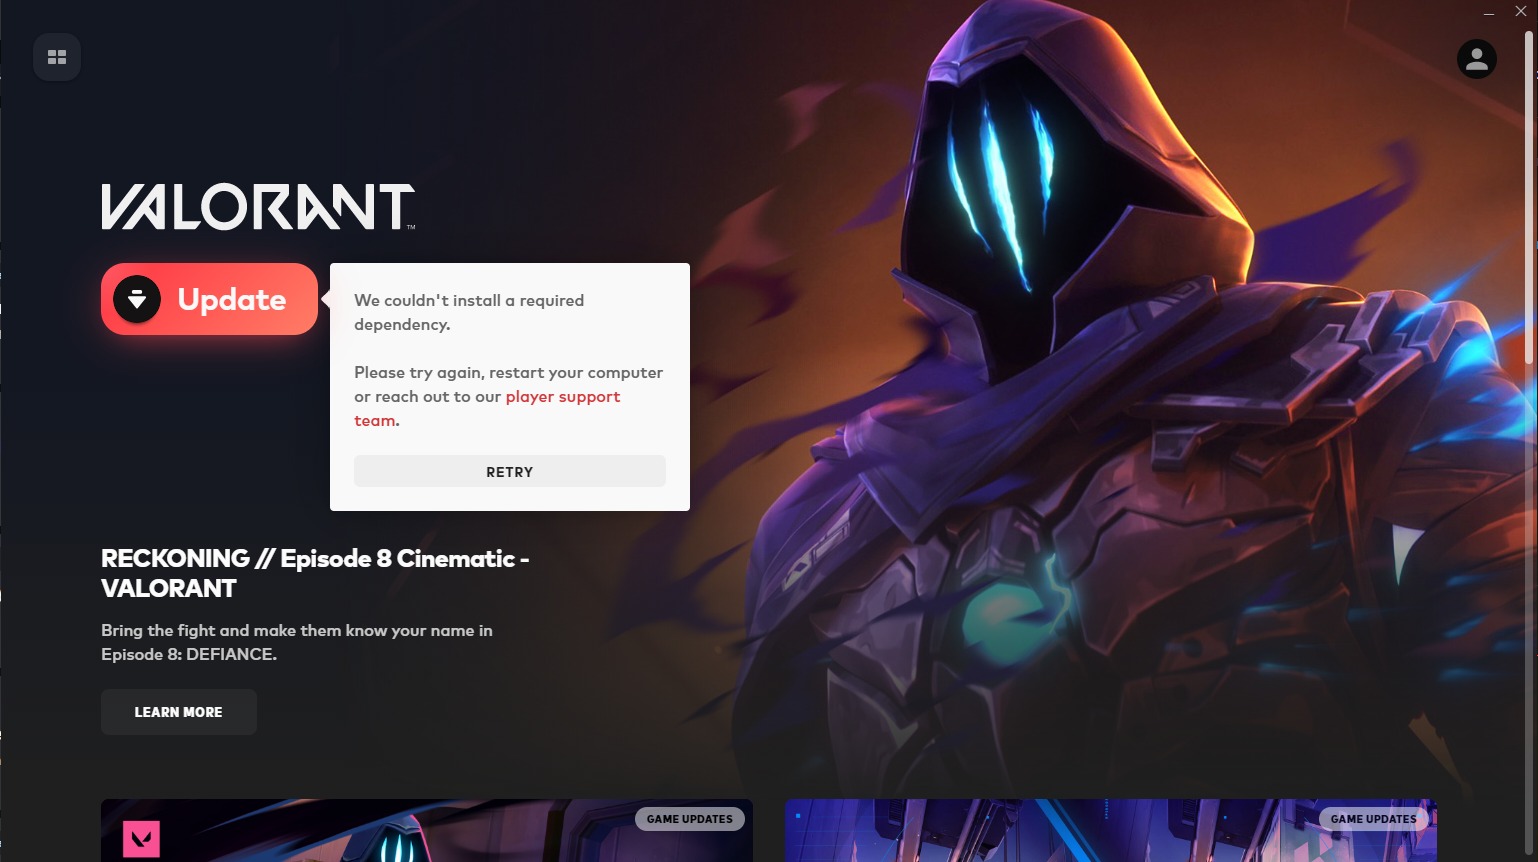
The error “We couldn’t install a required dependency. Please try again, restart your computer, or reach out to our player support team” appears when you attempt to launch Valorant. This message shows up in the Riot Client right after clicking the play button, preventing the game from starting. It usually means that Riot Vanguard, the anti-cheat service required for Valorant, has failed to install or update correctly.
The most frequent cause of this error is corrupted Vanguard files. However, it can also occur if Vanguard services are disabled in Windows or when certain registry settings are incorrectly configured.
Now that you understand what causes this problem, let me show you how to resolve it.
1. Enable Vanguard Services
If the Riot Vanguard service is disabled or not running as expected, the Riot Client cannot launch the game. Ensuring the service is enabled and set to start automatically allows Vanguard to load with Windows, which prevents the dependency error.
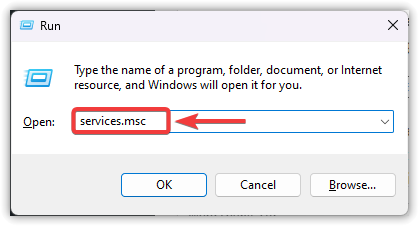
- Press Windows + R, type services.msc, and press Enter.
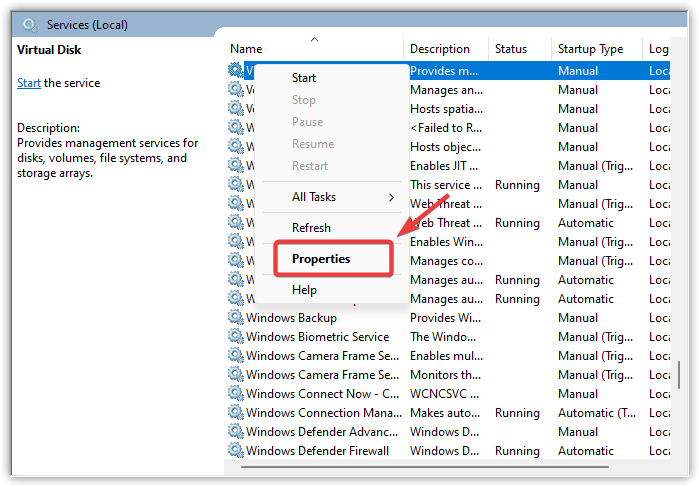
- Scroll down and locate vgc in the list of services.
- Right-click it and select Properties.
- From the Startup type menu, select Automatic.
- Click Start under the Service status section.
- Press Apply, then OK to confirm.
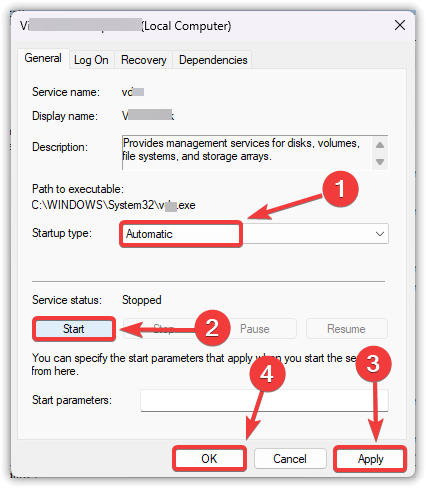
- Restart your PC so Vanguard loads automatically in the background.
2. Edit Registry
The DevOverrideEnable registry entry can sometimes interfere with Vanguard. This value controls whether Windows allows certain driver overrides, which can conflict with Vanguard’s initialization. When its value is set to 1, it may stop Vanguard from starting. Resetting the value back to 0 restores default behavior and ensures the service can run correctly.
Warning: Be careful when editing the registry. Changing unrelated values may cause system instability. Consider backing up your registry first.
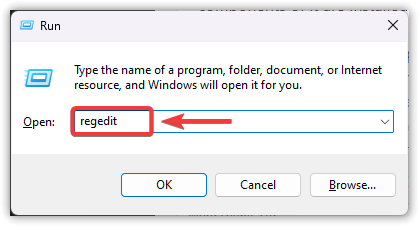
- Press Windows + R, type regedit, and press Enter.
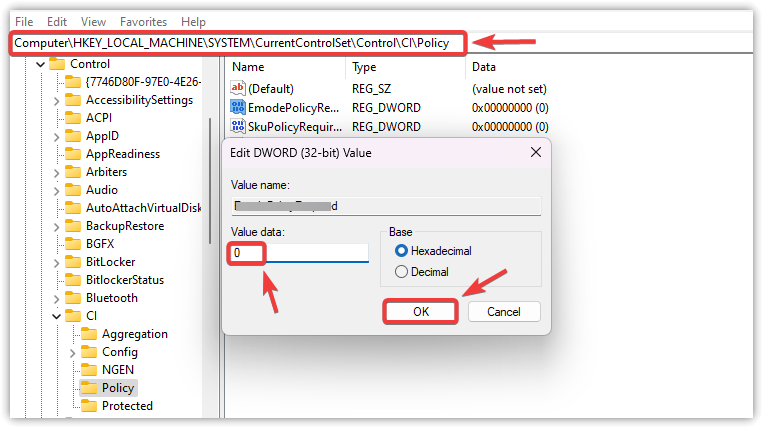
- In the Registry Editor, go to:
HKEY_LOCAL_MACHINE\SYSTEM\CurrentControlSet\Control\CI\Policy
- On the right side, locate DevOverrideEnable.
- Double-click it and set the Value data to 0.
- Click OK and close the editor.
- Restart your PC to apply the changes.
3. Reinstall Vanguard Via Command Prompt
If Vanguard is corrupted or only partially installed, Valorant will fail to launch. Uninstalling Vanguard through Command Prompt and then letting the Riot Client reinstall it ensures a fresh installation, which usually resolves the dependency error.
Warning: Do not delete other services by mistake. Only run the commands listed for Vanguard. If you don’t run Command Prompt as Administrator, the commands will fail.
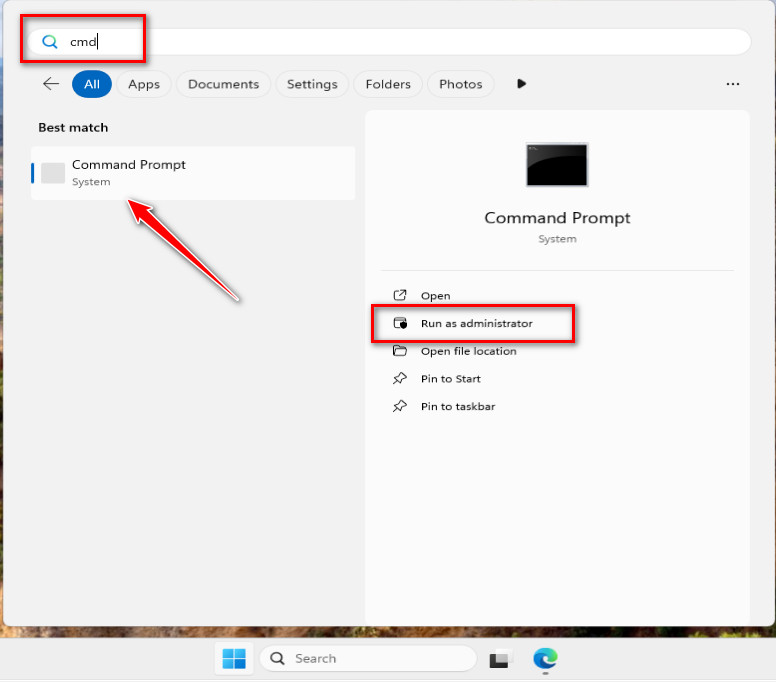
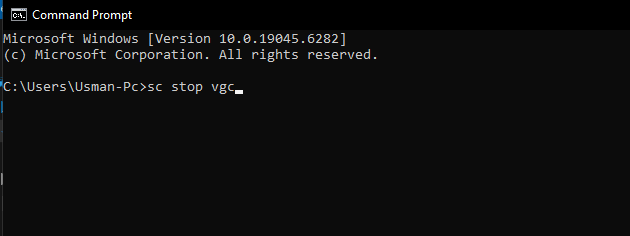
- Search for Command Prompt in the Windows search bar and run it as Administrator.
- Enter the following commands one by one to stop Vanguard services:
sc stop vgc

sc stop vgk
- Remove Vanguard by running these commands:
sc delete vgc sc delete vgk
- Restart your PC to complete the removal.
- Open the Riot Client. It will automatically reinstall Vanguard.
- Restart your PC again to ensure Vanguard runs properly in the background.
If none of these methods work, reinstalling the Riot Client entirely or contacting Riot Support is recommended.