How to Fix Call of Duty Warzone 2 Freezing and Stuttering Issue?
Warzone 2.0 players have been facing lag and stuttering issues when playing the game. This occurred after installing a Windows update for some users, while others found their BIOS firmware version to be the culprit.
There are multiple reasons the problem in question can occur, and in this article, we have listed several methods you can use to fix the issue for yourself. Not every technique might work for you since the cause in each case can vary. Therefore, ensure you go through them until your issue is resolved.
1. Change Graphics Settings
The first thing you should do when you face gameplay stutters is lower your graphics settings. This can significantly help when you do not have a high-end PC and your settings are set to high.
In such a case, changing your graphics settings from high to medium can help boost your FPS and smoothen the gameplay. Warzone 2 has five presets you can use out of the box. These are Minimum, Basic, Balanced, Ultra, and Extreme.
You can use one of the mentioned presets to see if that makes a difference in your gameplay. Alternatively, you can change the graphics settings manually and have a custom configuration. If you go down this road, some settings you will need to adjust are Details & Textures, Global Quality, Shadow & Lighting, and Post Processing Effects.
Finally, you can also change your game’s resolution, which often makes a significant difference. If changing the graphics settings does not fix the issue, move to the following method below.
2. Disable In-Game Overlays
Some third-party applications you use on your computer often come with in-game overlays. These overlays allow you to access the application while playing a game. Even though it saves you from the trouble of tabbing out, the feature comes at a cost.
In-game overlays can sometimes take a blow at the game’s performance, significantly at some games than others. In such a scenario, you will have to disable the in-game overlays of the different applications installed on your computer.
We will take you through the steps of disabling the most common overlays found these days.
Discord
- First, open up the Discord client on your computer.
- Next to your profile icon, click on the gear icon to go to Settings.
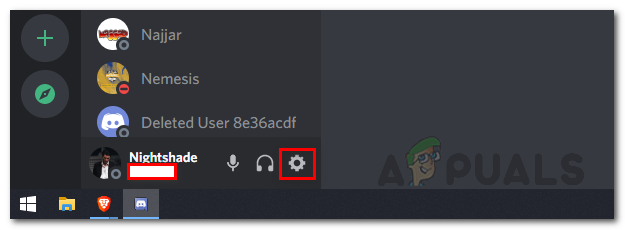
Navigating to Discord Settings - Then, on the left-hand side, scroll down and switch to Game Overlay.
- There, click on the Enable in-game overlay slider to turn it off.
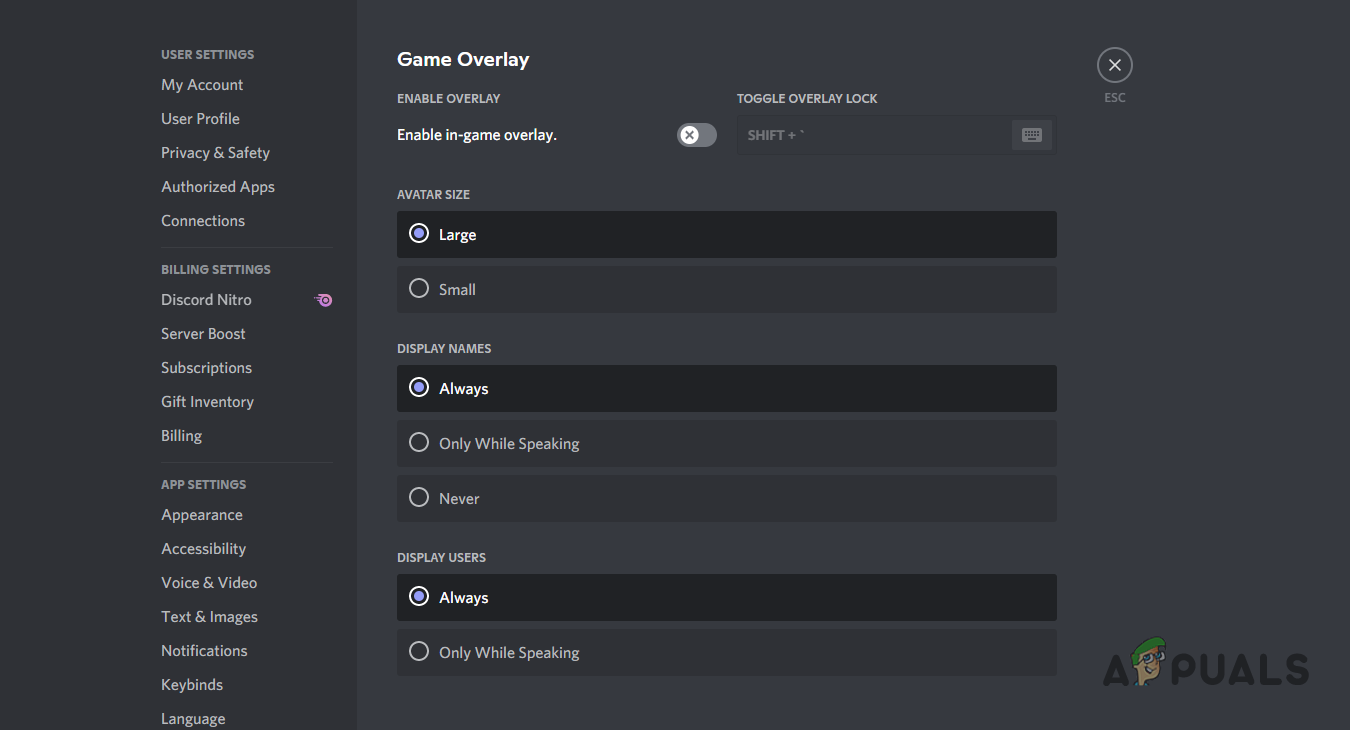
Disabling Discord Overlay
If you use any other application for communicating with friends, make sure to disable the in-game overlay if it has one.
GeForce Experience
- Start by opening up the GeForce Experience app.
- In the top-left corner, click on the gear icon to open Settings.
- Then, on the General tab, click on the slider next to the In-game overlay option to disable it.
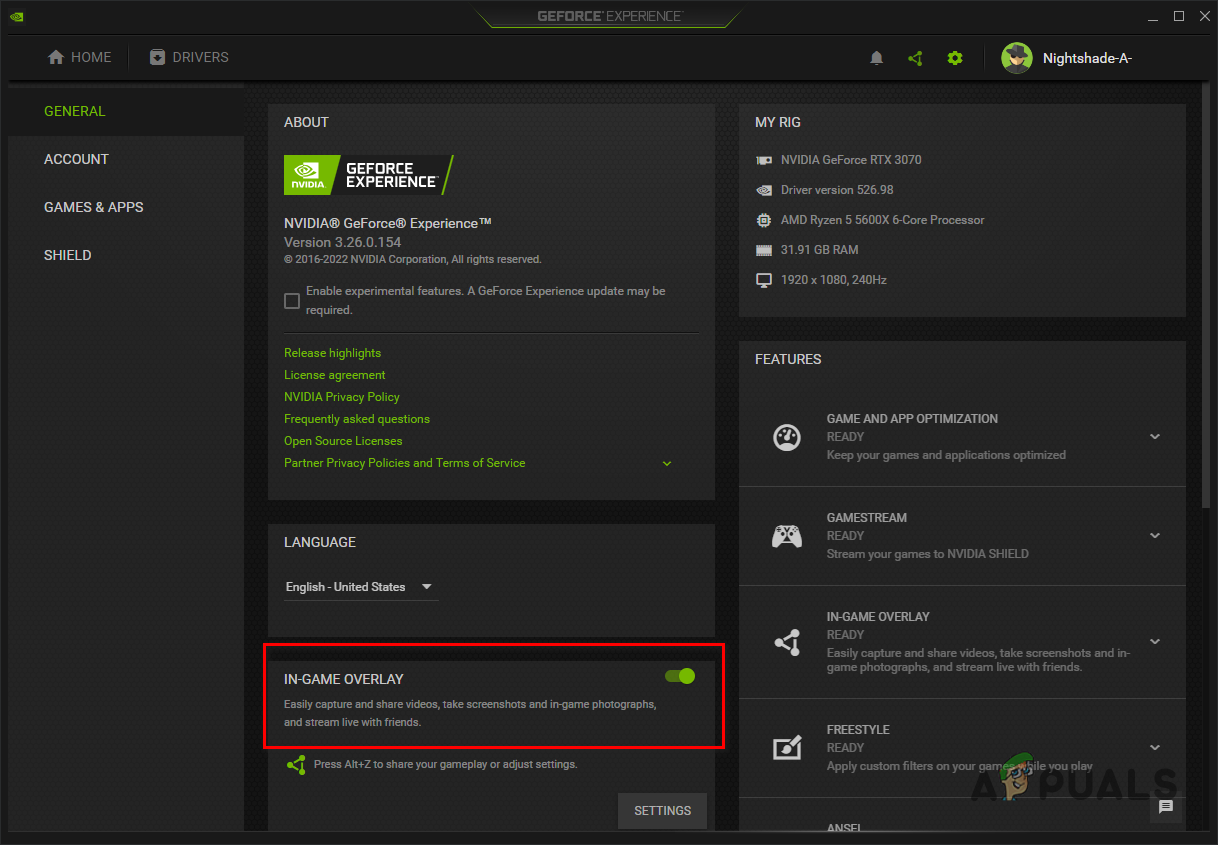
Disabling GeForce Experience In-Game Overlay
Once you have disabled the in-game overlays of the various applications you use, see if it makes a difference. In the flip case, move to the following method.
3. Update Graphics Drivers
When it comes to gaming, graphics drivers play a vital role. This is obvious because games rely heavily on your graphics card, and the drivers are used to communicate with the graphics card on your motherboard.
Warzone 2 has been asking players on their first launch to update their graphics drivers if the users are using an old version. Most players do not heed such instructions and continue to play the game.
While this is fine in some cases, for a game as new as Warzone 2, which is based on Call of Duty Modern Warfare II, updating your graphics drivers is something you cannot neglect. To update your graphics drivers, you will have to uninstall the current ones and download the latest version available for your card from your manufacturer’s website. Follow the instructions below to do this:
- First, open up the Device Manager by searching for it in the Start Menu.
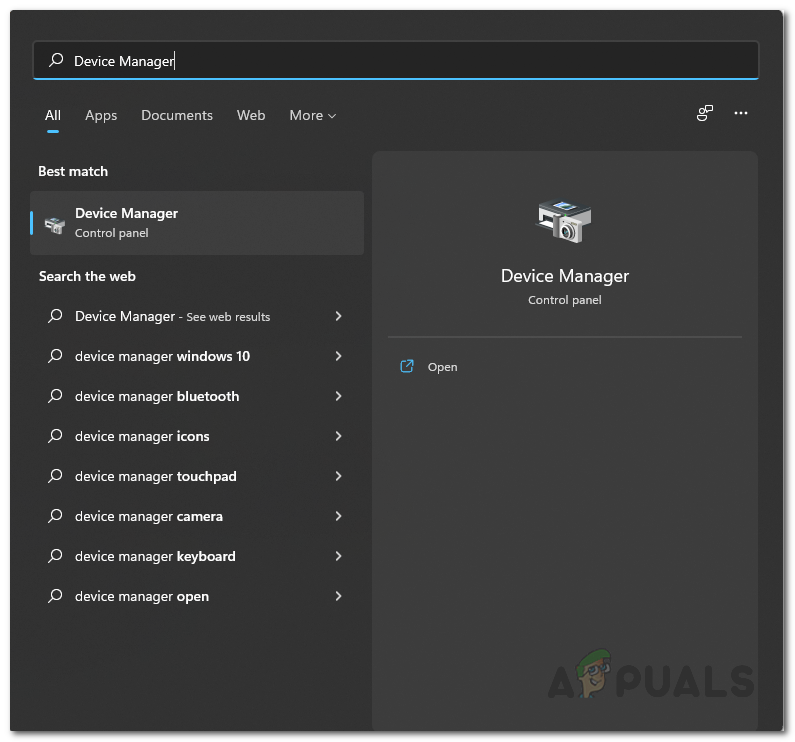
Opening Device Manager - On the Device Manager window, expand the Display adapters list.
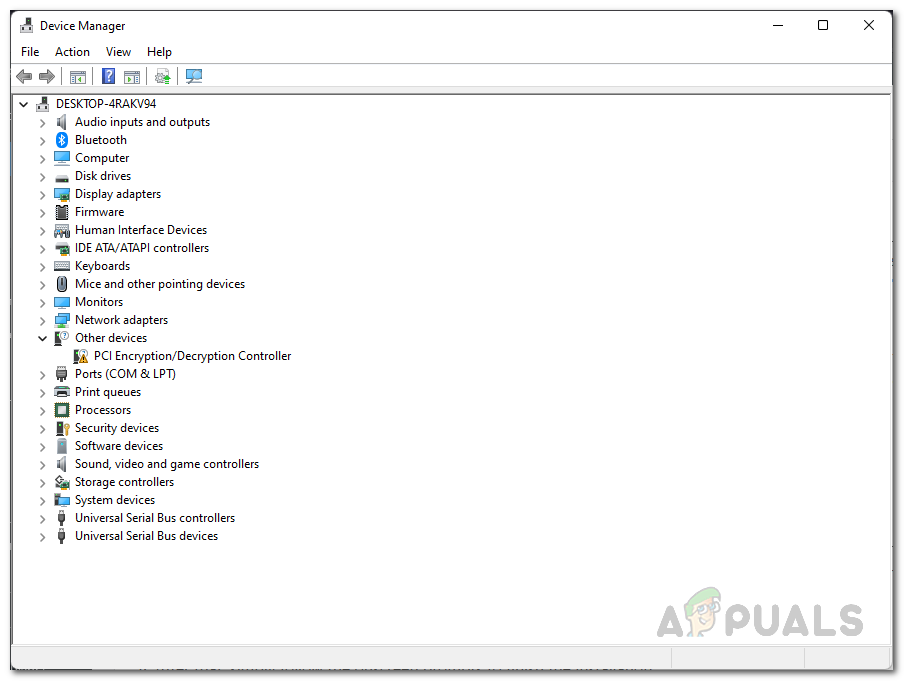
Device Manager - Then, right-click on your graphics drivers and choose Uninstall device.
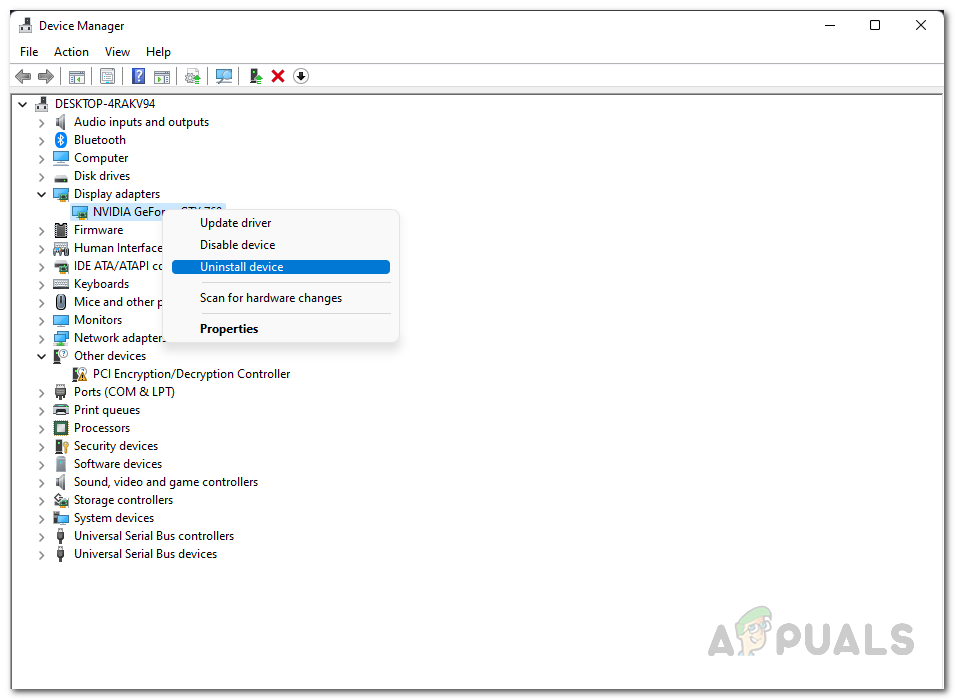
Uninstalling Graphics Drivers - Afterward, head to your manufacturer’s website and download the latest graphics drivers available for your card.
- Install the new drivers and then restart your computer.
- Once you do that, see if your warzone lagging issue goes away.
4. Enable Windows Ultimate Performance Plan
Windows has different power plans that you can use based on your needs. These power plans can limit the performance of your computer by reducing energy consumption of the computer.
Most people are aware of the High performance plan, which is available by default in the Power Options menu. However, there exists an Ultimate Performance plan that is hidden by default, and you will have to enable it before being able to use it.
The ultimate performance power plan is suitable for higher-end PCs as it pushes the components and does not limit energy consumption. If you are using a laptop, this is probably an optimal solution for you, as it will result in excessive battery usage.
With that said, follow the instructions below to enable the ultimate performance plan:
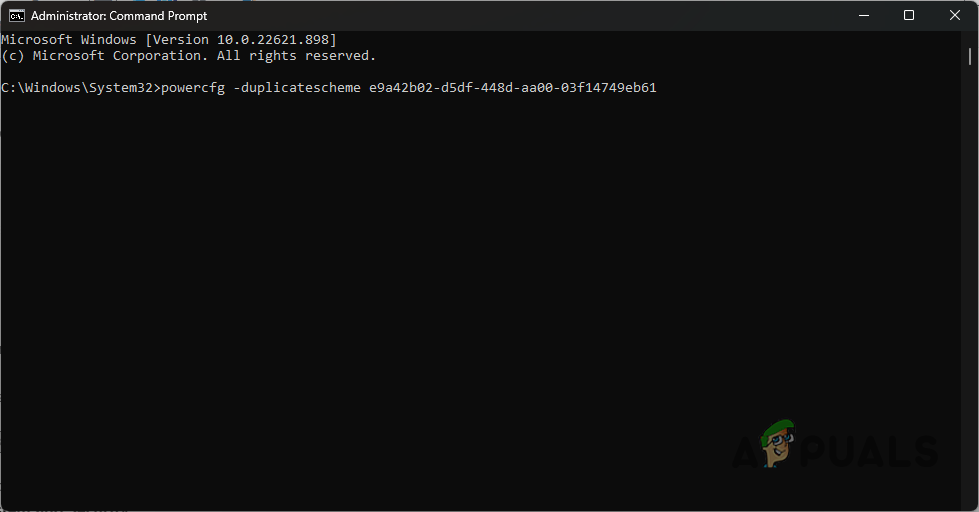
- First, open Start Menu and search for the command prompt. On the left-hand side, click on the Run as administrator option.
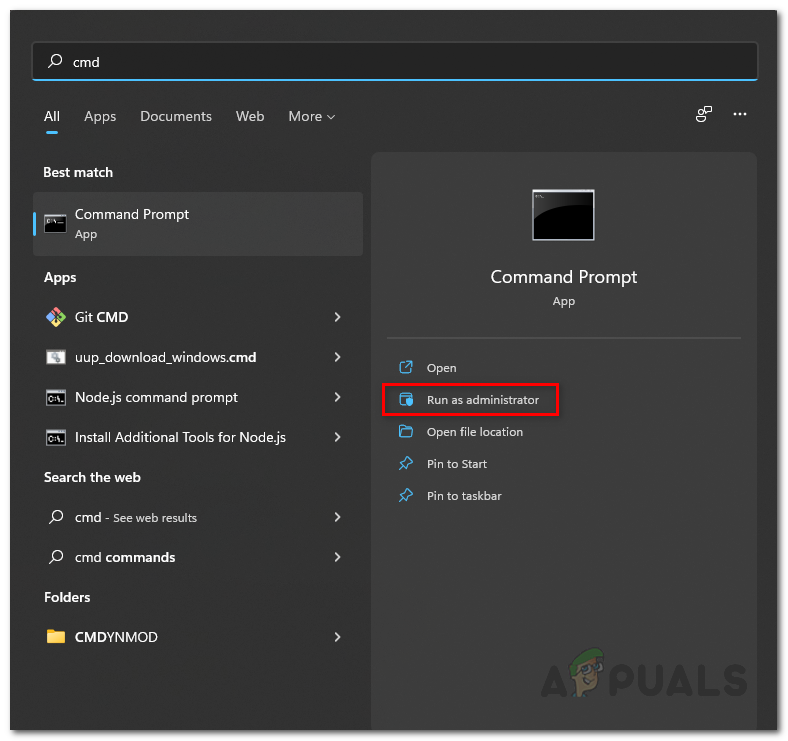
Opening Command Prompt as Admin - In the command prompt window, copy and paste the following command and hit Enter:
powercfg -duplicatescheme e9a42b02-d5df-448d-aa00-03f14749eb61
Enabling Ultimate Performance Plan - Then, open the Control Panel by searching for it in the Start Menu.
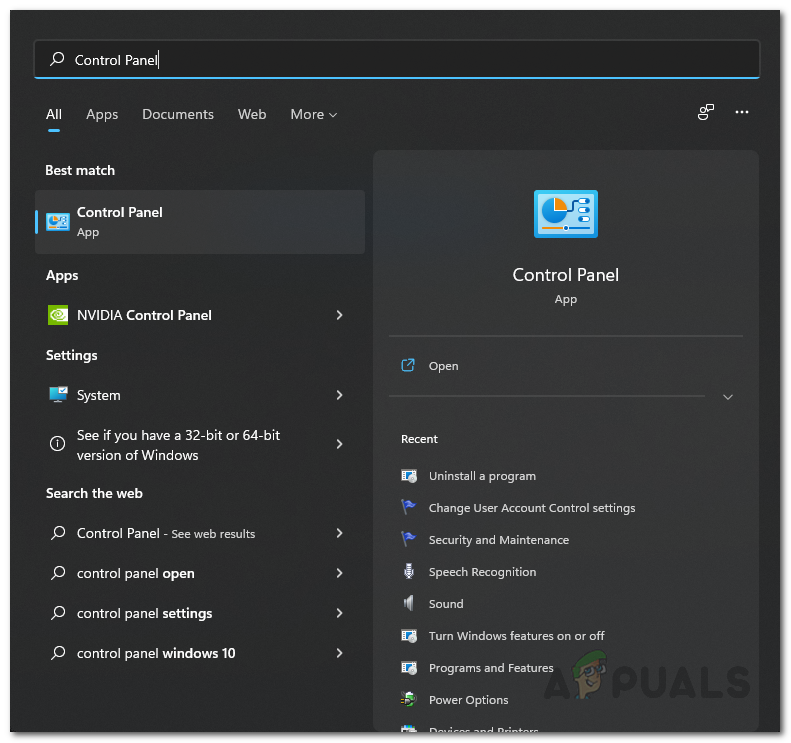
Opening Control Panel - On the Control Panel window, navigate to System and Security.
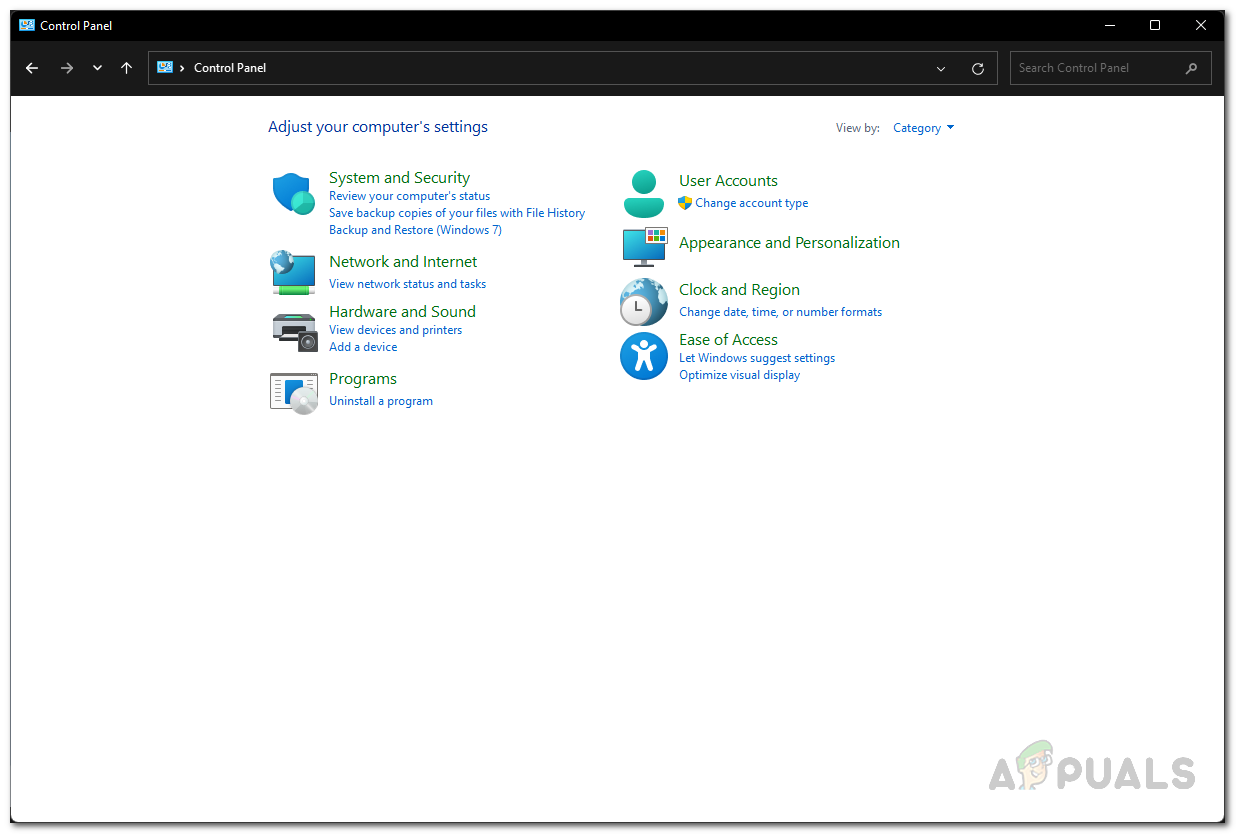
Control Panel - There, click on Power Options.
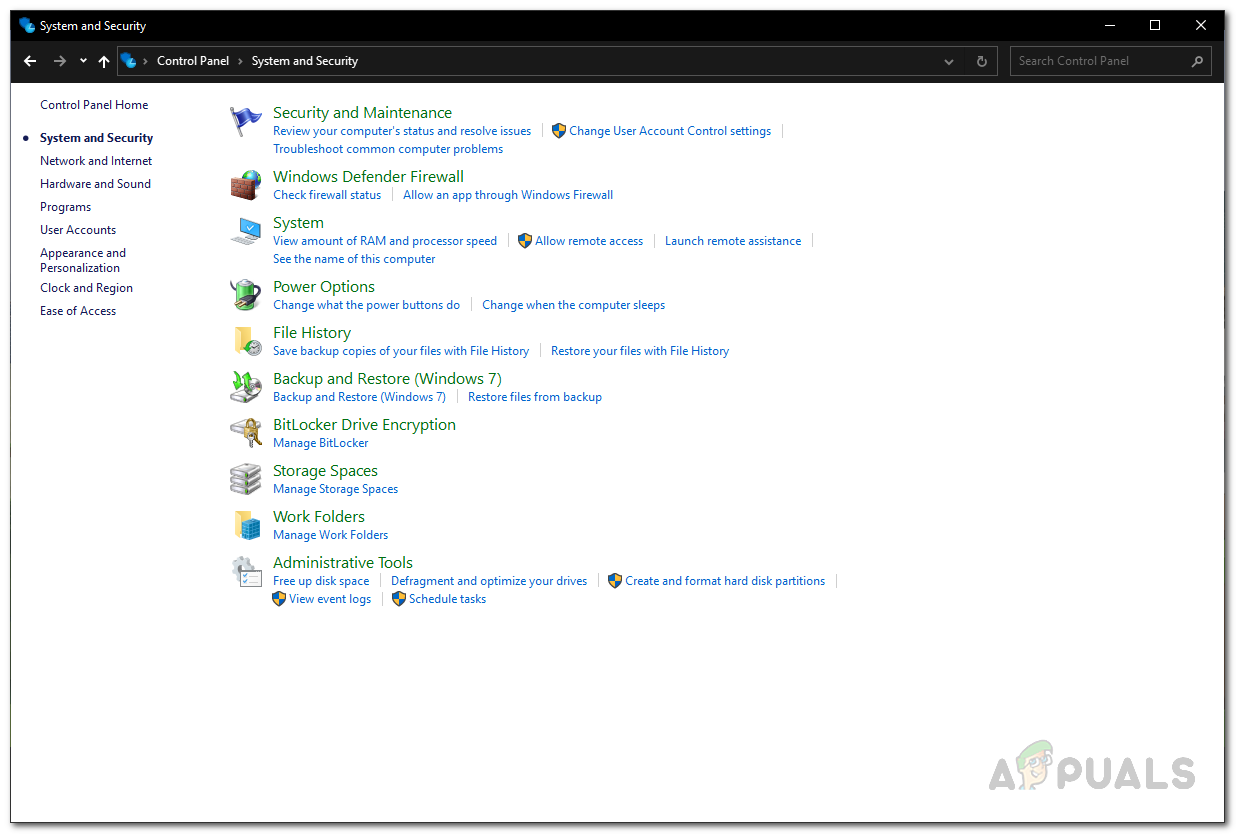
Navigating to Power Options - Finally, choose the Ultimate Performance option. See if that resolves the issue.
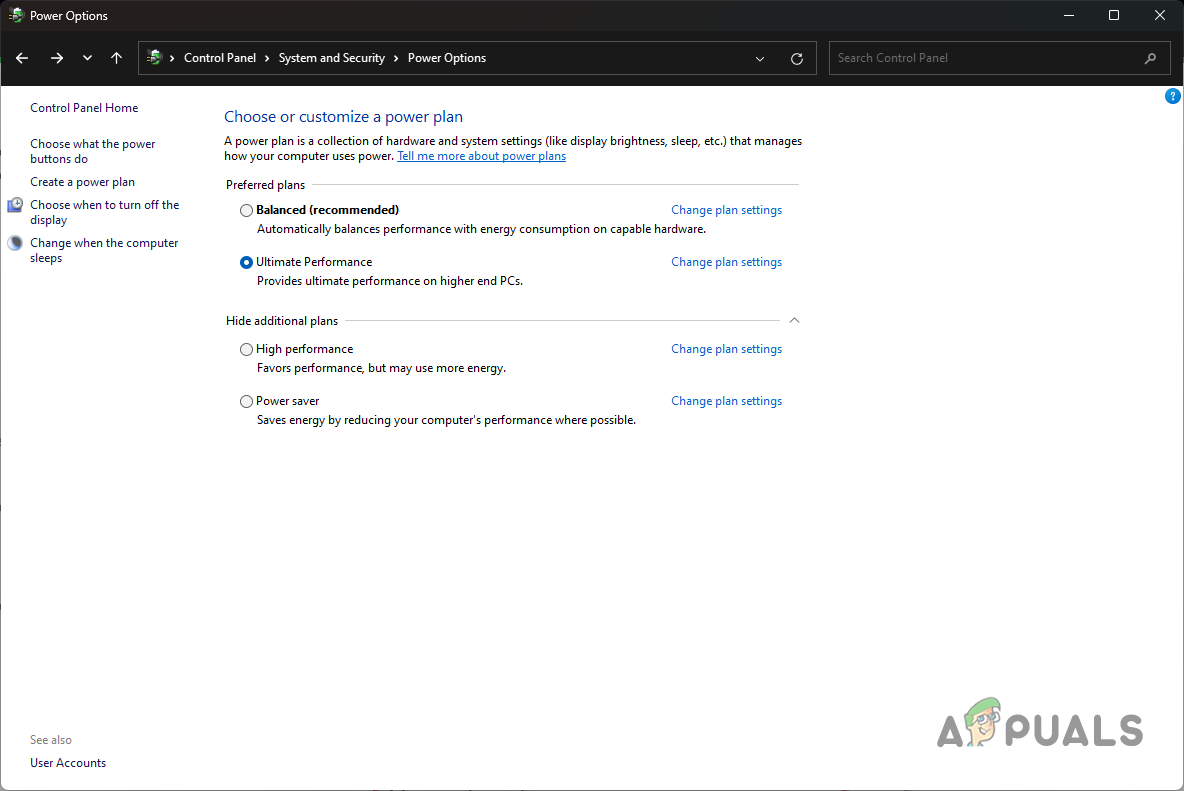
Selecting the Ultimate Performance Plan
5. End Background Apps
The apps and processes running in the background eat away at your computer resources. Some apps consume a lot more resources than others, which can be troublesome when playing a game.
Most of the computer resources should be available for the game, and if there is a third-party app in the background trying to use them as well, the performance of your game can take a hit.
This can matter a lot on systems that do not have many resources available. In such scenarios, you will have to kill the background apps to free up the RAM and other resources they might use for the game. To do this, follow the instructions down below:
- First, right-click on the Start Menu icon on your taskbar and choose Task Manager from the menu that appears.
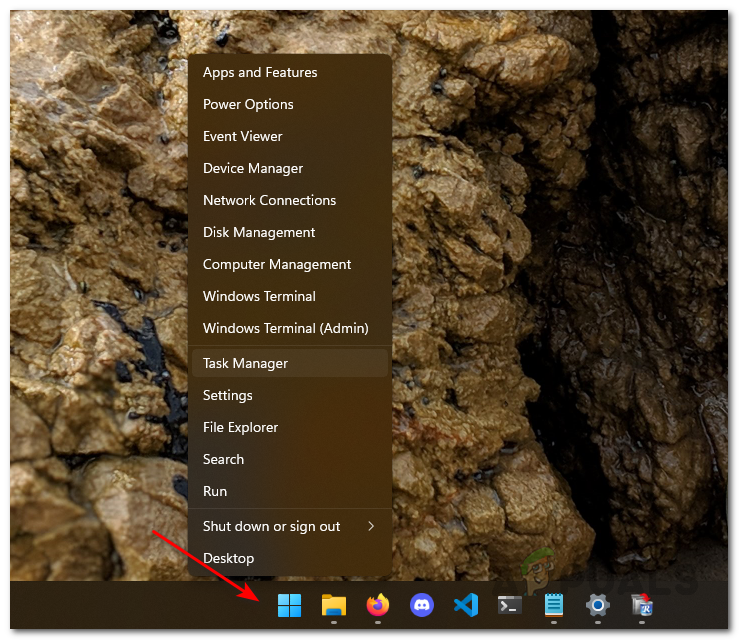
Opening Task Manager - Once Task Manager is open, look for background processes that use the most computer resources.
- End the process by selecting it and then clicking the End task option.
- After doing that, open up the game and see if the issue has gone away.
6. Restart Shaders Optimization
Shaders optimization is done to improve the performance of Warzone 2 when you launch it. This helps ensure all the textures are rendered correctly and prevent potential performance issues.
Once done, the optimized shaders are stored in your shaders cache and utilized. Sometimes, you might experience stuttering in Warzone because of poorly optimized shaders.
When this happens, you must delete your shaders cache and reoptimize your shaders. To do this, follow the instructions below:
- Start by opening up Warzone 2.
- In the top-right corner, click on the Settings icon.
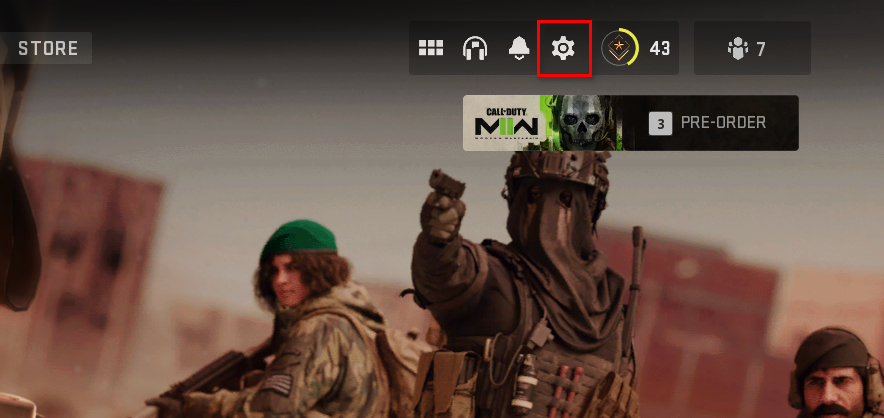
Opening Warzone Settings - Then, click on the Graphics option.
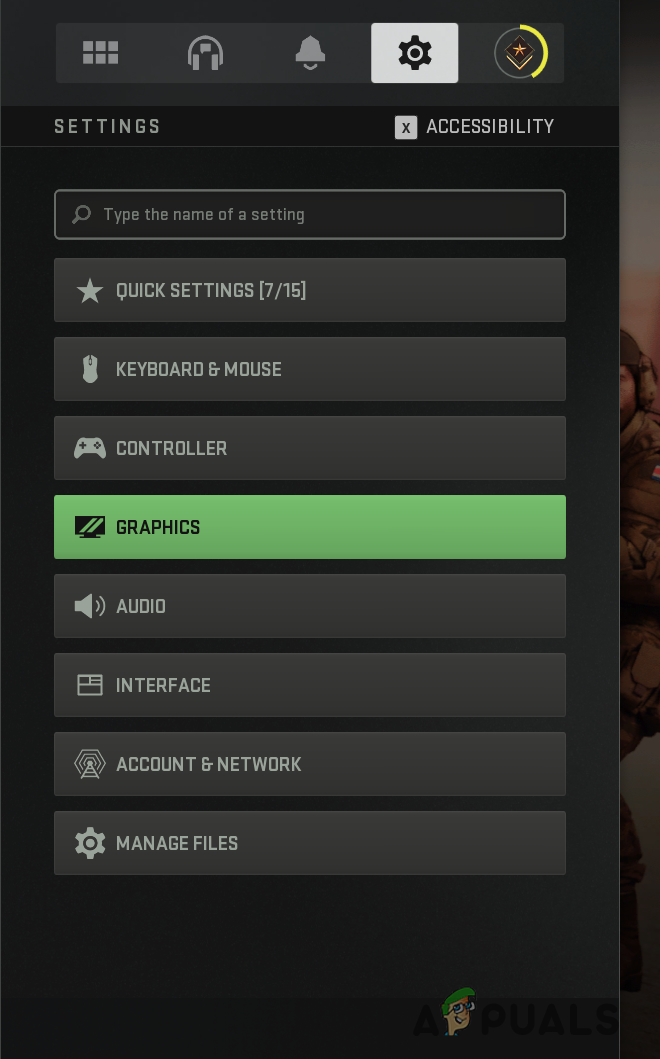
Navigating to Warzone Graphics Settings - Under the Display tab, scroll down and click the Restart Shaders Optimization option.

Restarting Warzone Shaders Optimization - Once you do that, the shaders cache will be deleted, and the optimization process will start over.
If the problem persists after reoptimizing your shaders, move to the following method below.
7. Disable Fullscreen Optimization
Fullscreen Optimization is a feature in Windows that is supposed to enhance your gaming experience by improving your PC’s performance. It allows you to enjoy both worlds of fullscreen and borderless windowed mode.
However, some users have reported facing performance issues due to this feature and disabling it helped them fix the problem. To do this, follow the instructions below:
- First, open File Explorer on your computer.

Opening File Explorer - In the File Explorer window, navigate to Warzone’s installation directory. If you are unsure of the path, right-click on the game on Steam and click Manage > Browse Local Files.
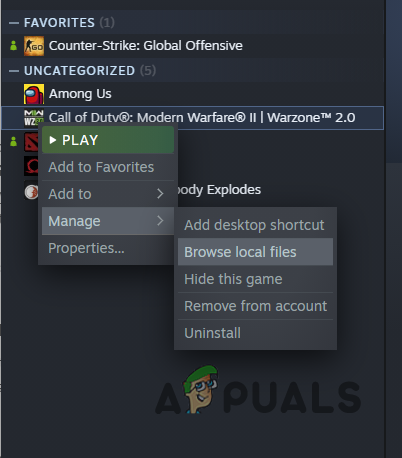
Navigating to Warzone Installation Directory - Then, from the list of files, locate cod.exe and right-click on it. Go to Properties.
- On the Properties window, switch to the Compatibility tab.
- There, tick the Disable fullscreen optimizations checkbox.
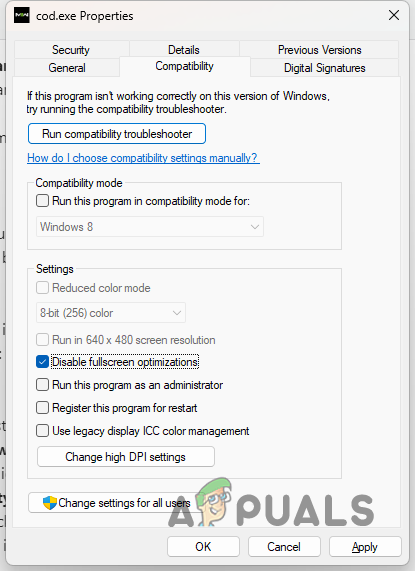
Disabling Fullscreen Optimization - Hit Apply and then click OK. Launch the game to see if that fixes the issue.
8. Install Windows Updates
Newer versions of Windows often contain new features used by various games. Some games require you to have a specific version of Windows or above to be able to play. As such, installing Windows updates becomes a necessity.
On the other hand, some updates are patches that fix a bug that might be causing an issue with one of the applications you use. Some users have fixed the Warzone’s constant lagging issue by simply updating their Windows.
This is pretty simple to do. Follow the instructions down below:
- Start pressing the Windows key + I on your keyboard to open the Settings app.
- On the Settings window, navigate to Windows Update.
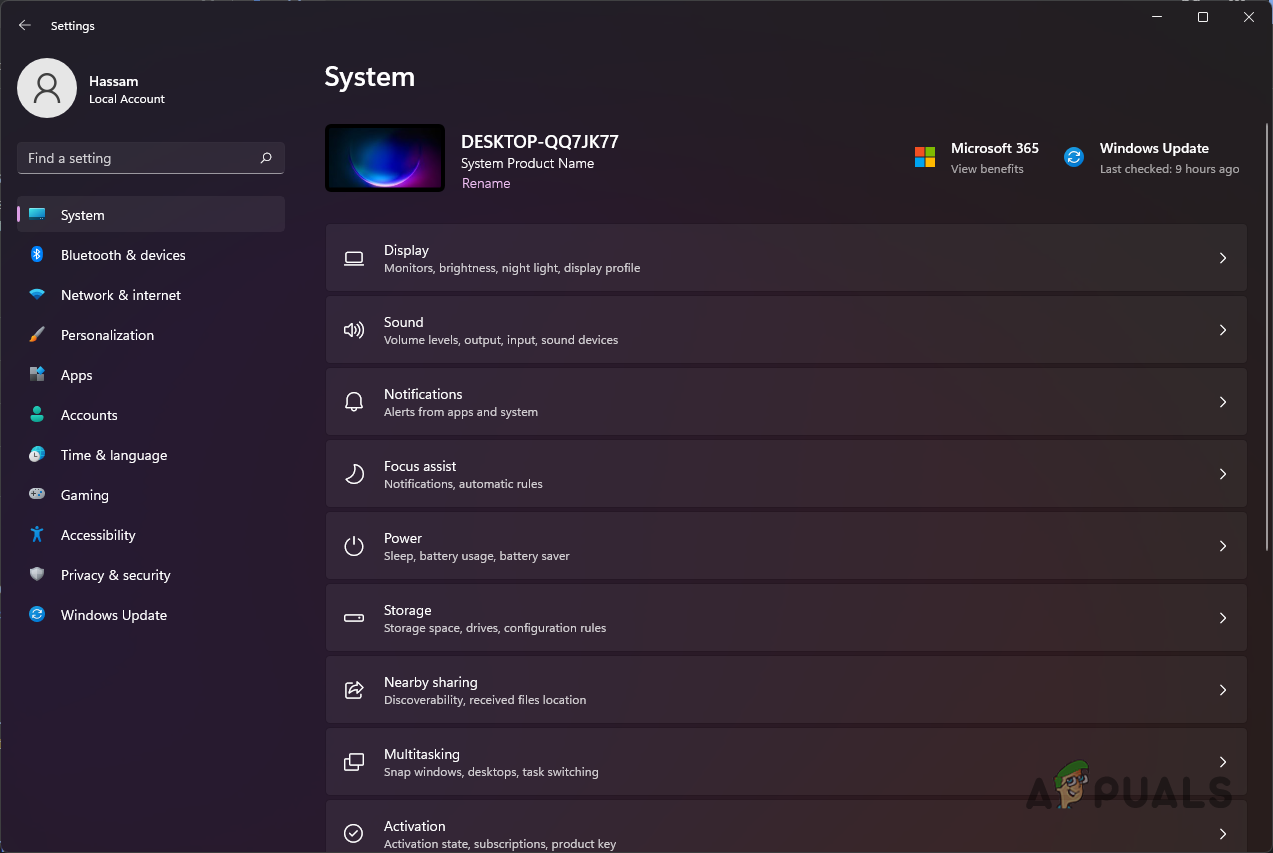
Windows Settings - Then, click on the Check for updates option to download and install any available updates.
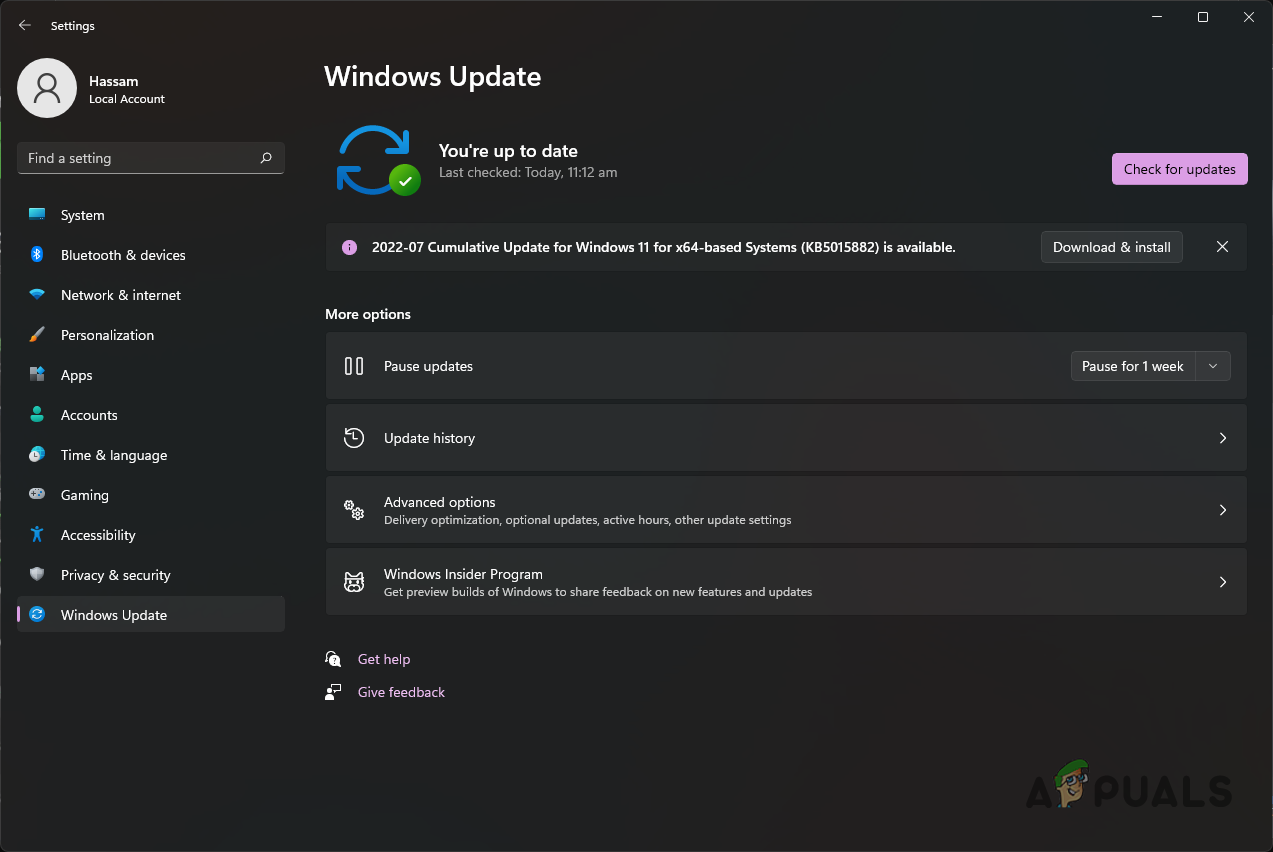
Windows Update - Once the updates have been installed, launch the game and check if the problem still occurs.
9. Enable Game Mode
Windows has a dedicated mode for when you are playing a game on your computer. Game Mode assists in improving the performance of your computer, even the low-end ones.
In addition, game mode removes any third-party notifications on your computer to help you focus on the game and not get distracted. There have been users who improved their performance in Warzone by enabling Game Mode.
On the other hand, some users have also reported that disabling Game Mode helped them fix the issue. Thus, we recommend enabling Game Mode if it is off and vice versa depending on your case. Follow the instructions down below to access Game Mode:
- First, open the Settings window by pressing the Windows key + I.
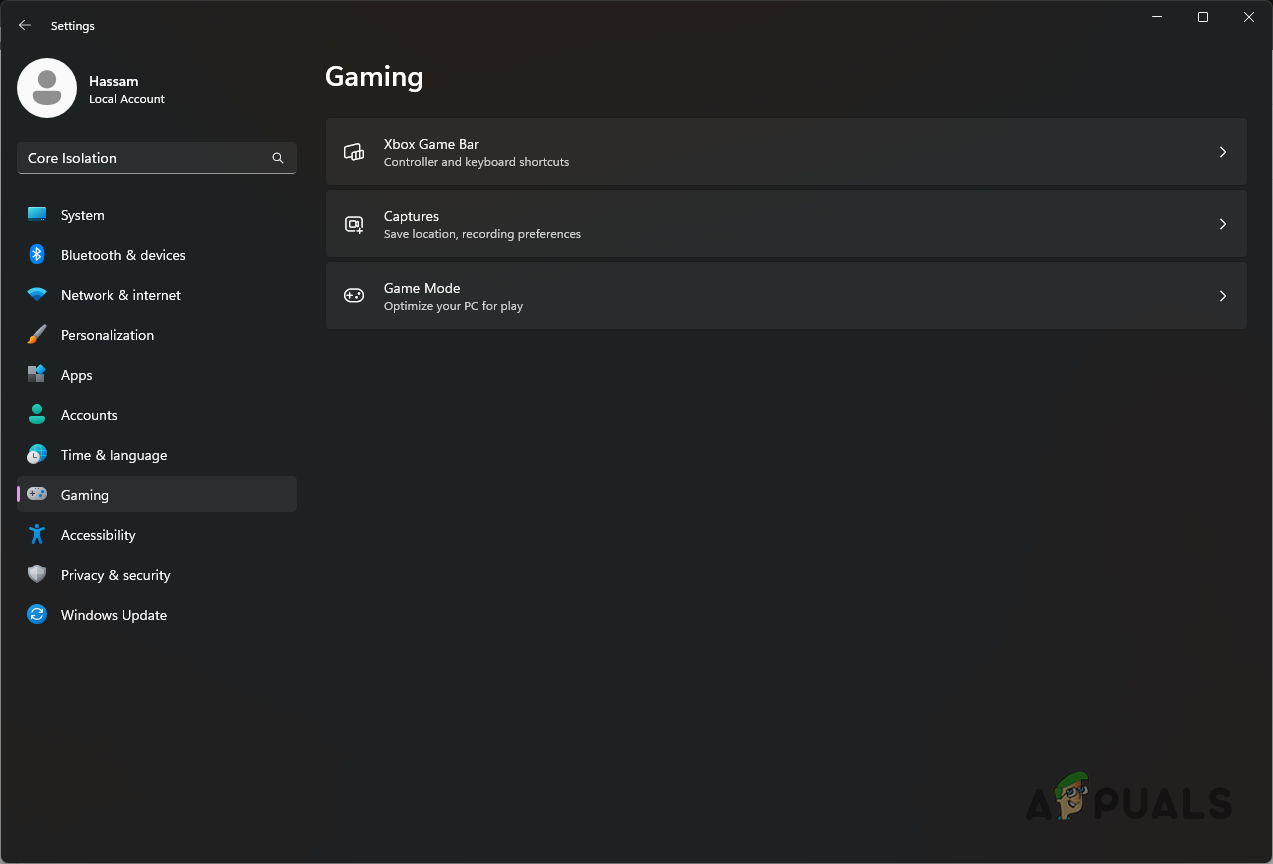
- On the Settings app, switch to the Gaming tab on the left-hand side.
Windows Settings - There, navigate to Game Mode.
Windows Gaming Settings - Finally, if Game Mode is enabled, go ahead and disable it. Otherwise, turn it on and see if that creates a difference in your Warzone performance.
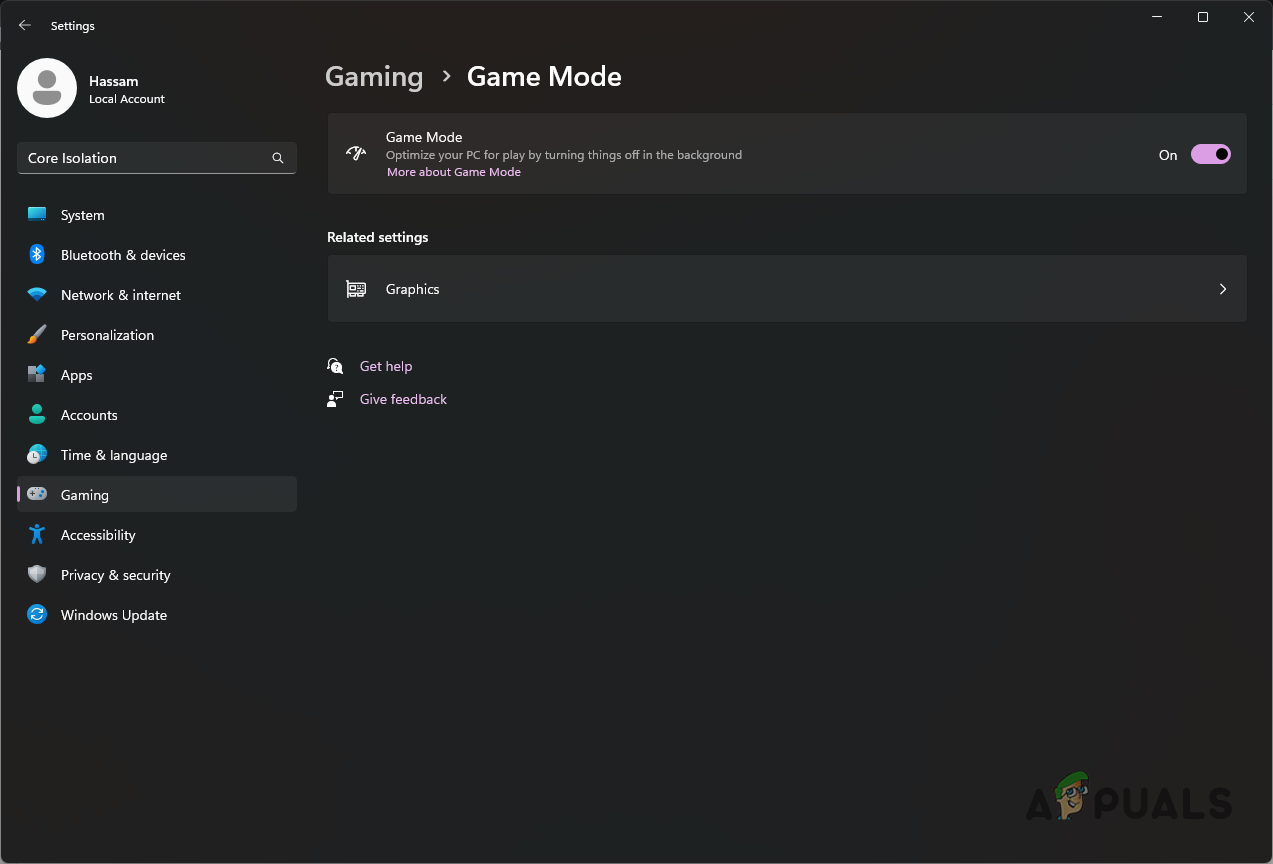
Windows Game Mode Settings
10. Disable Core Isolation
Windows 11 has a new security feature called Core Isolation that offers additional protection against malicious code and attackers. It contains a Memory Integrity feature that prevents malware from hijacking other processes on your computer.
These features are based on virtualization and can sometimes affect specific applications’ performance. In such a case, you will need to disable Core Isolation in your Windows Security settings to resolve the issue. Follow the instructions below to do this:
- Open the Settings app by pressing the Windows key + I on your keyboard.
- Then, in the search bar provided, search for Core Isolation.
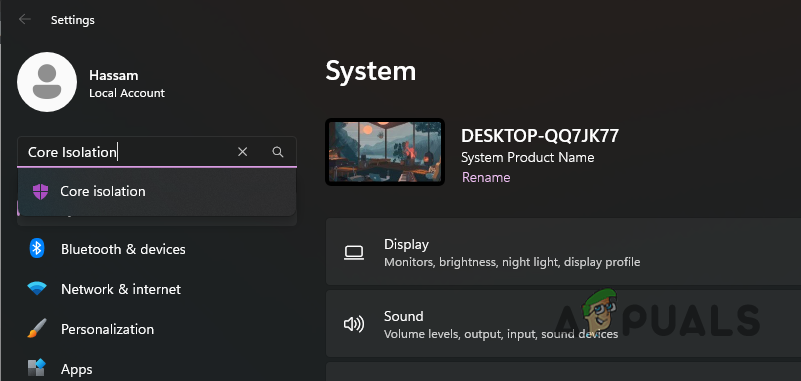
Searching for Core Isolation - Once you are there, turn off the Memory Integrity slider.
- Then, go ahead and restart your computer.
- After your PC boots up, see if Warzone is still lagging.
11. Repair Game Files
In some cases, the lagging or stuttering of Warzone can be related to its game files. If some installation files have been damaged, the game will not be able to run smoothly, and you might face performance issues.
If this case is applicable, you will have to scan and repair your game files to fix the problem. Doing so will download any damaged files and replace them on your computer. Follow the instructions below to do this:
- First, open Steam and navigate to your Library.
- Right-click on Warzone 2, and from the drop-down menu, choose Properties.
- On the Properties window, switch to Local Files.
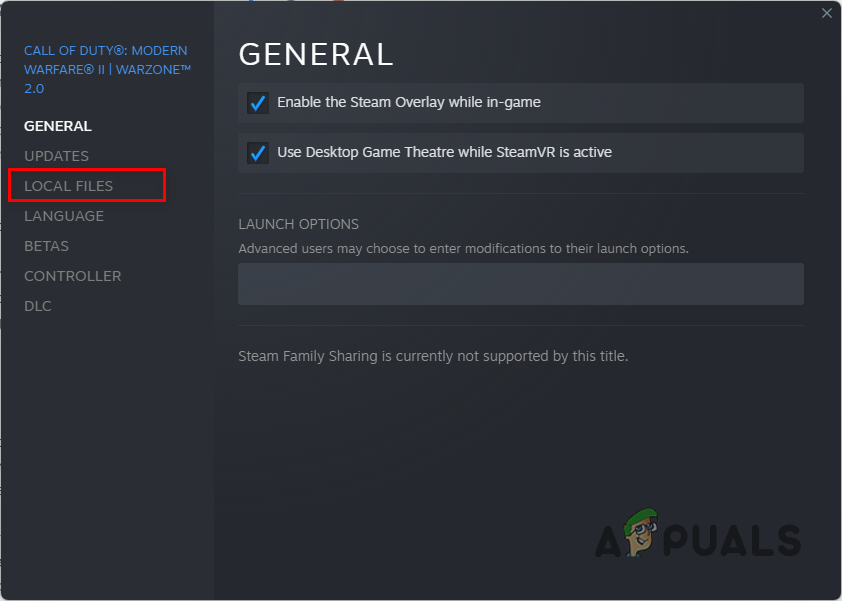
Navigating to the Local Files Tab - There, click on the Verify integrity of game files option.
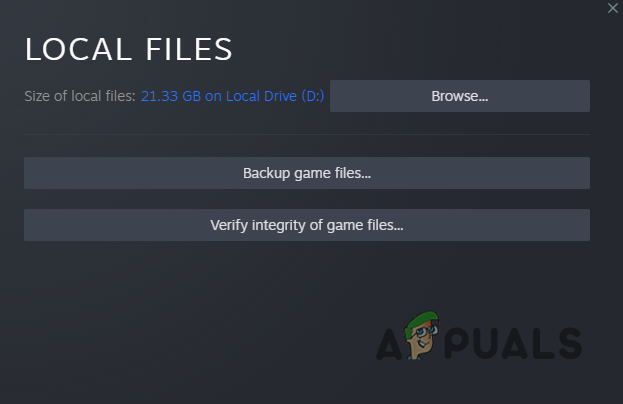
Verifying the Integrity of Game Files on Steam - Wait for the process to complete. Once done, check if the problem goes away.
12. Uninstall Recent Windows Updates
While most Windows updates contain patches to various bugs, some updates can, in turn, cause an issue on your computer. This is not something uncommon and has happened with several users on multiple occasions.
If you were not facing a lagging issue at the beginning and it started to happen out of nowhere, there is a good chance a recent Windows update might be causing it. In such a scenario, you will have to go through your Windows Updates History and look for any recent updates that might have caused the issue.
Follow the instructions below to access the Windows Updates history:
- To start, press the Windows key + I on your keyboard to bring up the Settings app.
- Then, navigate to Windows Update.
Windows Settings - In the Windows Update section, click on the Update history option.
Windows Update - Look for any recent updates in the list provided.
- If you find a recent update that could potentially have caused the issue, click on the Uninstall updates option to remove it.
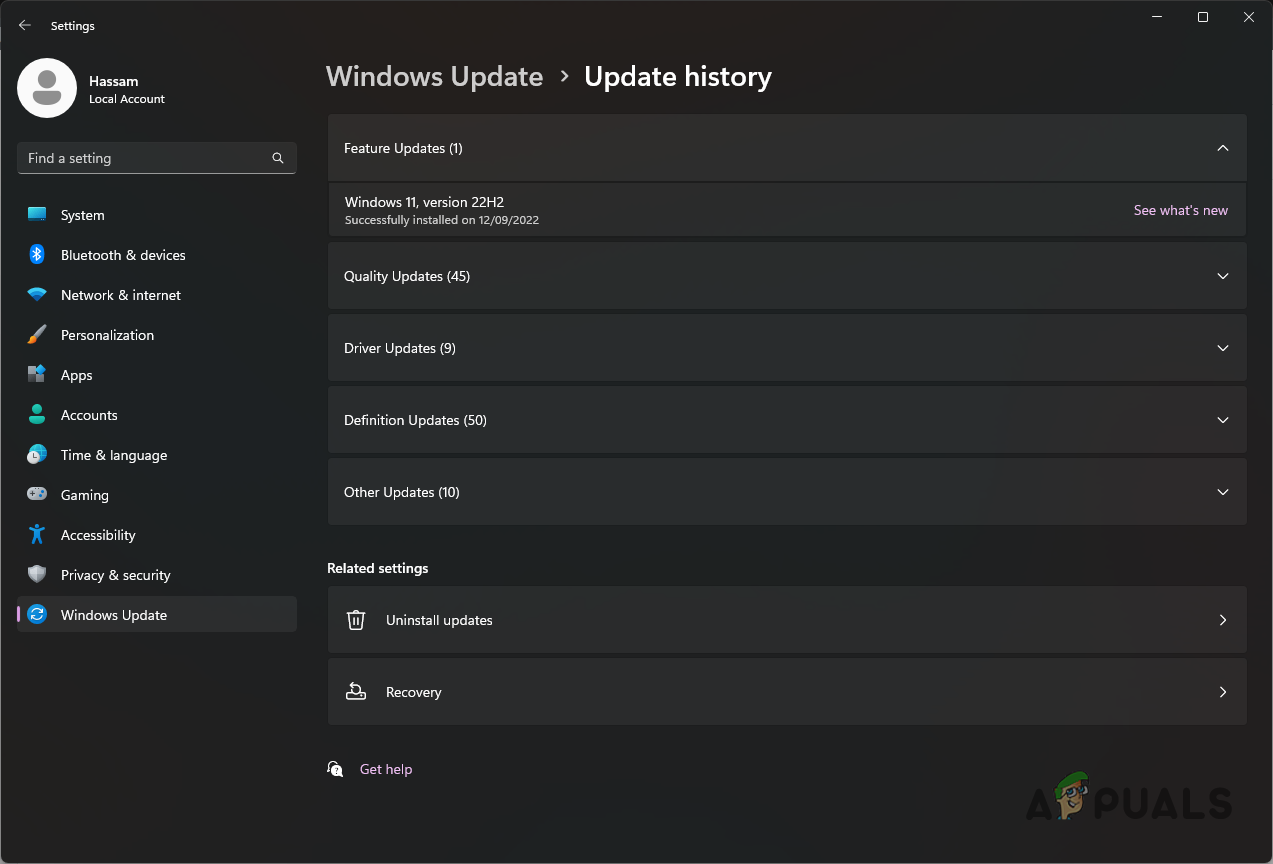
Windows Update History - See if that resolves the issue.
13. Update BIOS Firmware
Finally, if all these methods have not fixed your problem, your BIOS firmware might likely be causing the problem. Multiple users have reported that updating their BIOS firmware has fixed lagging and stuttering issues.
We usually don’t have to worry about BIOS firmware, but in some cases, updating it can solve a pretty annoying problem. Fortunately, updating your BIOS firmware has been automated over the years, and you can most likely find a dedicated utility from your motherboard’s manufacturer to get the job done.
To update your BIOS, you will need to find your motherboard model. Once you have that, head to their website and download the dedicated utility for updating BIOS. The tool should update your BIOS within a few minutes.
After your BIOS has been updated, open Warzone 2 again and see if the problem occurs any longer.


