[FIX] VirtualBox Installation Failed on Windows
Oracle VM Virtual Box has been facing a major installation error on windows, which is mostly faced after you have completed all the required steps to progress further into the installation and you receive the “Installation Failed Error: Fatal e0rror during installation” message. One of the most common cause for this error are interference from third-party security software.
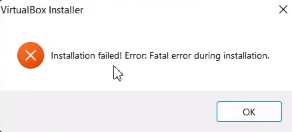
This guide will show you how to fix Windows’s Virtual Box installation error.
1. Run Virtual Box Installer As An Administrator
The User account control (UAC) determines whether the app should run in administrator or non-administrator mode. If the Installer is running the non-administrator mode, it won’t have enough privileges to write the temporary files it requires to install the Virtual Box; therefore, running the Virtual Box Installer as an administrator can grant the necessary permissions to the installer.
Follow these steps:
- Open the directory where your VirtualBox installer is located.
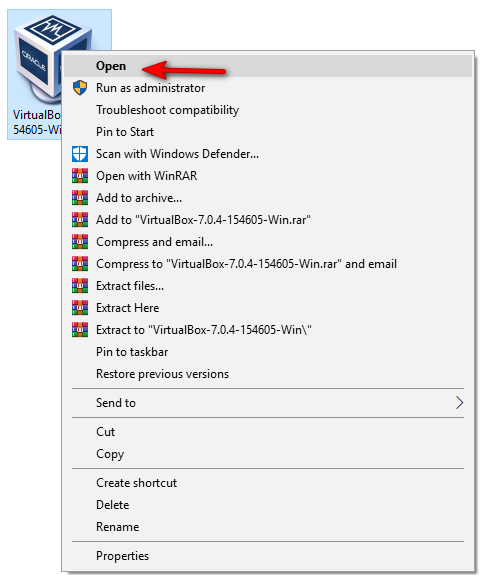
- Now, right-click on the installer, and click “Run as Administrator.”
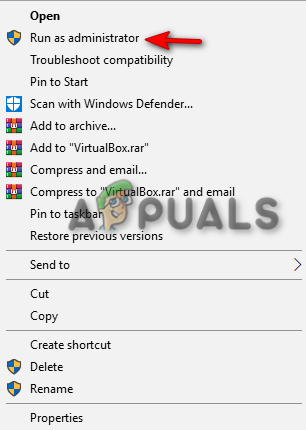
Running Virtual Box as an administrator. - When the User Account Control prompt appears on the screen, click YES.
- Now follow the on-screen instructions to check if the issue is resolved or not.
2. Run Program Install Troubleshooter for VirtualBox
When Virtual Box fails to install properly, you can use the Microsoft Program install Troubleshooter to automatically repair the issues on your system that are stopping you from installing the virtual box.
Follow the Methods below to Run the Microsoft Install Troubleshooter:
- Download the Microsoft Program Install Troubleshooter
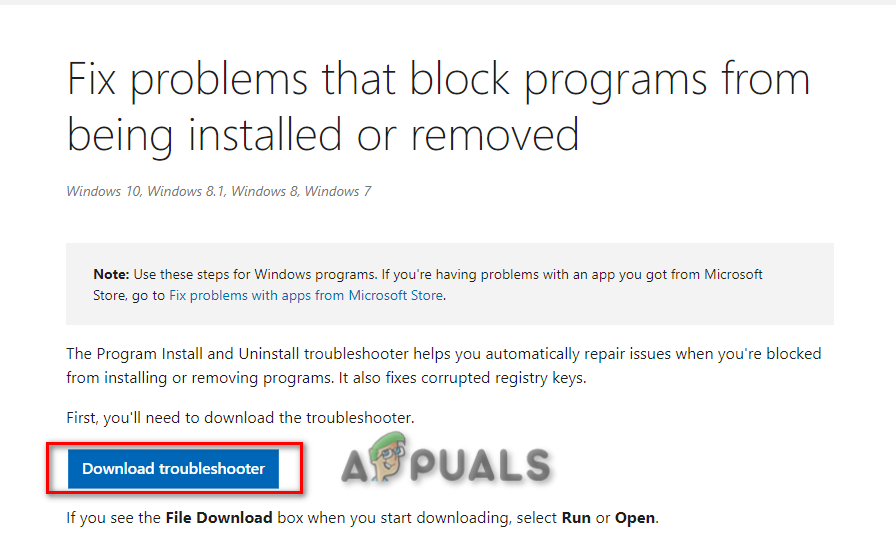
Downloading Microsoft Program Install and Uninstall Troubleshooter - Open the downloaded troubleshooter file.
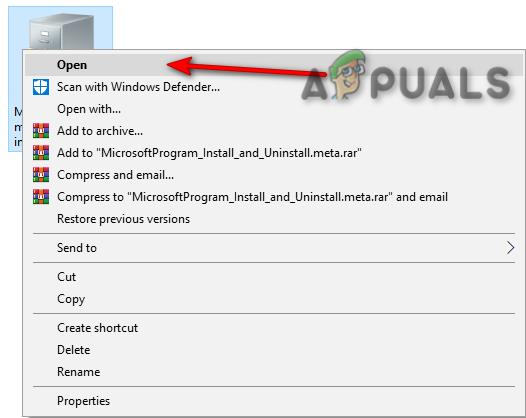
Opening Program Install and Uninstall Troubleshooter - Click on Next and detect the problem.
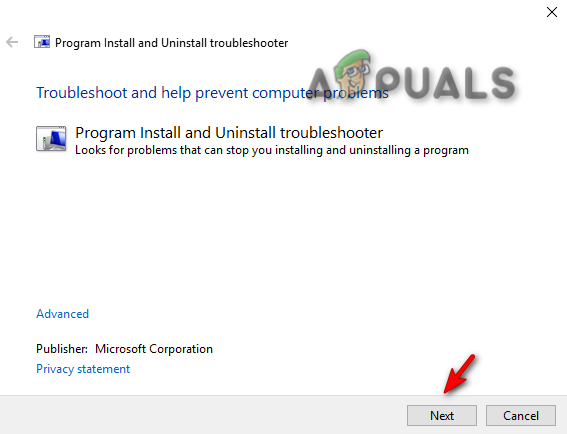
Running Program Install and Uninstall Troubleshooter - Click on the “Installing” option.
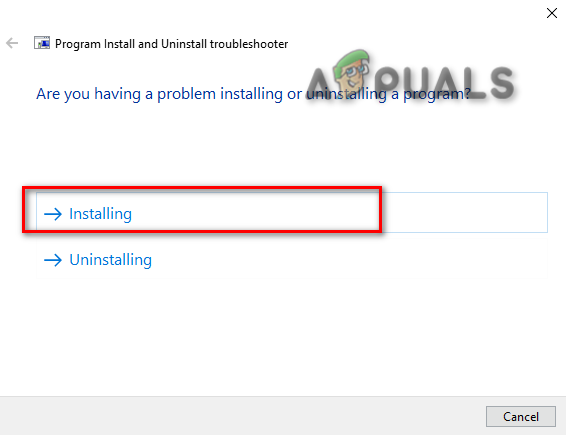
Selecting the troubleshooter problem - Select Oracle VM Virtual Box and click “Next” to identify the problem.
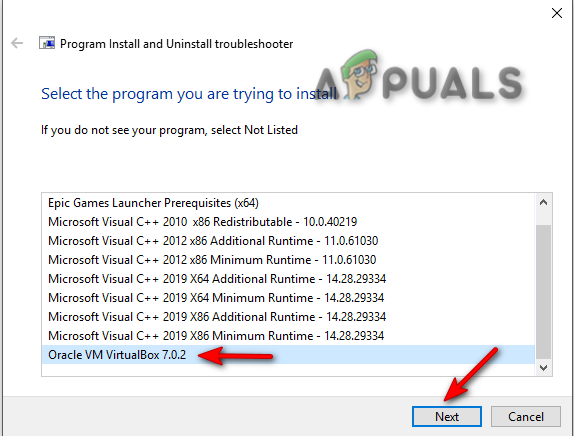
Selecting a Program for a troubleshoot - Now follow the on-screen instructions and check if the issue is resolved.
3. Disable Third-Party Security Software Temporarily
When Installing Virtual Box on your system, make sure to disable third-party security software, such as Antivirus temporarily, as they can interfere with the installation of your programs and, as a result, will cause an installation error.
To learn how to temporarily disable third-party security software from your computer, follow the below steps.
- Open the Windows Settings by pressing the Win + I keys simultaneously.
- Navigate to the following settings Update and Security > Windows Security > Virus and threat protection.
- Select “Manage Settings” under Virus and threat protection settings.
- To temporarily disable third-party security software on Windows, turn off the “Real-Time Protection” option.
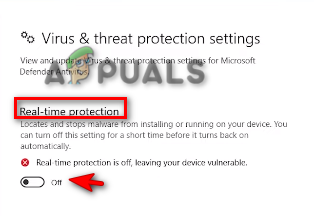
Turning off Real-Time protection
