Vertical Lines Appearing on Your Laptop Screen? Here’s What to Do
Vertical lines on your laptop screen can indicate a range of issues, both hardware and software-related. Regardless of whether the lines you see are red, green, blue, or black, swift action is important. A hardware problem can affect the rest of the display if not dealt with promptly.

Table of Contents
Identify the Issue by Restarting Your Laptop
Your first plan of action should be to restart your laptop. The lines on your screen can be permanent or temporary, but a simple restart essentially serves as a verification check. If the issue is software-induced, while booting again during the BIOS startup or on the OS loading screen, the laptop should not show any signs of screen damage or lines.

If you see any unusual lines or blobs during startup, there is likely an issue with the display itself. Try to avoid putting any pressure on the affected areas of the screen, as this can increase the risk of the spots expanding, sometimes leading to the entire display blacking out.
Evaluate Screen Resolution and Graphics Settings
In some cases, an incorrect screen resolution or an incompatible graphics driver can also cause issues with how your laptop’s screen displays content. To check if this is the case with your laptop, boot it up and go to the Display settings. Try lowering the resolution to see if there’s an improvement.
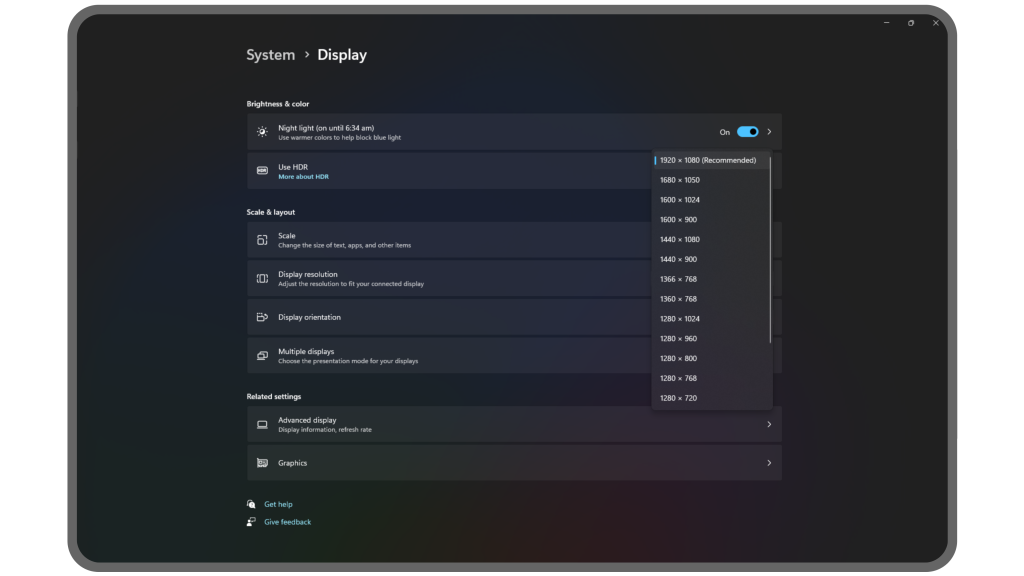
To be on the safe side, recheck if your drivers are up-to-date. Install the latest graphics drivers via direct Windows updates or manually. Appuals has an in-depth, dedicated guide on installing or updating your graphics driver, whether for Intel, AMD, or NVIDIA.
Inspect for a Loose Ribbon Cable Connection
You can verify if your laptop’s screen has a loose ribbon cable causing these vertical lines to appear. To check this, try closing your laptop screen’s lid. If the lines disappear at a certain angle, there is a good chance that the screen’s ribbon cable is the culprit.
Warning: It isn’t recommended to service your laptop’s screen yourself, especially if your device is under warranty or you lack sufficient repair knowledge. If you’re still willing to proceed, you’ll need to remove the faceplate and detach the old ribbon cable.
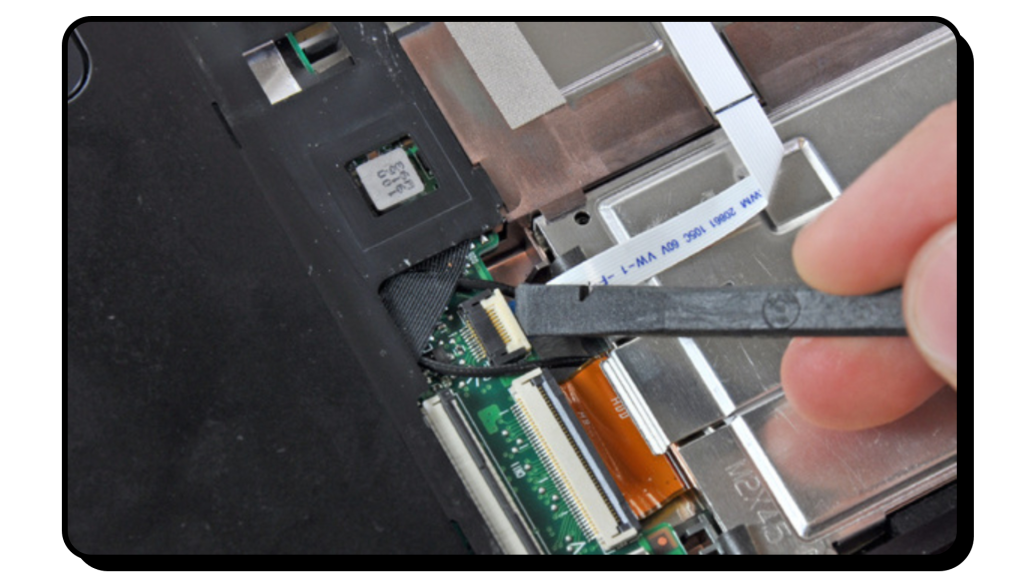
On most laptops, one end of the cable attaches to the motherboard, while the other is connected to the screen. Reseat the cable and check to see if the lines disappear. If the issue persists, get a new cable and replace the older one. Before starting, it is always a good idea to check community forums and video guides for best practices in repairing the exact model of the laptop in question.
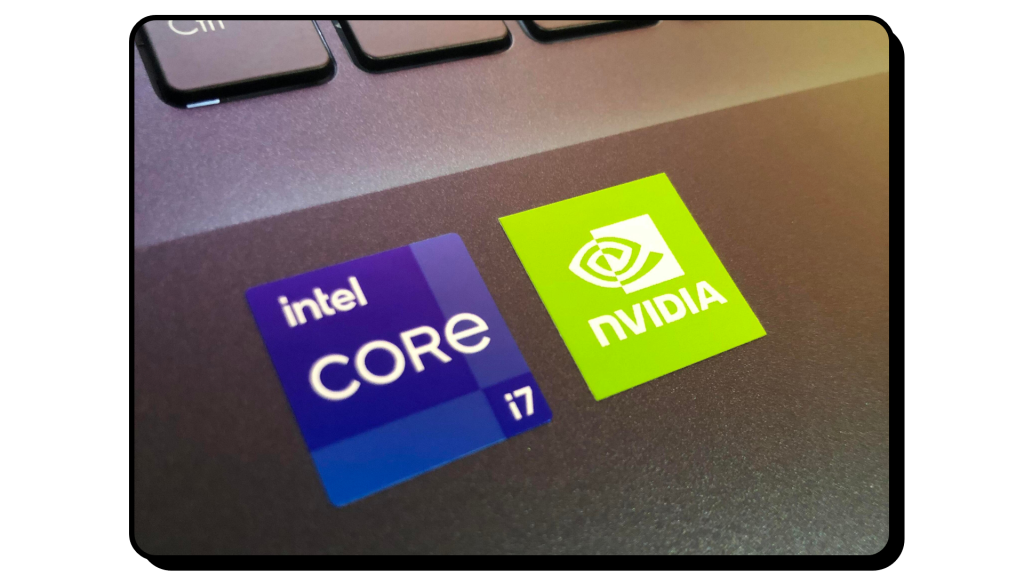
Switch to a Different Graphics Mode
If the lines on your screen aren’t consistent and appear at random intervals, there’s a good chance that the GPU is faulty. To verify this, switch to an alternative graphics option, if available. For laptops with a dedicated graphics card, it is advised to switch to the iGPU. This can be done either via a physical MUX switch or from within the operating system.
If your device doesn’t have a dedicated GPU, try tinkering with the driver options. In some cases, switching to an older driver may resolve display issues. To verify, you could also visit community forums like Reddit and check if a particular driver update caused the issue.
Consult a Repair Professional for Diagnosis
If nothing else works, it’s best to have a professional physically inspect the screen. Try not to tinker too much with the screen itself. If you’re sure it needs to be replaced, try gently applying pressure to the edges to see if there’s any change in the display. In most cases, screens with visible vertical lines indicating physical damage will require replacement.
Consider Using an External Monitor (Workaround)
Repairs can often be costly, especially a screen replacement. This is why it may be a good option to opt for an external display if you have one lying around. This can serve as an alternative to the built-in display and will allow you to use the laptop as you normally would.
Keep in mind that by using an external display, you may compromise portability, but it will hopefully be a much better experience than using a display with noticeable vertical lines running through the entire screen.
fixed the vertical single line in my dell pc
please suggest me.
plz as soon as possible