Fix: VALORANT ‘Couldn’t Update’ Error Even After Repairing
 Reviewed by Muhammad Zubyan
This error message occurs in two different scenarios: when trying to install VALORANT or when trying to open it. Mainly this error occurs when VALORANT does not have the necessary permissions to read the directory where it is installed.
We don’t have complete information about the error message; however, this error seems to occur when VALORANT is uninstalled while its appdata files remain on the computer. This tricks the installer into thinking that VALORANT is already installed, thereby resulting in this error message.
Now if you are facing this error while trying to launch VALORANT, it is possible that VALORANT cannot read the directory where it is installed, or there is something wrong with your VALORANT destination.
1. Troubleshoot the internet connection
Since this error is related to the update, it might be possible that your internet connection has a problem, preventing VALORANT from updating. In this case, you can start by troubleshooting the internet connection by using another internet source, such as mobile data or any other network connection other than the network you are using in your system.
To use a different network connection, you can either utilize the hotspot if you have a Wi-Fi adapter, or use a USB cable to access an internet connection tied to your mobile device. In both cases, be sure to connect to a different Wi-Fi network. Follow the provided instructions for using a hotspot via a USB cable or Wi-Fi adapter.
Use Hotspot via Wi-Fi Adapter
If you have a Wi-Fi adapter, it is very easy for you to connect to the hotspot. Just turn on the hotspot and change your network connection to mobile data or another Wi-Fi connection. Then simply connect the hotspot connection to your mobile data.
Use Hotspot Via USB cable
If you don’t have a Wi-Fi connection, you can use a USB cable to use a hotspot tethering feature. This will enable you to use a hotspot connection via the USB cable. To do so, simply connect the USB cable to your computer and mobile, then go to the Portable hotspot settings and turn on the USB Tethering.
Once you have connected, check if the error persists. If it is, it means your internet connection is not causing the error.
2. Try running Valorant as an administrator
If VALORANT does not have the necessary permissions to read the directory where it is installed, this will result in an error message when trying to launch. The best solution to counter this problem is to run VALORANT as an administrator. This will give it all the permissions required to access the files and directories. To do so, follow these steps:
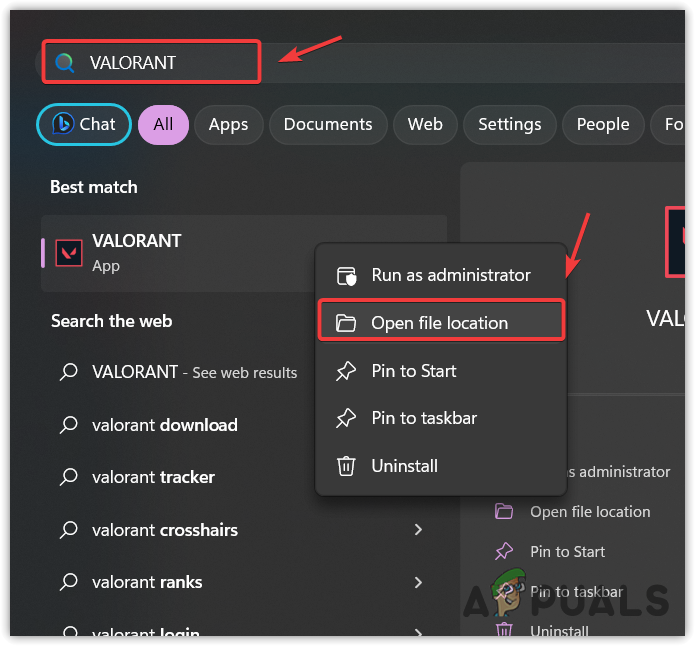
- Right-click the VALORANT shortcut. If you don’t have it, simply press the Windows key and type VALORANT.
- Right-click the VALORANT, and select Open file location.
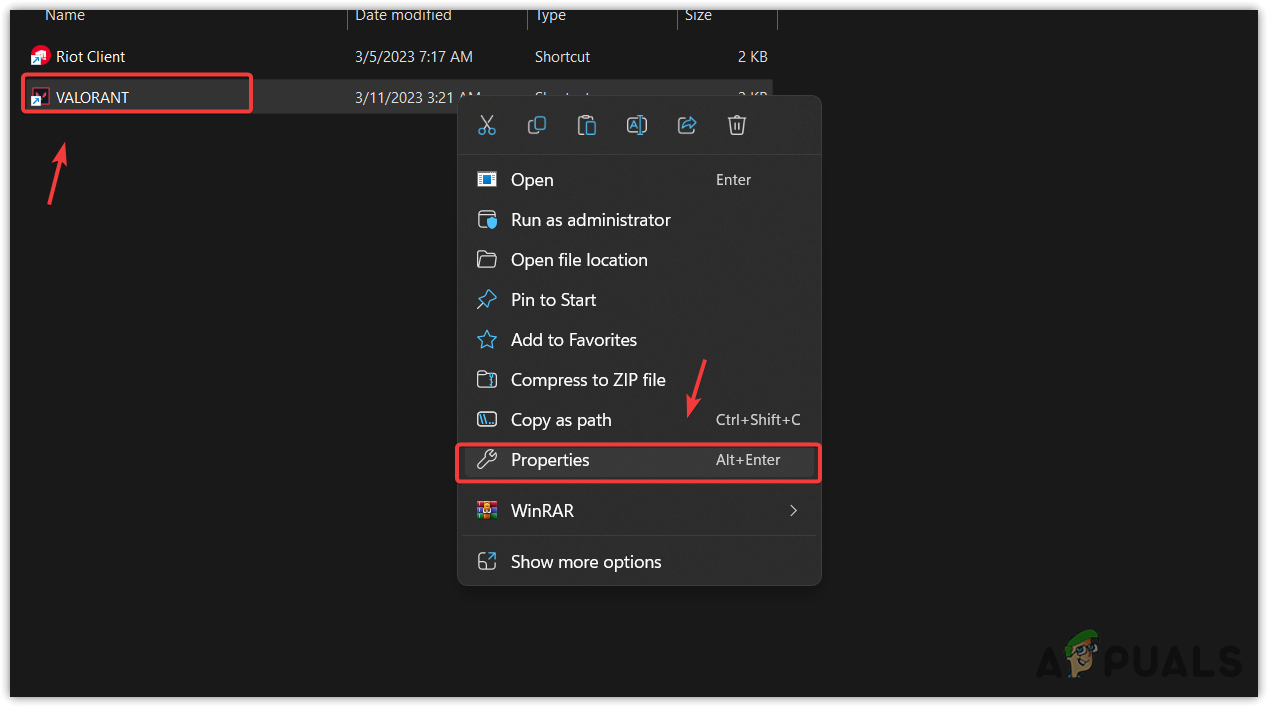
- Here right-click the VALORANT shortcut and select Properties.
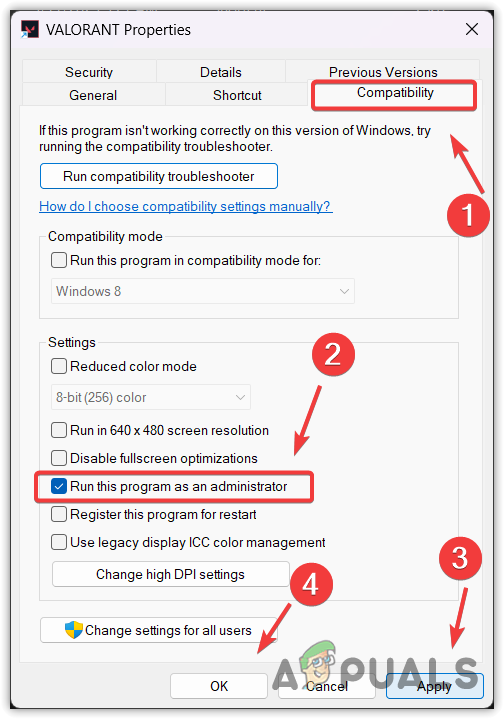
- Go to Compatibility, and tick Run this program as an administrator.
- Once done, click Apply and click OK.
- Then, try launching VALORANT to verify if the error is occurring.
3. Delete the Valorant folder from the local Appdata
If you are trying to install VALORANT, it is possible that you have a VALORANT folder in appdata directory, which is telling the installer that VALORANT is already installed. As a result, the installer keeps failing to find the installation directory, resulting in this error message.
In this method, we will simply remove the VALORANT folder from the appdata. If you are not familiar with appdata, it is a folder in Windows that saves application configurations, settings, cache files, authentication cookies, among others. Therefore, try deleting the VALORANT folder from the appdata before installing VALORANT. Follow the steps below to do that.
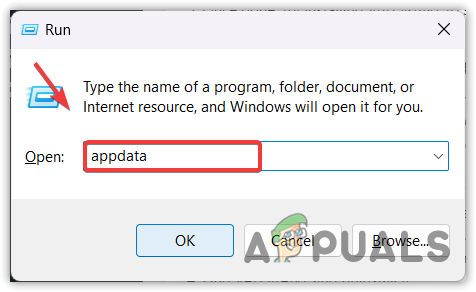
- To open the AppData folder, press the Win + R keys simultaneously.
- Here enter appdata and click OK to open the folder.
- Then, navigate to the Local folder and find the VALORANT folder.
- Once you find out, right-click on it to remove the VALORANT folder.

- Once done, try installing VALORANT to see if the error persists.
4. Verify the VALORANT game files
This error may also occur due to corruption in the game files. To check for this, you can try verifying the game files. Although there is an option in the Riot Client to repair VALORANT, it only works when an update is available. Therefore, we will attempt to use an alternative method to repair the VALORANT files. To do this, follow these steps:
- First, open the File Explorer and navigate to the location where the VALORANT is installed.
- Then, copy the VALORANT folder and paste it somewhere as a backup.
- Once you’ve made a backup, remove VALORANT from your PC. To do so, open the Start Menu by pressing the Win key. Search for ‘Add or remove programs and features’, then hit Enter to open it.
- Find VALORANT and uninstall it.
- Once done, open Riot Client, select VALORANT and click Install.
- Select the location where you backed up the VALORANT folder and click Install.

- Wait for the verification to be finished, then restart your computer and check if the error is fixed or not.
5. Clear up some space from your drive
If the error still persists, make sure you have enough space on your drive. It is because if VALORANT requires an update, it also needs space to deliver that update. Therefore, make sure you are not run out of space.
If you don’t have a space for VALORANT on your drive, you can either move VALORANT to a different drive or try cleaning up some space. To clean up the space, we use a built-in utility called Disk Cleanup. It allows users to remove temporary files, junk files such as cache, and the files that are ended up in recycle bin. To use this utility, follow the steps:
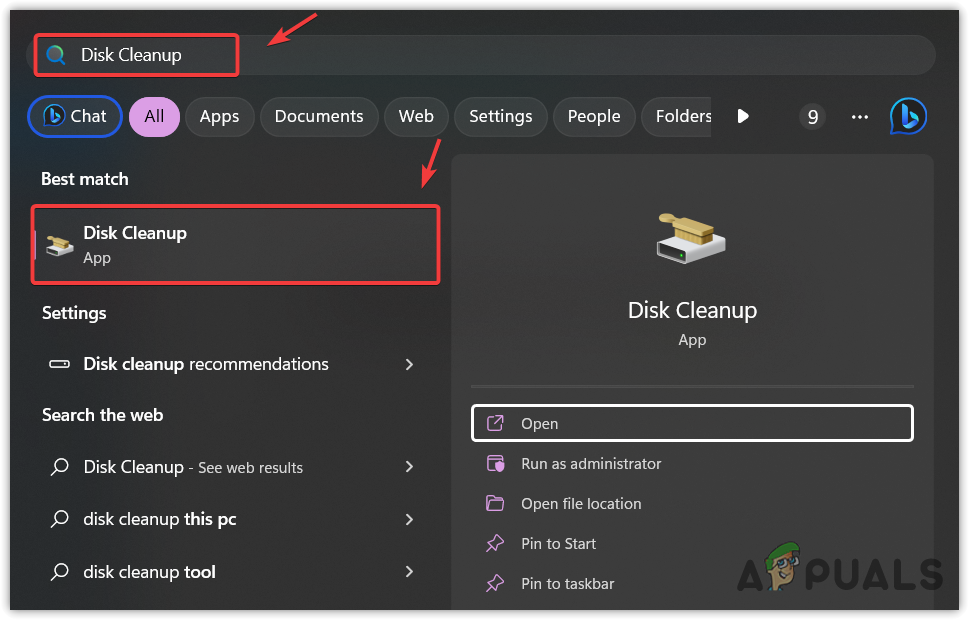
- Press the Windows key to open the Start Menu.
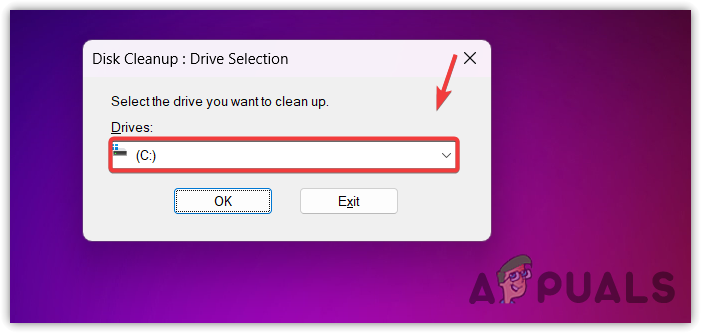
- Here type Disk Cleanup and hit Enter to run the utility.
- Now select the disk where the VALORANT is installed, and click OK.
- Here check all the options listed under Files to delete.
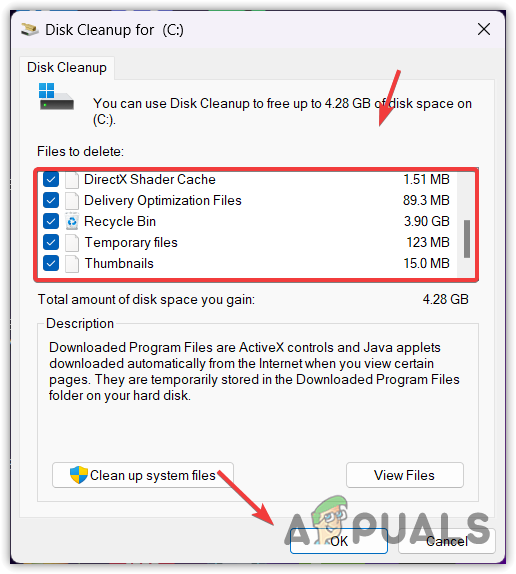
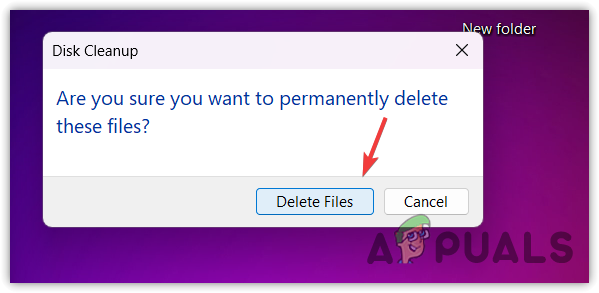
- Once done, click OK and click Delete files to clear up some space.
- In case the space is still not enough, then proceed to move the game to a different drive.
6. Reinstall Valorant
If you are still encountering the error message when trying to launch VALORANT, you need to try reinstalling the game because your game’s files might get corrupted, preventing the VLAOARANT from either locating the files or installing the update. To reinstall the game, simply follow the steps:
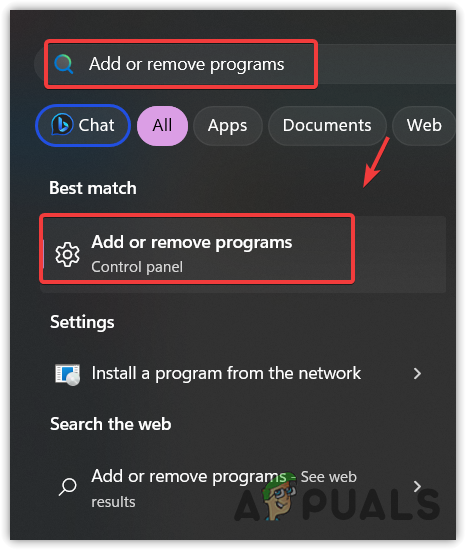
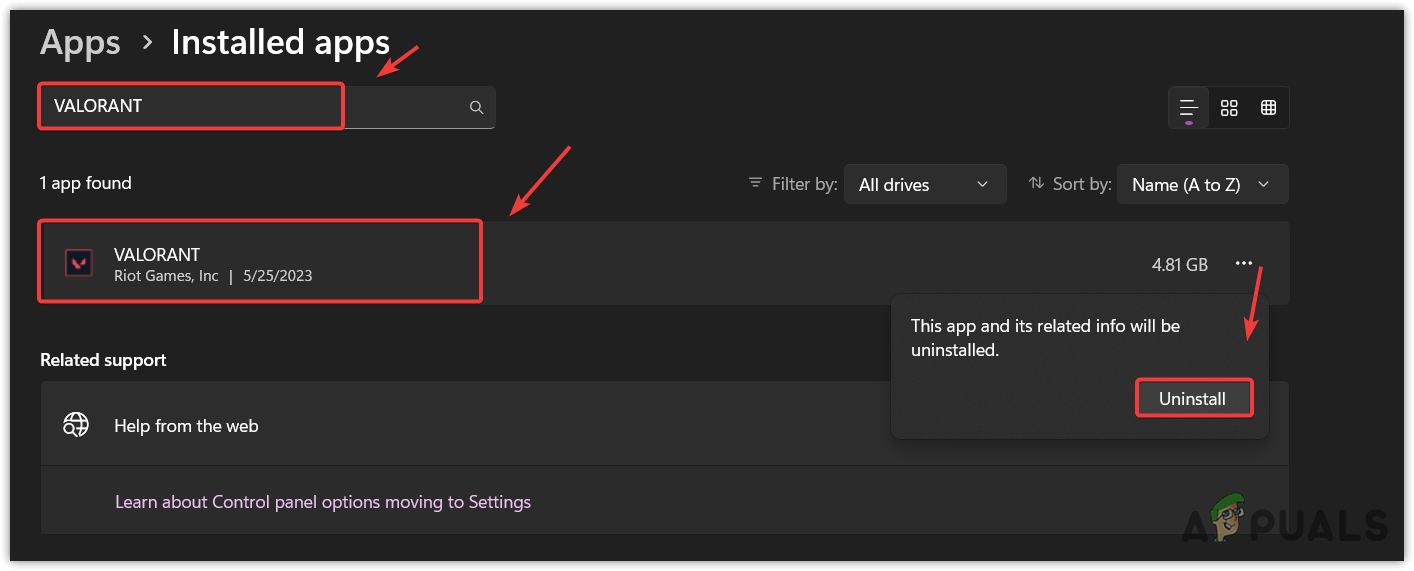
- Go to Start Menu and type Add or remove programs.
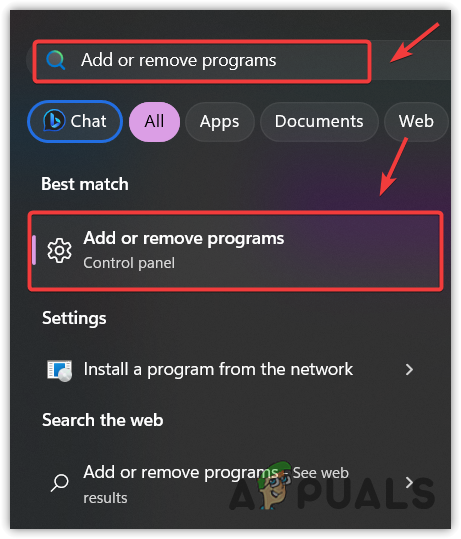
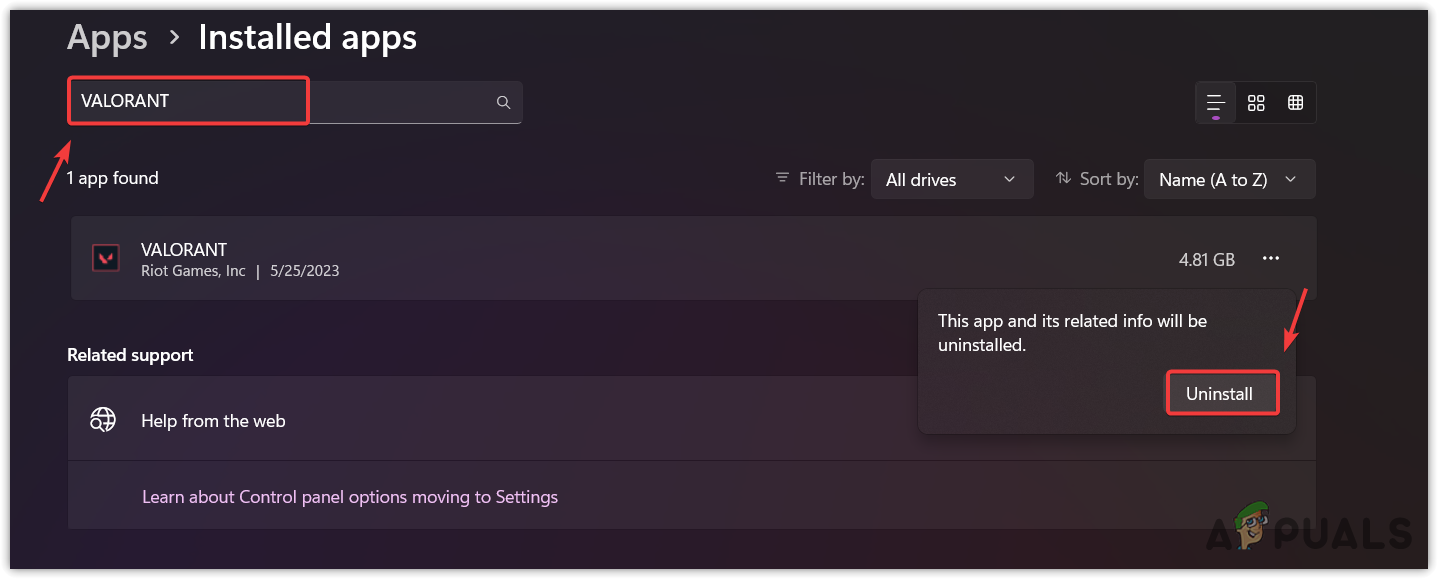
- Hit Enter to navigate into the settings. Now, find VALORANT and click the three dots.
- Click Uninstall, and again click Uninstall to confirm.
- Download the VALORANT installer from the link.
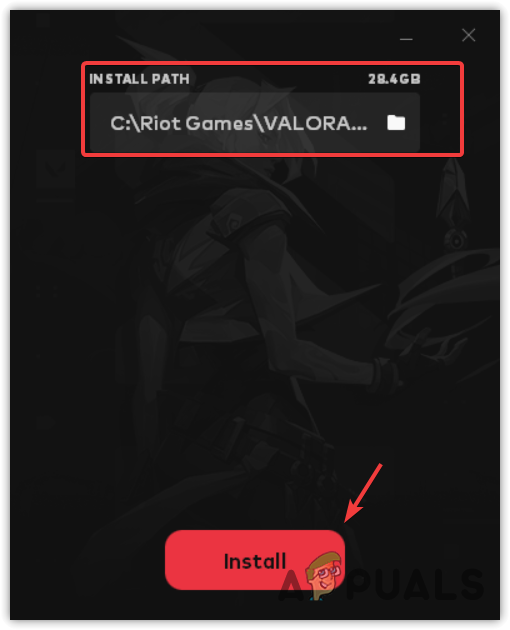
- Once the installer is downloaded, run it by double-clicking on it, then click Advanced options, to select the location where you want to install the VALORANT.
- Then, click Install.
- Once the VALORANT is installed, restart your computer.
- Then, try launching the game to see if the error persists or not.
If you are still facing this error after following all of the methods, we recommend submitting a ticket to Riot Client Support, as they can better analyze your computer. Moreover, if you uninstall VALORANT in the future, make sure to remove the VALORANT appdata folder to prevent this issue from occurring the next time you install VALORANT.
Valorant
This error occurs when VALORANT does not have the necessary permissions to read the directory where it is installed. In this case, you can try running VALORANT as an administrator.
To fix this error, first try deleting the VALORANT from the appdata local folder. If the error persists, try running VALORANT as an administrator.
Reviewed by Muhammad Zubyan


