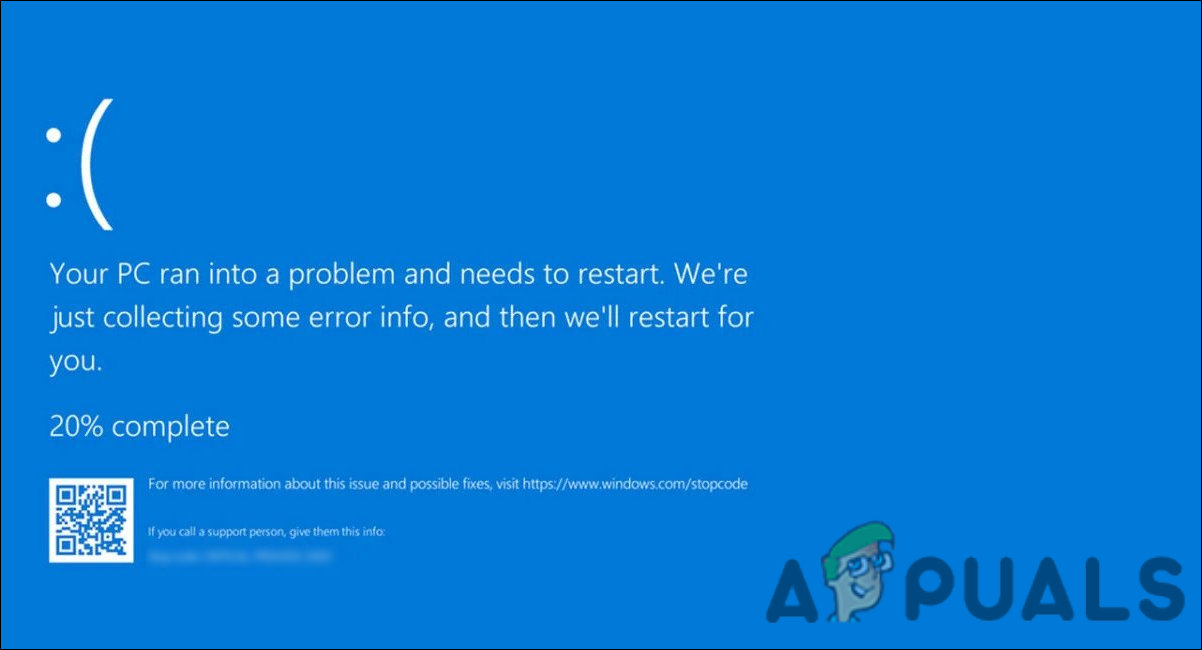
Fix: usbxhci.sys BSOD on Windows 10/11?
The usbxhci.sys blue screen is often caused when the users try to launch their system with one or more external devices connected to the computer. In some cases, the computers also crash when the user launches the system and upon booting, connects external devices to the computer.
The most common factor that triggers this particular issue is the corrupt USB drivers on the system. In other cases, it can also be caused due to corruption errors within the system or the hardware being faulty.
Whatever the reason might be in your case, we have listed several troubleshooting methods below that will help you fix the issue for good. We suggest you go through the solutions first to determine the cause of the error and then proceed with the most relevant method.
1. Update or Reinstall the USB Driver
As we mentioned earlier, the most common issue behind the usbxhci.sys blue screen is a corrupt or outdated USB driver.
The best way to fix issues with drivers is by updating them to the latest version available. If that does not work, you can uninstall the driver and reinstall it from the manufacturer’s website from scratch.
In this method, we will first update the driver and check if the issue is resolved. If the error persists, we will reinstall the driver to fix the problem.
Here is how to proceed:
- Type Device Manager in Windows search and click Open.
- In the Device Manager window, expand the Universal Serial Bus Controller section and right-click USB Root Hub.
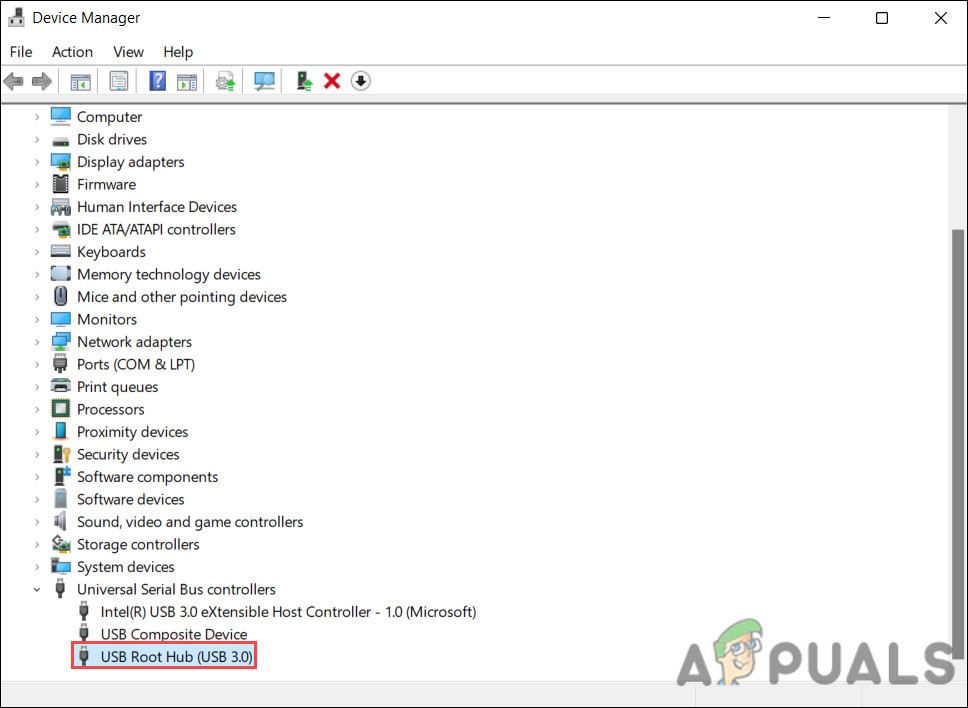
Expand the USB Root Hub section - Choose Update driver.
- Now, click on Search automatically for drivers and wait for the system to look for an updated version of the driver.
- Follow the on-screen instructions to proceed.
Once done, check if you still face the usbxhci.sys blue screen problem. If you do, we recommend you proceed with reinstalling the driver.
In that case, follow these steps:
- In the Device Manager window, right-click on the USB Root Hub device and choose Uninstall device.
- Then, hit the Uninstall button again.
- Once done, restart your PC.
Upon reboot, the driver will install back automatically. You can also uninstall the USB xHCI Compliant Host Controller driver if reinstalling USB Root Hub does not work.
Simply, head back to the Device Manager window and expand the Universal Serial Bus Controller section. Right-click on the USB xHCI Compliant Host Controller and click Uninstall. Checkmark the box for Delete the driver software for this device and click Uninstall again.
Hopefully, this will fix the problem.
2. Use the System Restore Utility
You can also try reverting the system state back to when the system worked properly without the usbxhci.sys blue screen. In order to accomplish this, we will use the System Restore utility, which creates restore points periodically. The restore points can be used to go back to a previous state of your system.
Reverting your system will, however, erase any changes you made since the restore point you selected was made.
Follow these steps to proceed:
- Type Control Panel in the search area of the taskbar and click Open.
- Search for Recovery in the Control Panel and select Create system restore > System Restore.

Click on the System Restore button - Click Next.
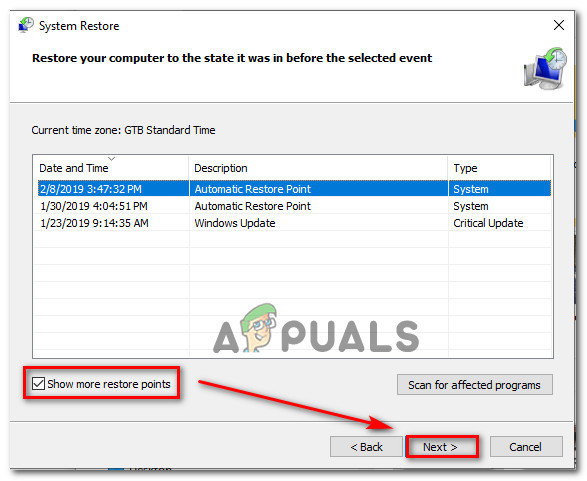
- You will see a list of restore points created on your system in the following window. Choose one, preferably the most recent one and click Next.
Deploy a System Restore operation - Wait for the process to complete and check if the issue is resolved.
3. Run System Scans
Windows users often experience errors like the usbxhci.sys blue screen due to generic errors or viruses within the system. Most of the time, however, these can be resolved using the built-in troubleshooting utilities Microsoft has equipped Windows with.
We will use the SFC and DISM utilities via Command Prompt to fix this error. The System File Checker checks the system for any files with compromised integrity and replaces the faulty ones with their healthy counterparts. The DISM tool, on the other hand, is more powerful than the System File Checker and repairs corrupt system images.
Here is how you can run these tools:
- To launch Command Prompt with administrative privileges, type cmd in the search bar and click Run as administrator.
- Inside the Command Prompt window, type the command mentioned below and hit Enter to execute it.
sfc /scannow
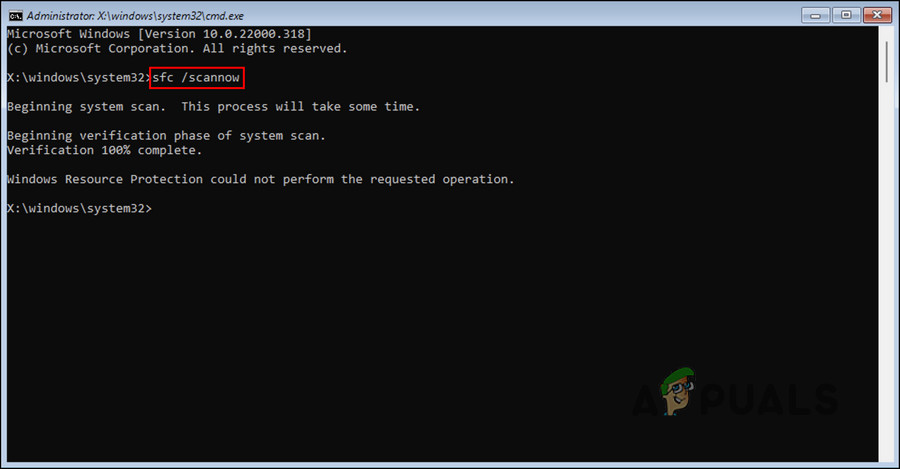
Execute the SFC command - Wait for the process to complete and then restart your computer.
- Upon rebooting, launch Command Prompt as an administrator once again and execute the DISM command.
Dism /Online /Cleanup-Image /RestoreHealth
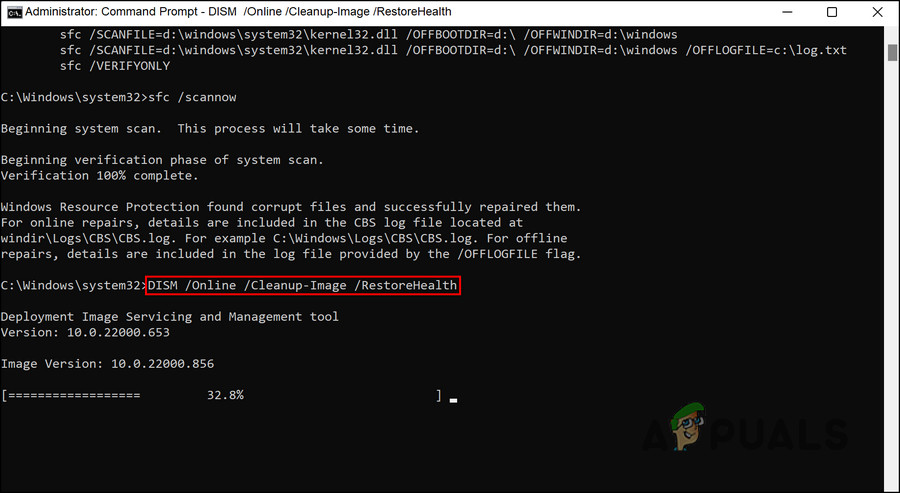
Restore system’s health with the DISM command - Now, restart your PC again and check if the usbxhci.sys blue screen issue is resolved.
4. Reset Your PC
As a last resort, if the troubleshooting methods listed above did not help, you can try resetting your PC.
The method allows you to keep your files or remove them all. If you choose to delete your files, your system will be reverted to its default state. We suggest that you copy your important files elsewhere, and proceed with the second option.
In this way, the error will be completely removed.
Here is how to reset your Windows:
- Press the Win + I keys to open the Settings app.
- Choose System from the left pane.
- Click on Recovery.
- Head over to the Recovery options section and click on the Reset PC button.
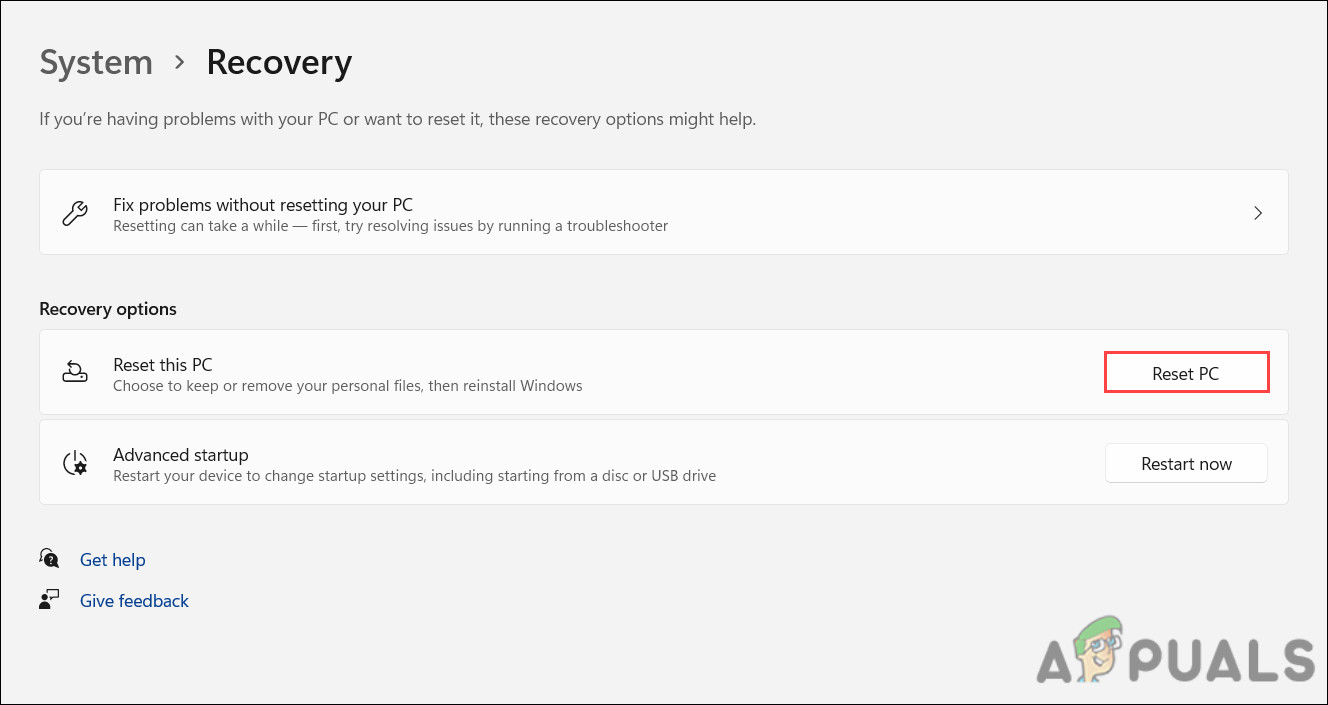
Click on the Reset PC button - Follow the on-screen instructions to complete the process.
Hopefully, performing a system reset will fix the usbxhci.sys blue screen problem once and for all.
However, if you do not want to proceed with a reset just yet, you can contact Microsoft support and report the issue to them. They will help you identify the cause of the error, and then suggest a relevant fix that will hopefully fix the problem once and for all.


