Fix: Uplay Failed to Synchronize Achievements
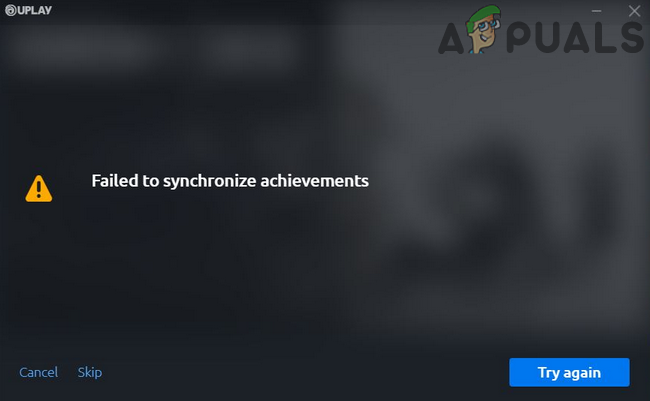
When the “Uplay Failed to Synchronize Achievements” error happens, you might see a message, and achievements may not update or sync to Ubisoft servers. This can occur when closing the game or waking from sleep mode, indicating that Uplay didn’t connect to the servers to sync achievements.
The error is often due to server issues or temporary outages but can also be caused by poor network conditions, firewall restrictions, or corrupted game files. Running the game through platforms like Steam can also interfere with Uplay’s syncing.
In this article, we will discuss several ways to solve this error.
1. Reinitialize the Online Status of the Uplay Client
If Uplay has sync issues, resetting its online status can help reconnect to Ubisoft’s servers. By going offline and then back online, Uplay refreshes its network settings and clears small glitches. This forces a new connection attempt and can fix minor disruptions from short server downtimes or connectivity problems, restoring normal syncing.
- Open the Uplay client and click the Menu button at the top left.
- Select Go Offline and wait briefly.
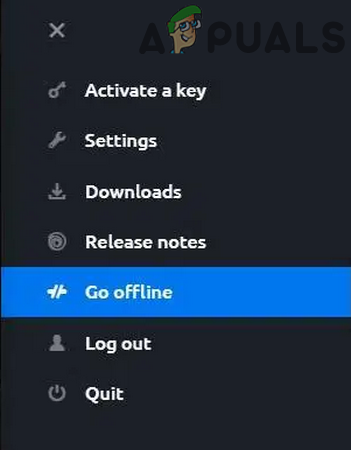
Go Offline In Uplay Client - Click on Go Online. You may need to log in, then see if the issue is resolved.
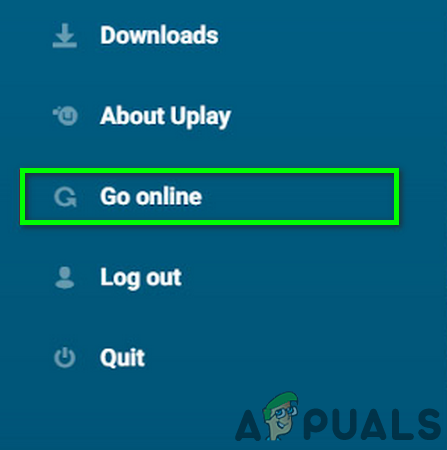
Go Online In Uplay Client
2. Close Uplay-Related Processes through the Task Manager
Sometimes, background Uplay processes can cause sync issues. Ending these processes in Task Manager forces Uplay to restart, fixing temporary problems. This reset helps Uplay reconnect to Ubisoft servers and often resolves minor sync glitches.
- Press Ctrl + Shift + Esc to open Task Manager quickly.
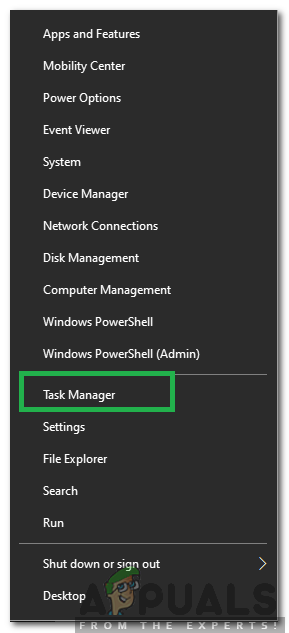
Opening Task Manager after pressing Ctrl + Shift + Esc - End tasks for all processes related to Uplay/Ubisoft. If using Steam, end Steam-related processes too.
- Reopen Uplay/Ubisoft and check if the error is fixed.
- If the issue persists, restart your PC and check Uplay again.
3. Allow Uplay in the Firewall
Firewall settings can block Uplay from connecting to Ubisoft’s servers, causing sync issues. Allowing Uplay through the firewall ensures data can move freely between your system and Ubisoft servers. This step removes firewall blocks, letting Uplay exchange achievement data without problems. It helps when security settings wrongly flag Uplay traffic as suspicious, leading to sync failures.
- Close the Uplay client (as discussed in Solution 2).
- Temporarily disable your antivirus or turn off your firewall. Then launch the Uplay client to check its functionality. You can also add exceptions for Uplay files in the antivirus/firewall settings.
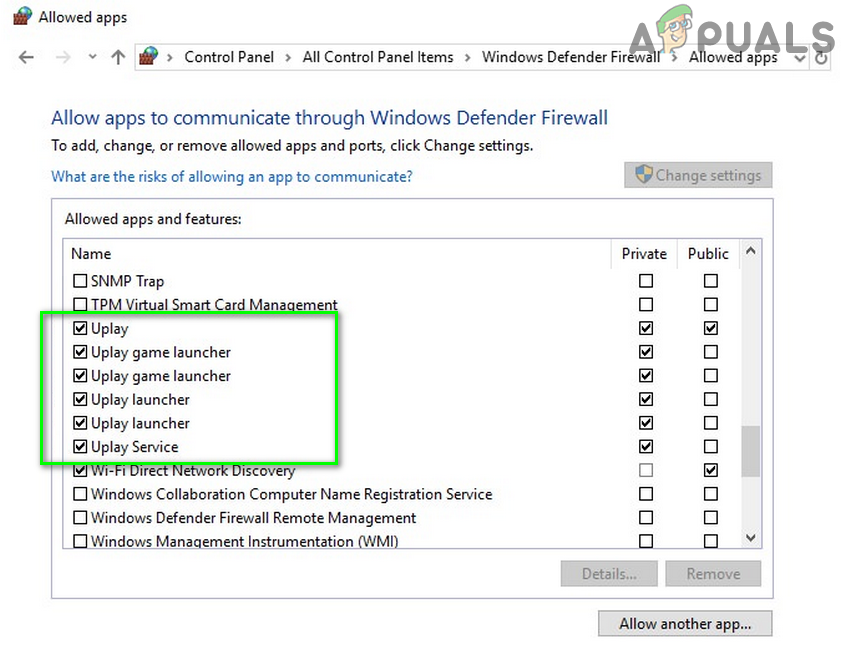
Allow Uplay-Related Processes Through the Firewall - Ensure to turn your antivirus/firewall back on.
4. Remove Uplay-Related Entries from the Hosts File
Sometimes, Uplay connection issues are due to incorrect entries in the hosts file, which can block access to Ubisoft’s servers. Removing these entries clears the path for Uplay to sync achievements. Always back up the hosts file before changing it.
- Close the Uplay client and end all related processes via Task Manager (as explained in Solution 2).
- Open File Explorer and navigate to:
C:\Windows\System32\drivers\etc
- Back up the Hosts file to a safe location.
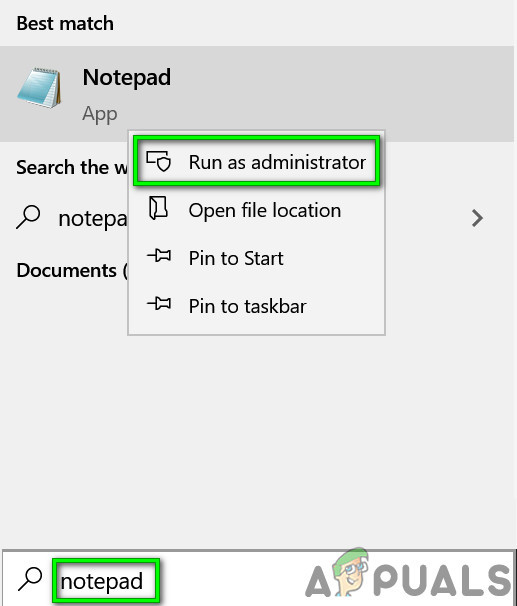
- Click the Windows Search bar and type Notepad. Right-click on Notepad in the results and select Run as Administrator.
Open Notepad As Administrator - Click on File, then Open from the menu.
Open File in Notepad - Navigate to:
C:\Windows\System32\drivers\etc
- Change the file type from Text Document to All Files.
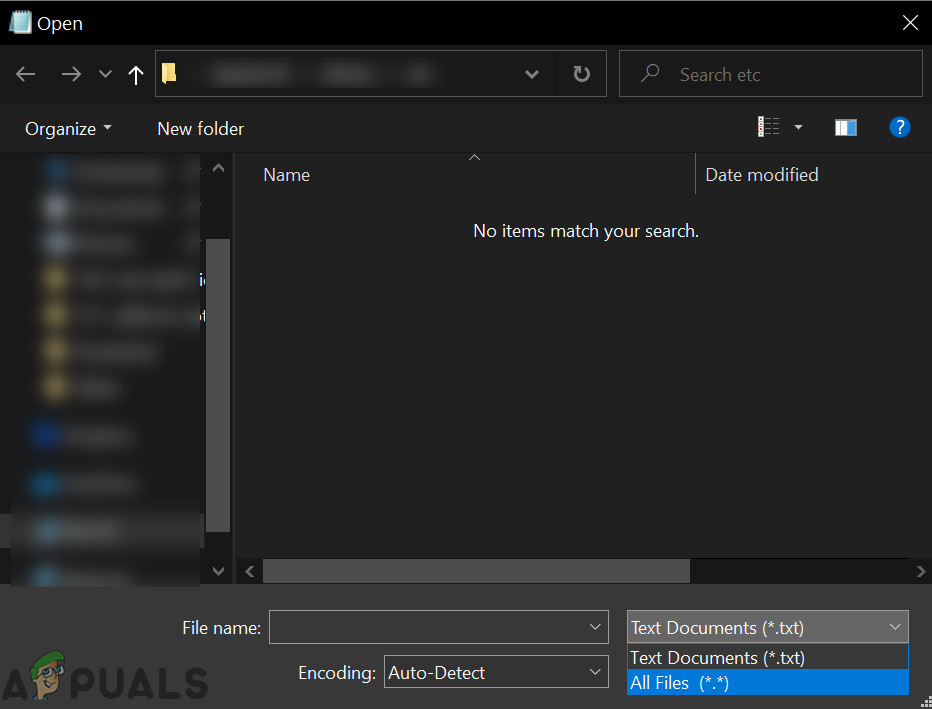
Change From Text Document to All Files - Select the Hosts file and click Open.
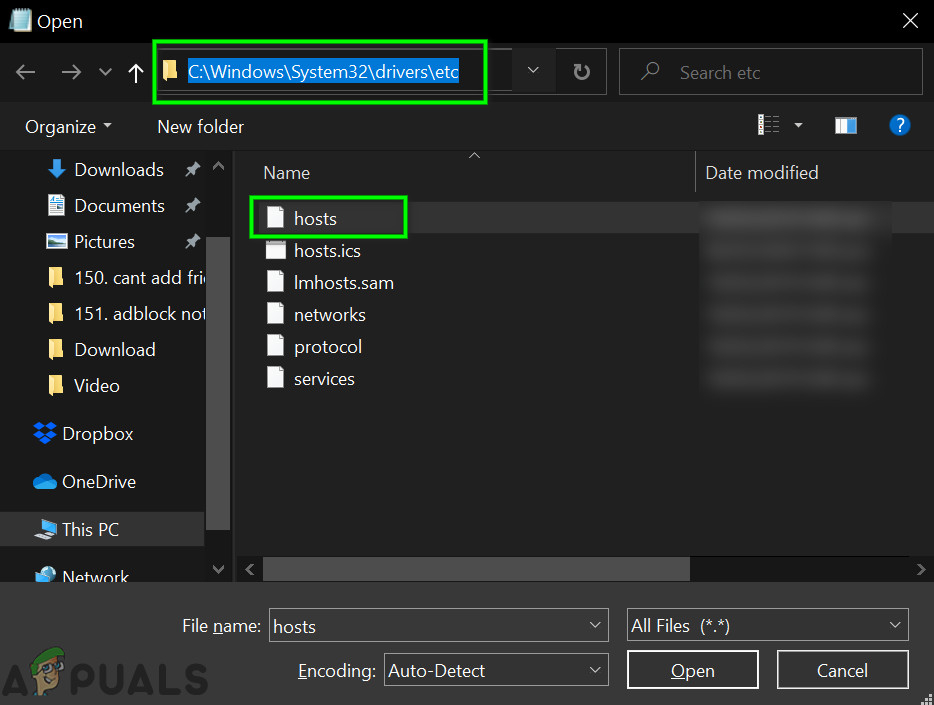
Open Hosts File - Check for any Uplay/Ubisoft entries in the file. If found, delete them and save your changes before closing the file.
- Launch the Uplay client and check if the issue persists.
5. Restart Your Router and Change the USB Router Port
A temporary glitch with your router or a problem with the USB port may be the issue. Restarting the router and using a different USB port might solve it.
- Close Uplay and end all related processes (as in Solution 2).
- Turn off your USB router and unplug it from your system’s USB port.
- Wait for a minute, then turn on your router.
- Connect the USB router to a different USB port on your system.
- Launch Uplay and check if it works correctly.
6. Verify the Integrity of Game Files
Corrupt game files can cause issues. Verifying the integrity of game files ensures they match the Uplay server’s versions, replacing any missing/corrupt files.
- Open the Uplay client and click on Games.
- Select the problematic game.
- In the game’s settings window, click on Properties in the left pane.
- Click on Verify Files in the right pane (under local files).
- Wait for the verification process to complete. You may need to download missing or corrupt files.
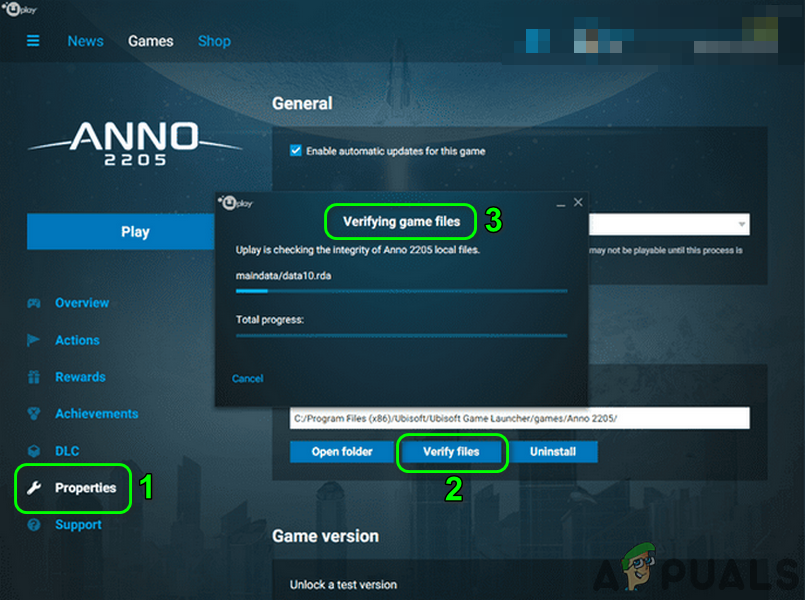
Verify Integrity of Game Files in Uplay - Restart Uplay and check if the synchronization error persists.
7. Reinstall the Uplay Client
If none of the solutions work, your Uplay client installation might be corrupted. Uninstalling and reinstalling the Uplay client could resolve the issue. Don’t worry about data or achievements linked to your Uplay account, as they will be available once you sign in again.
- Open File Explorer and go to:
%USERPROFILE%\AppData\Local\Ubisoft Game Launcher\
- Backup the Cache and SaveGames folders to a secure location.
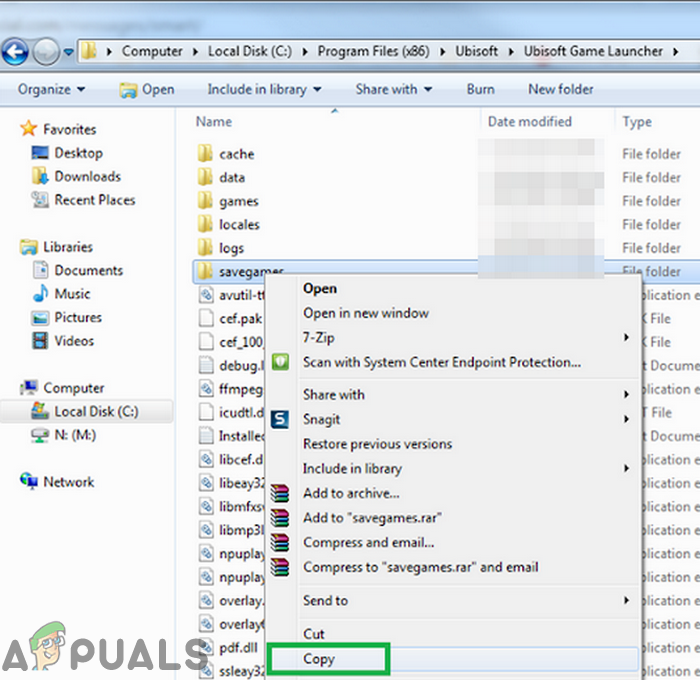
- Right-click the Uplay shortcut on your desktop and select Open File Location.
- Backup the SaveGames folder in the Uplay directory. Note the installation directory for later.
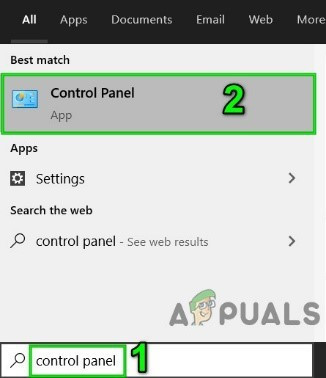
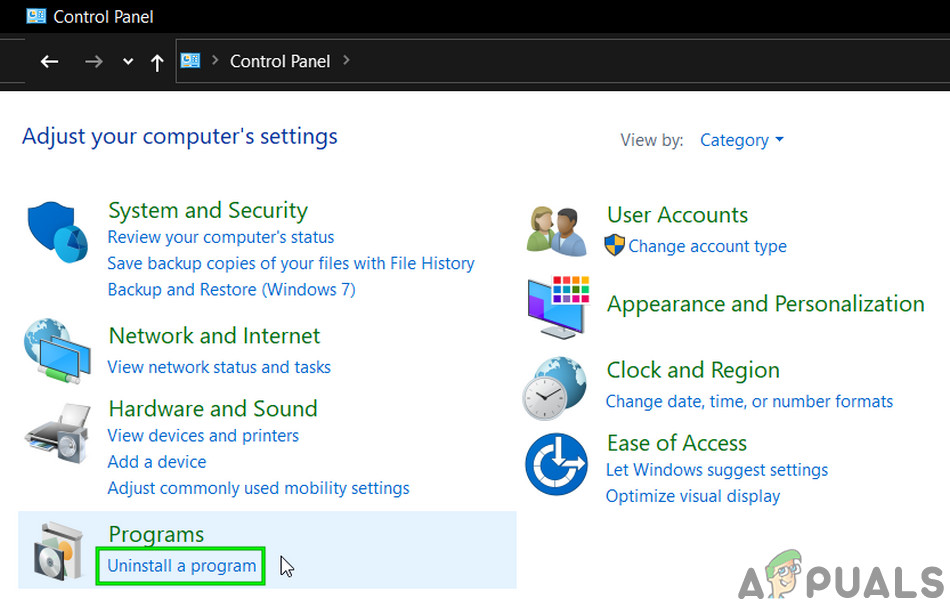
Backup SaveGames Folder in Uplay - Type Control Panel in the Windows Search box and select it.
Open Control Panel - Select Uninstall a Program.
Uninstall a Program - Right-click Uplay and choose Uninstall.
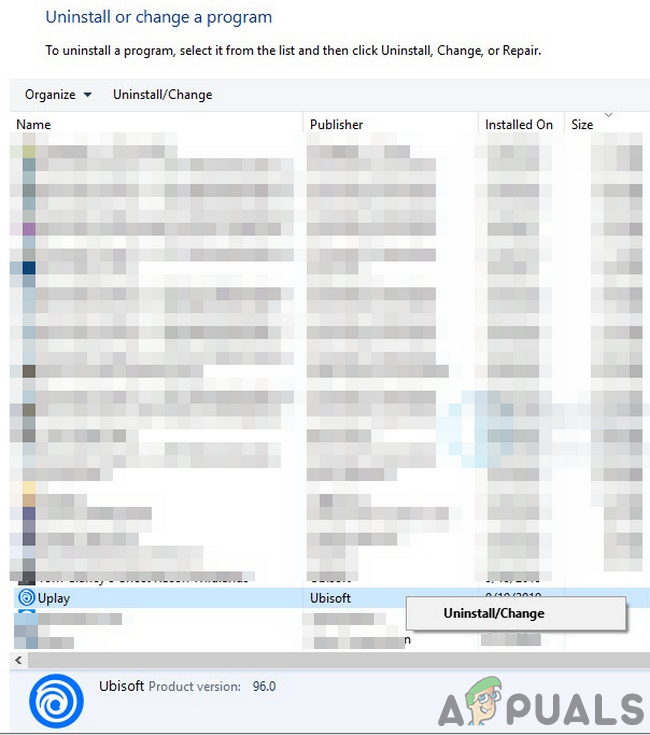
Uninstall Uplay Client - Complete the uninstallation by following on-screen prompts. Ignore the “some Uplay games will be uninstalled too” prompt; click Next.
- Restart your system.
- After restarting, delete remaining files from the Uplay installation, especially the cache folder.
- Download the latest Uplay client from the official site.
- Right-click the downloaded file and select Run as Administrator.
- Install the Uplay client as directed, choosing the system drive.
- Launch Uplay as administrator, then sign in with your credentials. The sync issue should be resolved.
- For the Steam version of Uplay, follow the normal process for uninstalling and reinstalling a Steam game.


thanks