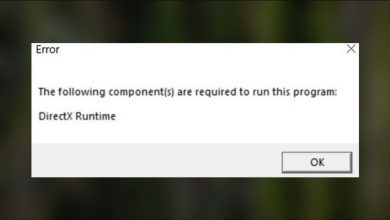
Fix: Google Play Games “Turn On Additional Settings” on Windows
If Google Play Games shows: “To install and play games, turn on additional settings” it means that Windows is not able to start the Android virtual environment it needs. This usually happens because virtualization is disabled, required Windows virtualization features are off, Windows components are damaged, or the PC is restricted by work or school policies.
Google Play Games depends on:
- CPU virtualization enabled in BIOS/UEFI (Intel VT-x or AMD-V, often called SVM)
- Windows virtualization features enabled (Virtual Machine Platform, and often Windows Hypervisor Platform)
- Healthy Windows system files and updated components
- No organization restrictions blocking virtualization
If your PC does not meet Google Play Games for PC requirements (supported Windows version, compatible CPU, and admin access), the prompt may not go away. In that case, use a supported device or Windows setup.
Before You Start: Quick Virtualization Checks
These checks help you pick the right fix instead of guessing.
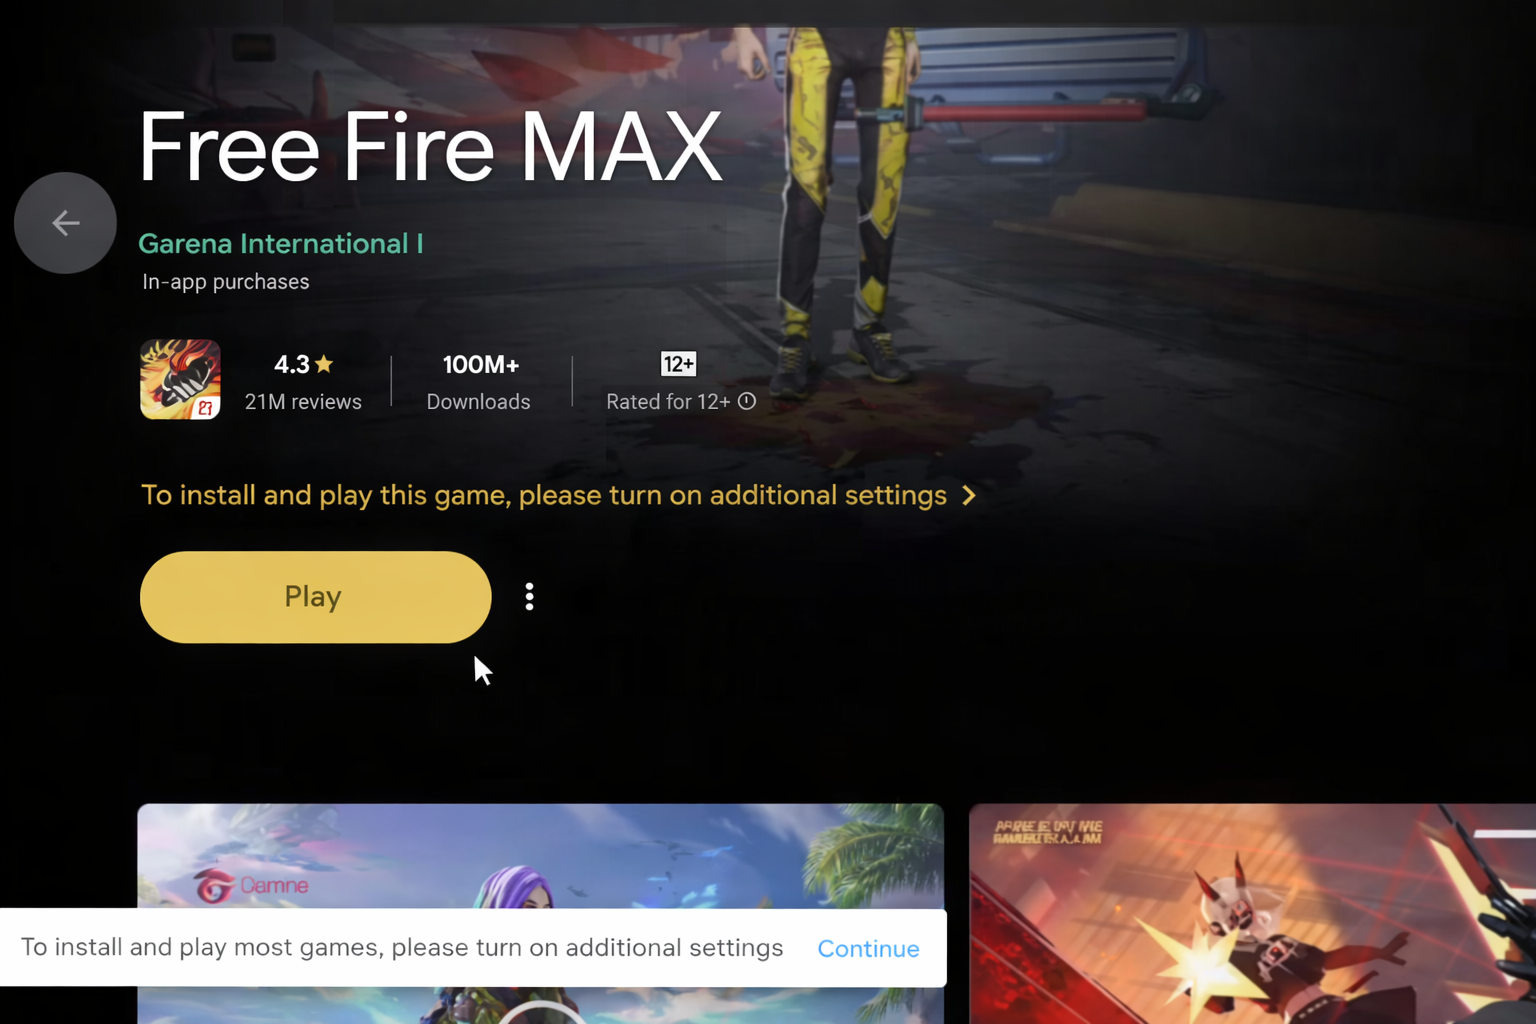
A) Check Task Manager (BIOS/UEFI Virtualization)
- Press Ctrl + Shift + Esc to open Task Manager.
- Go to Performance > CPU.
- Check Virtualization.
- If it says Disabled, go to Fix 2.
- If it says Enabled, go to Fix 1 because Windows features may still be off.
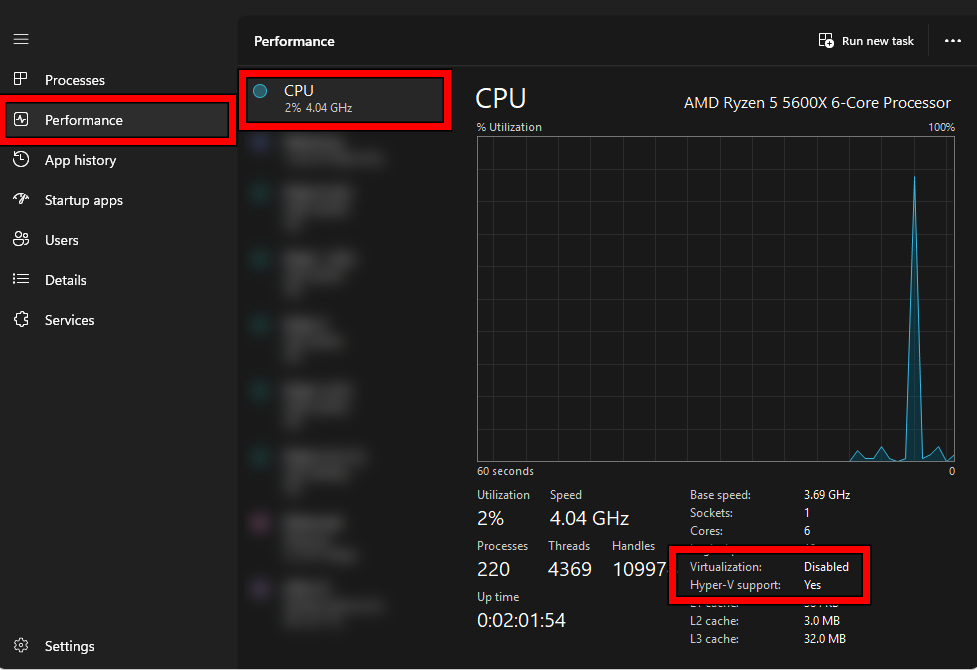
B) Check Hypervisor Requirements (More Reliable)
This confirms whether Windows recognizes virtualization properly.
- Press Windows, type cmd, then open Command Prompt.
- Run:
systeminfo
Scroll to Hyper-V Requirements. If it shows Virtualization Enabled In Firmware: Yes, BIOS virtualization is on. If it says No, go to Fix 2.
Fix 1. Turn On Windows Virtualization Features
Even if BIOS virtualization is enabled, Google Play Games will fail if Windows features required to build the virtual environment are disabled.
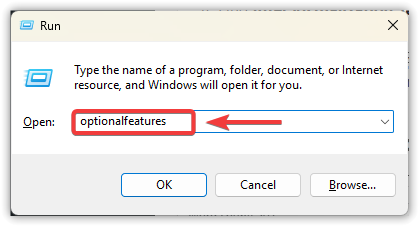
- Press Windows + R, type optionalfeatures, and press Enter.
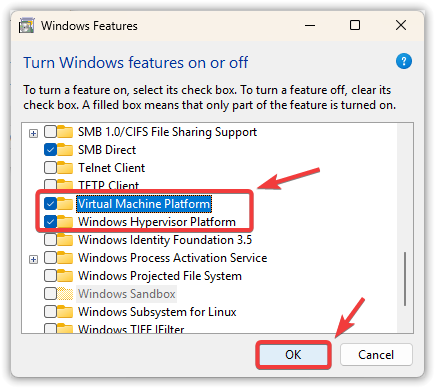
- Enable Virtual Machine Platform.
- Enable Windows Hypervisor Platform (if it exists on your system).
- Click OK and let Windows install the components.
- Restart your PC.
If the options are missing, greyed out, or uncheck themselves after reboot: you likely have no admin rights, the PC is managed, or Windows is corrupted. Go to Fix 4 and Fix 5.
Fix 2. Turn On CPU Virtualization (VT-x or SVM) in BIOS/UEFI
If Windows features are enabled but the prompt continues, CPU virtualization may be disabled in BIOS/UEFI.
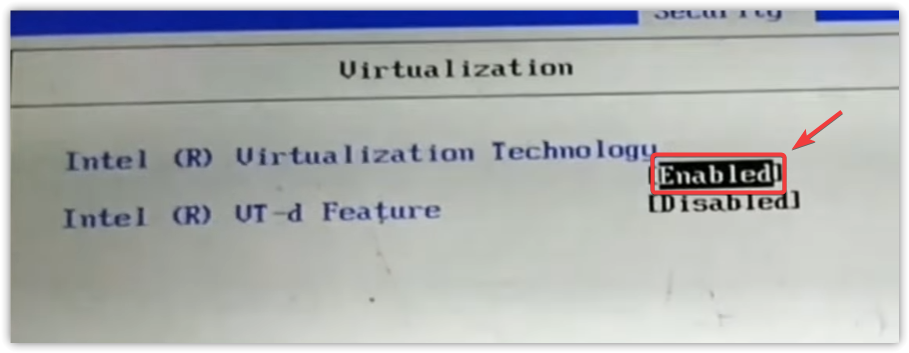
Look for: Intel Virtualization Technology (VT-x) or SVM Mode (AMD). VT-d is different and does not replace VT-x/SVM for this issue.
- Shut down the PC completely.
- Turn it on and press the BIOS/UEFI key (commonly Del, F2, F10, or Esc).
- Go to an Advanced or CPU section.

- Enable VT-x (Intel) or SVM (AMD).
- Save and exit (often F10), then boot into Windows.
- Open Google Play Games and test again.
3. Reinstall Google Play Games
If the app was installed while virtualization was not working, it may have saved a bad setup. Reinstalling forces a fresh check and rebuild.
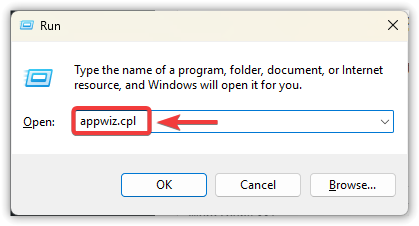
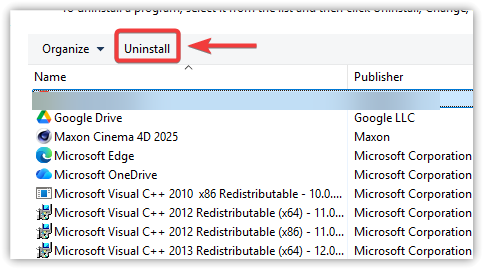
- Press Windows + R, type appwiz.cpl, and press Enter.
- Select Google Play Games > Uninstall.
- Restart.
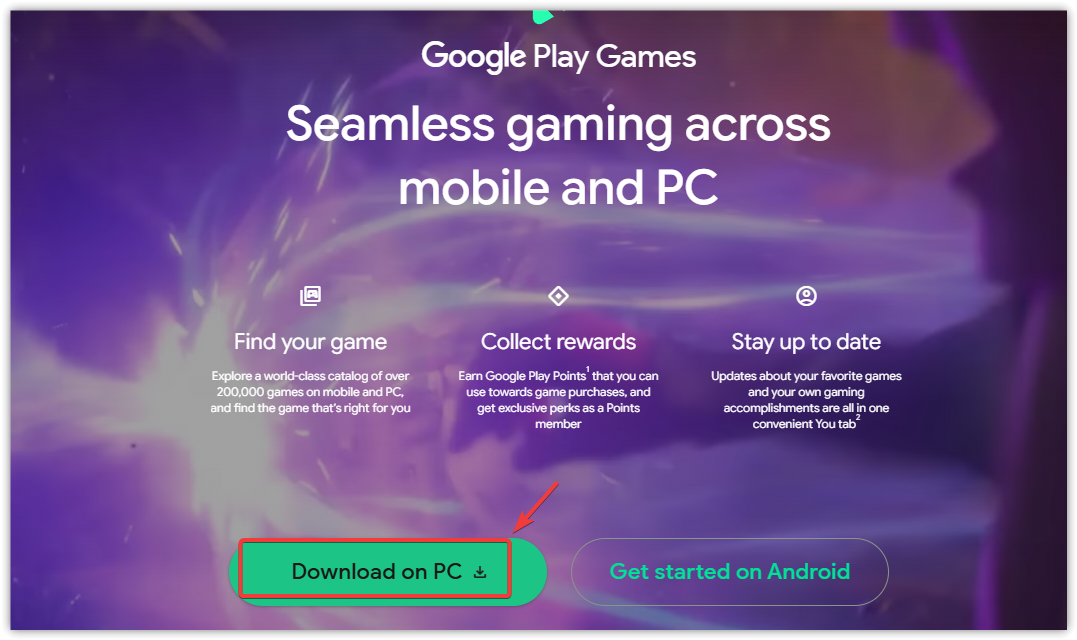
- Install again from the official page:
play.google.com/googleplaygames
- Launch it and try installing a game again.
4. Repair Windows Components (If Features Fail or Keep Reverting)
If virtualization features refuse to enable, revert after reboot, or the prompt stays after doing Fix 1 and Fix 2, Windows may have corrupted system files (often from failed updates). These repairs are safe and often fix stubborn cases.
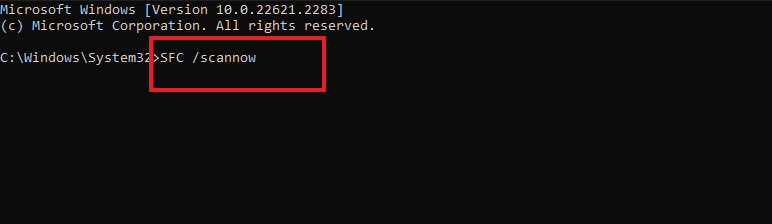
- Press Windows, type cmd.
- Right-click Command Prompt > Run as administrator.
- Run:
sfc /scannow
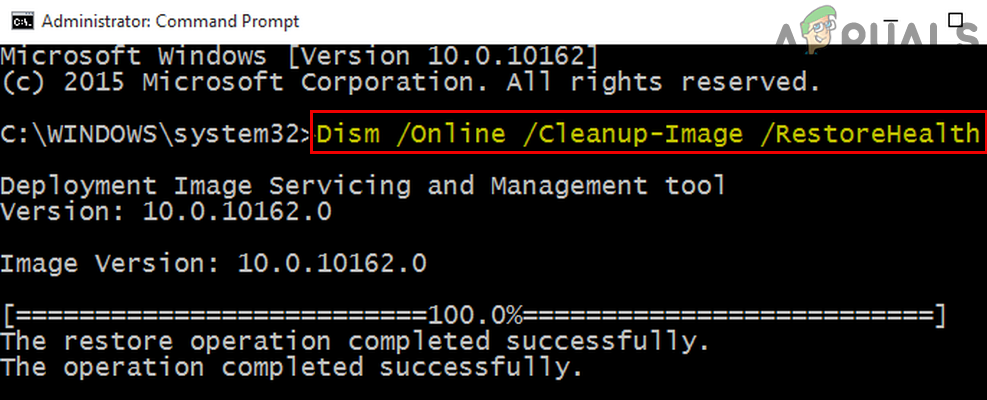
Then run:
DISM /Online /Cleanup-Image /RestoreHealth
- Restart.
- Go back to Fix 1 and enable the Windows virtualization features again.
- Open Google Play Games and test.
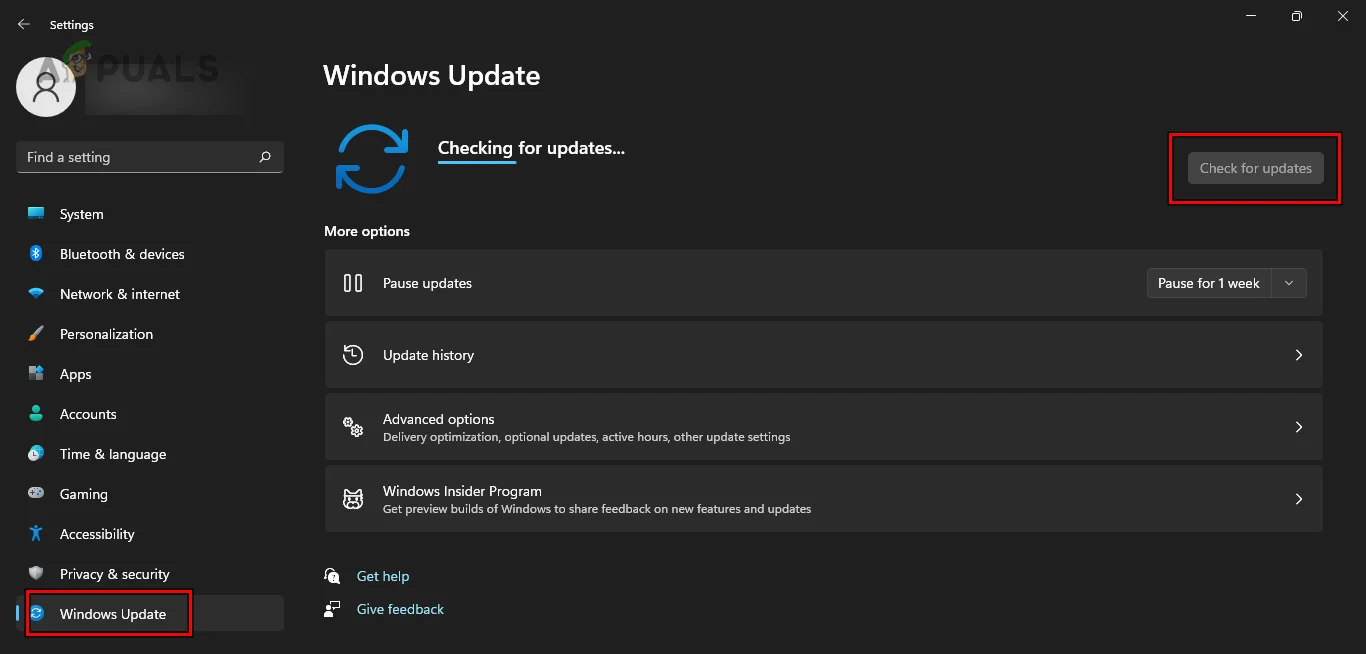
Also: Go to Settings > Windows Update, install all updates, and restart. Missing updates can break virtualization components.
5. If This Is a Work/School PC (Policy Restrictions)
On managed devices, your organization can block virtualization. Signs include:
- Windows Features options are greyed out or missing.
- Features enable, but revert after reboot.
- The prompt continues after all fixes.
In this situation, there may be nothing you can change yourself. The realistic fix is to contact your IT admin or use a personal unmanaged PC.