How to Turn Off the Touch Screen on a HP Laptop
If you own an HP laptop or Chromebook with touch screen functionality, you have access to some additional functionality that will provide you with a more streamlined and convenient workflow. But for all the benefits that a touch screen brings, there are also situations where it makes a lot of sense to turn it off.
Whether you want to disable the touch screen of HP device because you simply do not use it, because you want to save battery or because you want to prevent accidental presses, there are ways to disable this functionality completely on Windows 10, Windows 11, or ChromeOS.
Below, we’re going to showcase all the different ways that will allow you to disable the touch screen functionality on an HP laptop or ultrabook regardless if you’re using Windows or ChromeOS.
Note: Some laptops might provide you with an external way of shutting the touch screen functionality down. But in most cases, you’ll need to get into the settings menu of your OS.
Follow the guide applicable to your operating system of choice.
1. Disable the Touch Screen of an HP laptop on Windows
If you’re using Windows, there are actually 3 different ways that will allow you to disable the touch screen functionality of a HP laptop:
- Using Device Manager (Works with every Windows version)
- From a Windows Terminal (Windows 11 ONLY)
- By using Registry Editor (Works with every Windows version)
Every method mentioned above will ultimately help you accomplish this goal with minor differences. If you’re using Windows, follow the guide you feel most comfortable with.
Disable the Touch screen functionality of your HP laptop using Device Manager
If you’re not comfortable with using terminal commands or tweaking your Windows Registry, you’re better off using this method since everything is done through Device Manager.
This method involves opening an elevated Device Manager Window and disabling your touch screen display under Human Interface Devices.
Follow the steps below for step-by-step instructions on how to do this:
- Press Windows key + R to open up a Run dialog box. Next, type ‘devmgmt.msc’ inside the text box and press Ctrl + Shift + Enter to open up Device Manager with admin access.
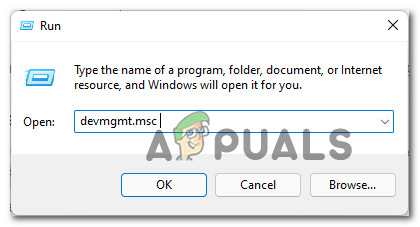
Opening up Device Manager Note: When you’re prompted by the User Account Control (UAC), click Yes to grant admin access.
- Once you’re inside Device Manager, scroll through the different categories of devices and expand the drop-down menu associated with Human Interface Devices.
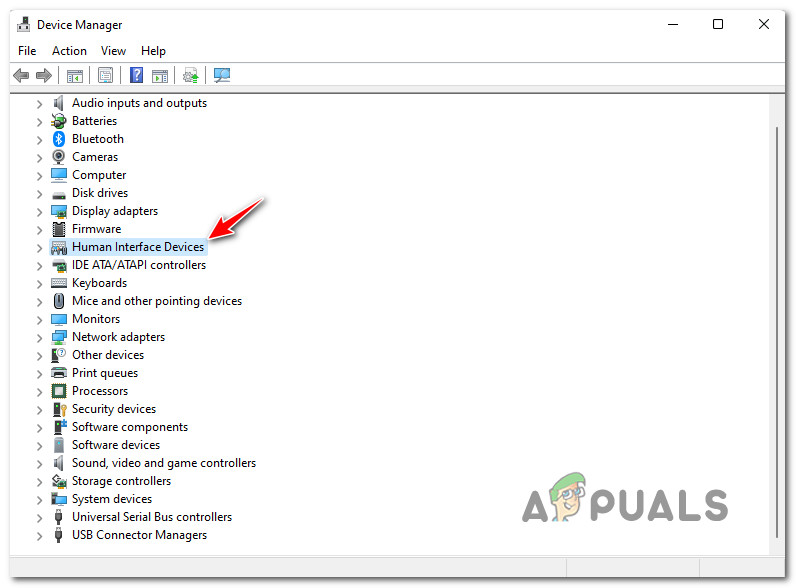
Expanding the Human Interface Devices - Next, scroll down through the list of Human Interface Devices (you should see a lot of entries) and locate the entries that contain the term ‘touch screen’.
- Right-click on HID-compliant touch screen (or whatever the name is in your particular driver is) and then click on Disable Device from the context menu that just appeared.
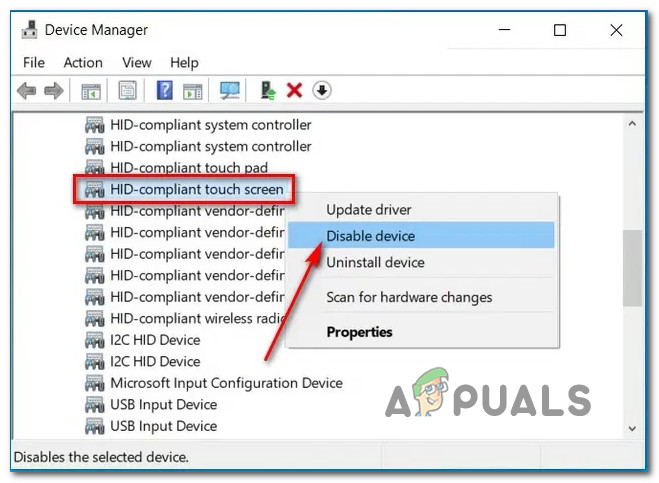
Disable the touch screen driver via Device Manager Note: If you have multiple touch screen drivers under Human Interface Devices, you’ll need to disable each in order to ensure that the touch screen functionality is completely disabled.
- Close Device Manager and reboot your HP laptop or ultrabook in order to enforce the changes.
If you wish to re-enable the touch screen functionality later down the line, simply return to Device Manager under Human Interface Devices, right-click on the touch screen driver and choose Enable Device from the context menu.
Disable the Touch screen functionality of your HP laptop using Windows Terminal or PowerShell
If you’re familiar with running terminal commands to get things done under Window and you’re already on Windows 11, you’ll probably want to go for this method.
Disabling the touch screen functionality of your HP device via the Windows Terminal will allow you to easily switch the touch screen functionality ON or OFF. But keep in mind that this method will only work if you’ve upgraded on Windows 11, as the Windows Terminal app is not available on older Windows versions.
Follow the instructions below to disable the touch screen of your HP laptop using Windows Terminal:
- Press Windows key + R to open up a Run dialog box. Inside the text box that just appeared, type ‘wt’ and press Ctrl + Shift + Enter to open up the Windows Terminal app.
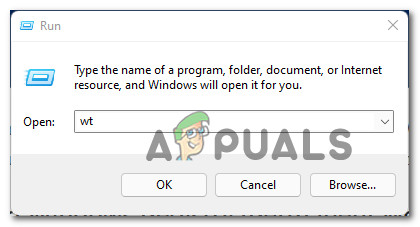
Opening the Windows Terminal app Note: If you’re prompted by the User Account Control prompt, click Yes to grant admin access.
- Once you’re inside the Windows Terminal app, paste the following command and press Enter to disable the touch screen functionality of your HP laptop:
Get-PnpDevice | Where-Object {$_.FriendlyName -like ‘*touch screen*’} | Disable-PnpDevice -Confirm:$false - Once the command is successfully processed, the touch screen functionality should already be disabled (no need to restart your PC).
- When you want to re-enable the touch screen functionality of your HP laptop or ultrabook, just run this command in the same Windows Terminal prompt:
Get-PnpDevice | Where-Object {$_.FriendlyName -like '*touch screen*'} | Enable-PnpDevice -Confirm:$false
Disable the Touch screen functionality of your HP laptop via Registry Editor
If you don’t shy away from doing registry tweaks via Registry Editor you’re probably better off tweaking a few keys via Registry Editor in order to disable the touch screen functionality.
This method will work regardless of which Windows version you’re using and the change will be preserved in between restarts.
Important: Before getting started with the instructions below, our recommendation is to take the time to backup your Registry in advance. This way, in case anything goes wrong, you can easily revert back to a working Registry.
Follow the instructions below to learn how to disable the touch screen of your HP laptop via Registry Editor:
- Press Windows key + R to open up a Run dialog box. Next, type ‘regedit’ inside the text box and press Ctrl + Shift + Enter to open up the Registry Editor with admin access.
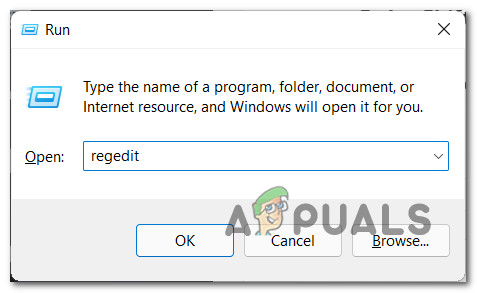
Opening Registry Editor - When you see the UAC (User Account Control), click Yes to grant admin access.
- Once you’re finally inside Registry Editor, use the left-hand menu to navigate to the following location:
HKEY_CURRENT_USER\Software\Microsoft\Wisp\Touch
Note: You can either navigate to this location manually or you can paste the full path inside the navbar at the top.
- When you arrive at the correct location, move over to the right-hand section of the Registry Editor, right-click on an empty space and choose New > DWORD (32-bit) Value from the context menu that just appeared.
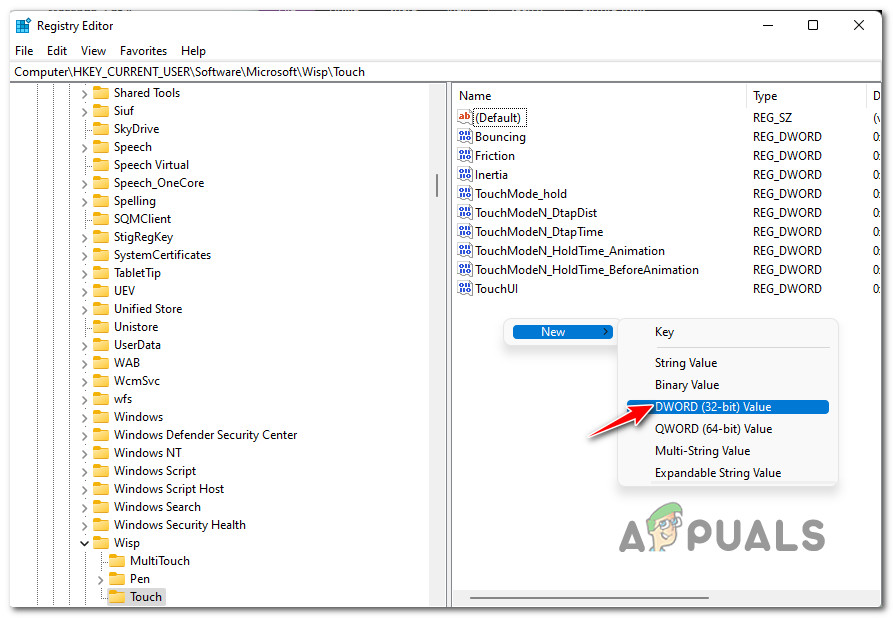
Creating a new DWORD value - Once the new DWORD is created, name it TouchGate.
- Next, double-click on the newly created TouchGate value, then set the Base to Hexadecimal and the Value data to 0 in order to disable the touch screen functionality.
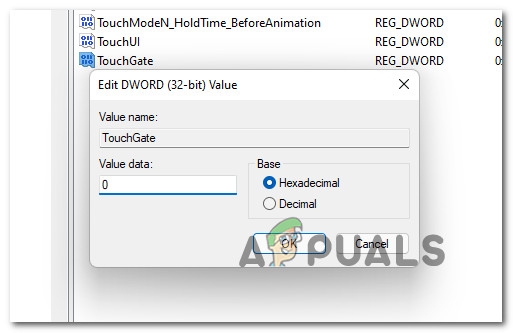
Disable the touch screen functionality via Registry Editor Note: If you want to re-enable the touch functionality, simply access the same TouchGate value via Registry Editor and set the Value Data to 1. Additionally, you can delete the key completely.
2. Disable the Touch Screen of an HP laptop on ChromeOS
If you’re using an HP Chromebook, there’s also a way to disable the touch screen functionality. But as you can imagine, the instructions for doing so are different than what you need to do under Windows.
One could argue that disabling the touch screen on a ChromeOS device is easier than on Windows since Google conveniently includes a keyboard shortcut that will allow you to dynamically disable or enable your touch screen.
But before you can make use of this shortcut, you’ll need to enable it from the ChromeOS settings menu.
For step by step instructions on how to enable this shortcut and use it on your HP Chromebook, follow the instructions below:
- Open up Chrome on your Chromebook device and type the following command inside the navigation bar at the top:
chrome://flags
- Once you’re inside the flags menu, use the search functionality at the top (Search Flags) to find ‘Debugging Keyboard Shortcuts‘.
- Once you find the correct setting, ensure that it’s set to Enabled by adjusting the associated drop-down menu.
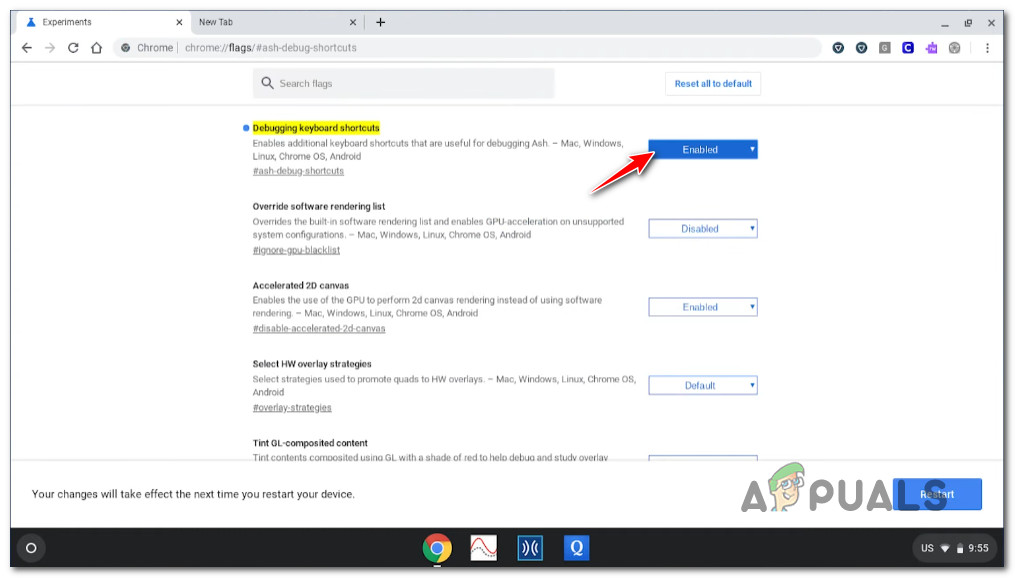
Enabling ‘Debugging keyboard shortcuts’ functionality Note: This step will enable you to make use of the shortcut that will allow you to dynamically toggle to touch screen functionality ON or OFF.
- Reboot your Chromebook in order to allow the changes to take effect.
- Once your Chromebook boots back up, you can use the following shortcut to disable the touch screen entirely:
Search key + Shift key + T key
Note: Pressing these keys again will re-enable the touch screen.


