How to Disable ChromeOS Window Animation
Chrome OS has been around for quite a few years now, and it is constantly getting tweaked in ways that we may or may not like. As Chromebooks are rising in sales, Google wants to make sure that it is not leaving any stone unturned in the operating system’s functionality or aesthetic appeal. To that end, Chrome OS comes with a variety of relatively light window animations. Now, there are always those of us who would much prefer that our Chromebooks do their job straightforwardly without wasting processing power on animations. This can especially be a concern for cheap low-end Chromebooks with weak hardware. In this tutorial, we are going to show you how to disable window animations on Chrome OS.
Now, in order to change the animation settings on Chrome OS, we are going to have to edit the operating system’s files. In order to get to these files, your Chromebook needs to be on Developer Mode. This means compromising on the tight security on Chrome OS, and is only recommended if you are an enthusiast and don’t absolutely need your Chromebook to ‘just work’ all the time.
Backing Up and Recovery
Enabling Developer Mode formats your Chromebook, so all your locally stored files (i.e. the Downloads folder) will be erased. Hence, it is a good idea to backup the files on your Downloads folder to a USB Drive or Hard Disk. Also, playing around with Developer mode runs the risk of breaking your operating system, so we will go ahead and create a recovery image so that in case anything happens, you can go back to your good old Chrome OS.
You need to have a pen drive with at least 4GB of storage for creating a recovery image. Download Chromebook Recovery Utility from the Chrome Web Store. Open the app and enter your Model number, which will be listed right above the text box.

Then, insert your pen drive and follow the simple steps to create a recovery image on your USB drive. Once you are done, we can proceed to enabling developer mode.
Enable Developer Mode
Older Chromebooks have a manual switch to toggle Developer mode. On more recent Chromebooks, the switch can be made by pressing Esc + Refresh + Power button together. When you do so, your Chromebook will reboot and you will be greeted with this screen.
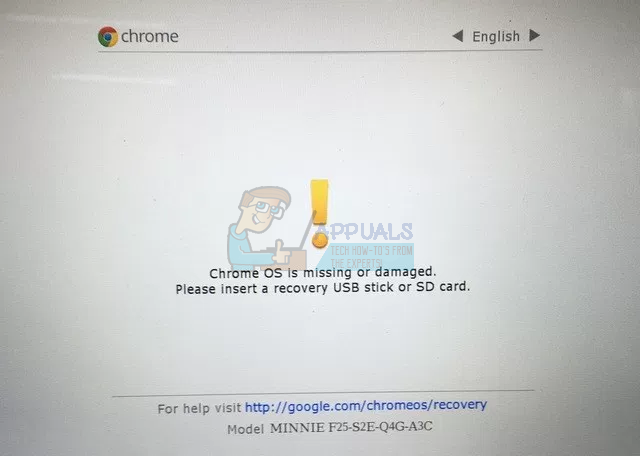
Don’t worry about the message. Chrome OS should be intact and working. Just press Ctrl + D on this screen. On the next screen, you will be asked to press Enter if you want to turn OS verification off (screenshot below), which we want to do.

Go ahead and press ENTER. Your Chromebook will reboot, and you will be greeted with this screen on start-up.
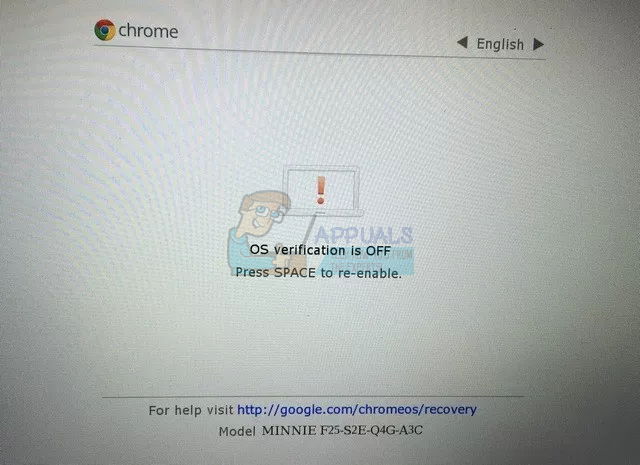
Press Ctrl + D to skip this screen. After this, you will be taken to a final confirmatory screen, and your Chromebook will then start transitioning to Developer Mode. This process can take come time (around 15-20 minutes) so sit back and relax.
The ‘OS verification is OFF’ screen will appear again and you can press Ctrl + D to skip it. You will then be taken to your good old Chrome OS login screen. (Note that the OS verification screen will appear every time on start-up while in Developer mode, and you can always press Ctrl + D to skip it, or Spacebar to turn off Developer mode and reset your Chromebook to default.)
Turning Off Animations
Now that your Chromebook is in developer mode, we can make the necessary changes to turn off those unnecessary animations. To do so, open Google Chrome and press Ctrl + Alt + T to open the Chrome OS developer shell.
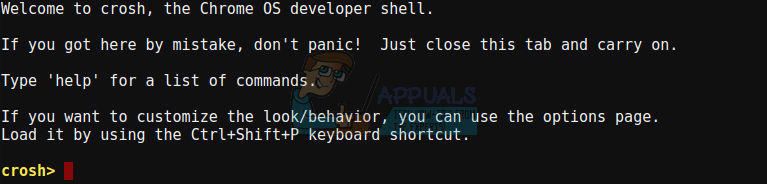
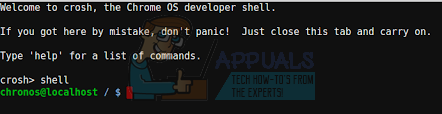
In the developer shell, type the command shell to access the command terminal.
Once you are there, you are going to have to do some copy pasting. In order to turn off animations, we have to edit a config file in Chrome OS. To ensure that Chrome OS doesn’t undo these edits, we will first have to turn off rootfs verification. Please note that once you disable rootfs verification, the only way to get your Chromebook back to it’s normal default state is to flash the recovery image created on your USB drive.
In order to disble rootfs verification, paste this command in the terminal, right beside chronos@localhost / $
sudo /usr/share/vboot/bin/make_dev_ssd.sh –remove_rootfs_verification
(Pasting on terminal can only be done through a right click or double-tap. Ctrl + V does not work).
Press ENTER, and then reboot your device. Rootfs should successfully be disabled. Now, finally, to the part where we turn off animations. Go to the Chrome OS terminal and type ‘shell’, like you just did. Once you are at ‘chronos@localhost / $’ again, paste these lines onto the terminal.
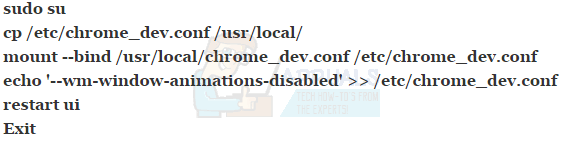
This command should turn off window animations for good. If you just want to turn off animations temporarily and have them reset the next time you turn on your Chromebook, you can follow every part of the tutorial above except the part about disabling rootfs verification.
That’s it. The process is pretty long, but in the end, it feels good to be able to tweak your device to fit your needs. We hope that Google will make it easier to turn off window animations on Chrome OS (like on Android). For those who can’t wait, though, there’s always a way out.