How To Turn Off Caps Lock Notification Windows 10/11?
The Caps Lock notification in Windows is an on-screen alert showing if the Caps Lock key is on or off. While it helps prevent typing in uppercase by mistake, many users find it annoying during activities like gaming or coding.
This problem often starts after updating certain software, like the “HP System Event Utility” on HP laptops or the Dell Peripheral Manager on Dell computers. Other software, like Logitech’s keyboard or mouse apps, can also trigger this notification.
In this article, we will learn how to turn off caps lock notification.
1. Uninstall the Dell App or HP System Event Utility
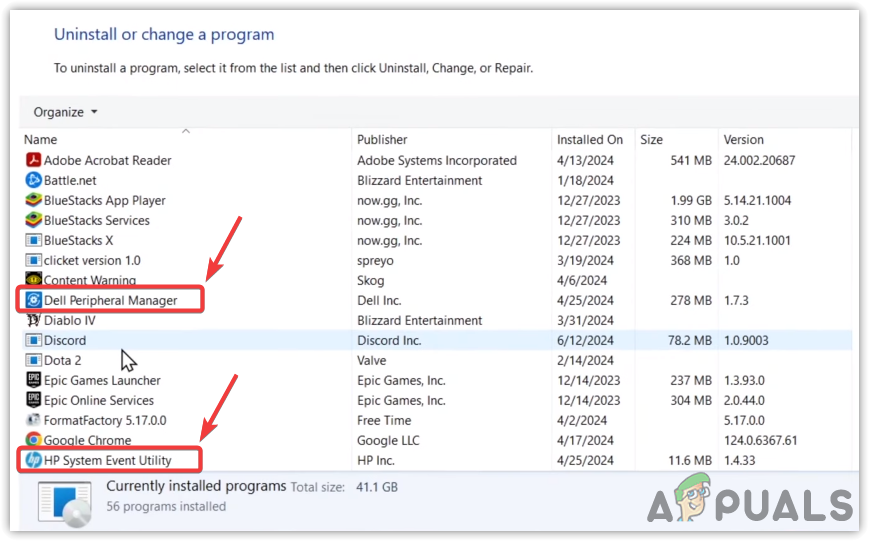
Uninstalling utilities like the Dell App or HP System Event Utility can stop Caps Lock notifications, as these apps trigger such alerts. Specifically, the HP System Event Utility, which often causes notifications on Windows 10 and 11, can be removed or disabled. Similarly, the Dell Peripheral Manager can be uninstalled or disabled to prevent these alerts.
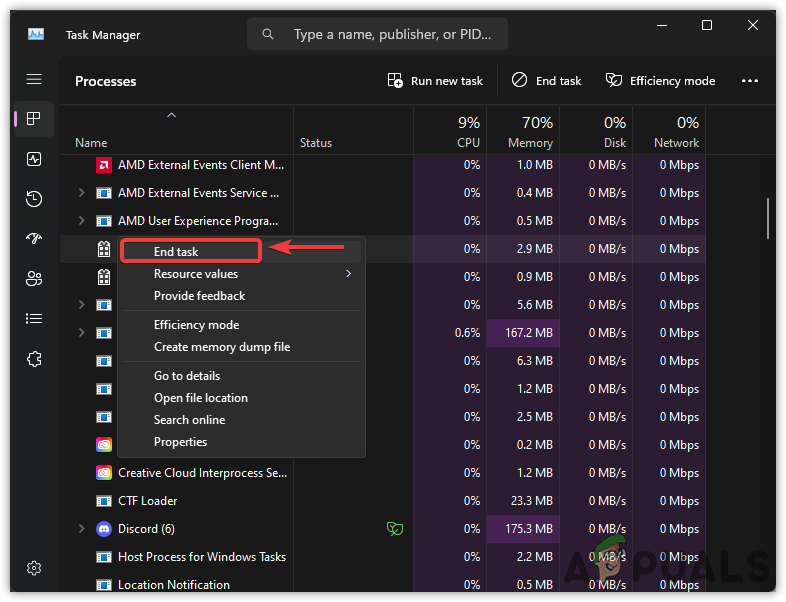
- Right-click the Taskbar and select Task Manager.
- Locate HP System Event Utility or Dell Peripheral Manager.
- Right-click it and choose End Task.
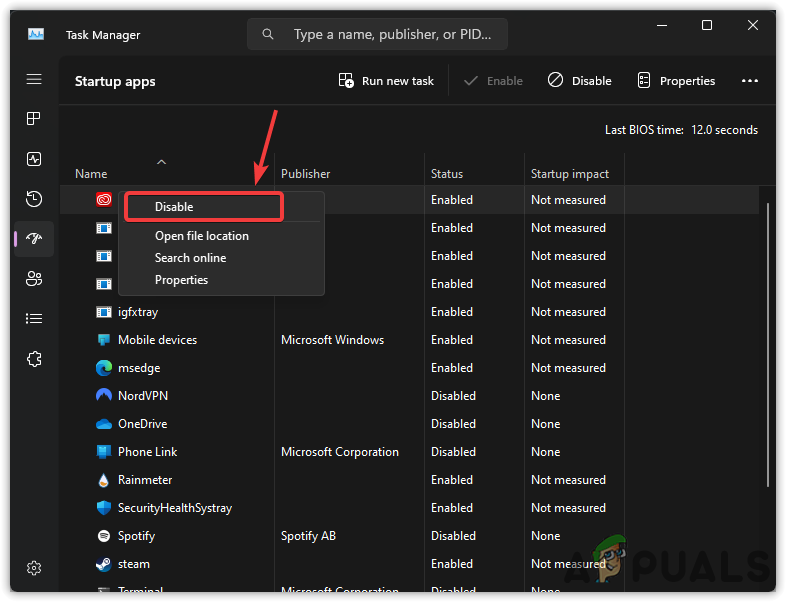
- Go to Startup Apps, right-click on the application, and select Disable. This prevents it from launching with Windows.
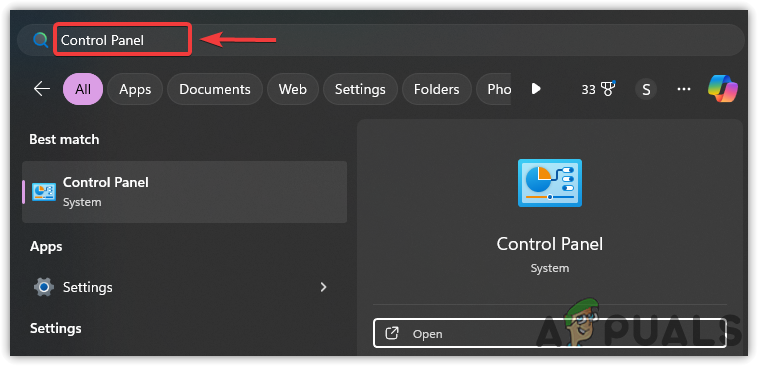
- If unnecessary, uninstall the application. Click the Start Menu, type Control Panel.
- Navigate to Programs > Programs and Features.
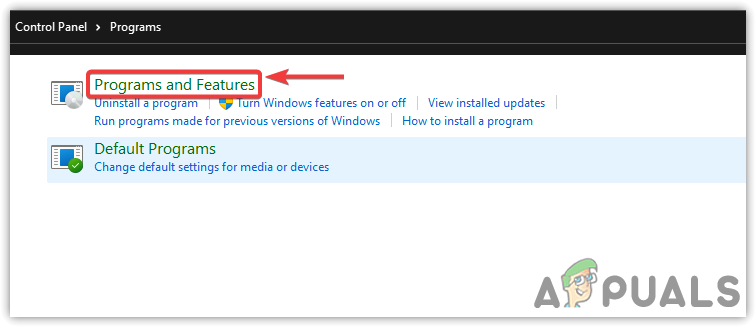
- Double-click on the application to uninstall.
- Following these steps should resolve the issue.
2. Disable the Apps Related to Your Mouse and Keyboard
Some pre-installed apps on your computer, like those for managing mouse or keyboard settings, might control notifications like Caps Lock alerts. Turning off these apps can stop unwanted pop-ups, as they might trigger the Caps Lock notification. This easy step lets you control alerts without affecting your device’s main functions.
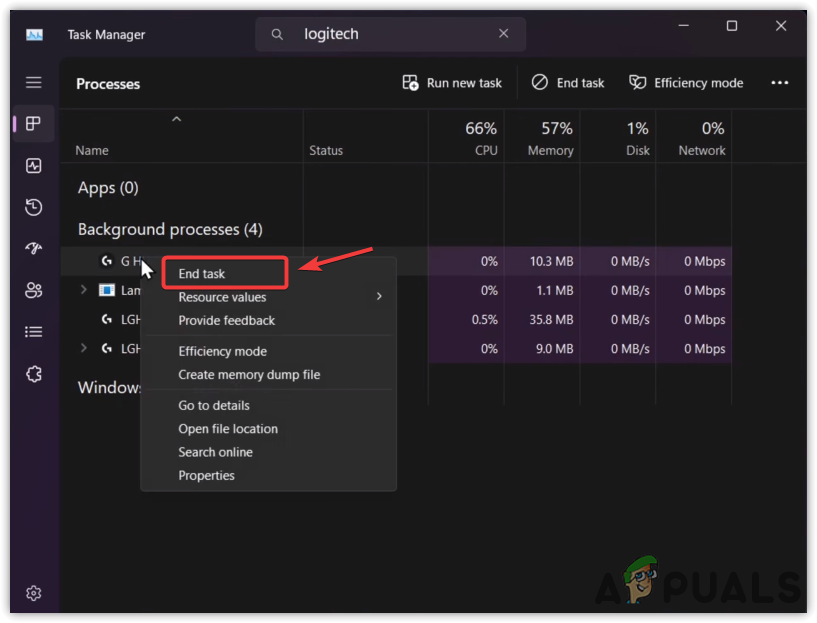
- Right-click the Taskbar and open Task Manager.
- Find the application responsible for the keyboard and mouse, right-click it, and select End Task.
3. Perform a Clean Boot
A clean boot identifies conflicts causing game malfunctions by starting Windows with only essential drivers and services. This process removes interference from third-party programs. If the issue is resolved, re-enable disabled items one by one to find the exact cause.
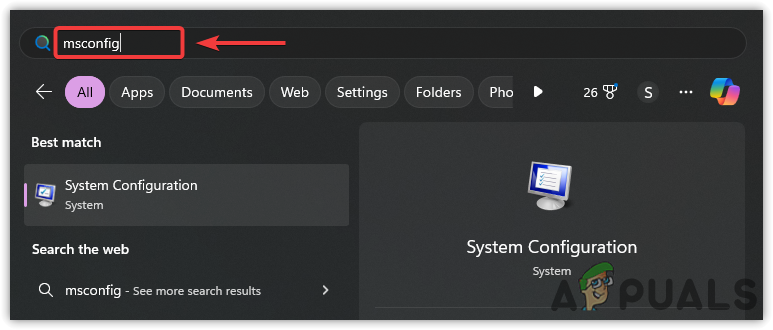
- Press the Start Menu and type msconfig in the search bar.
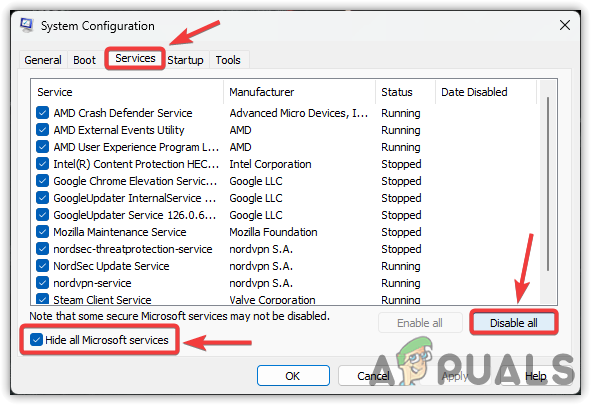
- Select the Services tab.
- Check Hide all Microsoft services and click Disable All.
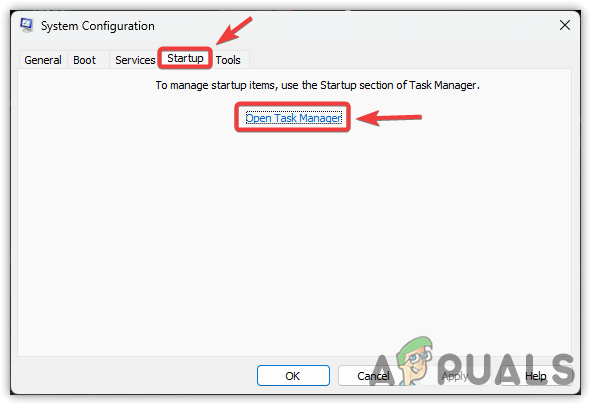
- Go to the Startup tab and click Open Task Manager.
- In Task Manager, right-click each app and select Disable.
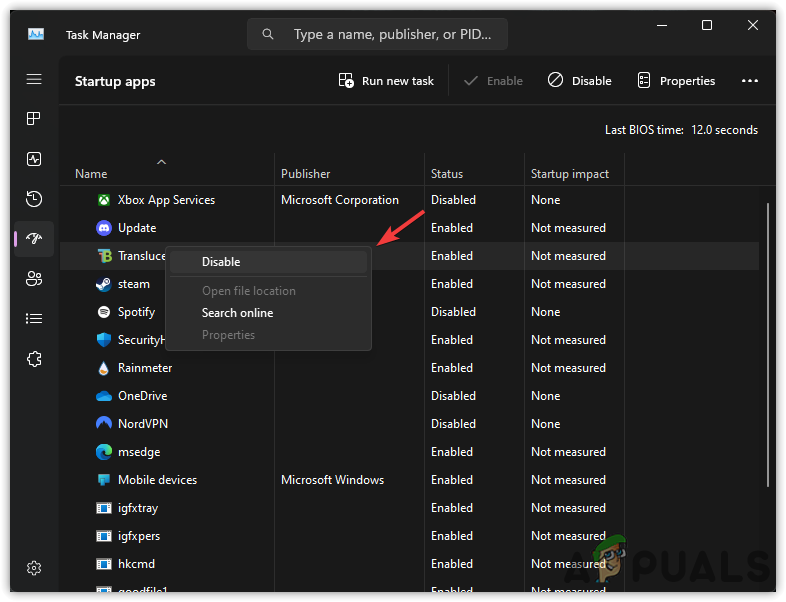
- Restart your computer. If the caps lock notification is gone, re-enable applications one by one to identify the cause.
4. Edit the Display Adapter and Keyboard Properties
Caps Lock notifications may appear due to settings in the Display Adapter or Keyboard. By adjusting these settings, you can reduce or eliminate these notifications. This change alters how the system handles display and keyboard signals, effectively minimizing unwanted pop-ups without affecting device functionality.
4.1. Edit the Display Adapter Properties
- Press the Windows key and open Settings.
- Select System, then open Advanced Display Settings.
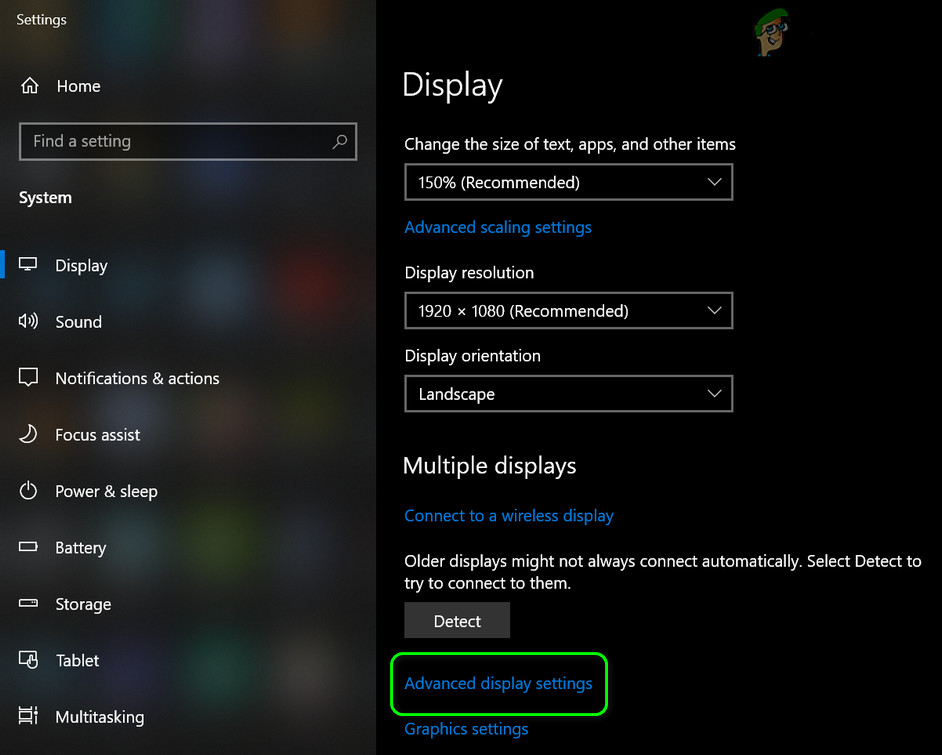
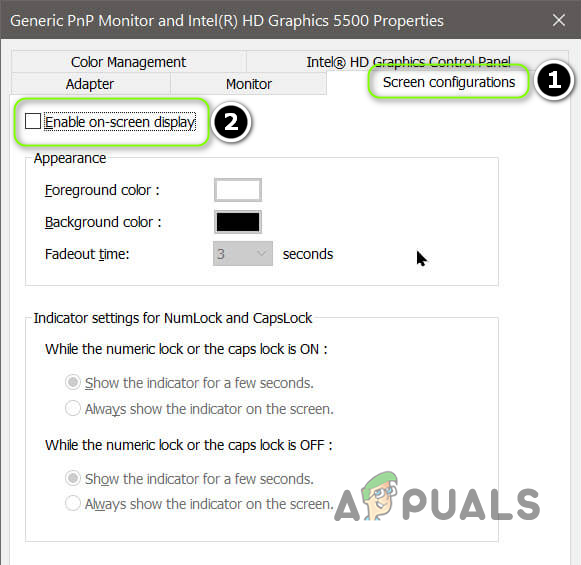
- Click Display Adapter Properties and go to the Screen Configuration tab.

- Uncheck ‘Enable On-Screen Display‘ and apply the changes.
- Reboot your PC and verify if the caps lock issue is resolved.
4.2. Edit the Keyboard Settings
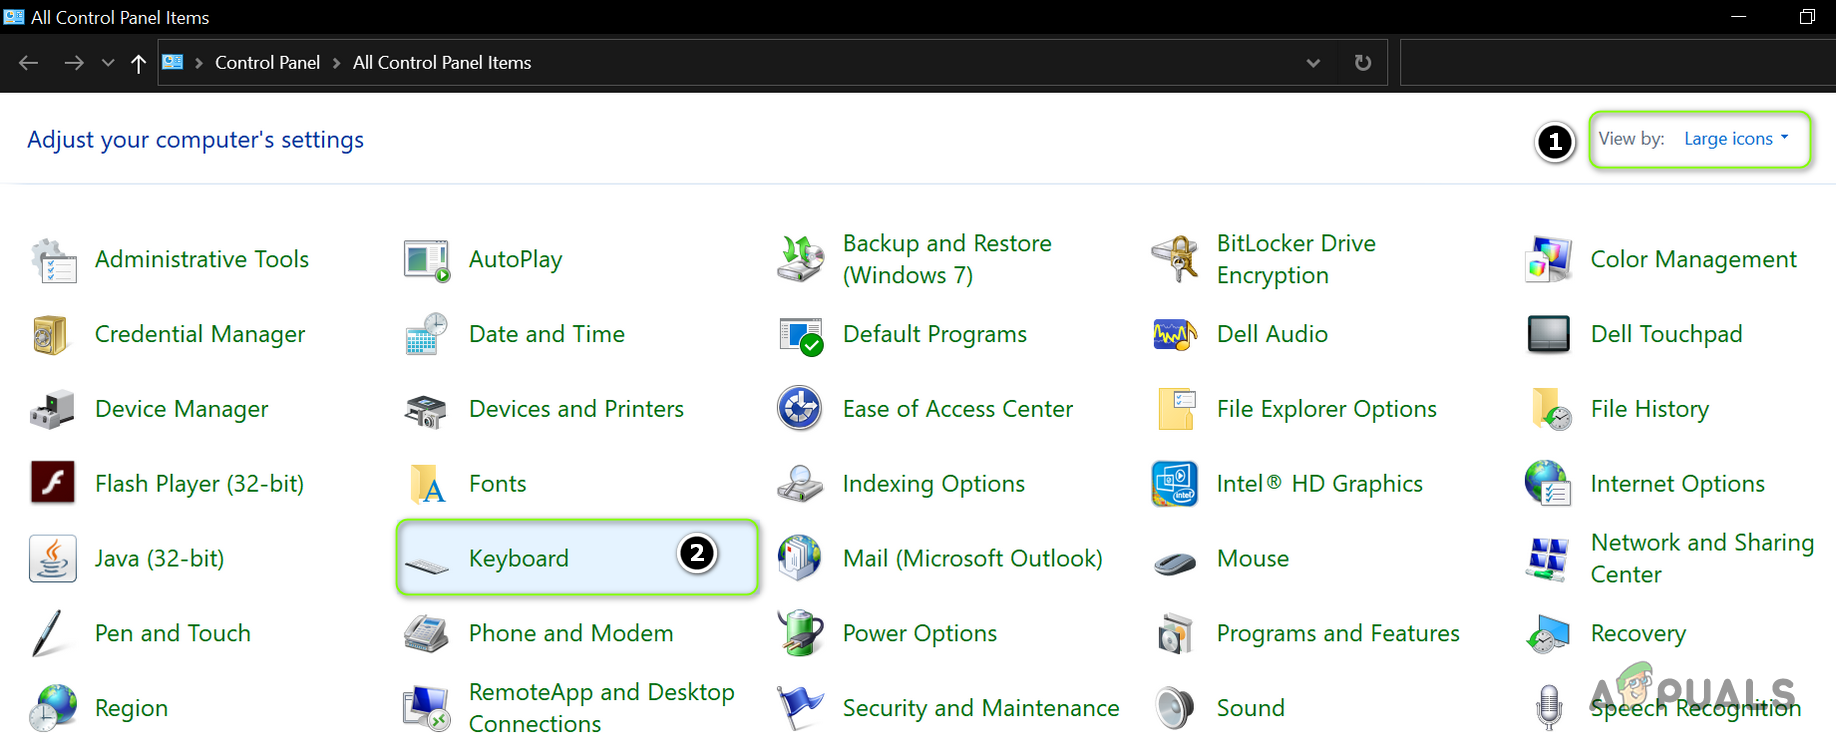
- Press the Windows key, type “Control Panel,” and open it.
- Set View by to Large Icons, then open Keyboard.
- Go to the Key Settings tab and double-click Caps Lock.
- Uncheck ‘Displays Caps Lock Status on Screen‘ and reboot your PC.
- After reboot, verify if the caps lock notification is gone.
5. Use the Task Manager to Disable Processes
Disable any background apps that cause the Caps Lock alert, often found in keyboard software. Use Task Manager to find and turn off these apps, stopping the alert without affecting important system functions. This reduces interruptions directly.
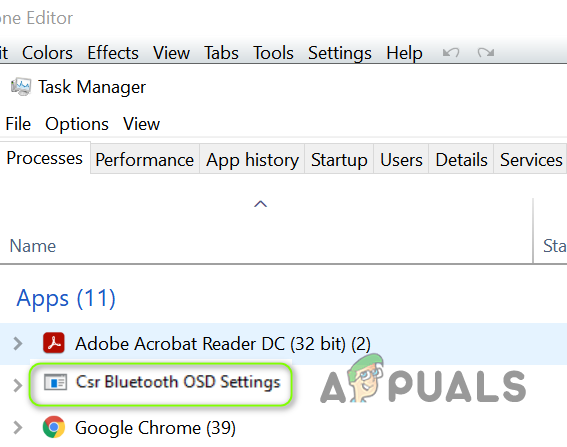
- Right-click the Start menu button and select Task Manager.
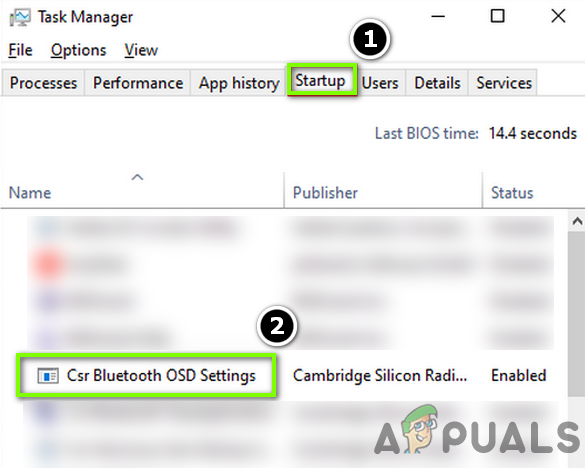
- Right-click the identified problematic process, such as CSR Bluetooth OSD Settings, and select End Task.
- Check if the notification issue is resolved.
- If not, go to the Details tab and end any process related to on-screen notifications, like HotkeyManager.exe.
- Verify if the caps lock issue has been resolved.
6. Edit the System’s Services
Change system settings to stop the Caps Lock notification. You can disable services linked to built-in utilities or accessibility features. This prevents the notification from showing up, giving you a smoother experience.
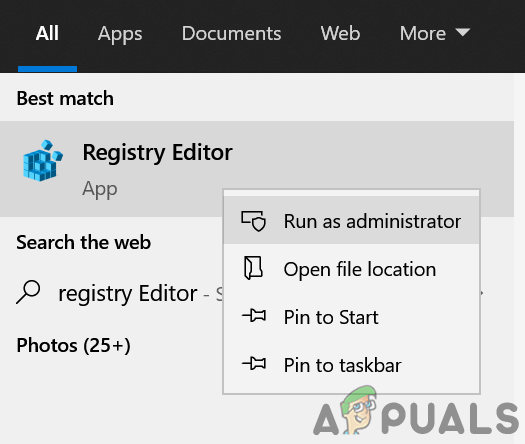
- Click Start, type “Services”, right-click it, and select Run as Administrator.
- Find and double-click the problematic service, like hpHotkeyMonitor, then expand the Startup Type dropdown.
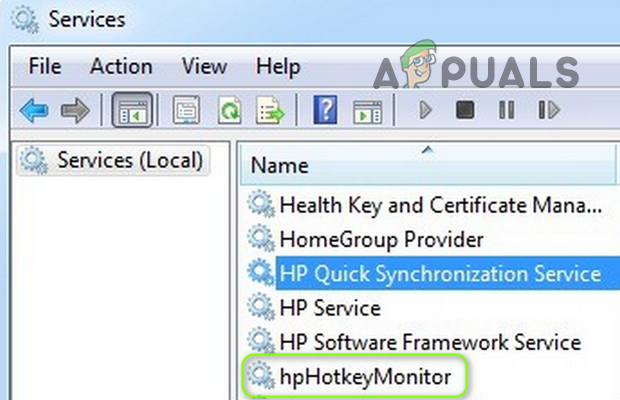
- Select Disabled and click Stop.
- Apply the changes and check if the notification issue is resolved.
7. Disable the Application at the System’s Startup
Stopping the app from starting automatically keeps it from showing the Caps Lock notification. Disabling it lets the system ignore the app, stopping pop-ups without needing to uninstall it.
7.1. Use the System Configuration
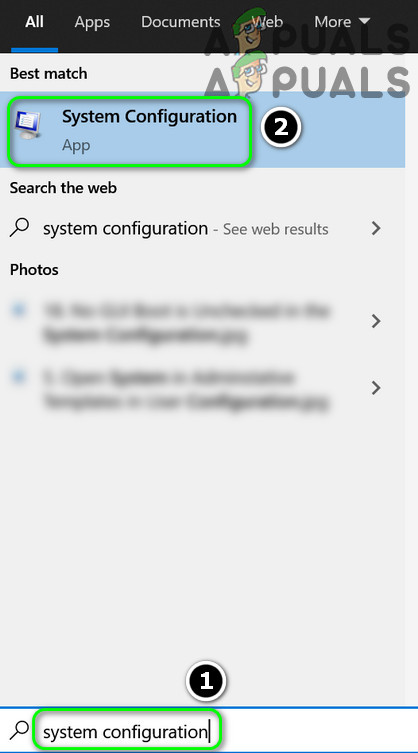
- Press the Windows key, type System Configuration, and open it from the search results.
- Go to the Services tab and disable services related to the problematic application, such as hpHotkeyMonitor.
- Switch to the Startup tab and click Open Task Manager.
- In Task Manager’s Startup tab, right-click the problematic application, like CSR Bluetooth OSD Settings, and select Disable.
- Apply the changes and reboot your PC to see if the caps lock issue is resolved.
7.2. Delete/Rename the Problematic File
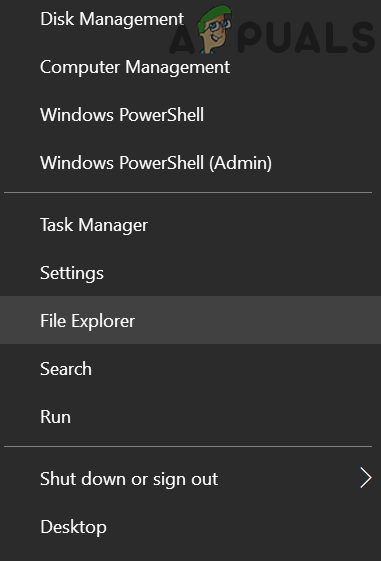
- Right-click the Start menu button to open the Power User menu and choose File Explorer.
- Navigate to:
\Program Files (x86)\Hewlett-Packard\Shared
- Rename (or delete if unnecessary) ‘hpCaslNotification.exe’ to ‘hpCaslNotification.old’ (ensure file extensions are enabled). If renaming fails, end its process in Task Manager and try again.
- Reboot your PC and verify if the Caps Lock issue is resolved.
If you are an Acer user, you may rename the Images folder at the following location to solve the problem:
\Program Files\Acer\acer quick access\images
8. Uninstall the Problematic Applications/Utilities
Some apps or utilities, like overlays or third-party drivers, can cause issues like constant Caps Lock notifications. By removing these problem programs, you stop them from messing with keyboard or display settings, letting your system work properly.
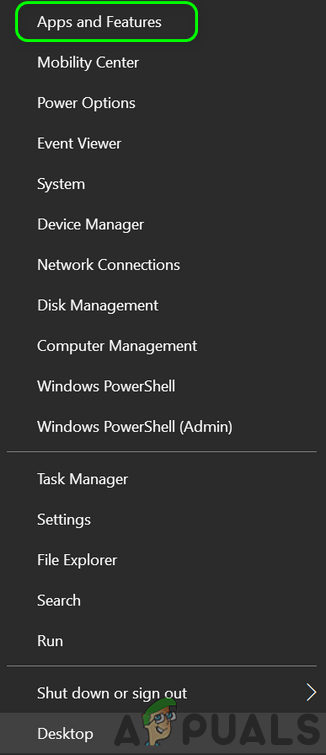
- Open the Power User menu by right-clicking the Start menu button and choose Apps & Features.
- Find and expand Logitech Setpoint, then click Uninstall.
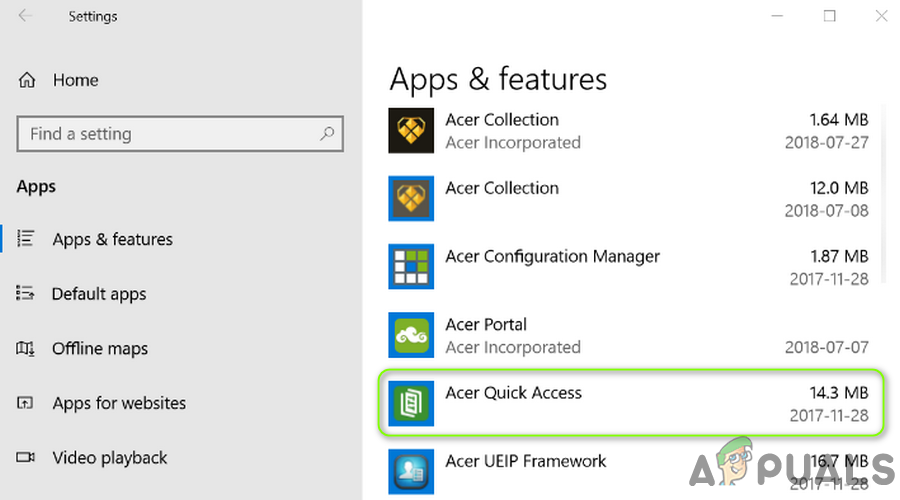
- Confirm to uninstall the Logitech application and follow the on-screen prompts to remove it.
- Reboot your PC and check if the on-screen notification issue is resolved.
9. Edit the System’s Registry
You can change the system registry to stop Caps Lock notifications in Windows. By finding and editing certain registry keys, you can turn off the pop-up for all apps without using extra tools. Be careful when doing this, though, because wrong changes can affect your computer’s stability.
Warning: Proceed with extreme caution and at your own risk as editing the registry of your system is a proficient task and, if not done properly, you may cause irreversible damage to your system/data.
First, create a backup of your system’s registry and then launch the Registry Editor as an administrator. Check if making the following registry edits and then rebooting your PC solves the problem.
9.1. Disable the Harmony Key
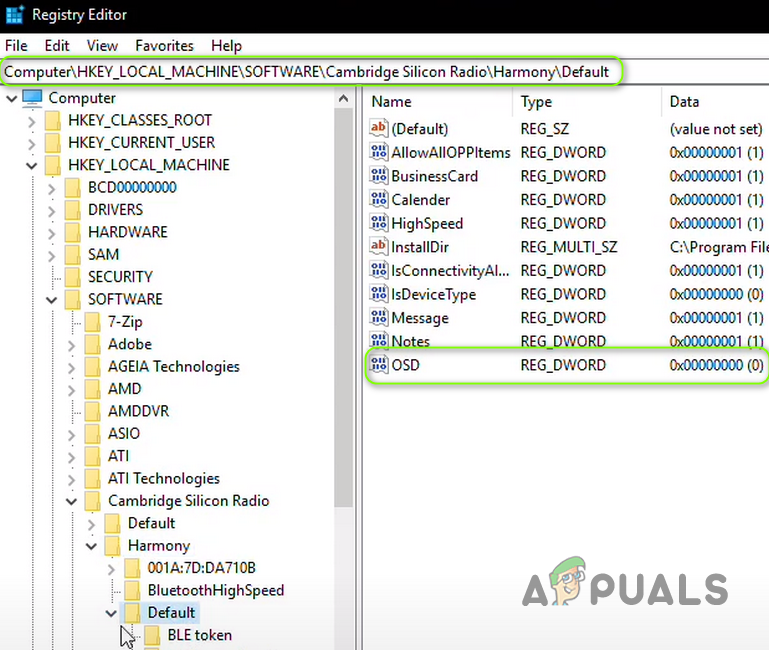
- Go to the following path in the Registry Editor:
HKEY_LOCAL_MACHINE\SOFTWARE\Cambridge Silicon Radio\Harmony\Default
- Double-click OSD and set its value to 0.
9.2. Enable QuickSetControl
- Open the Registry Editor and navigate to the following path:
HKEY_LOCAL_MACHINE\SOFTWARE\Dell Computer Corporation\QuickSet\
- Locate QuickSetControl and set its value to 1.
9.3. Disable Keyindication
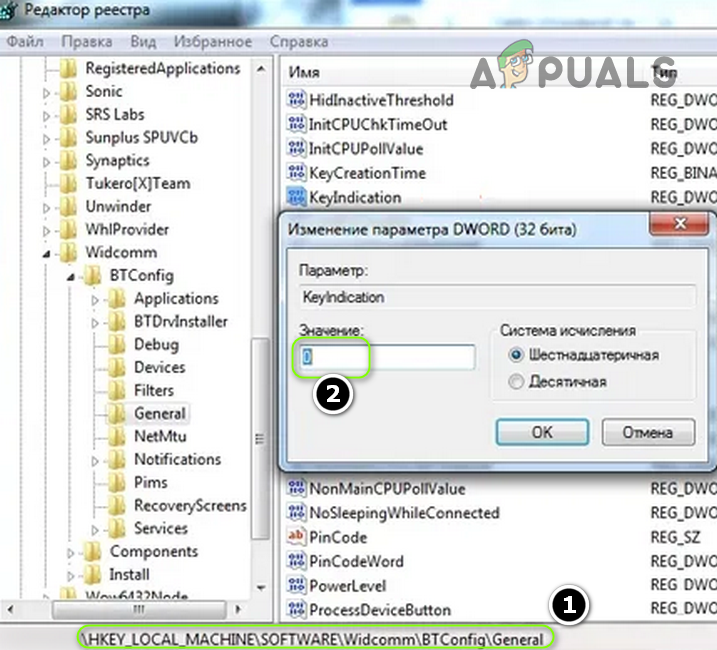
- Open the Registry Editor and navigate to this path:
HKEY_LOCAL_MACHINE\SOFTWARE\Widcomm\BTConfig\General\KeyIndication
- Find KeyIndication and set its value to 0.
9.4. Disable KBNotify
<
- Open the Registry Editor and navigate to this path:
HKEY_LOCAL_MACHINE\SOFTWARE\ATHEROS\VistaAddOn\KBNotify
- Set the value of KBNotify to 0.
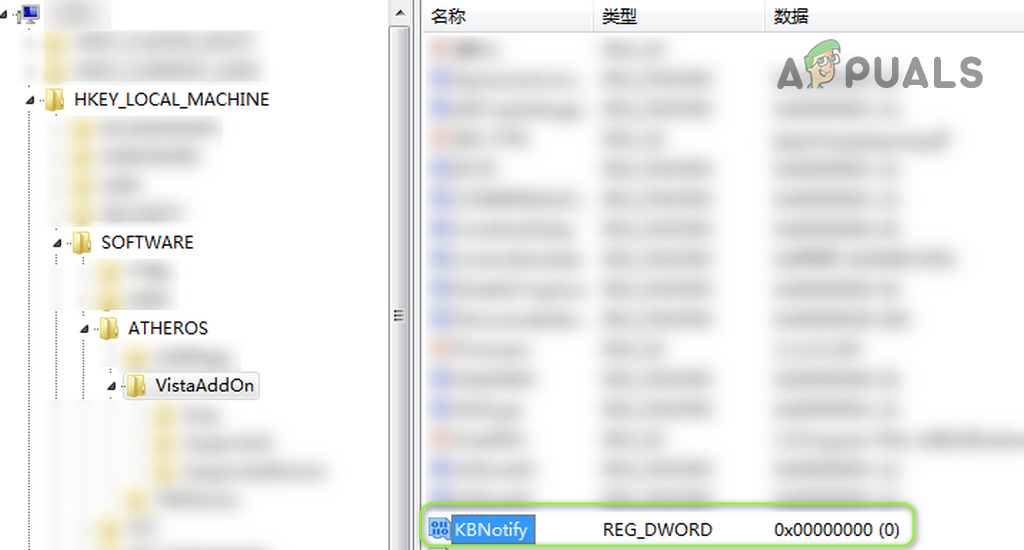
If you are not using an Atheros Bluetooth device, then after the Software key, open that device name and set its value to 0.
9.5. Disable ShowOSD
- Open the Registry Editor and navigate to the following path:
HKEY_CURRENT_USER\Software\hotkey
- Locate ShowOSD and set its value to 0.
9.6. Disable CapsLockOSD
- Open the Registry Editor and navigate to:
HKEY_LOCAL_MACHINE\SOFTWARE\Policies\Hewlett-Packard\HP HotKey Support
- Find CapsLockOSD and set its value to 0.

9.7. Enable NotShowMsgAgain
- Open the Registry Editor and navigate to:
HKEY_CURRENT_USER\Software\Lenovo\Energy Manager
- Locate NotShowMsgAgain and set its value to 1.
If you cannot find Energy Manager in the registry, then search within the registry for Enable OSD (or EnableOSD) or Show OSD (or ShowOSD). Ensure to set its value to 0.
9.8. Disable Quick Access
- Open the Registry Editor and navigate to:
Computer\HKEY_LOCAL_MACHINE\SOFTWARE\OEM\Quick Access
- Change the value of OSD to 0.

9.9. Disable Touch Hot Key
<
- Open the Registry Editor and navigate to:
HKEY_LOCAL_MACHINE\SOFTWARE\GIGABYTE\SmartManager\TouchHotKey
- Set the value of TouchHotKey to 0.
9.10. Add the Scancode Map Key to the Keyboard Layout
- Open the Registry Editor and navigate to:
HKEY_LOCAL_MACHINE\SYSTEM\CurrentControlSet\Control\Keyboard Layout
- Right-click on Keyboard Layout and select New > Binary Value.
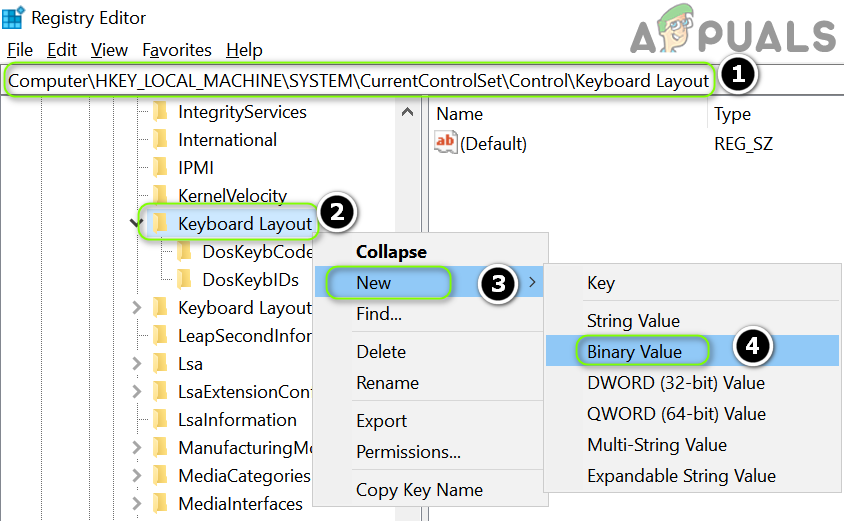
- Rename the new entry as Scancode Map and set its value as shown below.
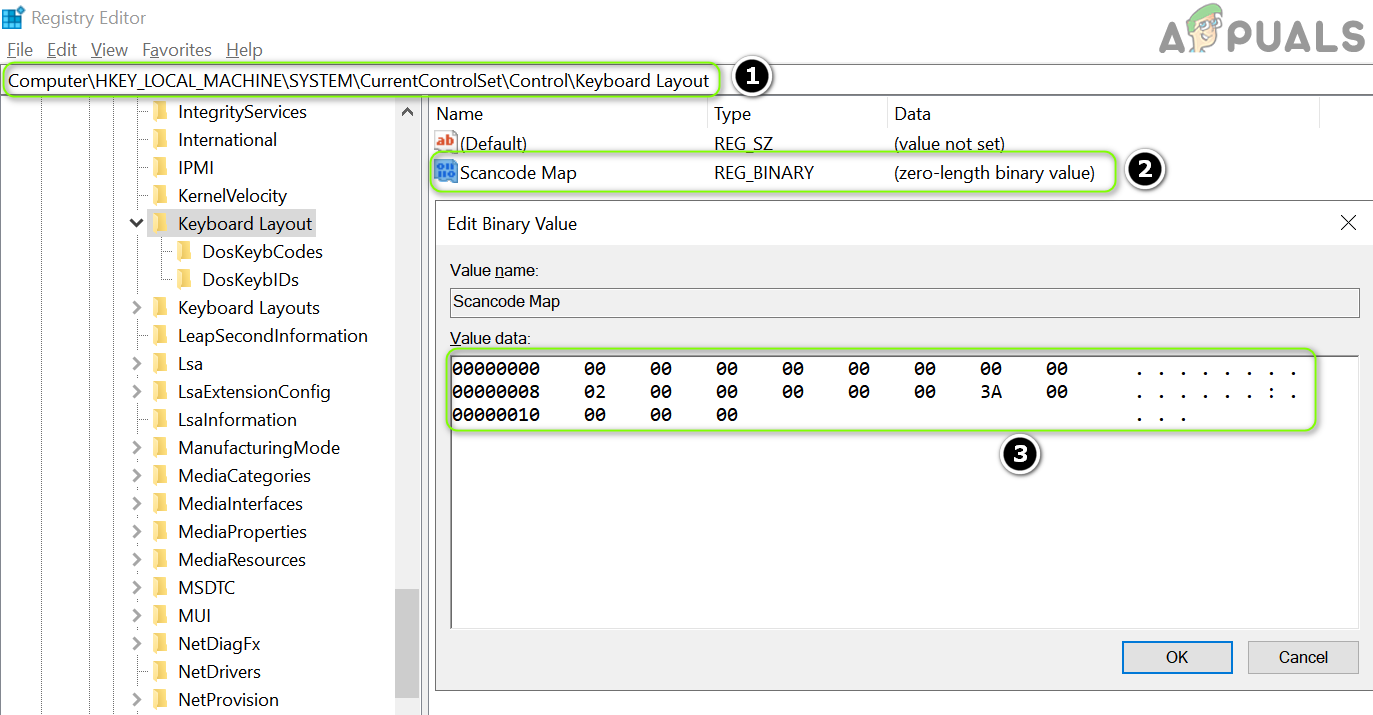
If using the Registry Editor seems complicated, you can create a new Notepad file with the `.reg` extension and add the following lines:
Windows Registry Editor Version 5.00

[HKEY_LOCAL_MACHINE\SYSTEM\CurrentControlSet\Control\Keyboard Layout]

"Scancode Map"=hex:00,00,00,00,00,00,00,00,02,00,00,00,00,00,3a,00,00,00,00,00
After saving the file, double-click it and confirm the prompt to add the file to the registry. Reboot your PC and verify if the Caps Lock issue is resolved.
If the issue persists, consider creating a new Windows user account to see if it solves the problem. If not, you might use a third-party utility to disable the notification or map another key as the Caps Lock key. Alternatively, you can try using the Microsoft Mouse and Keyboard Center to disable the Caps Lock notification.


“Lenovo Fn and function keys service” is the culprit on Ideapad 314. (Remains functional on machine even after Lenovo Utility Service is deinstalled. Thanks for that, Lenovo.) CAPS LOCK FIX: Win + R, msconfig, services, disable LenFnandFuncKeyServ in config list. Very difficult case closed. By the way, not sure Lenovo USA knows what ‘Lenovo Beijing LTD’ is doing to their otherwise nice machines.