How to Fix Transparency Effects Not Working on Windows 11?
The Transparency Effects Not Working on Windows 11 problem occur when the Windows Settings under the Personalization section, won’t show any effect on the desktop elements even after turning it on. And as a result, Windows 11 won’t allow you to change the color of the taskbar or blur your background.
Therefore, we investigated the issue and find out that there are many different reasons responsible for the transparency effect won’t show up for the Windows Terminal. So, below have a look at different possible culprits and then follow the potential solutions to fix the problem.
What Causes of Transparency Effect Not Working on Windows 11?
- Low Battery in Your Laptop: Transparency mode can be only enabled on your device only if the battery is above 20%. So, check for the laptop battery charging percentage and if is below 20% then charge your laptop and check if the problem is resolved.
- Power Settings Issues: If the power settings of your computer are set on low power mode, then you will not be able to turn on transparency mode. So, configuring the settings may work for you.
- Outdated Windows: If you haven’t updated your Windows 11 for a long time or using an early build or beta version of it still now, then that can be the cause of the issue.
- Pirated Version of Windows: Check if you are not using a genuine version of Windows 11, then this can cause problems when using certain features. So, try upgrading to a genuine version.
As you are now aware of the common culprits, follow the below given possible solutions to solve the problem.
Turning On Transparency effect from Personalization Settings
Before trying any of the fixes make you charge your device (if you are using a laptop) above 20% and then try turning on the Transparency effect from the personalization settings. To turn the Transparency effect on from settings, follow the instructions mentioned below:
- Right-click on the Start icon and click on the Settings option.
- Now click on the Personalization option available on the left side.
- And click on the Colors option.
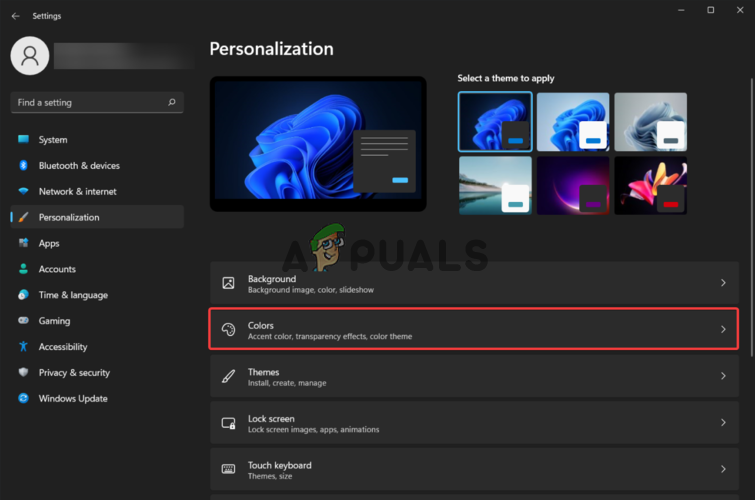
Click on the Colors option - Then toggle the Transparency effect to On
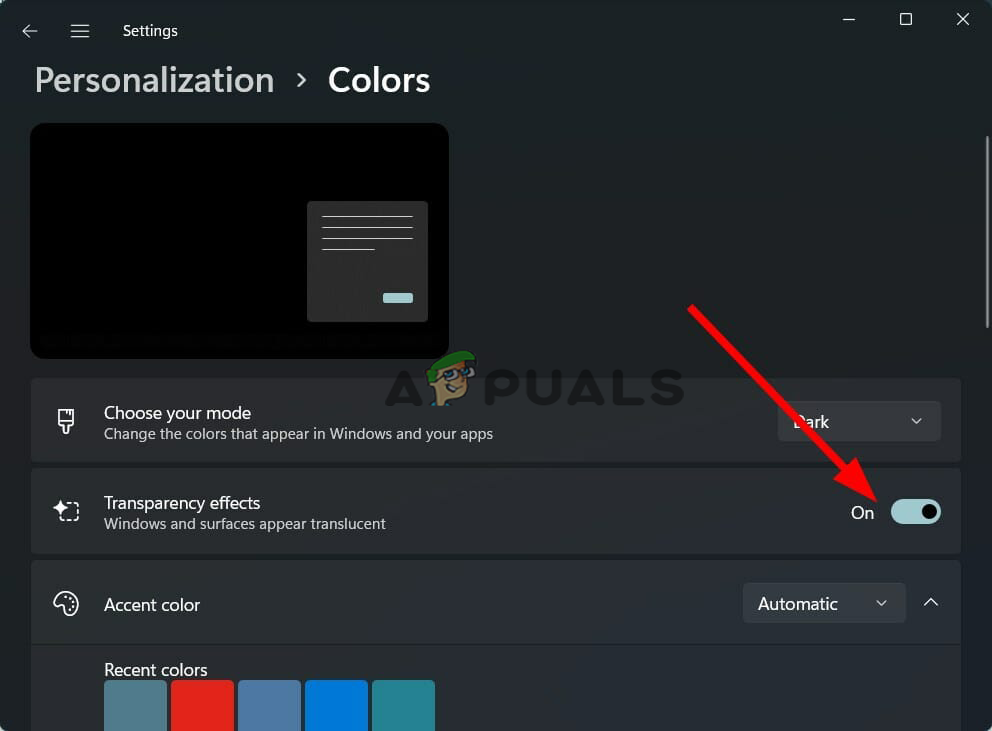
Turn on transparency effect
Now you can see on the left-hand side the Windows settings are blurred. Try launching the Windows terminal is blurred or not and then enable your background blur of the Windows Terminal.
Disable Power Saver Mode
If your device is running on a low battery, please recharge it and disable the battery saver or power saver mode as it limits most of the features available in the operating system to save power. To disable the power saver mode, follow the instructions mentioned below:
- Open Settings by pressing the Windows + I key
- Click on the Power & Battery option

Click on the Power & Battery - Now click on the battery-saver mode if enabled to disable it.
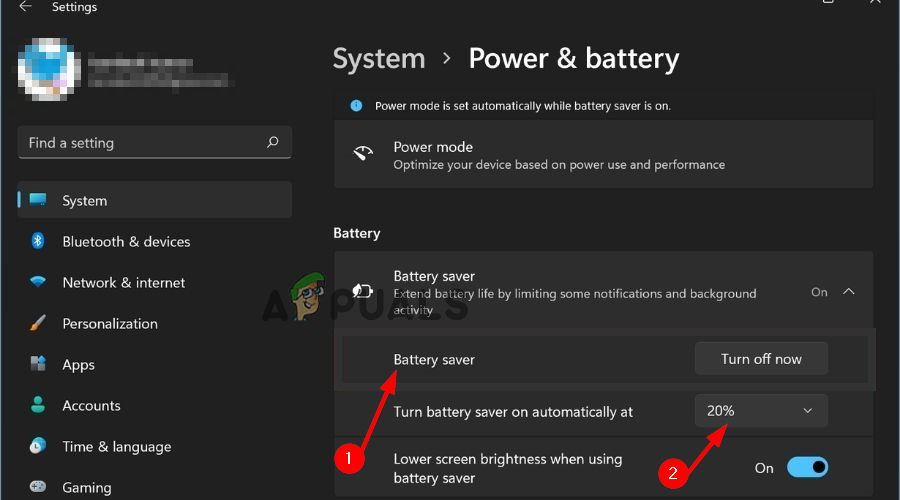
Disable battery-saver mode - Then go back to the personalization settings to turn on the transparency mode and check if the issue is resolved.
Change Power Settings
If disabling the Power settings didn’t work for you, then change the power settings of your computer to high-performance mode and then try turning on the Transparency effect. To enable high-performance mode in your computer, follow the instructions mentioned below:
- Click on the Start icon and search for Control Panel in the search bar.
- Then click on the Hardware and Sound option and then click on the Power options.
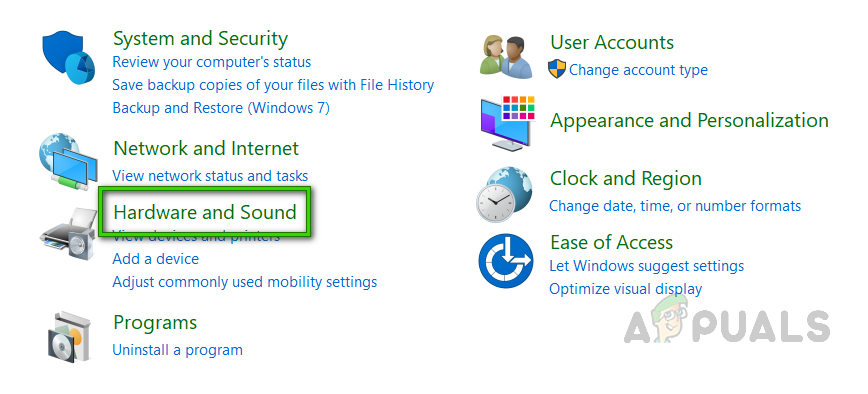
Opening Hardware And Sound Options - And click on the High-Performance option.
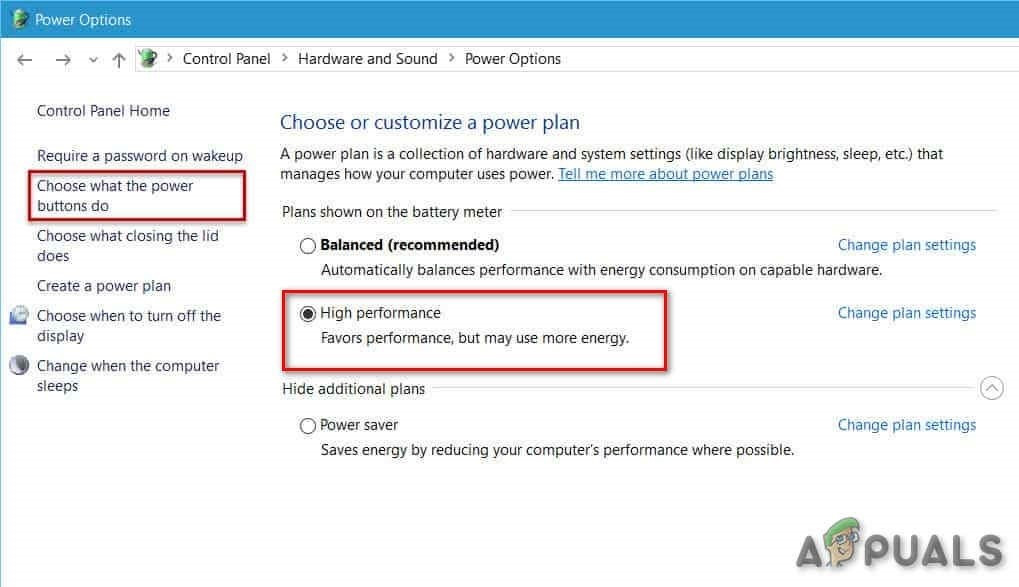
High Performance - Try turning on the transparency mode and check if the Transparency effects not working Windows 11 issue is resolved or not.
Enable Transparency Effect Using Registry Editor
Many users confirmed they are able to use the transparency effect by using the Registry Editor, it is recommended to try turning on the transparency effect using the Windows registry editor. To enable the transparency effect using the registry editor follow the instructions mentioned below:
- Go to the start menu and search for registry editor in the search bar,
- Now click on the Run this program as administrator option.
- Then click on the HKEY_CURRENT_USER folder and then click on the Software folder.
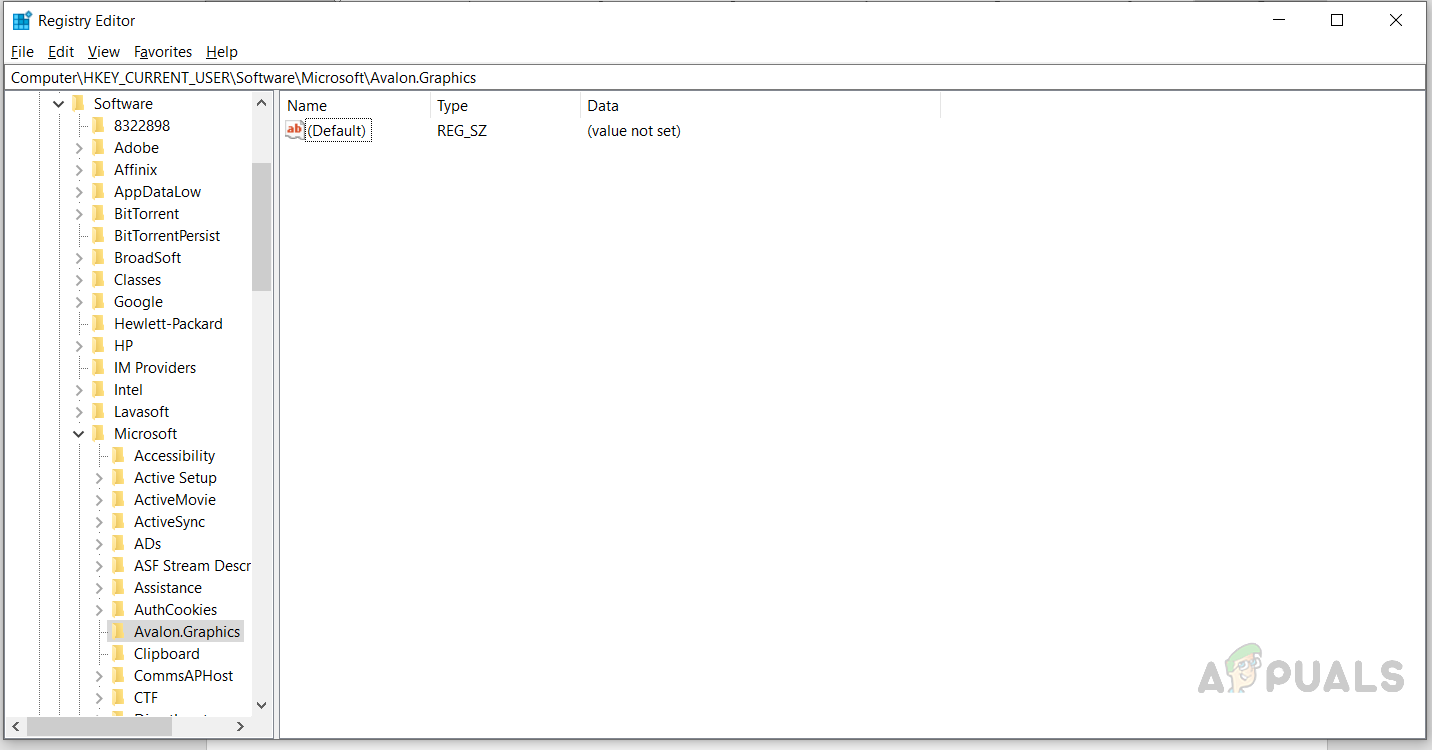
HKEY_CURRENT_USER - And click on the Microsoft folder and then click on Windows
- Here you need to click on the Current Version and choose Themes.
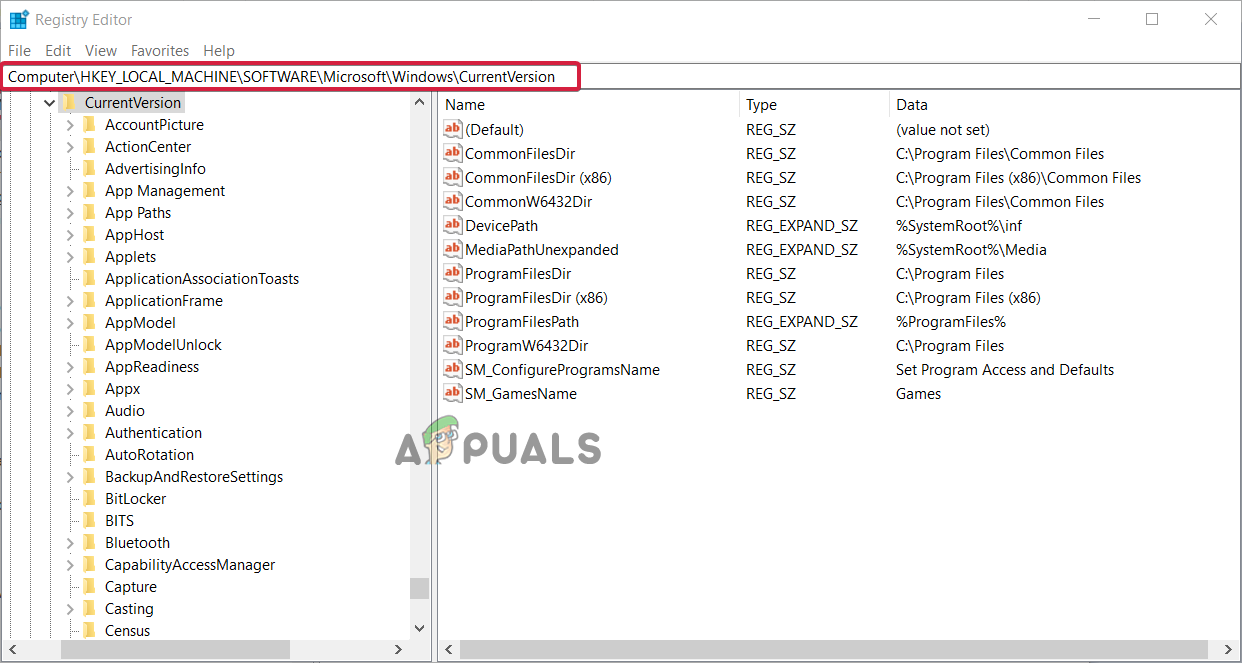
Click on the Current Version - Now click on the Personalize folder and then click on the Enable Transparency.
- Change the value to 1 to enable transparency mode and then press Ok.
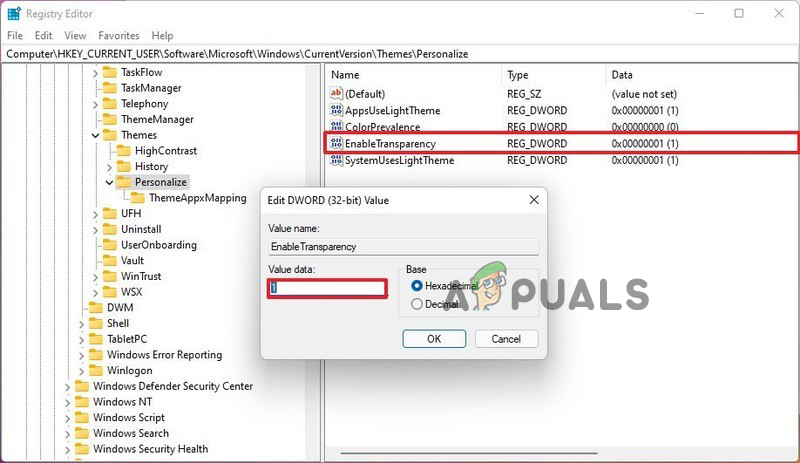
Change the value to 1 to enable transparency mode
Check if the problem is fixed or else head to the next fix.
Update Windows
If you are still using an early build or beta of the Windows 11 operating system, then it is recommended to update the Windows 11 operating system to a more stable and latest version as early builds and betas can have these types of bugs.
To update the Windows 11 to the latest and stable version follow the instructions mentioned below:
- Right-click on the Start icon and click on the Settings
- Now click on the Windows update option.
- Then click on the check for updates option and let Windows search and download the latest version of the operating system.
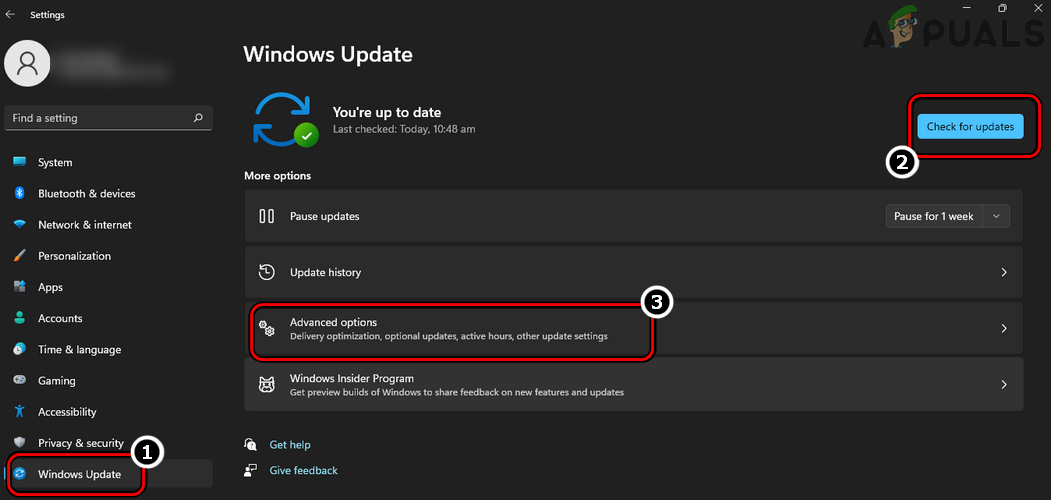
Check for updates - Once the process is completed, restart your PC and try enabling the transparency effect and check if the issue is solved.
Clean Boot Your PC
Many times, the startup program or the third-party application running in the background starts causing conflict. If any third-party application or service is interfering in the operations of the operating system then it starts causing this issue, in this case, clean booting can help you to fix the issue. To clean boot your PC follow the instructions mentioned below:
- Press the Windows + R keys on your keyboard to launch the Run option.
- Type msconfig in the input space and press OK.
- In System Configuration, click on the Services tab and check the Hide all Microsoft services box available in the bottom-left.
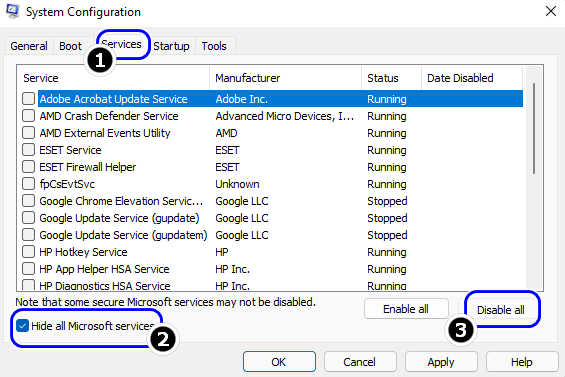
Disable All Non-Microsoft Services in the System Configuration Utility - Now click on the Disable All option available in the bottom-right.
- Click on the Startup tab and then click on the Open task manager option.
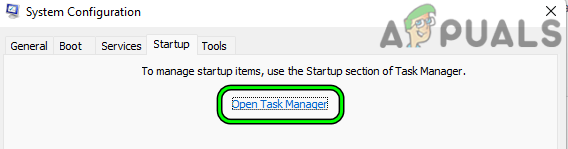
Open Task Manager Through the Startup Tab of the System Configuration Utility - In task manager, click on the Startup tab.
- And click on the apps you think can interfere with the operation and click on the disable option.
Disable the startup programs - Once you are done with disabling all useless startup apps, press OK.
- Now restart your PC and try turning on the transparency effect.
Upgrade to Genuine Windows Product
There are a lot of limitations if you are not using a genuine Windows Operating System and transparency mode can be one of these limitations. So, if you are using a pirated Windows version then it is recommended to use a genuine version of Windows 11 to have a smooth and safe experience as there will be no limitations, and a lot safer than the pirated copies.
That’s all for our how-to-fix Transparency effects not working Windows 11 article. Try the fixes given one by one to get past the Windows 11 transparency feature not working problem.


