Tiny Tina’s Wonderlands Crashing? Try these methods
Tiny Tina’s Wonderlands crashing can be a result of many things and in some cases, they can be specific to you as well. This can include interference from third party processes running in the background, the external peripherals that are connected to your computer and more. Regardless of the cause of the issue, however, you can often resolve an issue such as this quite simply with a few simple methods. As such, in this article, we are going to show you how to resolve the problem in question so just follow through and you will be back up and running in no time.
As it turns out, Tiny Tina’s Wonderlands has been a wonderful Borderlands game so far but there are issues here and there that sometimes turn out to be a hurdle for some users. Before we get started with the various methods that you can use to resolve the issue in question, let us first go through the different potential causes of the problem so that you can establish a better understanding of why this might be occurring. So, without further ado, let us get right into it.
Now that we have gone through the potential causes of the issue, let us get started with the different methods that you can use to resolve the issue. Let us get started.
1. Disconnect External Peripherals
The first thing that you should do when you encounter the problem in question is to remove any external peripherals that may be connected to your computer. This can include a number of things, for example, a controller, USB drives, a wheel and so on. Essentially, anything you don’t need to operate your computer, go ahead and disconnect it.
There have been user reports where the game crashes because of an external peripheral device connected, or more specifically a controller. It is true that some of these devices can make your game more fun, but if you are not able to play the game because of them due to compatibility issues, then they are not really worth it. As such, disconnect the external peripherals and see if that resolves the issue for you.
2. Delete Saved Files
As it turns out, there have been numerous reports where the game saved files have been found the culprit of the issue in question. Almost all the games that you play on your computer save certain files on your system that are loaded when you try to launch the game as they contain your game settings and other related info. However, when these files have been corrupted, the game will not be able to read the files and thus crash as a result.
To fix this, you will have to delete these saved files from your computer so that they can be generated again. To do this, follow the instructions given down below:
- Start off by opening up the Run dialog box. Press the Windows key + R on your keyboard to do this.
- With the Run dialog box, type in “%localappdata%\TinyTina’sWonderlands\Saved” without the quotation marks and then hit Enter.

Navigating to Tiny Tina’s Wonderlands Saved Folder - Inside the Saved folder, delete the three files that exist. Once you have done that, try launching the game again to see if the issue has been resolved.
3. Run Tiny Tina’s Wonderlands on DirectX11
In some cases, the game can be crashing due to the DirectX version it is running on. As it turns out, the game runs on DirectX12 by default, but you can make it run on DirectX11 to see if that works out for you. DirectX is really important when it comes down to games and is one of the essential software that you need on your computer to run a game. With that said, follow the instructions down below to run Tiny Tina’s Wonderlands on DirectX11:
- First of all, open up the Epic Games Launcher on your computer.
- Once the launcher window is open, click on your profile icon and from the drop down menu, choose the Settings option.

Navigating to Settings - On the Settings window, scroll down and expand Tiny Tina’s Wonderlands game under Manage Games.
- Once you have done that, tick the Additional Command Line Arguments option and then provide “-dx11” in the provided area without the quotations.

Adding dx11 Command Line Argument - With that done, see if the problem still persists.
4. Update Graphics Drivers
As we have mentioned, if you are running obsolete graphics drivers on your computer, that can sometimes cause an issue with certain games, especially the ones that have been newly released. Having updated graphics drivers is important as games rely heavily on them to communicate and use the graphics card that has been installed in your system.
To update your graphics drivers, we would recommend downloading the latest available version for your graphics card from your manufacturer’s website and then installing it after you have uninstalled the current driver. To uninstall your current graphics driver, follow the instructions given down below:
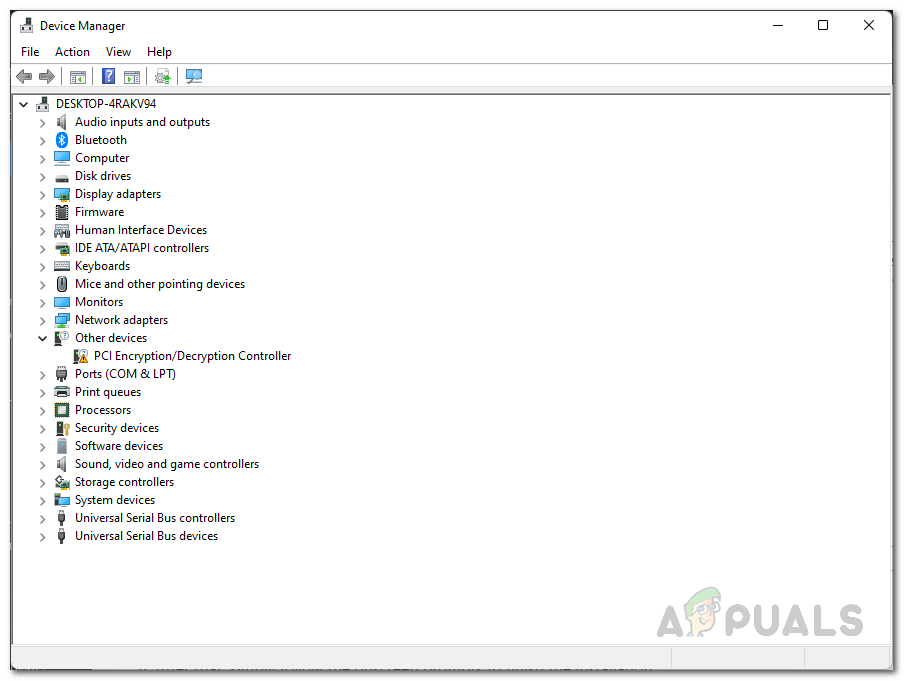
- To start off, open up the Device Manager by searching for it in the Start Menu.

Opening up Device Manage - On the Device Manager window, expand the Display adapters list.
Device Manage - Right click on your graphics drivers and from the drop down menu, choose the Uninstall device option.

Uninstalling Graphics Driver - Once the driver has been uninstalled, head to your manufacturer’s website and download the latest drivers available for your graphics card. Install it and then see if the issue has been resolved.
5. Perform a Clean Boot
If the above methods have not worked out for you, it is possible that a third-party app may be interfering with the game which is causing it to not function properly and ultimately crash. When this happens, you can perform a clean boot which starts your system with only the required services running in the background.
In case the issue goes away in clean boot, it will be evident that the issue is being caused by a third-party app. If this case is applicable, you can try to figure out the culprit by turning on the third-party apps one by one. Follow the instructions down below to perform a clean boot:
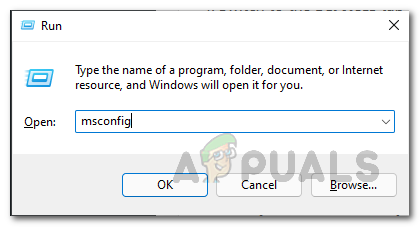
- First of all, open up the Run dialog box by pressing the Windows key + R on your keyboard.
- In the Run dialog box, type in msconfig and then hit Enter.
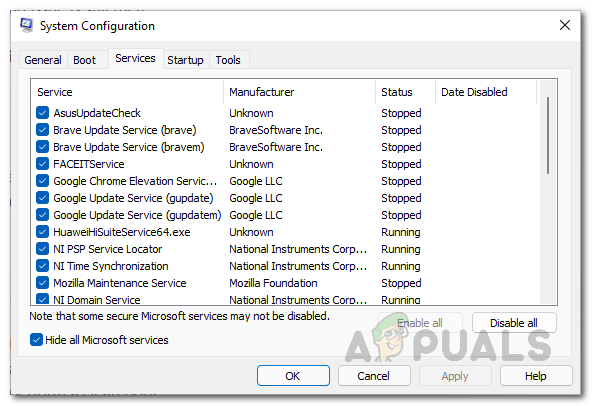
Opening up System Configuration - This will open up the System Configuration window. Switch to the Services tab.
- There, click on the Hide all Microsoft services checkbox.
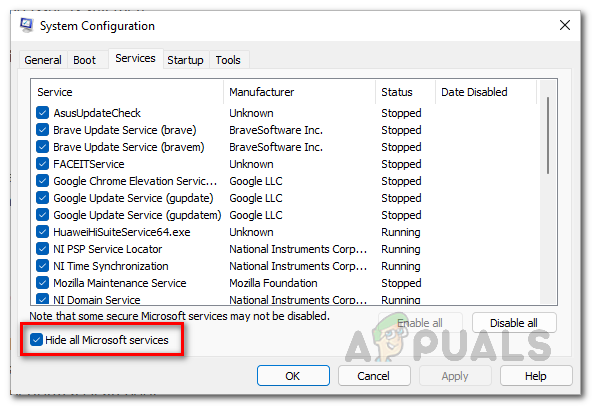
Hiding Microsoft Services - With that done, click the Disable all button and then follow it up by clicking Apply.
Disabling Third-Party Services - After that, switch to the Startup tab. There, click on the Open Task Manager option provided.

Opening up Task Manager - On the Task Manager window, choose each app one by one and then click the Disable button provided at the bottom right corner.
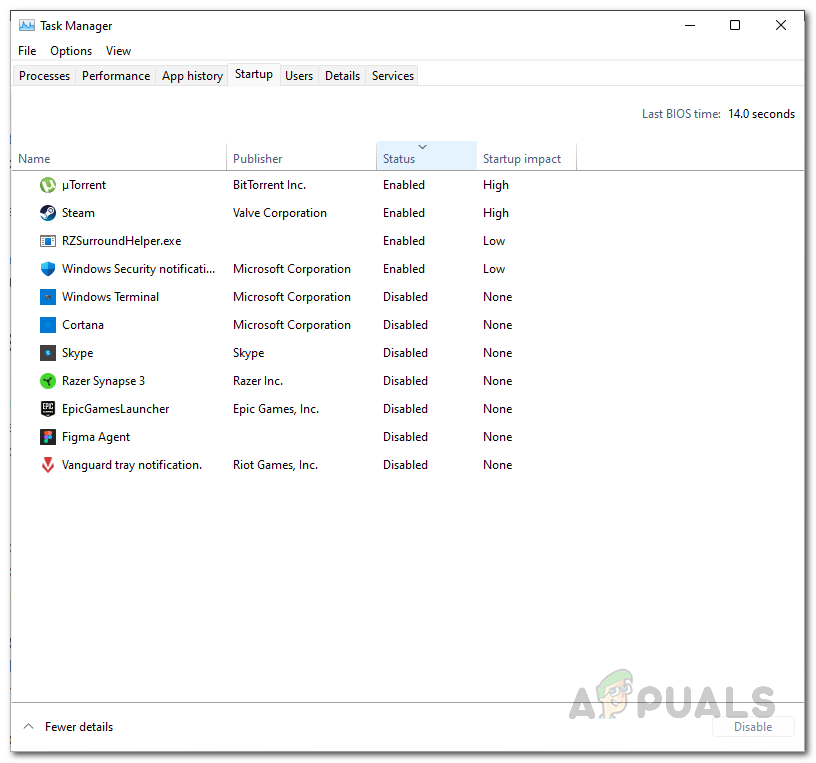
Disabling Third-Party Apps on Startup - With that done, go ahead and restart your computer. Once your PC boots up, see if the issue persists.
- In case the issue is gone, start the services one by one if you wish to figure out the culprit.
6. Remove Overclock
Overclocking your GPU and CPU can be really helpful as it gives you that extra boost in performance for free. In normal scenarios, a stable overclock is always encouraged if you know how to do it properly. However, in certain games, there are chances where having an overclocked component may cause stability issues and cause the game to crash often.
If this case is applicable, we would recommend removing any overclocks if you really wish to play the game to see if that fixes the issue for you. As per some user reports, turning off XMP from your BIOS settings seems to have done the trick for some users so that’s worth giving a shot.


