How to Fix “The specified module could not be found” in Windows 11?
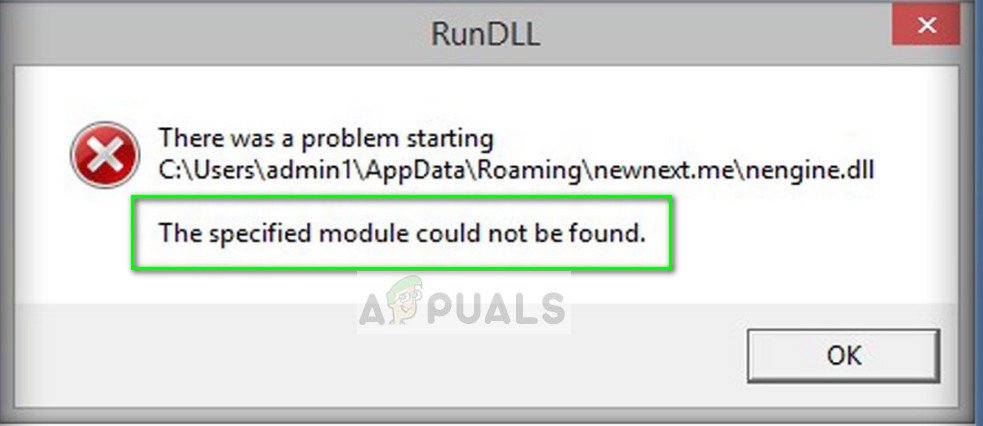
The specified module could not be found error has been encountered by some users in Windows 11 and Windows 10 platforms. Users encounter this error when they try to launch certain applications or access a jpeg or mp4.
Upon some investigation, we discovered that this issue is typically caused by corrupted registry entries, corruptions errors within the operating system files, malware, and incorrect software installation. Listed below are several effective troubleshooting methods that helped users fix the issue on their Windows 11 operating system. Proceed with the one that suits you the best.
Scan Your Computer for Malware
An operating system bug or virus may cause applications to malfunction and mp4 files to not load properly. Additionally, a malicious program may interfere with your PC’s security settings and network settings, causing problems like the one described here.
Several users were able to resolve the specified module problem after scanning their computers with antivirus software, which is why we recommend that you do the same. It is simply a matter of running a scan with the antivirus program and applying the recommended fixes. When a virus is causing the problem, an antivirus scan will resolve it.
Run an SFC Scan
It is also possible for a corrupted system file to cause the specified module error. When you have inconsistencies in your files, your operating system has difficulty processing them and displays issues like this one.
Fortunately, Windows comes with several troubleshooting utilities that can scan your system for issues and fix the ones that are found. One such tool is the System File Checker, which uses a locally cached archive that replaces bad data with good data.
Here is how you can run an SFC scan on Windows 11:
- Type cmd in the search bar and click on Run as administrator to launch Command Prompt with administrative privileges.
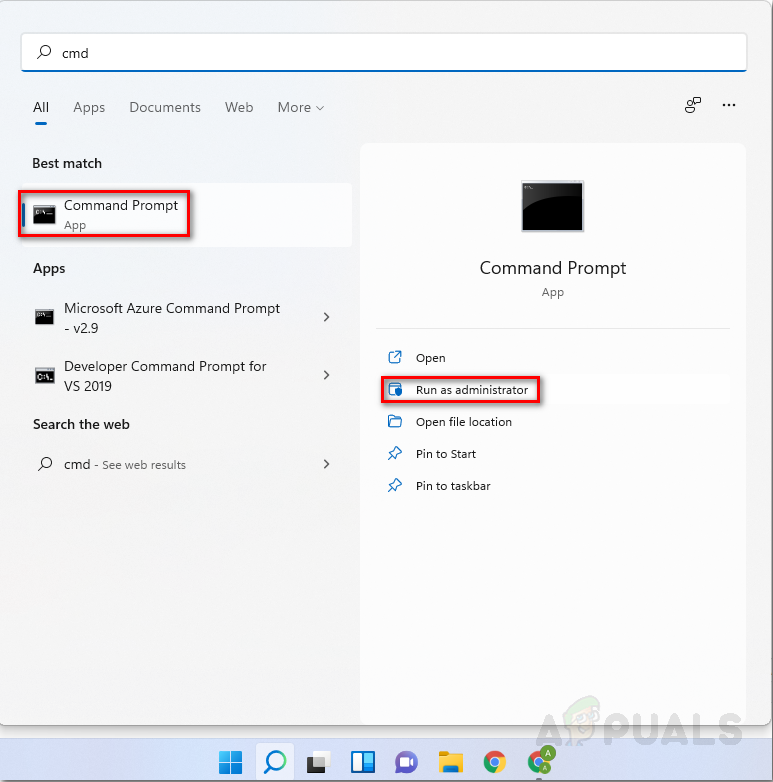
Launch Command Prompt - Once you are inside the Command Prompt window, type the command mentioned below and hit Enter.
sfc /scannow
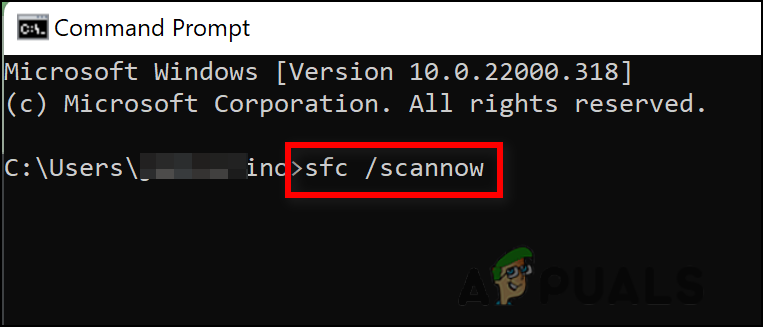
Run code - When the scan is complete, restart your computer once more to see if the specified module issue has been resolved.
Modify DLL File’s Process
In the event that the error code on your screen mentions which .dll file is causing the problem, you can locate the file and end its process to resolve the error. Several users managed to fix the issue this way, which is why we recommend you give it a shot.
Here is what you need to do:
- Press Windows + E keys simultaneously on your keyboard to open File Explorer.
- In the File Explorer window, head over to the View tab.
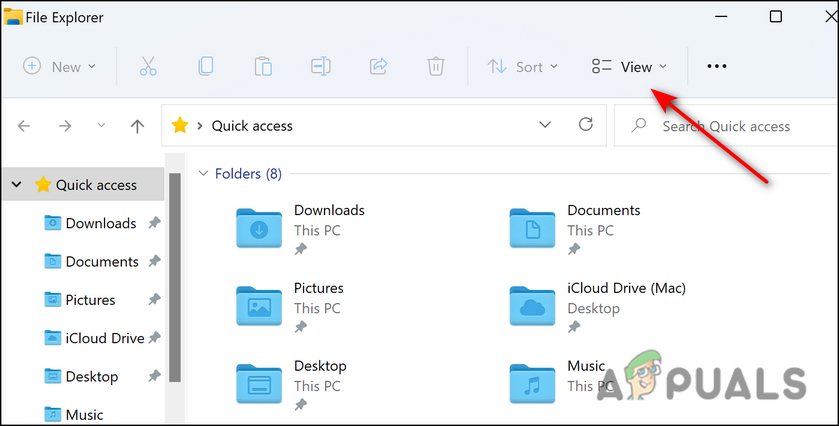
Click view tab - Under Hidden files and folders option, checkmark the box associated with Show hidden files and folders.
- Now untick Hide protected operating system files (Recommended) option.
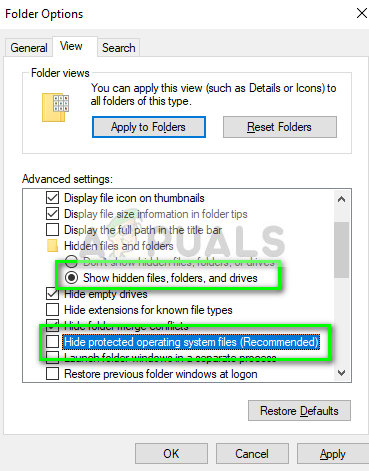
Unchecking Hide protected operating system files - Click OK to save the changes and close the window.
- The next step in resolving the specified module issue is to restart your system into the Advanced mode.
- Now press Windows + I keys simultaneously to open Windows Settings.
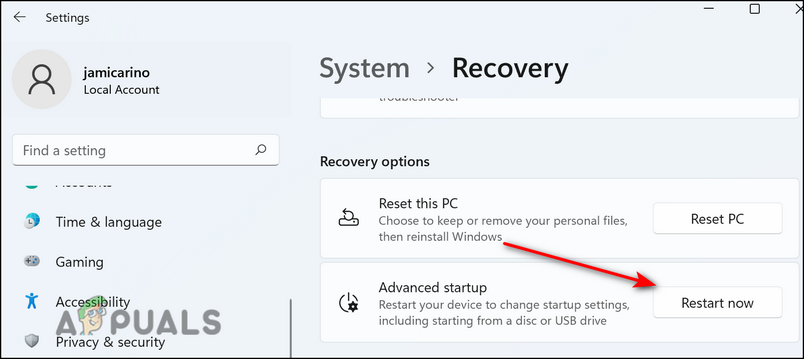
- In the Settings window, select System from the left pane.
- Select Recovery in the right pane and then, click Restart now as shown below.
Restart - In the Choose an option screen, select Troubleshoot.
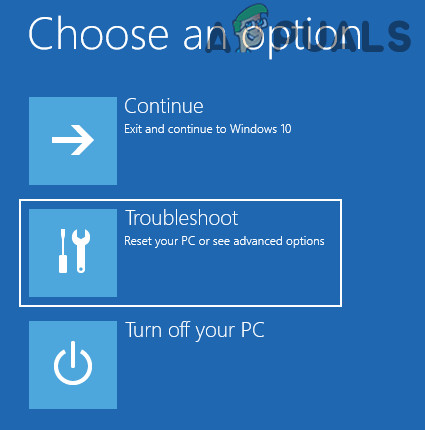
Open Troubleshoot in Advanced Startup Menu - Then select Advanced options > Startup Settings.
- Hit Restart.
- Once Windows reboots, press the F5 or 5 key to launch Safe Mode with Networking.
- Log in to your computer as an administrator
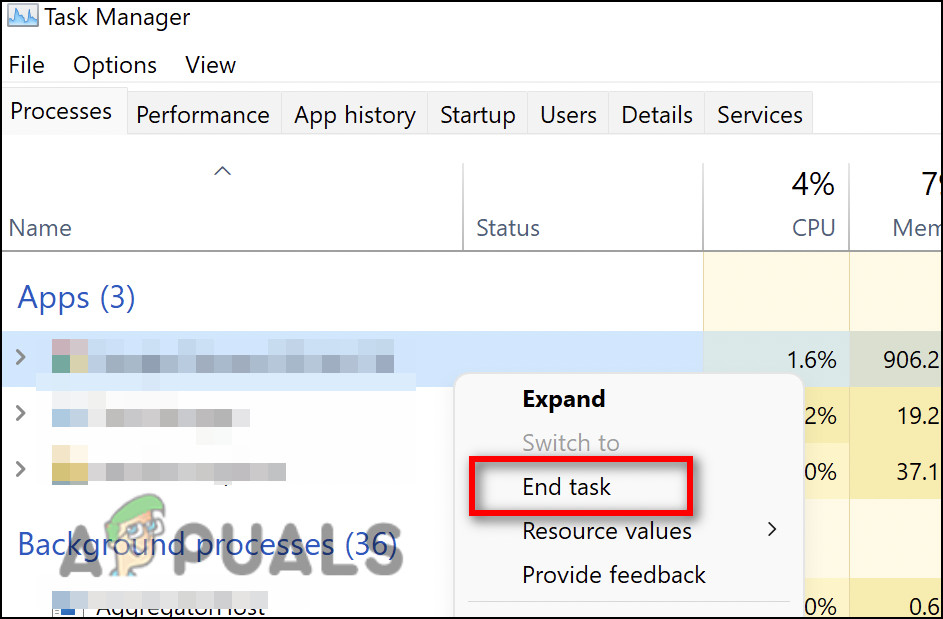
- Once you are inside Safe Mode, press Ctrl+Shift+Esc keys together to launch the Task Manager.
- Head over to the Processes tab and locate the entries associated with “The specified module could not be found” error.
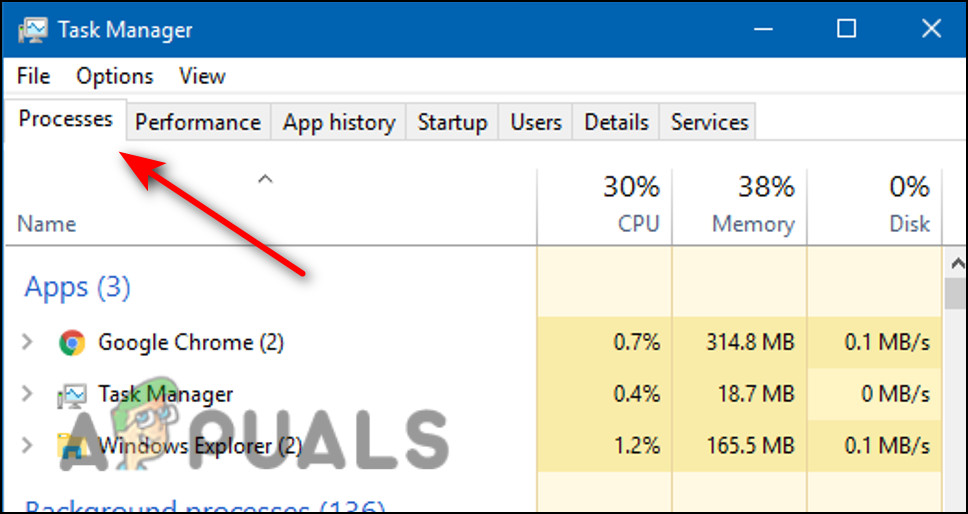
Locate the processes tab - Right-click on them and select End task.
Modify Windows Registry
You might also face the specified module issue if several Registry keys have become corrupt. The solution to this is simple, as all that you need to do is modify Windows Registry by deleting those keys.
It is, however, important to note that Windows Registry is a critical part of the operating system. A problem in the Windows Registry could have disastrous effects on your system. To prevent any situations like this, we recommend that you create a Registry backup before proceeding. That way, your operating system will not be affected if anything goes wrong during the process.
Once the backup is created, here is what you need to do:
- Press Windows + R keys simultaneously on your keyboard to open a Run dialog box.
- Inside the text field of the dialog box, type regedit and hit Enter.
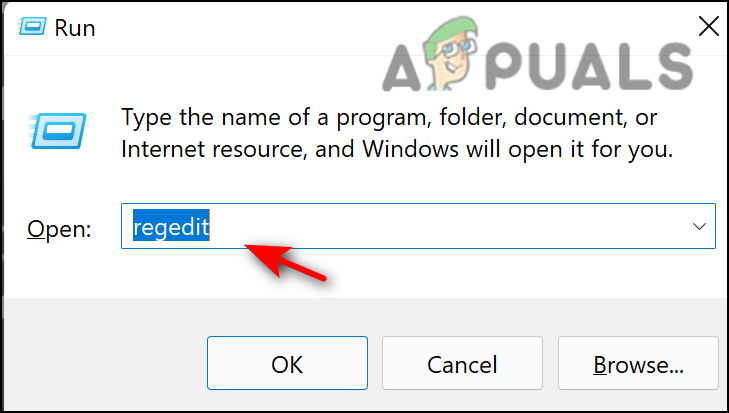
Run regedit command - Once you are inside the Registry Editor, navigate to these locations mentioned below and delete the keys one by one. See the image below for reference.
HKEY_LOCAL_MACHINE\\Software\\Microsoft\\Windows\\CurrentVersion\\Run

HKEY_CURRENT_USER\\Software\\Microsoft\\Windows\\CurrentVersion\\Run

HKEY_LOCAL_MACHINE\\Software\\Microsoft\\Windows\\CurrentVersion\\RunOnce

HKEY_CURRENT_USER\\Software\\Microsoft\\Windows\\CurrentVersion\\RunOnce
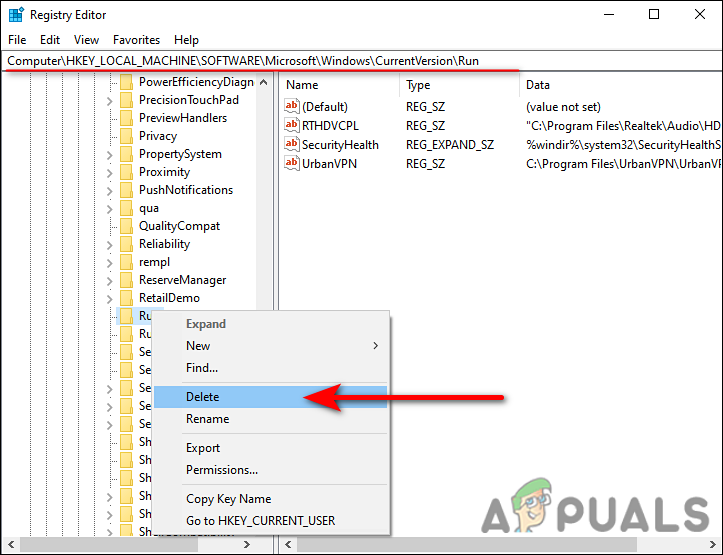
- Finally, restart your PC and check if the specified module issue is resolved.
Delete BackgroundContainer Task
The BackgroundContainer.dll file is part of a program called Conduit Tool Verifier which is a malicious program that acts as a hijacker of your browser and computer. If this file is present in your operating system, you are likely to face issues like the one at hand.
Here is how you can remove the file to fix the issue:
- Press Windows + R keys simultaneously on your keyboard to open a Run dialog box.
- Inside the text field of the dialog box, type taskschd.msc and hit Enter.

Run taskschd.msc - Once you are inside the Task Scheduler, click on Task Scheduler Library in the left pane.

- In the right pane, right-click on BackgroundContainer task and select Delete.
- Finally, close the Task Manager window and check if the issue is resolved.
Perform an In-Place Upgrade
In the event that you have not found a solution so far and are still facing the specified module error, it suggests that the problem cannot be resolved through conventional troubleshooting. If this scenario is applicable, performing an in-place upgrade can help you get rid of the issue once and for all. In-place upgrade or repair install will repair system files, and install the latest windows updates, thus resolving the error in process.


