Fix: The service cannot accept control messages at this time
The service cannot accept control messages at this time is a network related error on Windows which is usually triggered when the service is already being used by another process. Each windows service contains a message pump, e.g. there is a loop that waits for messages from Windows or other sources, dispatches them and acts upon them.
When a service gets a “stop” message, for example, it is considered in a “stopping” state by a service manager. While in a “stop-pending” state, it cannot accept conflicting commands, like “start”. When it happens, you get the message you cited.
When a message hangs in its message processing code, or it just takes a long time to process a command, you can get this problem. You can wait a minute or two hoping that this is just a temporary problem that will be resolved by itself. In my experience, it rarely does.

Fixing The service cannot accept control messages at this time
That being said, a plenty of solutions presented below are now applicable to all users but we strongly believe that the problem will be resolved if you follow all of the methods below and apply the ones which can work for your current situation. Good luck in getting rid of the “The service cannot accept control messages at this time”!
Solution 1: Restart the Credential Manager Service
There are certain processes which cause this error and which cause this error when you are trying to run a certain process or a file and users have reported that simply restarting the Credential Manager Service can help and solve the problem. The process can be helpful when running an application from IIS and in similar scenarios.
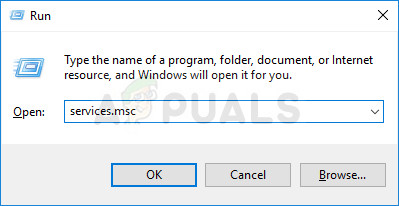
- Open the Run dialog box by using the Windows Key + R key combo on your keyboard. Type “services.msc” in the box without the quotation marks and click OK in order to open Services.

- Locate the Credential Manager Service, right-click on it and select Properties from the context menu which appears.
- If the service is started (you can check that just next to the Service status message), you should stop it immediately by clicking the Stop button in the middle of the window. If it is stopped, leave it as it is.
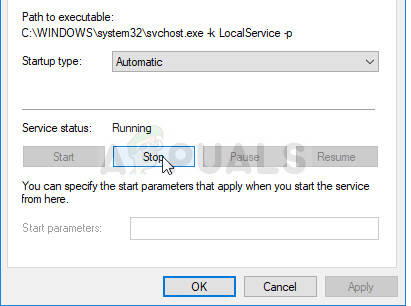
- Make sure that the option under the Startup type section in the Credential Manager Service’s properties is set to Automatic before you exit confirming changes. Confirm any dialogue boxes which may appear when you set the startup type. Click on the Start button at the middle of the window before exiting.
You may receive the following error message when you click on Start:
“Windows could not start the Background Intelligence Transfer Service on Local Computer. Error 1079: The account specified for this service differs from the account specified for other services running in the same process.”
If this occurs, follow the instructions below to fix it.
- Follow the steps 1-3 from the instructions above in order to open IP Helper properties. Navigate to the Log On tab and click on the Browse… button.
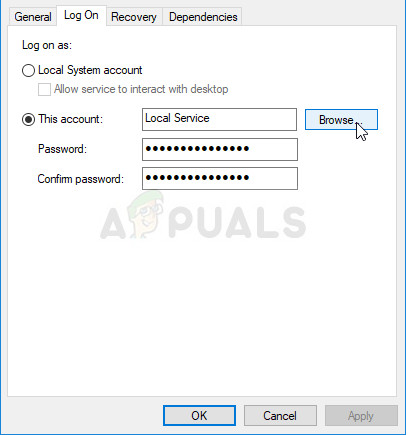
- Under the “Enter the object name to select” box, type in your account’s name, click on Check Names and wait for the name to become recognized.
- Click OK when you are finished and type in the password in the Password box when you are prompted with it, if you have setup a password. It should now start without issues!
Solution 2: IIS Related Method – Kill the IIS Worker Process
Internet Information Services (IIS) for Windows Server is a flexible, secure and manageable Web server for hosting anything on the Web. If you are struggling with IIS and the “The service cannot accept control messages at this time” error appears, you may find both the Solution 1 and Solution 2 helpful. This one is easier to do and more straight-forward.
- Use the Ctrl + Shift + Esc key combination in order to open the Task Manager. Alternatively, you can use the Ctrl + Alt + Del key combination and select Task Manager from the blue screen which opens. You can also search for it in the Start menu.
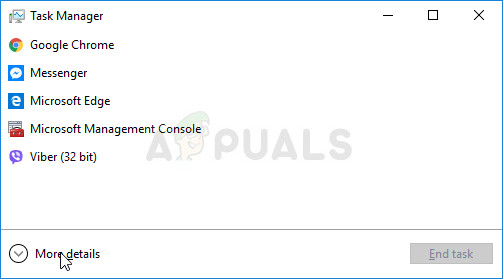
- Click on More details in order to expand the task manager and search for the IIS Worker Process entry displayed on the list in the Processes tab of Task Manager. It should be located right under Background processes. Also, try locating and ending the w3wp.exe entries. If you see multiple entries, right-click on some of them and choose the End task option from the context menu which appears.
- Click Yes to the message which is going to be displayed: “WARNING: Terminating a process can cause undesired results including loss of data and system instability….” or any other dialog box, depending on the version of Windows you have installed.
- Restart your computer and check to see if you are able to proceed without receiving the same error now.
Solution 3: Start the Application Information Service and Kill a Certain Process
This method has proven itself to be quite useful on Windows Server operating systems but it can also yield success on regular Windows operating systems if the need for them appears. Also, you will have to kill a certain process in order for this operation to yield complete success.
- Open the Run dialog box by using the Windows Key + R key combo on your keyboard. Type “services.msc” in the box without the quotation marks and click OK in order to open Services.
- Minimize the Services window in order to prevent the computer from running it manually to start the killed processes and services. Anyway, after minimizing, you will have to open Task Manager.
- Use the Ctrl + Shift + Esc key combination in order to open the Task Manager. Alternatively, you can use the Ctrl + Alt + Del key combination and select Task Manager from the blue screen which opens. You can also search for it in the Start menu.
- Locate either the “svchost.exe (netsvcs)” entry on the Processes list if you are using an older version of the Windows operating system or the “Service Host: Background Intelligent Transfer Service” entry under the Windows processes list in Task Manager.
- Right-click on it and choose the End task option from the context menu which appears.
- Click Yes to the message which is going to be displayed: “WARNING: Terminating a process can cause undesired results including loss of data and system instability….” or any other dialog box, depending on the version of Windows you have installed.
- Now that you have done that, you should maximize the Services window, locate the Application Information Service on the list, right-click on it, and choose Properties. The service is probably stopped so make sure you set it startup type to Automatic and click the Start button. Confirm the changes, exit, and check to see if the problem still appears.
Solution 4: Change a Password in Edge
As the Credentials Manager service is closely related to password management in Edge, changing one of them may help you to fix the error if it is closely related to the Credential Manager Service. The whole solution can be fixed even though it’s may appear weird.
- Open the Edge browser on Windows 10 by searching for it in the Start menu or the search button next to it. You can also click the Edge icon at the Quick Access bar if there is any.
- Click on the three dots button at the top right corner of the browser and click on the Settings option and scroll down to the Advanced Settings section. Click on View advanced settings and scroll down to Privacy and services.
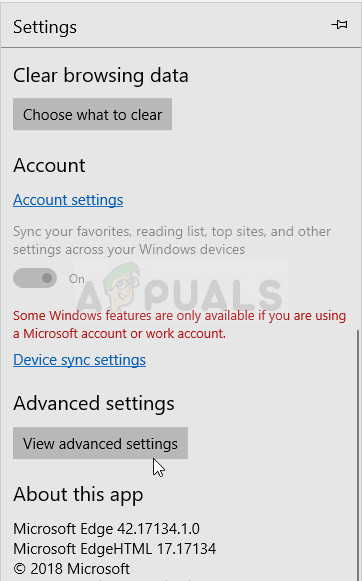
- Click on “Manage my saved passwords” and you will be able to see all websites where you have saved the passwords for. Try clicking on one of the entries and it should display the URL, the username for the dots representing the passwords. Choose one of the entries and try to change a password.
- Click on Save and restart your computer in order to save the changes.
Solution 5: Try System Restore
System Restore is a viable solution to this problem as you can easily revert your PC to a state in which it was before the errors started to occur. Follow the steps below in order to see if the
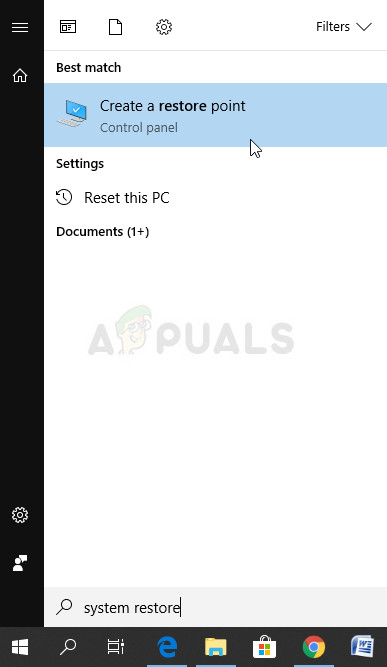
- First of all, we shall turn on the System Restore tool on your computer. Search for System Restore using the Start menu and simply start typing. From there, click on Create a restore point.
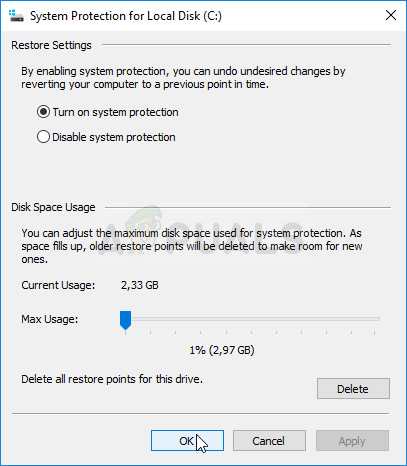
- A System Properties window will appear and it will display the current settings. Inside this window, open the Protection Settings and make it sure that protection is enabled on system drive.
- If it is disabled by any chance, select that disk and click on the Configure button to enable protection. You should also provide a sufficient amount of disk space for system protection. You can set it to any value you want as long as it’s at least a couple of gigabytes if you want to keep more restore points. Click on Apply and OK afterwards to apply the settings.
- Now, the system will create a restore point automatically whenever a new program is installed or an important change has occurred on your computer.
After you have enabled it successfully, let’s revert your PC back to the state where the “The service cannot accept control messages at this time” error didn’t occur. Make sure you backup some important documents and apps you have created or installed in the meantime just to be safe if you created them recently.
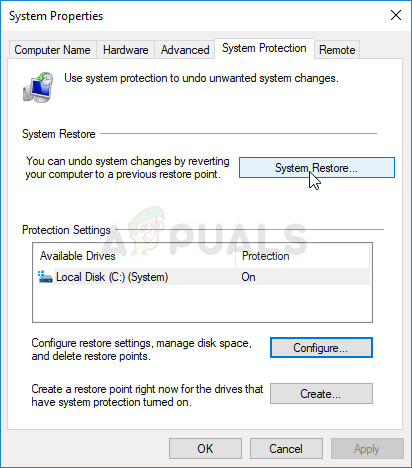
- Search for System Restore using the Search button next to the Start menu and click on Create a restore point. Inside the System Properties window, click on System Restore.
- Inside the System Restore window, select the option called Choose a different restore point and click the Next button.
- Select a particular restore point you saved before manually. You can also select any restore point available in the list and hit the Next button to proceed with the restoration process. After the process is over, you will be reverted to the state your computer was in at that period in time.


thanks