Fix: The Code Execution cannot Proceed (Edgegdi.dll error)
Edgegdi.dll error may be shown while launching an application if the installation of that application is corrupt or another application (like HP Sure Click Pro) is hindering the process. Moreover, the incompatibility between the OS and the affected program may also cause the error under discussion.
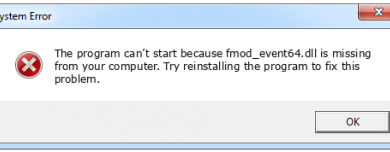
The issue arises when a user tries to launch an application (e.g., Final Draft) but the following message is encountered:
“The code execution cannot proceed because edgegdi.dll was not found. Reinstalling the program may fix this problem.”
When the user clicks the OK button, the message vanishes, and the application is launched (capable of performing all the routine operations). Some applications (like Nitro PDF Creator) showed this error when creating a PDF document but the document was created successfully.
The following applications are reported by the users to show this error:
- Final Draft
- Calyx Point.
- Nitro PDF Creator
- Microsoft Edge
- Windows Task Manager
- VirtualBox
- 1Password
- AccuMail
Before proceeding to fix the DLL error in Windows 10, check if deleting the Temporary Files (navigate to Temp and %Temp% directories in the Run command box and delete the directories’ contents) clears out the DLL issue.
Solution 1: Rerun the Installer Setup of the Problematic Application
The corrupt installation of the problematic application (e.g., 1Password) may cause the DLL issue at hand. In this context, re-running the installer setup (without uninstalling the previous setup) of the affected application may solve the problem. For illustration, we will discuss the process for the Nitro Pdf Creator application.
- Launch a web browser and steer to the Nitro PDF Creator website.
Download the Nitro PDF Creator - Now, download the latest version of the Nitro PDF Creator and launch its setup.
- Then follow the prompts to complete (if prompted to, then choose repair) the setup and reboot your PC.
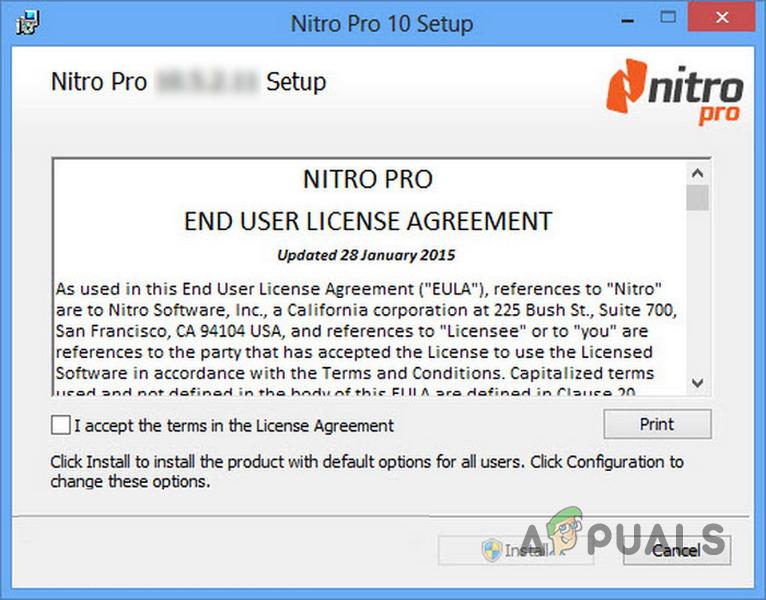
Complete the Nitro Installation Setup - Upon reboot, check if the Nitro PDF Creator is clear of the DLL issue.
Solution 2: Launch the Application in the Compatibility Mode
The incompatibility between the problematic application and the Windows of your system may cause the DLL error under discussion. In this case, launching the application in the compatibility mode may solve the problem. But before proceeding, make sure to end all the processes related to the application in the Task Manager of your system.
- Right-click on the shortcut icon of the problematic application (e.g., Final Draft) and choose Open File Location. You can do the same by searching for the application in the Start menu.
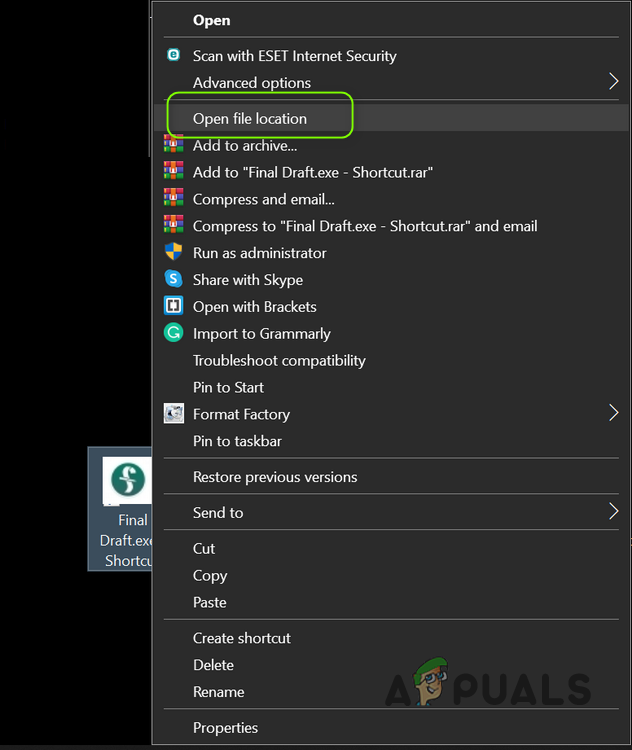
Open the File Location of the Final Draft - Now, right-click on the main EXE file of the application and choose Properties.

Open Properties of the EXE File of the Final Draft - Then, in the Compatibility tab (just under Compatibility Mode), checkmark the option of Run This Program in Compatibility Mode for: and in its dropdown choose Windows 8.
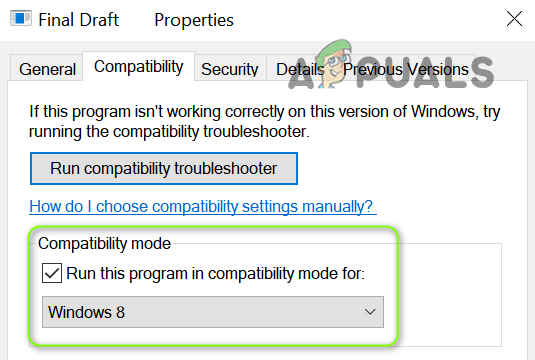
Run the Final Draft in the Compatibility Mode - Now apply your changes and reboot your PC to check if the DLL issue is resolved.
Solution 3: Uninstall the Conflicting Applications
The DLL issue may emerge if another application on your system is hindering the operation of the problematic application (e.g., Calyx Point). In this case, uninstalling or disabling the problematic application at the system’s startup may solve the problem.
- Perform a clean boot of your system and check if the DLL issue is resolved. You can also use the Autoruns utility to find out the application causing the issue.
- If so, then enable the process/applications/services one by one, that were disabled during the clean boot process till you find the application causing the issue.
- Once the culprit process/application is found, either remove it or disable it at the system’s startup.
HP Sure Click Pro and HP Sure Sense are reported to cause the Edgegdi.dll error and to solve the problem you may have to uninstall these (or similar) applications.
- Press the Windows key and open Settings.
- Then select Apps and expand HP Sure Click Pro (or HP Sure Sense).
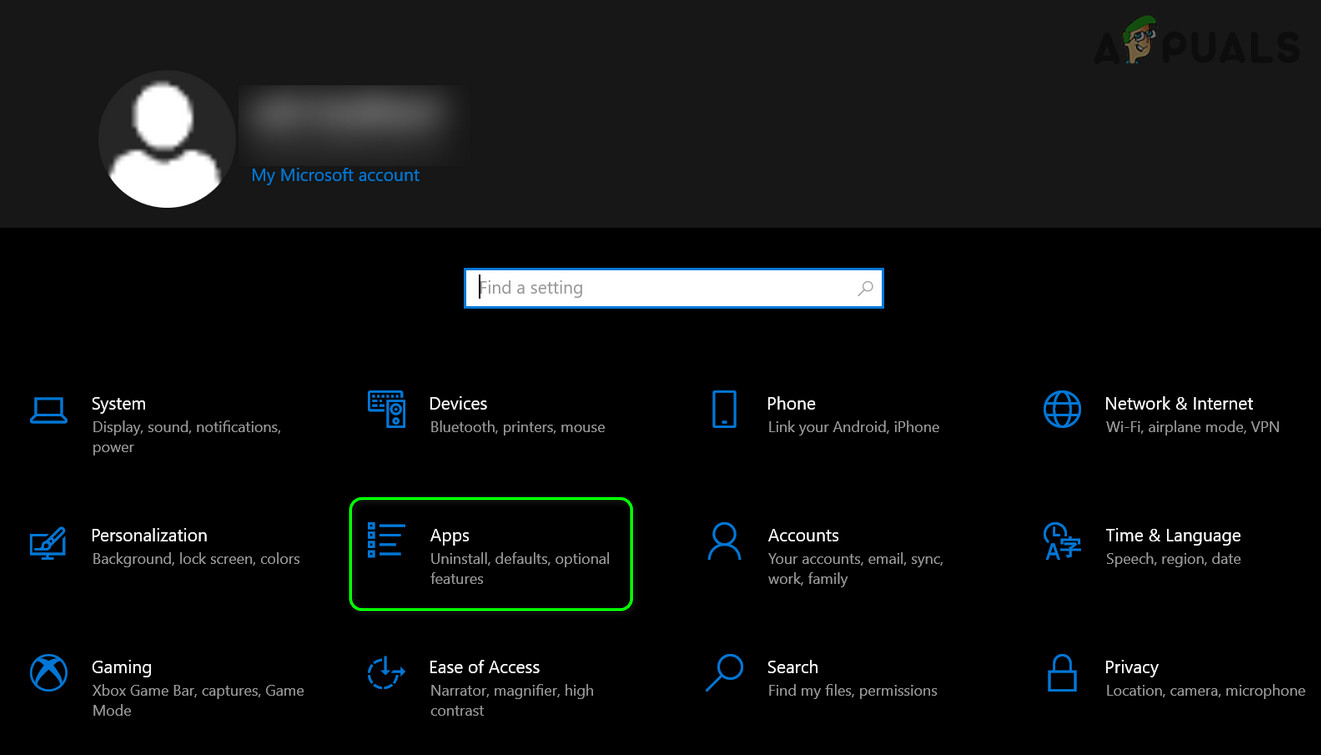
Open Apps in the Windows Settings - Now click on the Uninstall button and then confirm to uninstall the HP application.
- Let the uninstallation complete and then reboot your PC.
- Upon reboot, check if the DLL message is not shown on launching the application.
If the application causing the issue is not listed in the Apps’ list, then you may use a 3rd party uninstaller to remove the application (e.g., HP Sure Sense).
Solution 4: Place Edgegdi.dll File in the System Directories
If none of the above-mentioned solutions did the trick for you, then placing a fresh copy of Edgegdi.dll file in the system directories may solve the problem. But make sure to acquire the mentioned DLL file from another working and trusted computer (it is strongly suggested to avoid acquiring the DLL files from online websites, it may have its security repercussions).
If you cannot find the DLL file from another PC, then you can rename/replace one of the already present DLL files in your system directories and it may do the trick (in more technical terms, it is called placing a dummy DLL). Yes, it can happen if the edgegdi.dll file is wrongly set up as a needed dependency in these applications as none of the DLL functions are ever called by the application, so any other DLL with the right name and bit value in the proper system directory may do the magic and the application may load without any issue. Before proceeding, make sure your system is configured to display the file extensions.
- Exit the problematic application (if running) and make sure no process related to it is operating in the Task Manager of your system.
- Right-click on the Start menu/Windows button and choose the File Explorer (in the Quick Access menu).
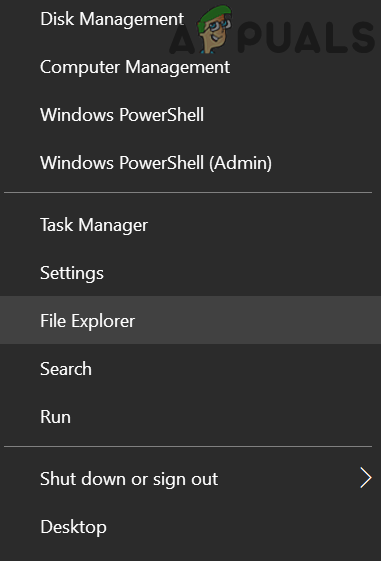
Open the File Explorer - Now navigate to the following (you may copy-paste the address):
\Windows\SysWOW64
- Then right-click on any of the DLL files (e.g., EdgeManager.dll) and choose Copy.
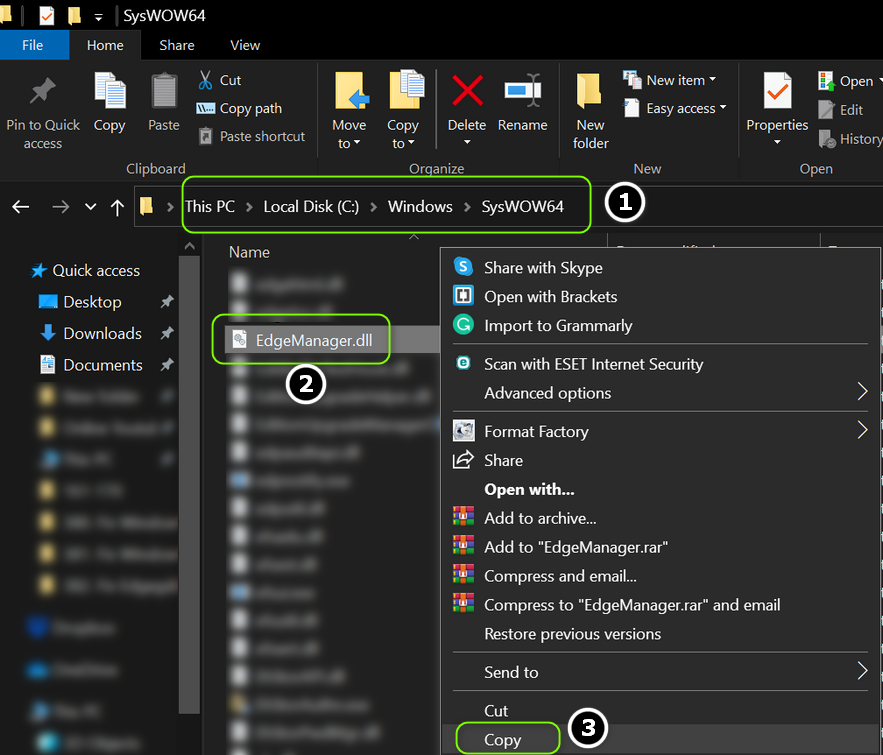
Copy the EdgeManager.dll File - Now paste the file in the same directory and right-click on it (if asked to, click Continue).
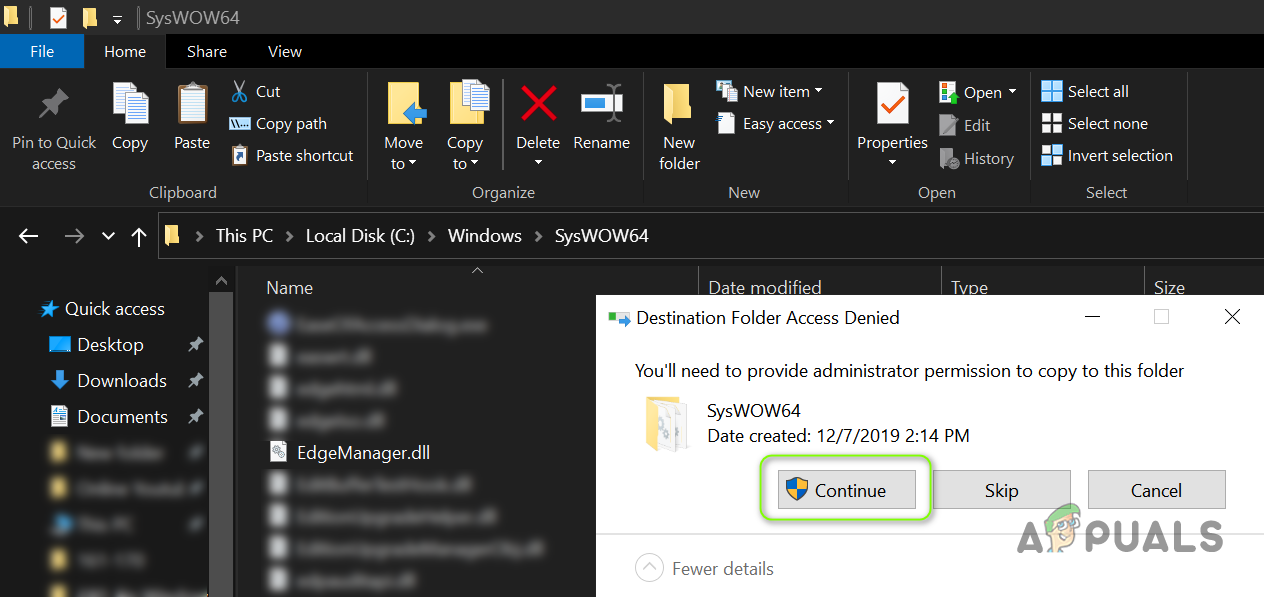
Click Continue to Paste the DLL File - Then choose Rename and enter Edgegdi.dll as the name (if asked to, click Continue to rename the DLL file and if UAC prompt is received, click Yes).
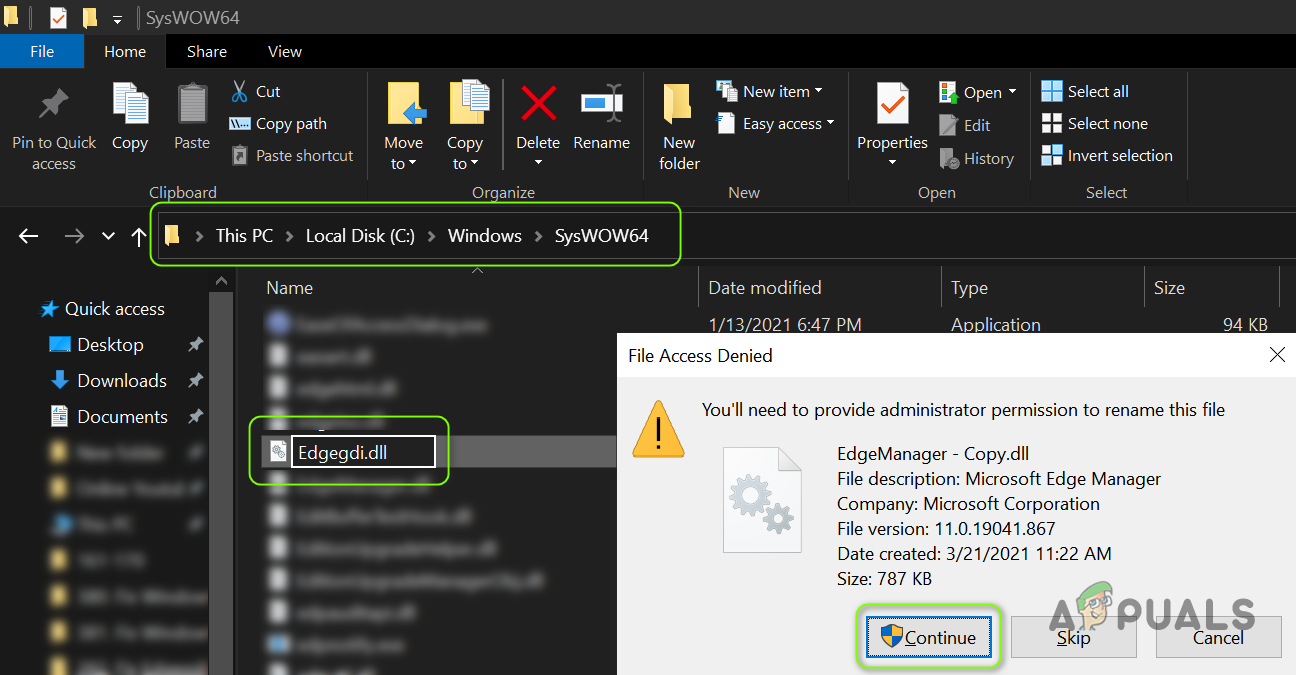
Rename the Edgegdi.dll File - Now copy this file and steer to the following path in the File Explorer:
\Windows\System32
- Then Paste the file in the System32 directory and reboot your PC.
- Upon reboot, hopefully, the application will be clear of the Edgegdi.dll error.
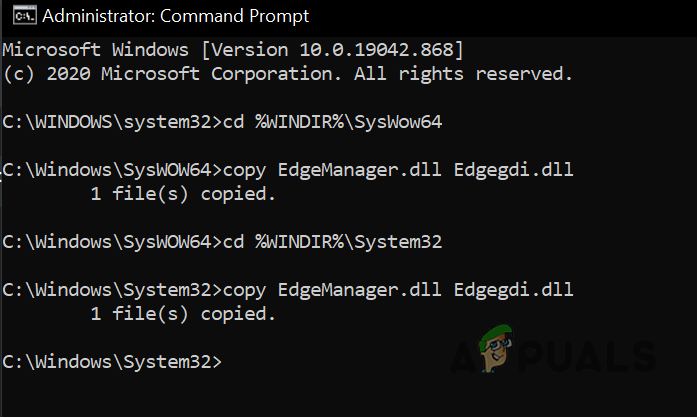
You can achieve the same by executing the following cmdlets one by one in an elevated Command Prompt (do not forget to press the Enter key after each cmdlet):
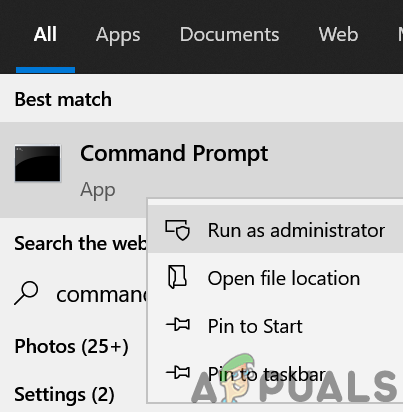
cd %WINDIR%\SysWow64

copy EdgeManager.dll Edgegdi.dll

cd %WINDIR%\System32

copy EdgeManager.dll Edgegdi.dll