How to Fix Task Scheduler Not Working Issue in Windows?
Task Scheduler is a tool in Windows that allows you to automate certain routine tasks as per priority. However, despite scheduling the task, you will face an issue where the Task Scheduler fails to work. This issue is caused by a corrupted Task Scheduler Tree Cache. This prevents the tool from working properly.

In this guide, we will be showing you the methods to fix the Task Scheduler when it fails to work.
1. Set the Task Scheduler Service to Automatic
In many cases, you will face this issue when your Task Scheduler Service is not set to Automatic. Therefore, you must set the Startup type of this service to Automatic before running the program. Follow these steps to set this service to Automatic:
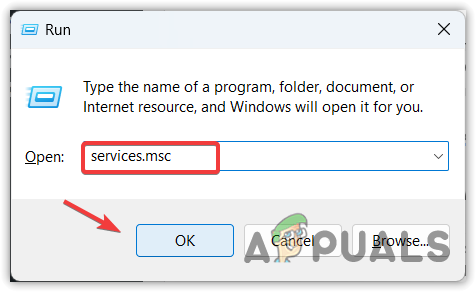
- Open the Run command by pressing the Win + R keys together.
- Type “services.msc” in the search box and click OK to open the Registry Editor.
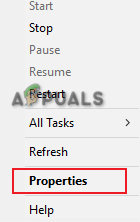
Opening Services Window - Find the Task Scheduler Service.
- Open its properties by right-clicking on it and selecting the properties option.
Opening the service properties - Now, click on the box next to “Startup type” and select the “Automatic” option.
- Apply the changes by clicking Apply and OK.
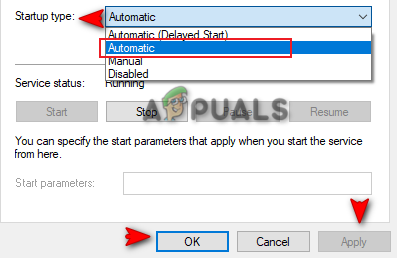
Setting Startup type to Automatic
2. Run the System Scans
Corrupted system files will also cause issues with the functionality of the Task Scheduler. These corrupted files will prevent the programs from working properly. Therefore, you must ensure that your files are not corrupted by performing System Scans that will detect and repair the error found in the system files.
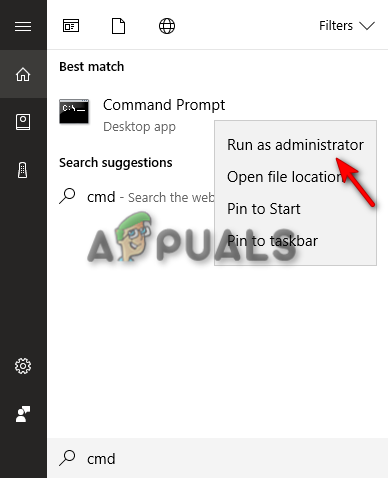
- Open the Windows Start Menu by pressing the Win key.
- Type “cmd” in the Windows Search bar.
- Run the command prompt as an administrator by right-clicking on it and selecting the”Run as an administrator” option.
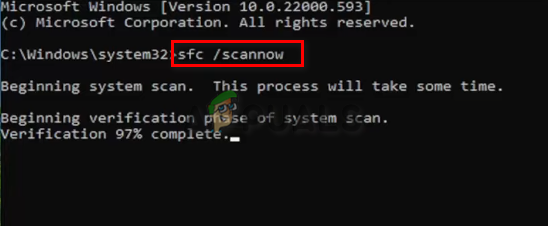
Running the Command Prompt as an administrator. - Type the following command in the Command Prompt while giving a space between “sfc” and “/.”
sfc /scannow
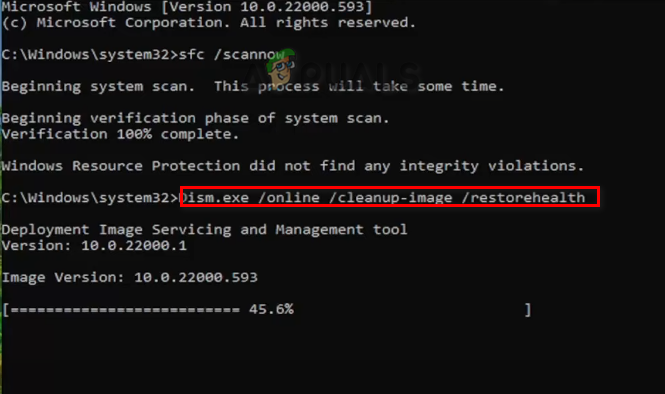
Running system file checker on the command prompt. - After scanning your System, the file checker automatically repairs the corrupted files.
- Paste the following command into the command prompt and press Enter to run the DISM scan.
Dism.exe /online /cleanup-image /restorehealth
Running DISM Command on the Command Prompt - Restart your computer and make the required changes.
3. Perform a System Restore
System Restore is a built-in feature in Windows that allows you to revert the state of your Windows to a particular time. This feature is mostly used to recover malfunctions and other errors. Using the system restore feature, you can pinpoint when the system wasn’t facing this issue with the Task Scheduler. Below is how to perform a system restore:
- Open the Windows Start Menu by pressing the Win key.
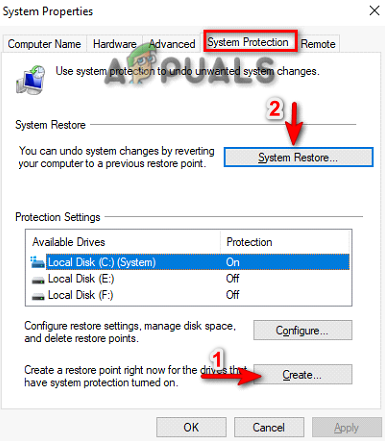
- Type “Restore Point” in the Windows Search box and select the “Create a Restore Point” option.

Opening the System Restore Feature - Create a Restore Point by clicking on the “Create” option under the Protection Settings.
- Type the restore point of your choice (for example, restore 12/15/2022) and click Create.
- Now, click on the System Restore Option.
Creating restore point - Select “choose a different restore point” and click Next if you want to change the recommended restore point.
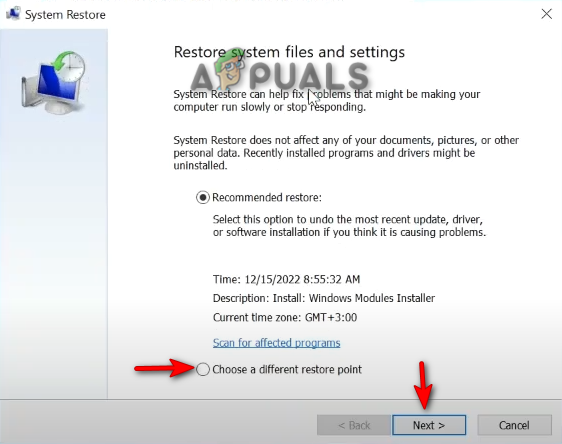
Choosing a different restore point - Choose a restore point and click on Next to revert your system to that time.
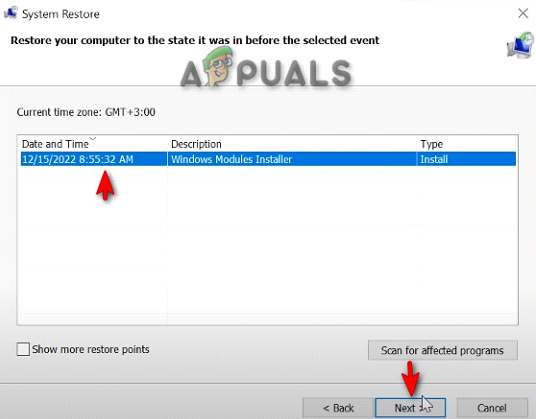
Restoring the System to custom time
4. Get Rid of the Corrupted Task Scheduler Tree Cache
Task Scheduler Tree Cache contains all the temporary data of the Task Scheduler. In case of corruption, this will prevent the tool from working normally, and as a result, you will face this issue. Therefore, before running the tool, you must delete the corrupted Task Scheduler Tree Cache.
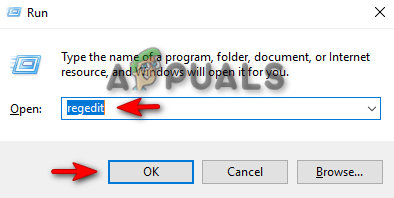
- Open the Run command by pressing the Win + R keys together.
- Type “regedit” in the search box and click OK to open the Registry Editor.
Opening the Registry Editor - Find the Task Scheduler Tree by copying and pasting the following path into the search bar:
HKEY_LOCAL_MACHINE\SOFTWARE\Microsoft\Windows NT\CurrentVersion\Schedule\TaskCache\Tree
Note: Before you delete the corrupted Tree Cache, you must rename the Tree Registry as it is known to fix the issue. - Rename the registry by clicking on the “Tree” folder and selecting the “Rename” option.
- Rename the registry as “Tree.old” and then start the Task Scheduler.
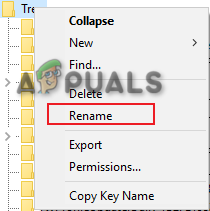
Renaming the Tree Registry - If it doesn’t work, then rename the registry back to “Tree” and click on it to open sub-registries.
- Right-click on each key one by one and rename them by adding “.old” in front of them.
(For example “GoogleUpdateTaskMachineCore.old”)
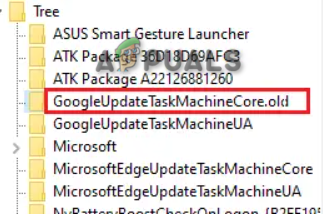
Renaming the registry key - Once the key is found that was causing the issue, right-click on it and click on the “Delete” option.
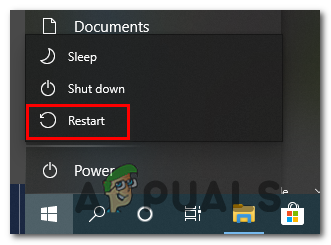
- Now, open the Windows Start Menu by pressing the Win key.
- Click on the Power option and Restart your computer by clicking on the “Restart” option.
Restarting the Windows computer
5. Update your Windows
Task Scheduler requires an up-to-date system to work properly. When you keep using an outdated Windows, the programs and tools installed will not work properly as a result of it. Therefore, you must check for an available update to prevent such issues from occurring, Below are the instructions that will help you update your Windows:
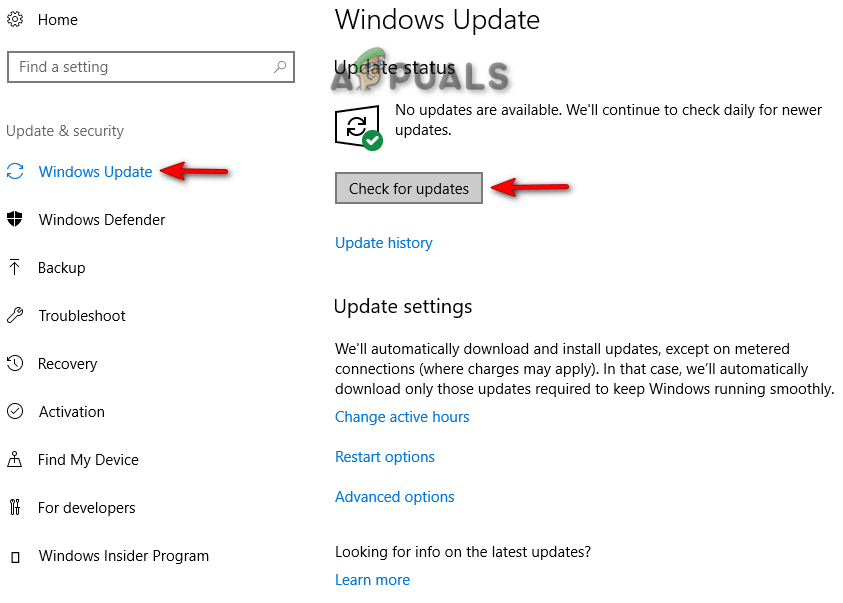
- Open the Windows Settings by pressing the Win + I keys together.
- Navigate to Update and Security > Windows Update.
- Click on the “Check for Updates” option.
- Download the latest Windows update by clicking on the Download option.
Checking Windows Update - Restart your computer after the Windows update has been installed to make the changes.
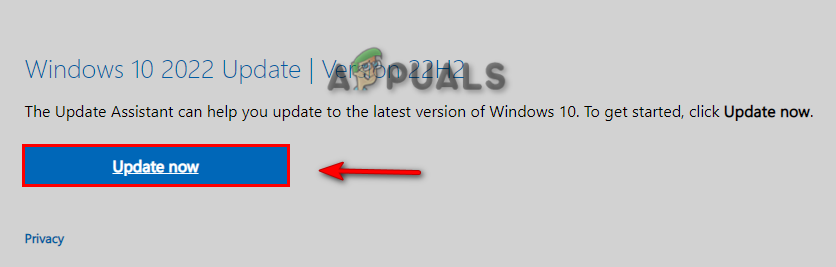
- Download the latest Windows Update, by going to the Official Microsoft Web Page and clicking on the “Update Now” option.
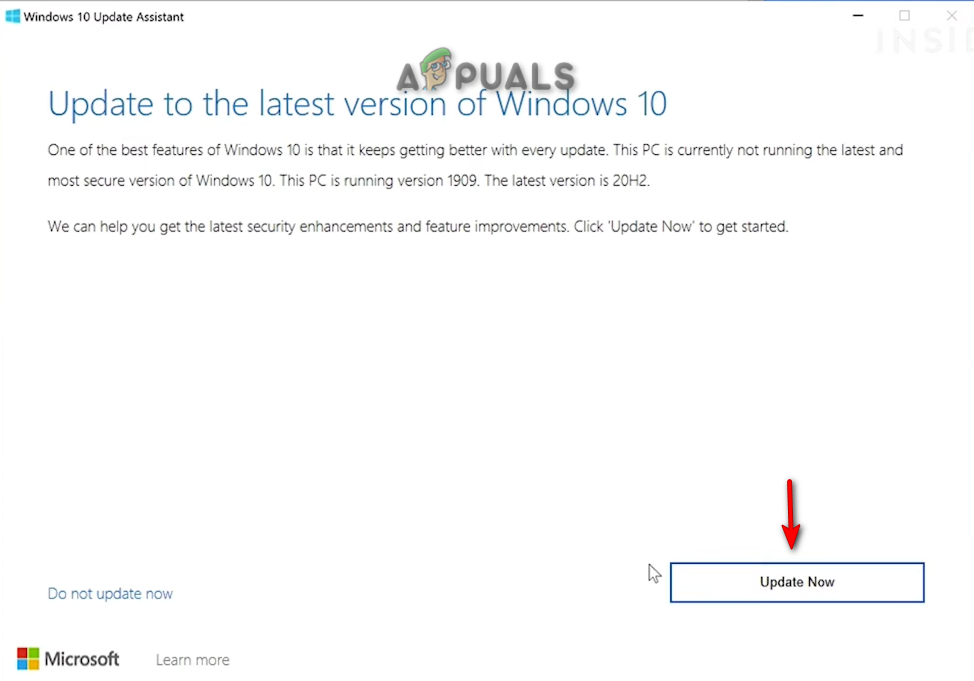
Downloading the Latest Windows Update - Install the update by clicking on the “Update Now” option.
Installing Windows Update - Restart the computer by clicking on the Restart option after the installation is completed.

Restarting Computer
6. Update the Device Drivers
Outdated Device Drivers will also lead to such an issue to occur as they prevent the system from performing and running certain tasks and programs properly. Therefore, update your device drivers so that you don’t face this issue. Following are the instructions for updating the Device Drivers on Windows:
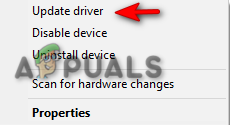
- Open the Windows Start Menu by pressing the Win key.
- Type “Device Manager” in the Windows Search box and select the “Device Manager“ option.
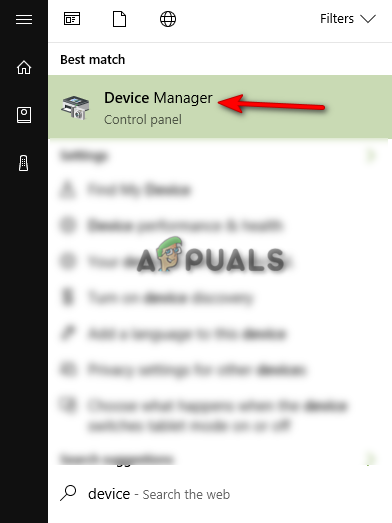
Opening the Device Manager - Update each Device Driver listed on the Device Manager by right-clicking on it and selecting the “Update Driver” option.
Updating the Driver - Repeat the process until you have updated all outdated drivers.
- Make sure to restart your system after each update.
7. Create a New User Account
A corrupted user account will also cause issues with performing Tasks with the Task Scheduler. To prevent such an issue from occurring due to a corrupted user account, you must manually create a new user account and transfer your current acccount data.
8. Use Windows Installation Media Tool
If the error still exists, then as a last resort, you must use the Windows Installation Media Tool. Using this tool, you will upgrade your Windows to a new version but at the expense of your entire saved files and data. Therefore, when using this tool, you must have a backup copy of your data.
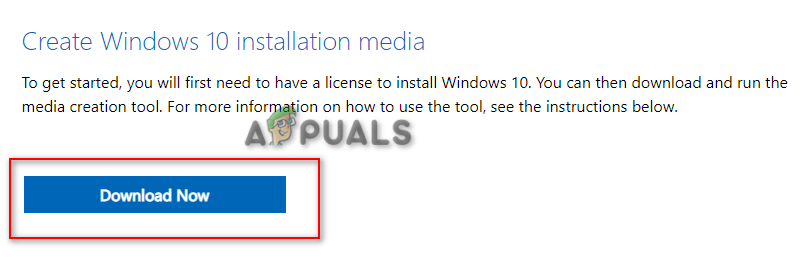
- Open the Official Microsoft Website.
- Download the tool by clicking on the “Download Now” option under “Create Windows 10 installation media.”
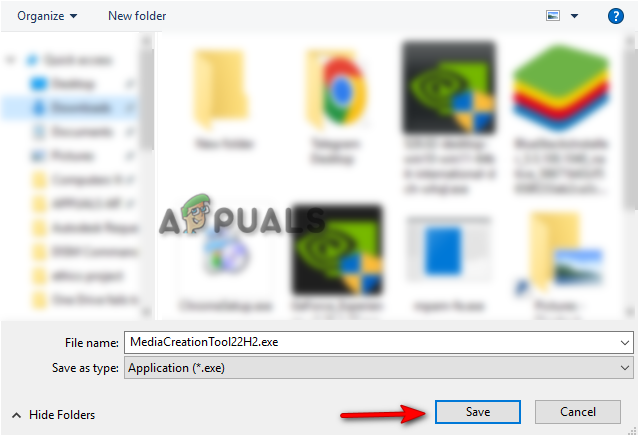
Downloading the tool - Select the folder you want to download the file from and select the Save option.
Saving the file in the folder - Click on the Three dots at the top right part of the browser and open the Downloads page.
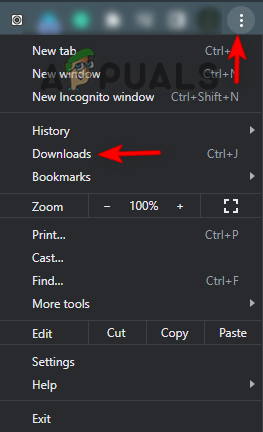
Opening the Downloads tab - Locate the file by clicking on the” Show in Folder” option.

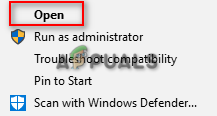
Opening the EXE file location - Open the EXE file by right-clicking on it and selecting the “Open” option.
Opening the EXE File - Click “YES” on the User Account Control Prompt to confirm the actions.
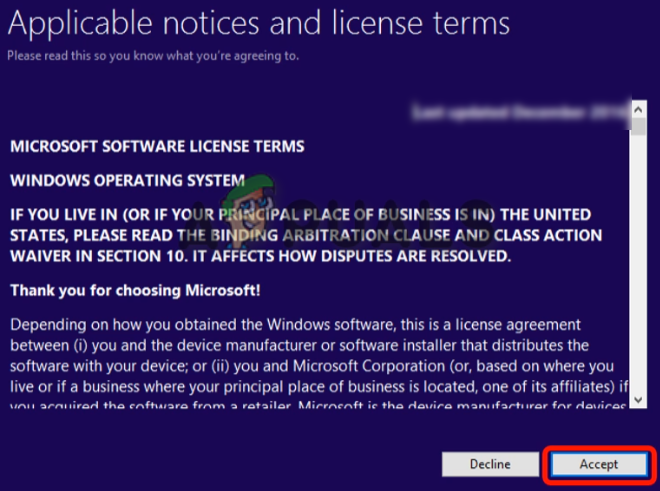
- Accept the terms and conditions by clicking on the “Accept” option.
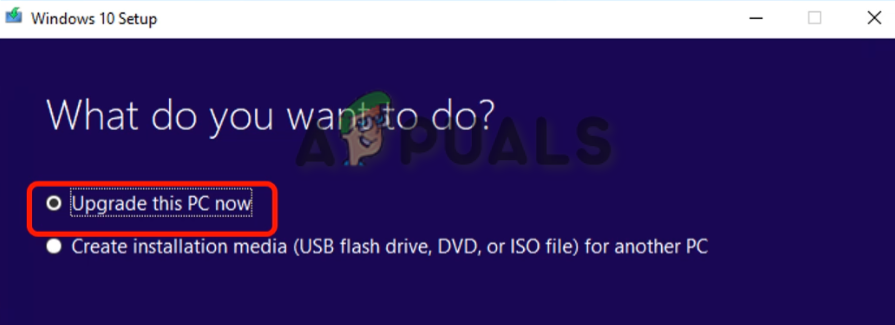
Accepting the terms and conditions - Select the “Upgrade this PC Now” option on the “What do you want to do now” page.
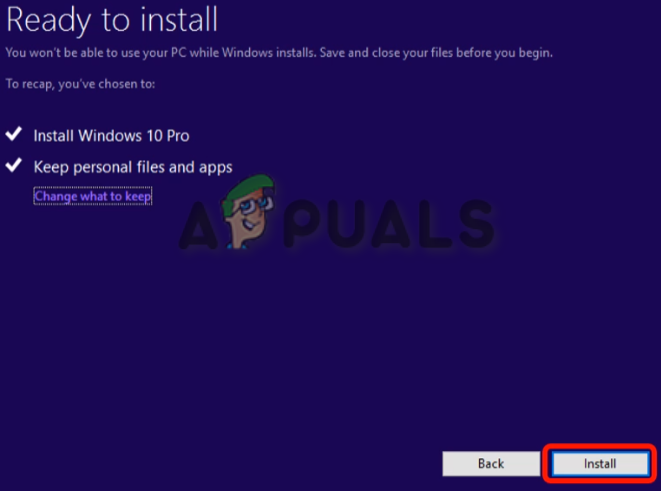
Upgrading this PC now - Install the Setup by clicking on the “Install” option.
Installing the tool - Select your sign-in account after the installation.
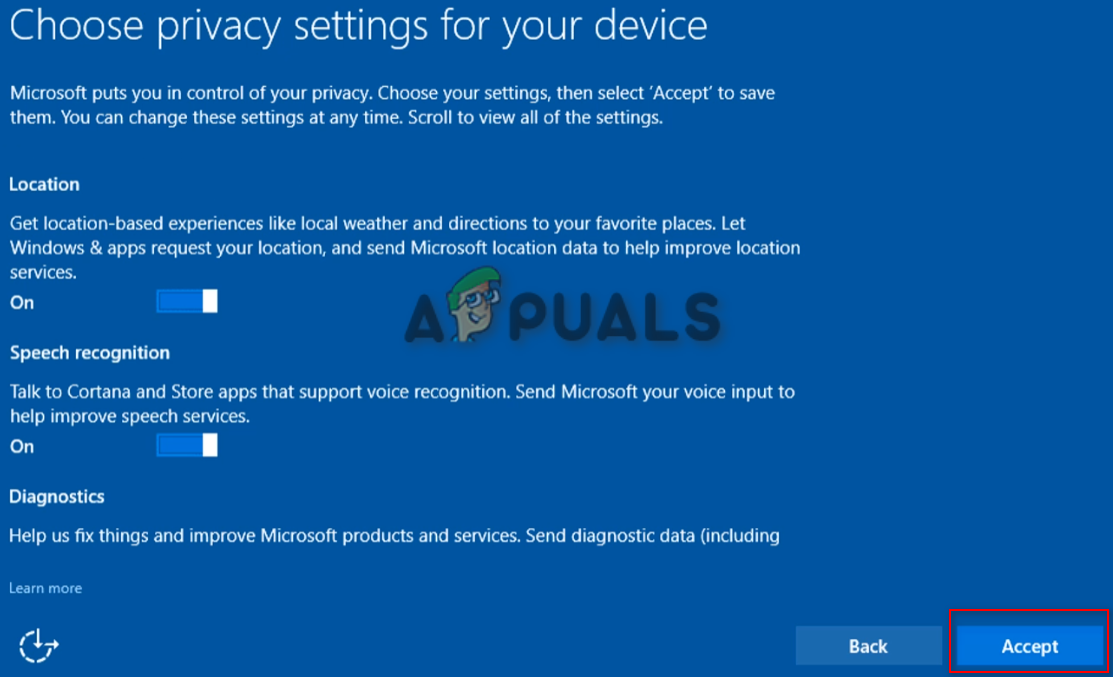
- Choose the privacy settings for your device and click on the “Accept” option.
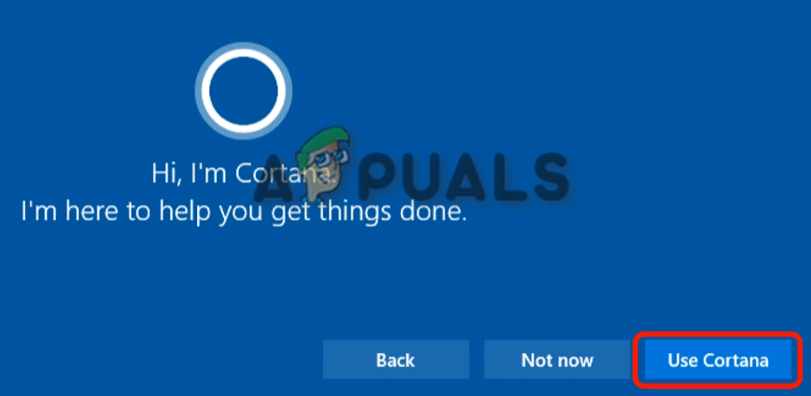
Choosing Privacy Settings for your device - Use Cortana by clicking on the “Use Cortana” option.
Using Cortana - This will lead you to your Windows Screen Saver/Sign-in Screen.


