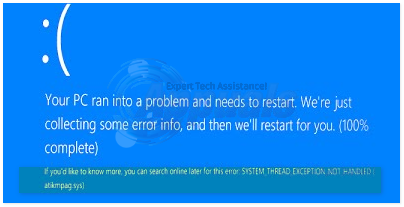
How to Fix “SYSTEM THREAD EXCEPTION NOT HANDLED” Error?
When the SYSTEM THREAD EXCEPTION NOT HANDLED error occurs, it usually results in a Blue Screen of Death (BSOD), forcing your system to restart. This error signifies that a system thread has caused an exception not caught by the error handler. The most common reasons are faulty, outdated, or corrupted drivers, especially graphics drivers.
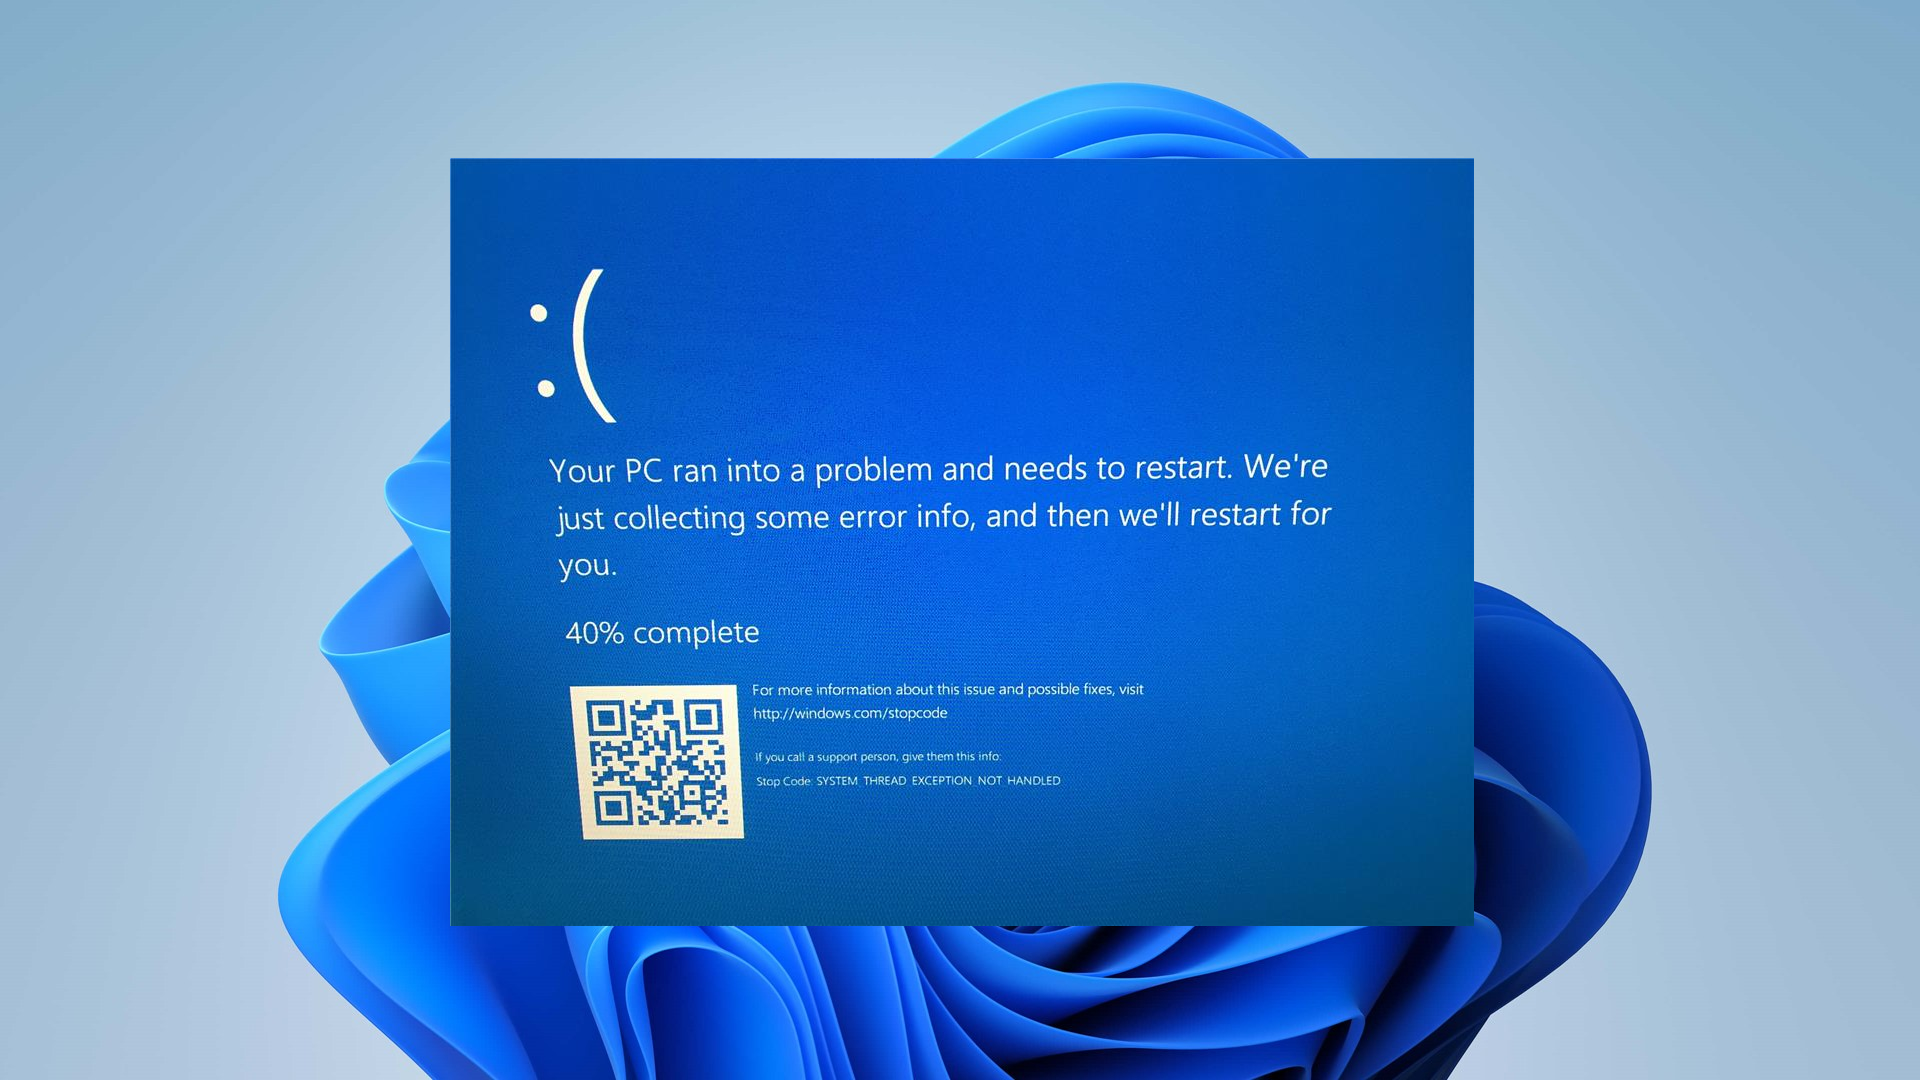
Other potential causes could be RAM issues, BIOS settings, or corrupted system files. Diagnosis of the specific driver or file involved is often achievable by analyzing the error message or minidump file created during the crash. Addressing and resolving this issue is important to preserve system stability and avoid future crashes.
1. Analyze the Minidump Files
These small yet insightful logs capture the critical data at the moment of failure, helping pinpoint the driver or system component that caused the Blue Screen of Death. By examining these files, you get a clearer roadmap to where the problem lies, guiding you directly to an effective solution without unnecessary trial and error.
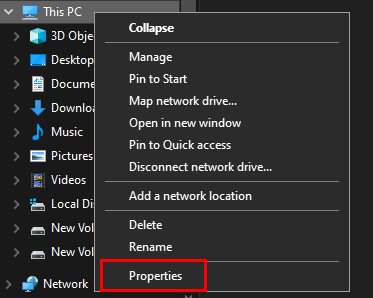
- In File Explorer, right-click on This PC, and then click on Properties.
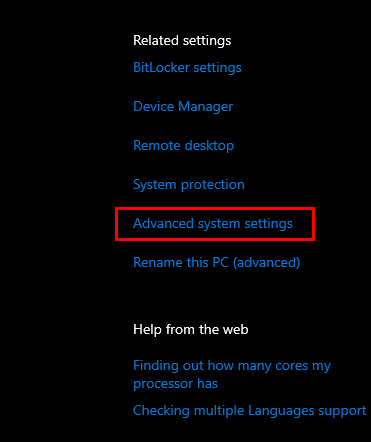
- Click on Advanced system settings in the right-pane.
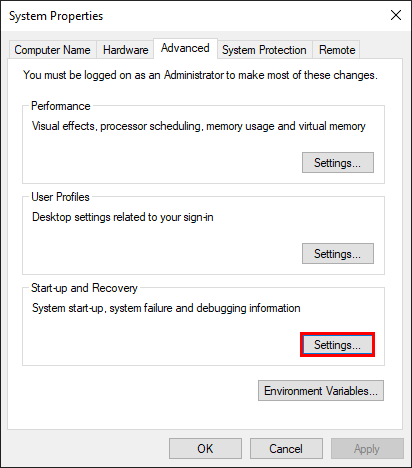
- In Advanced tab, under Startup and Recovery, click on Settings.
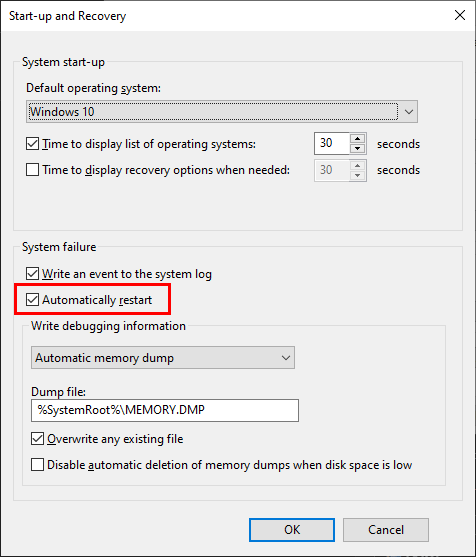
- Under System Failure, select the checkboxes for the desired actions Windows should perform if a system error occurs:
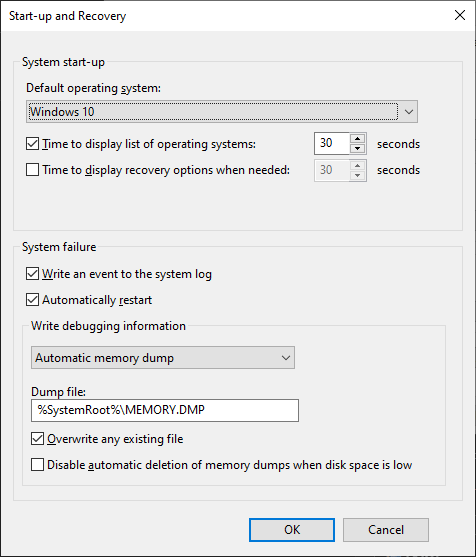
- The Write an event to the System log option makes sure that event information is recorded in the System log. By default, this option is enabled. To disable this option via the registry, type the command below at a command prompt, then press ENTER:
wmic recoveros set WriteToSystemLog = False
- The Send an administrative alert option notifies administrators of the system error if you have configured administrative alerts. To disable this option via the registry, type the following at a command prompt and press ENTER:
wmic recoveros set SendAdminAlert = False
- The Automatically restart option implies that Windows will restart your computer automatically. By default, this option is turned on. To disable this option via modifying the registry, type the following at a command prompt and then press ENTER:
wmic recoveros set AutoReboot = False
- Under Write Debugging Information, choose the type of information you want Windows to save in a memory dump file in case the computer stops unexpectedly.
- The Small Memory Dump option records minimal information to help identify the problem. To use a small memory dump file, modify the registry by typing the following at a command prompt, then press ENTER:
wmic recoveros set DebugInfoType = 3
- To set the D:\Minidump folder as your Small Dump Directory, modify the registry by setting the MinidumpDir Expandable String Value to D:\Minidump. For instance, type the following at a command prompt and press ENTER:
wmic recoveros set MiniDumpDirectory = D:\Minidump
- The Kernel Memory Dump option saves only kernel memory. This type of dump file stores more information than a small memory dump file but is quicker to generate than a complete memory dump file.

We advise using the Small Memory Dump option as it provides sufficient details for troubleshooting while keeping file size manageable. Additionally, this option is necessary for properly reading and opening the minidump file.
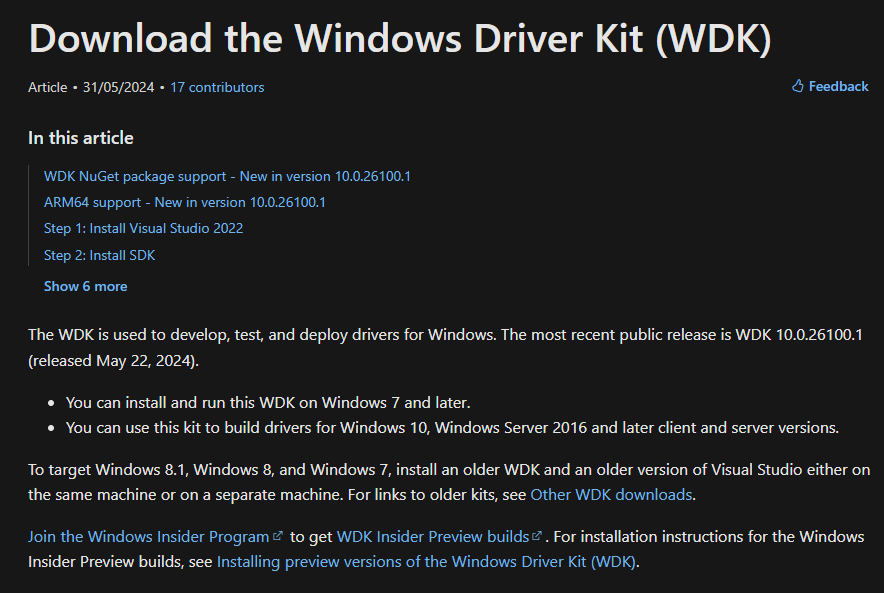
To open and read the minidump file, download the tool provided by Microsoft. Previously, it was part of the Debugging Tools for Windows, but now Microsoft offers it as a standalone package.
- Download the Windows Driver Kit from here. You can also download WinDbg as a standalone package, which is the only tool you’ll need.
- Follow the onscreen instructions to properly install the downloaded installer.
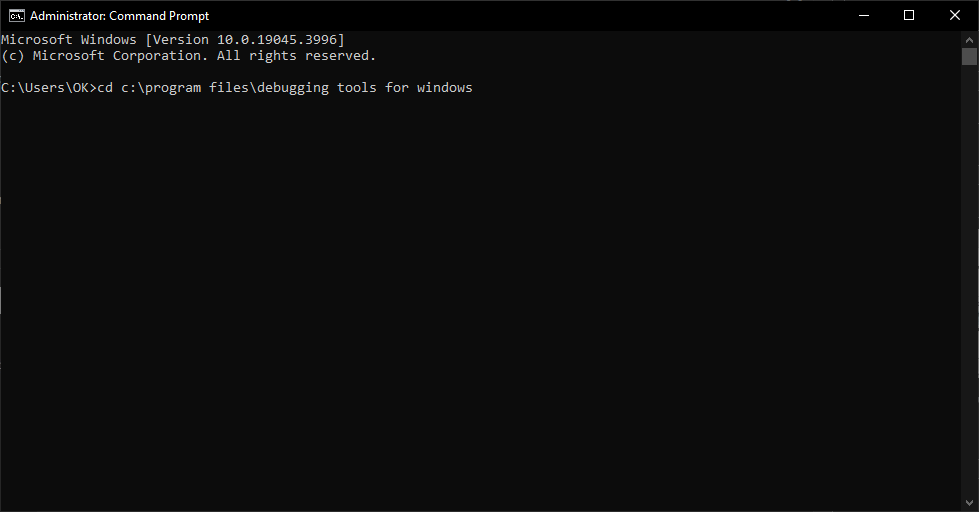
- Click Start, type cmd, and click OK to open the Command Prompt.
- Navigate to the Debugging Tools for Windows folder by typing the following at the command prompt and pressing ENTER:
cd c:\program files\debugging tools for windows
- To load the dump file into a debugger, use one of the following commands and then press ENTER:
windbg -y SymbolPath -i ImagePath -z DumpFilePath
kd -y SymbolPath -i ImagePath -z DumpFilePath
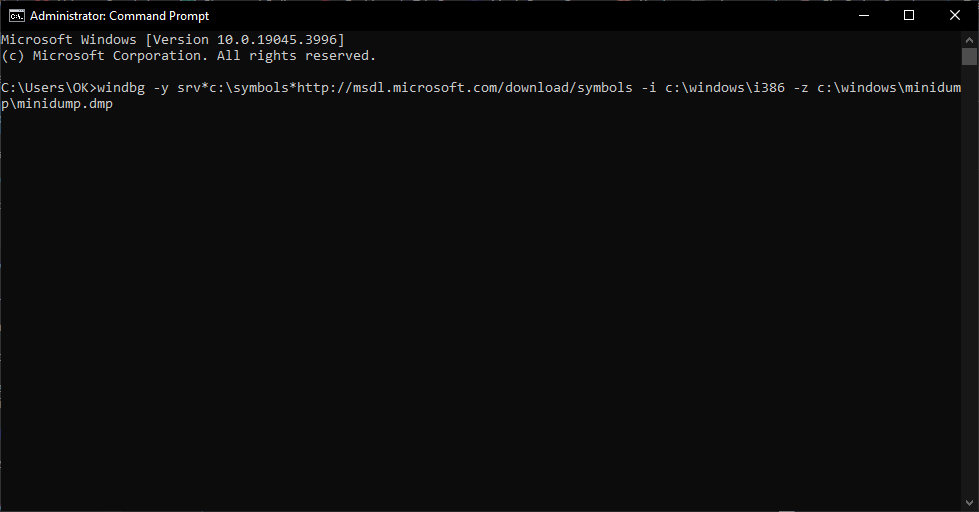
- If you chose to save the file in the C:\windows\minidump\minidump.dmp folder, you can use the following command as an example:
windbg -y srv*c:\symbols*http://msdl.microsoft.com/download/symbols -i c:\windows\i386 -z c:\windows\minidump\minidump.dmp
- Examine the file for any errors related to system files and drivers. Research each file alongside the error message to make sure it corresponds with a driver or a component of a particular third-party application.
2. Check Display Drivers
These drivers facilitate communication between your system’s operating system and its graphics hardware. If they’re outdated or corrupt, they can cause a Blue Screen of Death(BSOD). By safely booting into Safe Mode to remove the current drivers and then either allowing Windows to reinstall them automatically or manually installing the latest versions, you remove conflict points.
This process can restore stability and resolve the error, as fresh drivers often patch existing bugs and compatibility issues.
Step 1: Boot into Safe Mode
Safe Mode disables non-essential drivers and services needed to run Windows.
Here’s how you can boot Windows 10 in Safe Mode.
Here’s how you can boot Windows 11 in Safe Mode.
Step 2: Uninstall Display Drivers
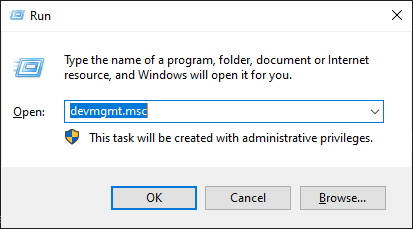
- Hold down the Windows key and press R. In the Run dialog, type devmgmt.msc and press Enter.
- The Device Manager window will appear. Double-click Display adapters to expand it. Write down the full name of your display driver before proceeding. Right-click on it and choose Uninstall.
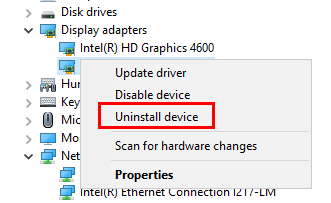
- Click Delete the driver software for this device and click OK. Restart your system normally. After restarting, video drivers will install automatically. If they dont, or if the same issue recurs, manual driver updates are necessary.
Step 3: Install/Update Drivers
For updating graphic card drivers, visit the graphic card manufacturers website. Input the card model and download the appropriate drivers compatible with your OS and system type (x64 or x86). Determine these by holding the Windows key and pressing R, type msinfo32, and press Enter.
In the system information window, note the OS type and System type listed in the right pane. Download the executable file and follow the on-screen instructions to install it.
For those without an external graphic card, look for updated drivers for your onboard graphic adapter on your motherboard manufacturers website (whose logo is displayed upon powering on your system). You will also need your computers model number found in the System Information window. The downloaded file will be an executable that you run as previously mentioned.
3. Uninstall Your Sound Card Drivers
Your sound card drivers, if corrupted or incompatible, can interfere with system operations and lead to a BSOD. By uninstalling these drivers, you eliminate the possibility that they are the root cause of the error. Upon rebooting, Windows will attempt to reinstall a fresh, default version of the driver, which is less likely to cause conflict and may stabilize your system, avoiding the blue screen errors.
- Click Start and type Run. Select Run; a dialog box will appear.
- Type devmgmt.msc in the run box and click the OK button to open Device Manager.

- In Device Manager, expand Sound, video, and game controllers. Right-click on every driver and then select Uninstall device.
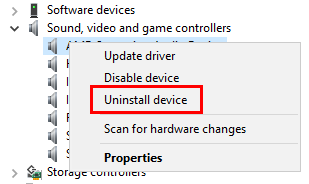
- You may need to confirm the uninstallation. Check Delete the driver software for this device and click OK.
- Restart your PC for the changes to take effect. Windows should then attempt to reinstall the driver.
- If the driver does not automatically reinstall, go back to Device Manager, select Action, and click Scan for hardware changes.
4. Rename the Faulty Driver
If you see a file name such as atikmdag.sys or nvlddmkm.sys next to SYSTEM THREAD EXCEPTION NOT HANDLED, you can rename the offending driver.
By renaming the faulty driver, you prevent Windows from using it since the system can no longer locate the file under its original name. Hence, upon rebooting, Windows attempts to restore the driver, usually fetching the most recent version free from errors. This process can effectively replace a corrupt driver with a fresh, working one, stabilizing your system.
- Open command prompt using the steps provided in the first solution.
- In the command prompt window, type the following commands, pressing Enter after each one.
c:

dir
If the dir command output includes a folder named Windows, that is your target drive. If not, type d: and press Enter.
- Next, type the commands below, pressing Enter after each line.
cd windows\system32\drivers

ren drivername.sys drivername.old
Note: In the command above, replace drivername with the name of the faulty driver. (For instance: atikmdag.sys)
- Restart your system. Windows will automatically reinstall the driver. If the reinstallation doesnt happen, log in normally, press Windows key + R, type devmgmt.msc, and press Enter.
- Devices with uninstalled drivers will display a yellow exclamation mark. Right-click on the device and select Update Driver Software.
- Choose Search automatically for Updated Driver Software and Windows will find and install the driver.
5. Reset your Computer
Resetting your computer reinstalls the operating system, which can resolve persistent errors and glitches, including this error. By restoring Windows to its original state while allowing you to keep personal files (if you choose to), a reset can resolve problematic configurations and drivers that may have led to the Blue Screen of Death.
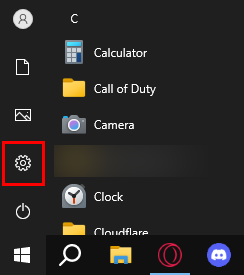
- Navigate to Settings by clicking the gear icon on the Start menu.
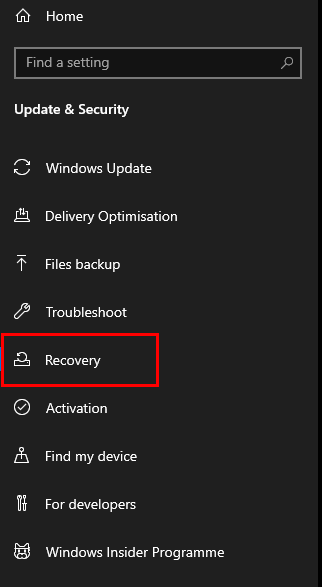
- Select Update & Security and click on Recovery in the left pane.
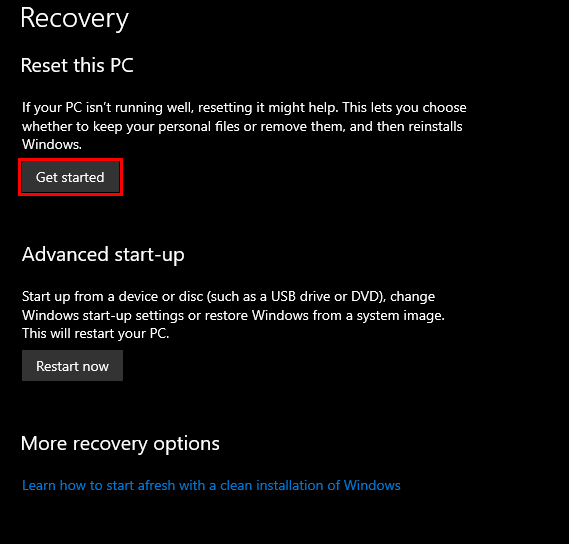
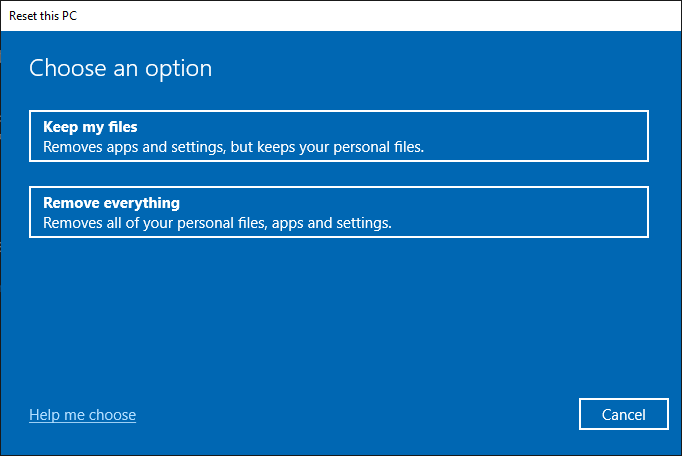
- Select Get started under Reset this PC.
- Click on either Keep my files or Remove everything, depending on whether you want to keep your data files intact.
- Click Next if Windows warns you that you won’t be able to roll back to a prior version of the OS. Click Reset when prompted.
- Windows will then restart and take several minutes to reset itself. Click Continue when prompted.
system thread exception not handled iaisp64.sys how to solve th
is problem