Windows Update Troubleshooter Stuck in Loop? Try these 5 Solutions
Troubleshooters are supposed to fix the issues but at times, they can become stuck or unresponsive during diagnostics and troubleshooting process. In some cases, this happens when the troubleshooter is scanning the system to detect potential errors while other times, it can occur while attempting to implement the fixes.
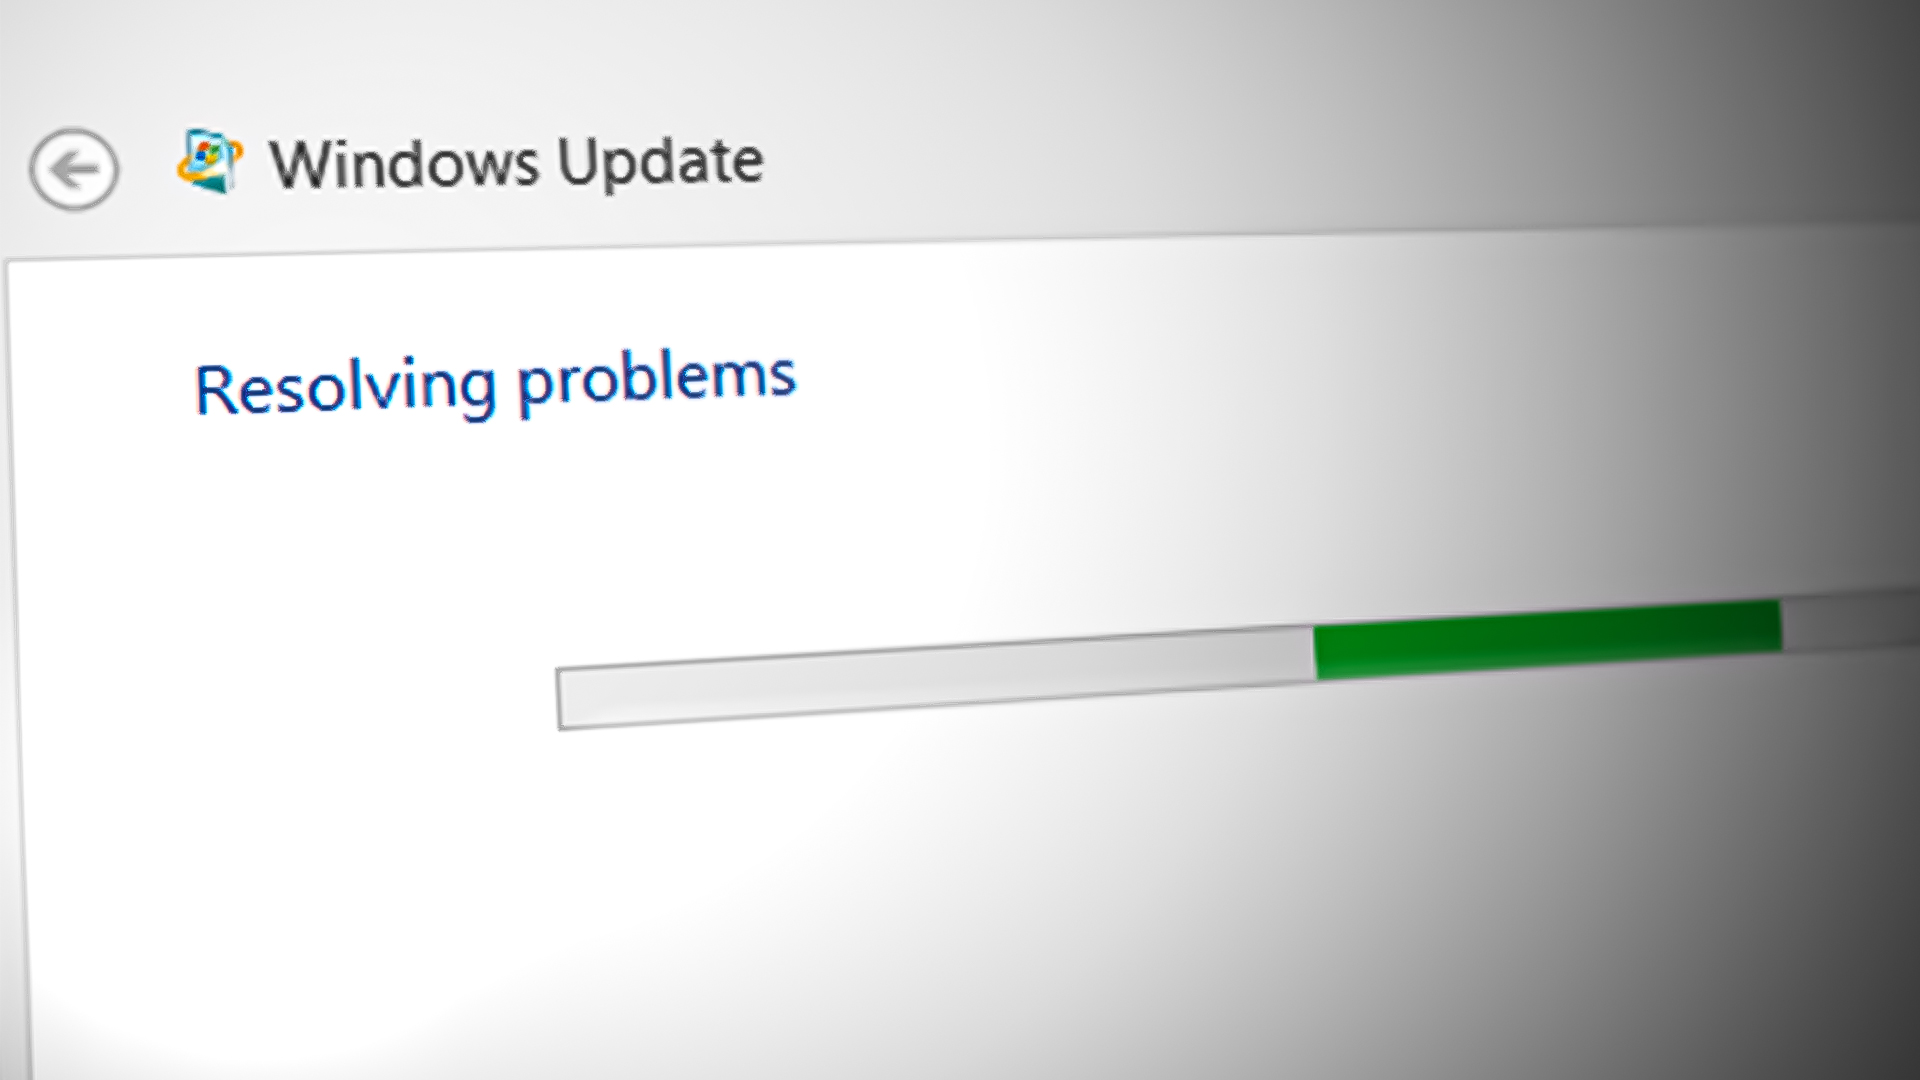
When this happens, the troubleshooter’s interface may become unresponsive, making it difficult or impossible to interact with the tool. The progress bar within the troubleshooter might get stuck in an endless loop or freeze. In some cases, the troubleshooter may display error messages indicating that it is unable to complete the troubleshooting process.
The Windows Update Troubleshooter can become stuck for various reasons, some of the common causes include internet connectivity issues, crucial services being disabled, corrupt Windows update files (the troubleshooter might be stuck trying to fix them), conflicting background processes, and malware or viruses.
In this guide, we will discuss the troubleshooting methods you can try to resolve the problem in detail. However, we recommend that you check your internet connection and ensure you are connected to a network before proceeding. Troubleshooter may be stuck if it cannot connect to the internet to download updates, so connecting to a stable connection may resolve the issue.
1. Enable the Cryptographic Service
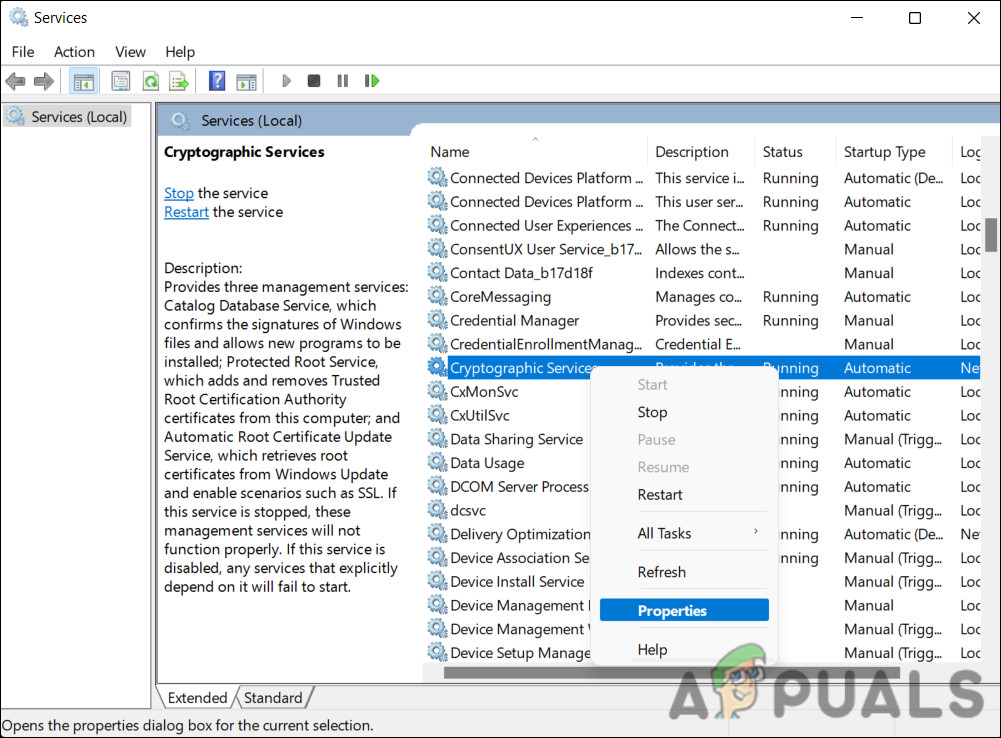
A problem with the Cryptographic Services can cause the Windows Update Troubleshooter to fail while it is running. The Cryptographic Services provide encryption, decryption, digital signature creation and verification, and other cryptographic services to Windows.
If this service is not running, it may be difficult for the troubleshooter to connect to Windows update servers, or it may not be able to download the updates if the Cryptographic Services cannot verify the authenticity of digital certificates.
If the Windows Update Troubleshooter is facing issues and you suspect that the Cryptographic Services may be the cause, you can try to restart the Cryptographic Services and check if the issue is resolved.
Here is all that you need to do:
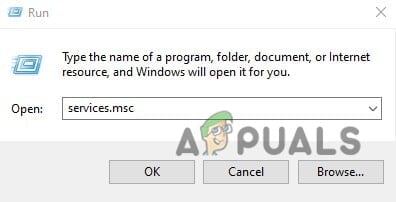
- Press the Windows + R keys together to open a Run dialog.
- Type services.msc in Run and click Enter.
Type services.msc in the Run box - In the Services window, look for the Cryptographic Service and right-click on it.
- Choose Properties from the context menu.
Access the properties of Cryptographic services - Now, click on the Stop button.
- Wait for a few seconds and hit Start again.
- Expand the dropdown down for Startup type and choose Automatic.

Restart the cryptographic service - Click Apply > OK to save the changes.
You can now close the Services window and check if the issue is resolved.
2. Run an SFC Scan
The next thing that we recommend doing is running an SFC scan using the Command Prompt.
System File Checker (SFC) checks and verifies operating system file integrity and replaces incorrect versions with the correct Microsoft versions. In this case, it will work by ensuring that the system files on which the Windows Update Troubleshooter relies are not corrupted or missing. If any corrupt or missing files are identified, it will replace them with a cached copy that is located in a compressed folder at %WinDir%\System32\dllcache.
If running an SFC scan does not do the trick for you, move to the next method below.
3. Run Disk Cleanup
The problem can also be caused due to the temporary files stored on your computer. If this scenario is applicable, you can try freeing up space on your computer by using the Disk Cleanup utility.
This tool works by removing unnecessary files, such as temporary files, internet files, and files in the recycle bin. It can help resolve issues with the Windows Update Troubleshooter by freeing up space on the hard drive that the troubleshooter may need to complete its task.
Here’s how to use the Disk Cleanup tool:
- Press the Windows + S keys together to open the Windows Search utility.
- Type Disk Cleanup in the search bar and click Open.
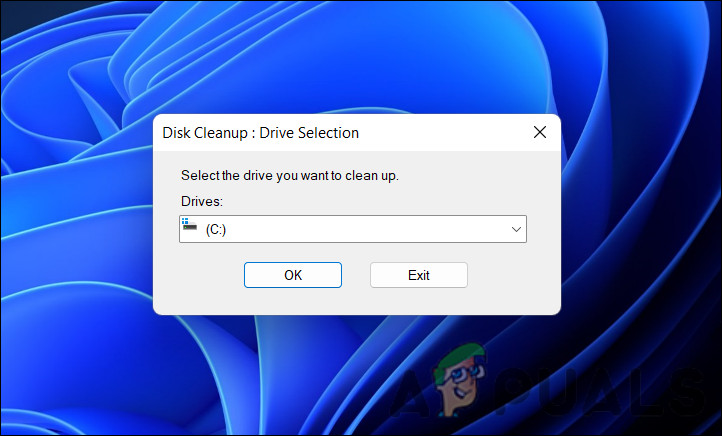
- Select the drive that you want to clean up, and then click OK.
Pick the drive to clean - Select the files that you want to delete, such as temporary files, internet files, and files in the recycle bin.
- Click OK to start the cleanup process.
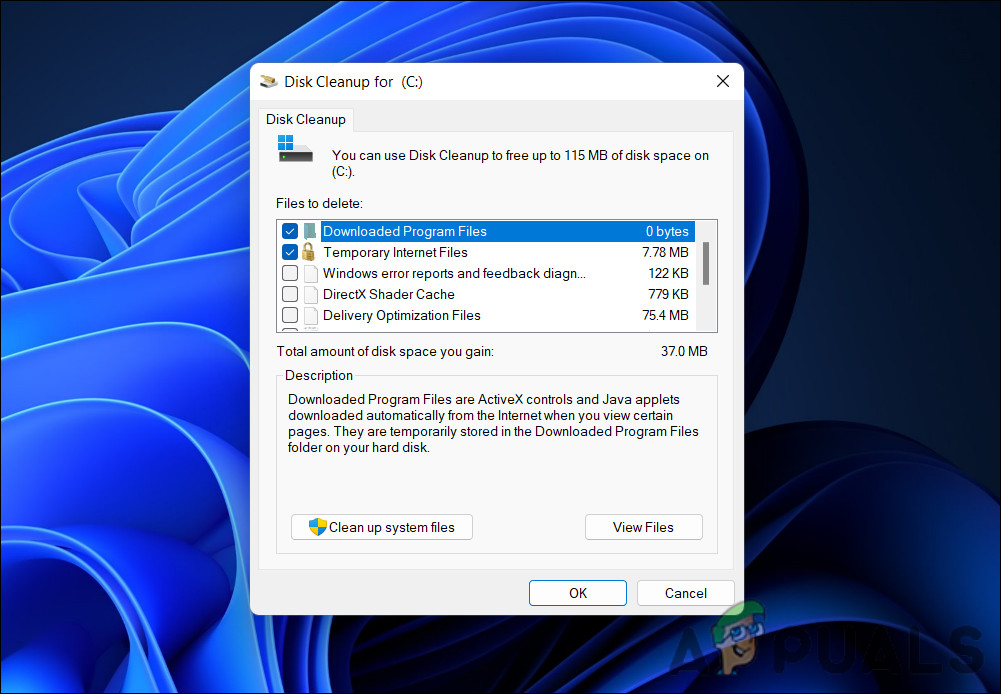
Run the Disk Cleanup tool
The Disk Cleanup tool will display the freed disk space after the cleanup process has been completed. Hopefully, the troubleshooter will be able to finish the process successfully now.
4. Pause the Potentially Conflicting Processes
In the background, your computer runs programs and services that are not actively being used. These processes can consume system resources, such as memory and CPU, and can interfere with the operation of other programs, including the Windows Update Troubleshooter.
The troubleshooter may not be able to complete its task because background processes are using system resources or conflicting with it. In this case, you can close the potentially conflicting processes by using the Task Manager utility.
Here is how:
- Press Ctrl + Shift + Esc to open the Task Manager.
- Right-click on the background process that you want to close.
- Click End Task to close it.
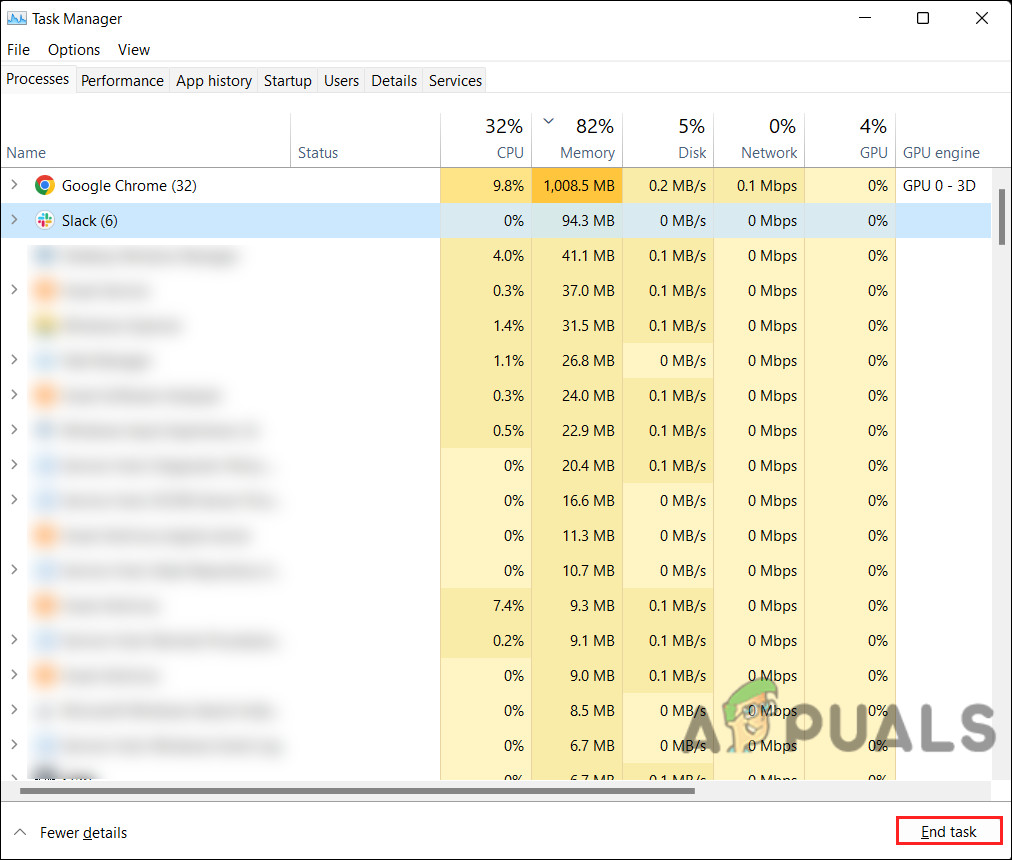
End the task in the Task Manager
Alternatively, you can run the troubleshooter in Safe Mode. The Safe Mode setting in Windows is a troubleshooting mode that starts the operating system with very few drivers and services installed. If you can run the troubleshooter in Safe Mode successfully, then it is confirmed that a background process is indeed the culprit.
5. Modify the Group Policy Settings
You can also try editing the Scripted Diagnostics policy in the Group Policy Editor. Scripted Diagnostics is a policy in the Group Policy Editor (GPE) for Windows that allows for the execution of custom scripts during the startup, logon, and logoff processes. These scripts can be used to troubleshoot and diagnose issues on a computer.
You might be facing the problem under consideration if this policy is disabled in GPE.
Here is how you can enable it:
- Press the Win + R keys together to open Run.
- Type gpedit.msc in the text field of Run and click Enter.
- Click Yes in the User Account Control prompt.
- Once you are inside GPE, navigate to the location mentioned below:
Computer Configuration > Administrative Templates > System > Troubleshooting and Diagnostics > Scripted Diagnostics
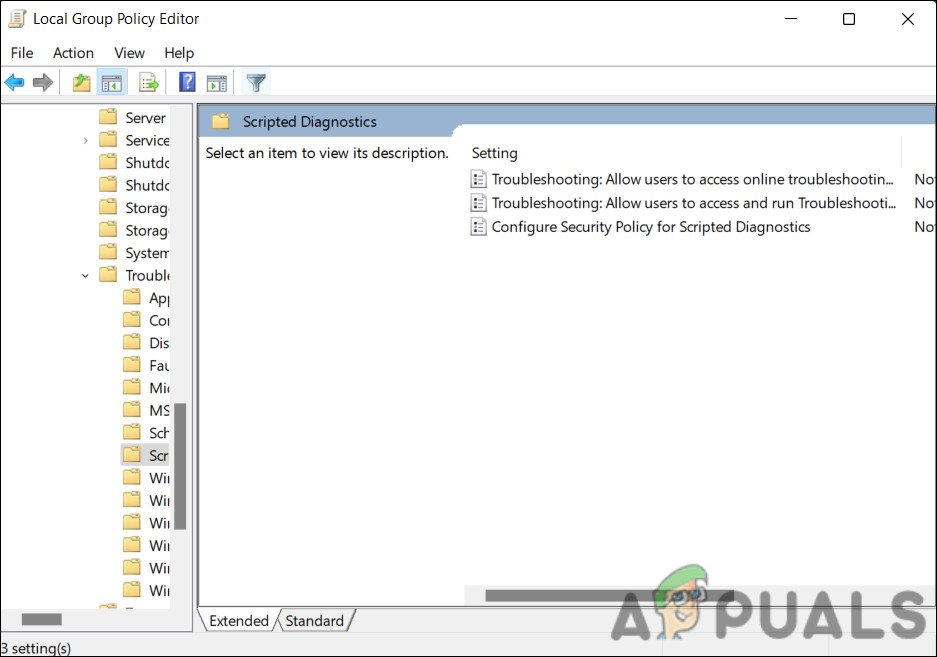
Navigate to the mentioned location - Under Scripted Diagnostics, right-click the first entry and select Edit.
- Check the Enabled option, and hit Apply to save the changes.
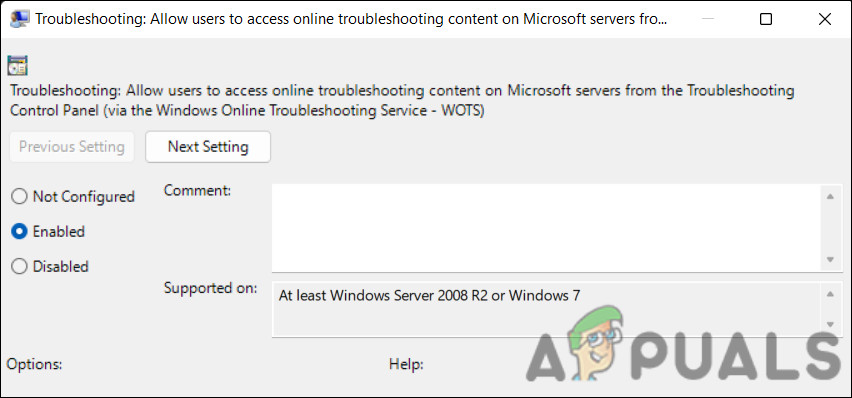
Enable the policy and click Apply - Apply the same process to the other two entries as well and close the Group Policy Editor.


