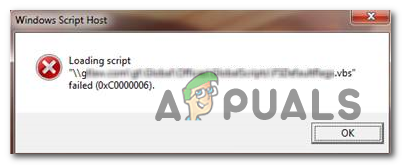
How to Fix 0xc0000006 Error (STATUS_IN_PAGE_ERROR)?
The 0xc0000006 error is typically encountered when users attempt to launch certain executables most commonly built in Visual Studio or when running certain Visual Basic Scripts. 0xc0000006 error an NTSTATUS code that means STATUS_IN_PAGE_ERROR.
It’s quite common to see this particular error when attempting to run an executable from a network volume. This is most likely due to an intermittent problem facilitated by an overprotective firewall or AV suite. However, this false positive can also be caused by a glitched AppInst_DLLs registry value or by some type of system corruption.
Method 1. Uninstalling 3rd party AV/firewall suite
If you’re encountering the issue while trying to run an executable from a network volume and you’re using a 3rd party suite, chances are the issue is occurring due to a false positive that is forcing the security suite to stop the connection with the network volume.
Note: Kaspersky is most commonly reported as being responsible for causing this particular error message.
In case this scenario is applicable to your current situation, you have two ways forward:
- Option 1: Establish a whitelisting rule in your Antivirus or Firewall that excludes the executable that is being flagged as a security threat.
- Option 2: Uninstall the 3rd party security suite that is causing the false positive and revert back to the default security app (Windows Defender)
Option 1 is harder to implement since the steps of establishing exceptions will be specific to the 3rd party suite that you’re using. If you don’t know how to do it, search online for steps on doing this with your AV/firewall suite.
If you want to go for Option 2, here are step-by-step instructions on uninstalling the 3rd party suite/firewall that’s causing the problem:
- Open up a Run dialog box by pressing Windows key + R. Next, type ‘appwiz.cpl’ and press Enter to open up the Programs and Features menu.

Type “appwiz.cpl” into the Run dialog and press Enter - Once you manage to get inside the Programs and Features menu, scroll down through the list of installed applications and locate the 3rd party security that you want to uninstall. After you manage to locate the application, right-click on it and choose Uninstall from the newly appeared context menu.
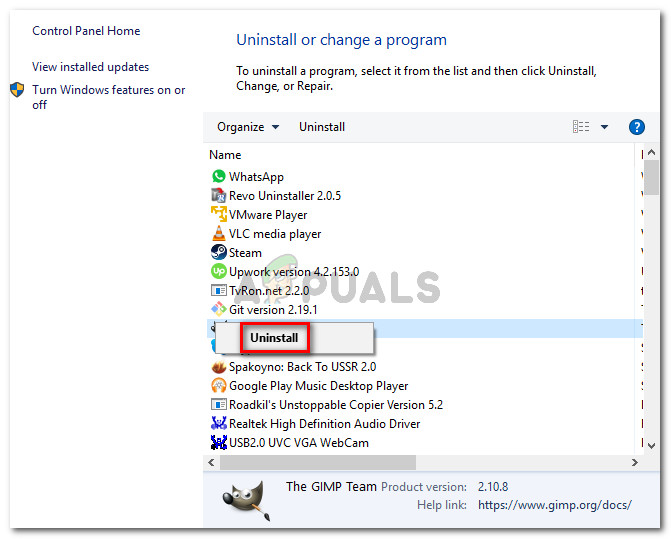
Uninstalling the security suite - Inside the uninstallation prompt, follow the on-screen prompts to complete this process, then restart your computer to complete the operation.
Note: In case you want to take the extra mile and ensure that you’re not leaving behind any remnant files that might still cause the same behavior, here’s a quick guide on removing remnant files of your recently uninstalled AV suite. - Once the next startup is complete, the built-in AV (Windows Defender) should be already active. See if you can replicate the issue again by attempting to launch the same executable that was previously causing the 0xc0000006 Error (STATUS_IN_PAGE_ERROR).
In case the issue is still not resolved, move down to the next potential fix below.
Method 2. Cleaning the value AppInst_DLLs key
As it turns out, this particular error can also occur due to a particular registry key that is keeping track of the number of crashes and unexpected freezes that end up affecting 3rd party apps. However, this particular key has the potential of going bad and, under some circumstances, might force your system to trigger the 0xc0000006 Error (STATUS_IN_PAGE_ERROR) when it’s not the case.
If you think this scenario might be applicable, follow the instructions below to ensure that there are no false-positives associated with performance decreases, registry errors, RAM decline, fragmented files, unnecessary or redundant program installations that might force the system to trigger the 0xc0000006 error:
- Press Windows key + R to open up a Run dialog box. Next, type ‘regedit’ and press Enter to open up Registry Editor. At the UAC (User Account Control), click Yes to grant administrative privileges.

Running the Registry Editor - Once you’re inside the Registry Editor, use the left-hand section to navigate to the following location:
Computer\HKEY_LOCAL_MACHINE\SOFTWARE\WOW6432Node\Microsoft\Windows NT\CurrentVersion\Windows
Note: You can navigate to this location manually or you can get there instantly by pasting the location directly into the navigation bar and pressing Enter.
- After you manage to navigate to the correct location, move over to the right-hand section of the Registry Editor and double-click on Applnit_DLLs. Once inside, delete the current value and click Ok to save the changes.
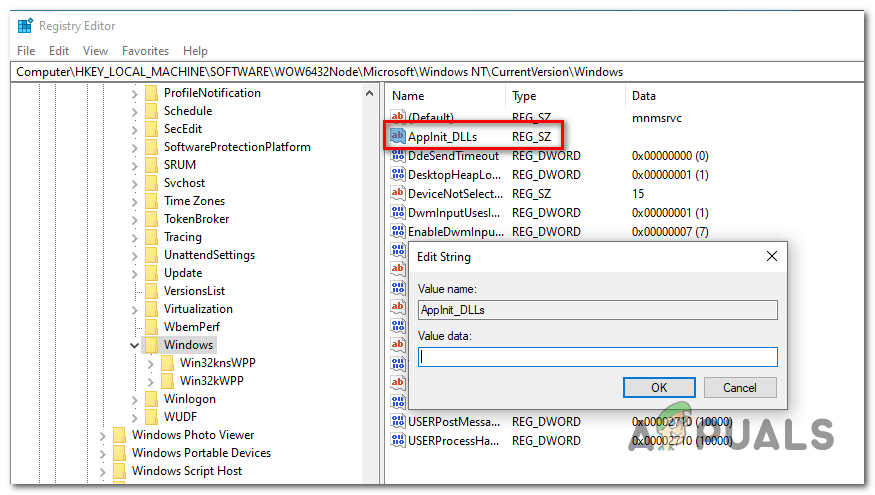
Clearing the value of Applnit_DLLs - Once the value of Applnit_DLLs has been cleared, restart your computer and see if the issue is resolved at the next computer startup.
In case the same 0xc0000006 error is still persisting, move down to the next potential fix below.
Method 3. Running DISM and SFC Scans
If none of the methods below allowed you to fix the 0xc0000006 error, chances are the issue is being caused by a system file inconsistency facilitated by some type of corruption. Several affected users that struggled to resolve the issue have reported that the problem has been fixed after they ran a couple of built-in utilities capable of resolving the system file corruption – SFC (System File Checker) and DISM (Deployment Image Servicing and Management).
It’s important to understand that SFC and DISM have different approaches when it comes to fixing system file corruption. This is why the best approach is to use them both together to improve your chances of resolving the issue.
SFC is much more efficient as fixing logical errors as it relies on the locally stored cache to replace corrupted files with healthy copies. On the other hand, DISM relies on WU (Windows Update) component to replace corrupted files with healthy equivalents.
Here’s what you need to do in order to run DISM and SFC from an elevated CMD prompt:
- Press Windows key + R to open up a Run dialog box. Next, type ‘cmd’ inside the text box and press Ctrl + Shift + Enter to open up an elevated CMD prompt. And when you see the UAC (User Account Control), click Yes to grant administrative privileges.

Running the Command Prompt - Once you manage to get inside the elevated CMD prompt, type the following command and press Enter to initiate an SFC scan:
sfc /scannow
Note: Before you initiate this scan, it’s important to understand that interrupting this operation is not an option. Doing this might leave your system exposed to additional logical errors that might produce other error messages in the future. This operation might take several hours, and even if no errors are reported, don’t worry too much. SFC is notoriously known for failing to report data that was replaced.
- After the operation is completed, restart your computer and see if the problem is fixed at the next system startup. Once the next booting sequence is complete, follow step 1 again to open up another elevated CMD terminal.
- Once you return to an elevated CMD prompt, type the following command and press Enter to initiate a DISM scan:
DISM /Online /Cleanup-Image /RestoreHealth
Note: Before initiating this operation, is crucial to ensure that your Internet connection is stable. Keep in mind that DISM relies heavily on the WU component to download fresh copies to replace bad data.
- After the scan is complete, restart your computer and see if the problem is fixed at the next system startup.
In case the same issue is persisting, move to the final method below for instructions on refreshing every OS component.
Method 4. Performing a Repair install
If none of the potential fixes above have helped you, it’s very likely that the issue you’re encountering cannot be resolved conventionally. In this case, the only way that will allow you to fix the issue is by refreshing every Windows component.
The easiest way to do this without losing your personal data is to perform a repair install (in-place upgrade procedure. But the safest way of doing this is by using a compatible installation media.
NOTE: If you don’t have a compatible installation media, here’s how to create one for Windows 10.
Once you have one ready, follow the instructions (here) for instructions on how to performing a repair install procedure.


Thanks i use the second method