Fix: “Speech Recognition Setup Doesn’t Work” Error on Windows
A lot of people have reported that they have encountered problems when trying to use Speech Recognition on Windows computers. These problems come in different forms, some of them are encountering problems when trying to install Speech Recognition, while others are unable to use it even if they have managed to install it. This error has been reported that can occur on both Windows 10 and Windows 11.
After a lot of Windows users have complained about this issue online, we have decided to take a deeper look into it to see what could cause this error. Here is a short list of all the possible causes that might trigger this problem to appear:
- Corrupted files – One of the most common causes of this Windows error is the corrupted files that are located inside your computer. This could be happening because the files have become corrupted and harmful to your computer with time, not having anything to do with you. You can fix this by doing a System File Checker inside the Command Prompt, then doing a Restore Health process. To complete the process, you have to do a System File Checker once again to ensure that is fixed.
- Broken microphone – Another cause for this Speech Recognition setup doesn’t work error is that your microphone might be broken and not intact. This issue might be occurring without you even knowing in case you don’t use the microphone too often, so it is worth inspecting it. After you are sure that is not physically broken, you should also make sure that the microphone is enabled properly.
- 3rd party program – This error might be also triggered by some 3rd party programs that are running while you try to use Speech Recognition. You can check this by performing a clean boot.
Now that you are aware of all the possible reasons that may have triggered this issue, here is a list that contains all the fixes that people have used to fix this issue:
1. Run Speech Recognition at Startup
The first thing you should do when you encounter this issue is to force your computer to start Speech Recognition at the startup. By doing this, the feature will start automatically when you turn on your computer. In some cases, this was enough to make Speech Recognition work.
All you have to do is to go to the properties of Speech Recognition and change the setting to make it start when the computer starts. After you do this and save the changes, they will apply at the next startup of your PC.
In case you don’t know how to do this, here are the steps that you need to follow:
- The first thing you need to do is to open the Control Panel. There are many ways to do this, one of those is to open a Run dialog box by pressing the Windows key + R, then type inside the search bar ‘control‘ and press Enter. The Control Panel will open automatically.
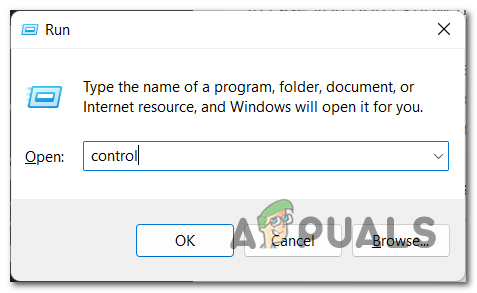
Using a Run dialog box to open the Control Panel - Once you are inside the Control Panel, you need to click on the Ease of Access button. This will take you to another screen that contains accessibilities like Speech Recognition.
- After you are at the next screen, locate Speech Recognition and click on it.
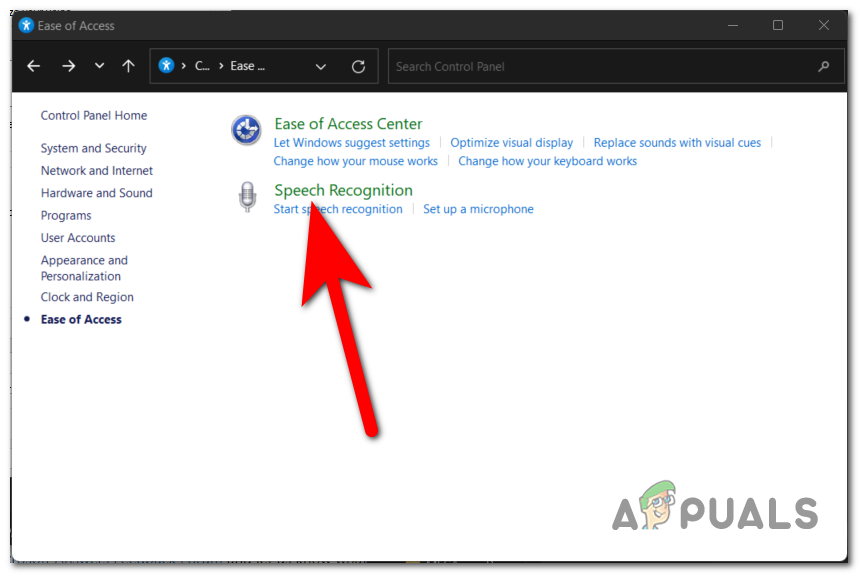
Inside the Control Panel accessing the Speech Recognition - Once you are inside Speech Recognition settings, look on the left side list until you find the Advanced speech options. When you see it, click on io
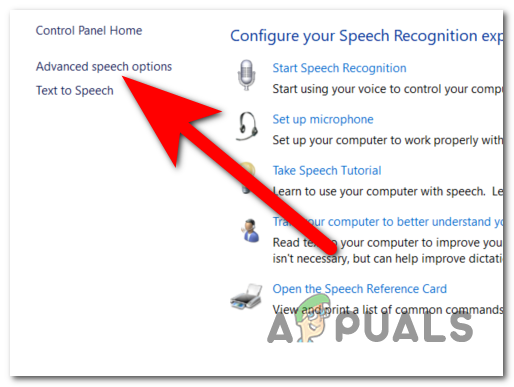
Opening the properties of Speech Recognition - Now that you are inside the Speech Recognition properties, you need to go to the Speech Recognition tab and look for the User Settings. Right under them, you will see the Run Speech Recognition at startup option. Make sure to click on the box next to them to turn on this option.
- After you have done that, click on Apply to save these changes.
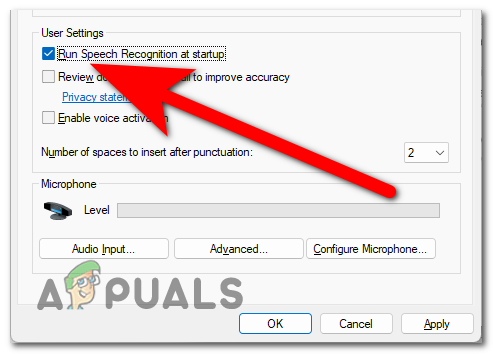
Forcing Speech Recognition to start at the startup - Once you’ve done that, all that’s left to do is to reboot your PC to see if at the next startup the Speech Recognition will work.
In case the Speech Recognition is still not working after doing this, check the next method below.
2. Use the System File Checker tool
It’s possible that the “Speech Recognition setup doesn’t function” error was caused by a problem with a system file; in this instance, performing a few diagnostics could automatically fix the problem.
Running an SFC scan has been reported to be successful in resolving the issue for some users. The System File Checker tool will examine all of the system files that are protected and will replace any corrupted files with a cached copy of the files that have been cleaned. We are going to supplement this scan with a command called DISM /Restorehealth so that we can use Windows Update to repair any corrupted files that may have been missed. After that, we will restart the computer and perform another round of the sfc /scannow command.
Note: The sfc /scannow command will use the Windows Component Store to attempt to repair any corrupted files; as a result, it does not require an internet connection in order to function properly. Access to the internet is necessary, however, because using the command Dism /Online /Cleanup-Image /RestoreHealth relies on WU (Windows Update) to replace any corruption that may have occurred. Before continuing with the steps below, ensure that you have a reliable internet connection by checking that you are now connected to the internet.
Keep in mind that it is not uncommon for the System File Checker to find and fix mistakes without notifying them, so it is important to keep this fact in mind. Please make sure to complete all of the steps outlined in the following paragraphs (SFC scan > RestoreHealth > SFC scan), regardless of the results of the initial SFC scan.
When you are ready, follow the guide below to see how you can perform the necessary diagnostic tests:
- The first thing you need to do is to open the Command Prompt with administrator privileges. There are some ways to do this, one of them is to use a Run dialog box. Press the Windows key + R and type inside the search bar ‘cmd‘, then press the CTRL + Shift + Enter to give administrator privileges to Command Prompt.
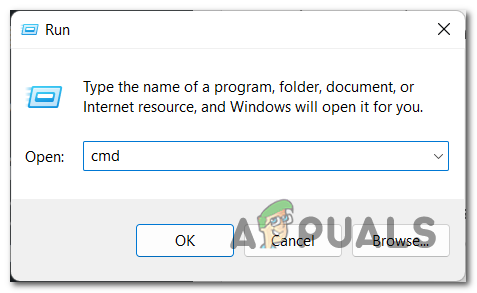
Opening the Command Prompt using a Run dialog box - You will be prompted by the User Account Control (UAC) to confirm that you want to give the admin privileges to Command Prompt. To continue, click on Yes.
- Once you are inside the Command Prompt, to run the System File Checker all you have to do is to type sfc /scannow before hitting the Enter key.
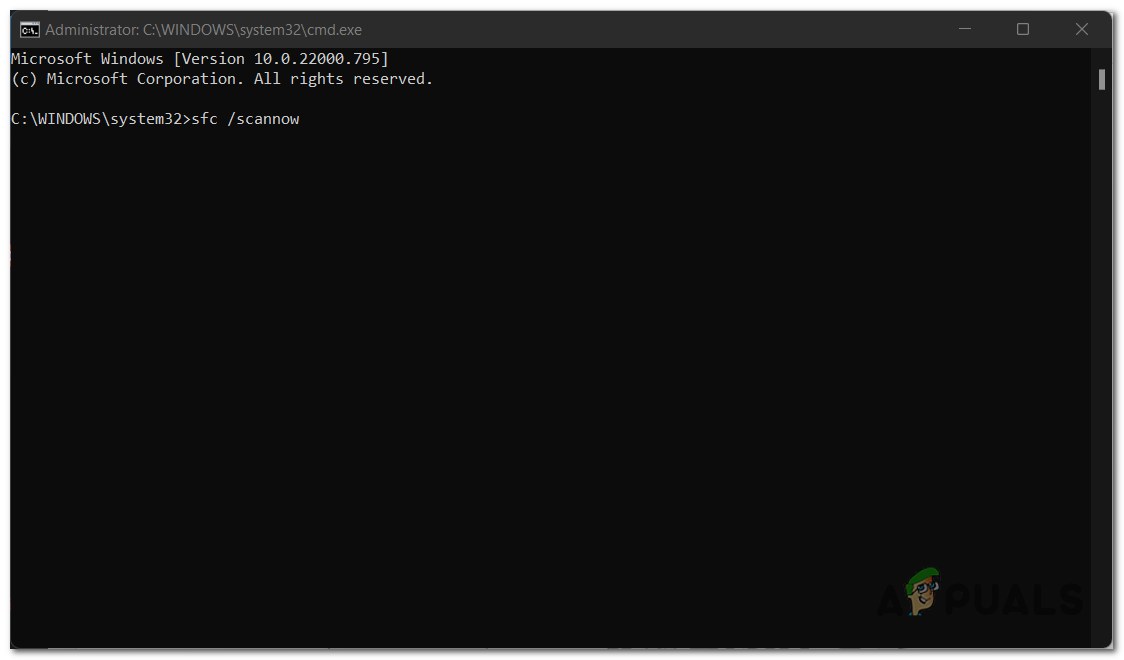
Starting the System File Checker tool inside the Command Prompt Note: Please keep in mind that the length of time needed to complete this process will vary depending on the severity of the corruption that was discovered in your system. It could take anything from a few minutes to several hours.
- After the scan has been completed, you should restart your system and check to see if the problem is fixed when the system starts up again. If it isn’t, then proceed with the instructions that are listed below.
Note: If the problem still persists, it is necessary to do all of the actions listed below even though the initial scan with SFC did not identify any abnormalities in the system files. - After opening a new elevated Command Prompt (step 1), copy and paste the command Dism /Online /Cleanup-Image /RestoreHealth, and then press the Enter key to begin the RestoreHealth scan.
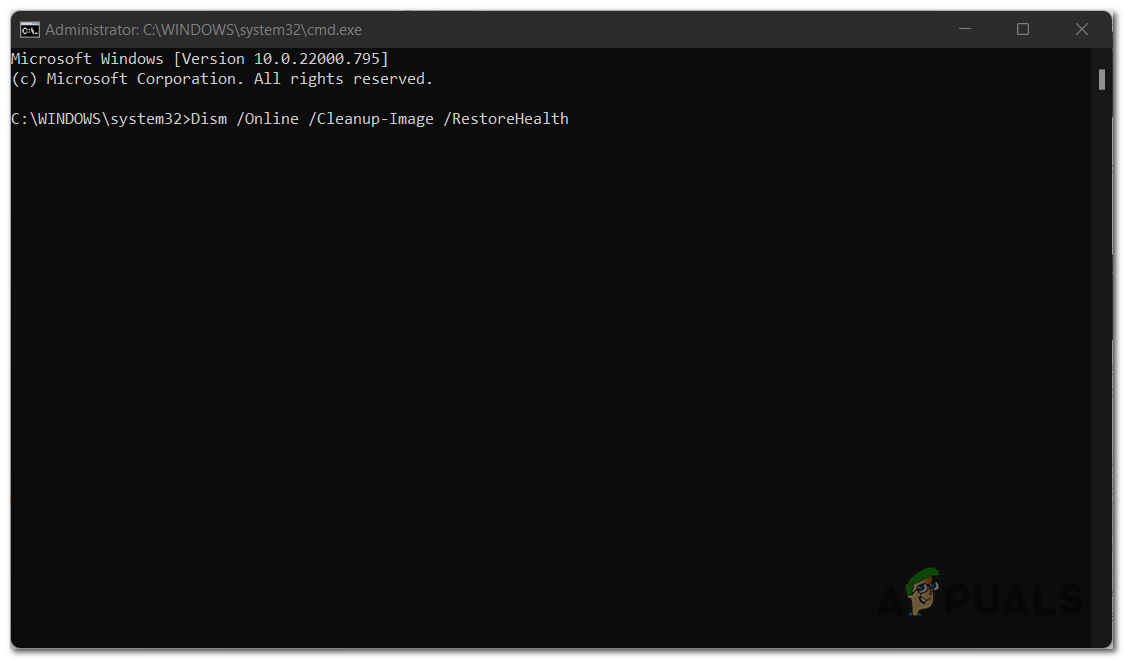
Using the Command Prompt again to do a RestoreHealth scan Note: Ensure that you do not lose your connection to the internet at any point throughout this process, and wait until the scan has been completed before proceeding further. After that, look at the results section to see if it was successful in correcting any of the problems.
- No matter what the result of the RestoreHealth command was, run another SFC scan by typing “sfc /scannow” in the elevated Command Prompt, and wait for the procedure to finish before proceeding.
- When the third scan has finished running, exit the elevated Command Prompt and restart your device.
Check to see if the problem still exists the next time your computer starts up after making any changes to it. Continue with the following step down below if you are still having the same problem with the Speech Recognition setup that doesn’t work.
3. Make sure your microphone in use is working properly
Another thing that you should do is to make sure that Speech Recognition is enabled properly. A lot of affected users have reported that they were surprised to see that this issue was not happening because of an error, actually, it was caused by some settings of Speech Recognition that were making it not work.
To verify if this case is applicable to you as well, all you have to do is to go to the properties of the microphone that you use for Speech Recognition and check if the volume is good. In case the volume is low, make sure to adjust the input level. Besides this, you should also check if the microphone is physically broken and if it works properly.
Here is a guide that contains all the steps you need in order to check your microphone:
- You should start by looking at your microphone to see if it is working properly. Look at the wires of it to see if they are intact and not cut or broken. Make sure that it is not broken in any way.
- Now if you are sure that the microphone is not broken, you need to go to the properties of it.
- For this, you need to open the Control Panel. One of the ways to do this is to press the Windows key + R to open a Run dialog box, then type ‘control‘ inside the search bar and press Enter to open it.

Opening the Control Panel using a Run dialog box - Once you are inside the Control Panel, you need to go to the Sound settings. Go to the View by section in the top right corner and select the Large icons menu to find the Sound section faster.
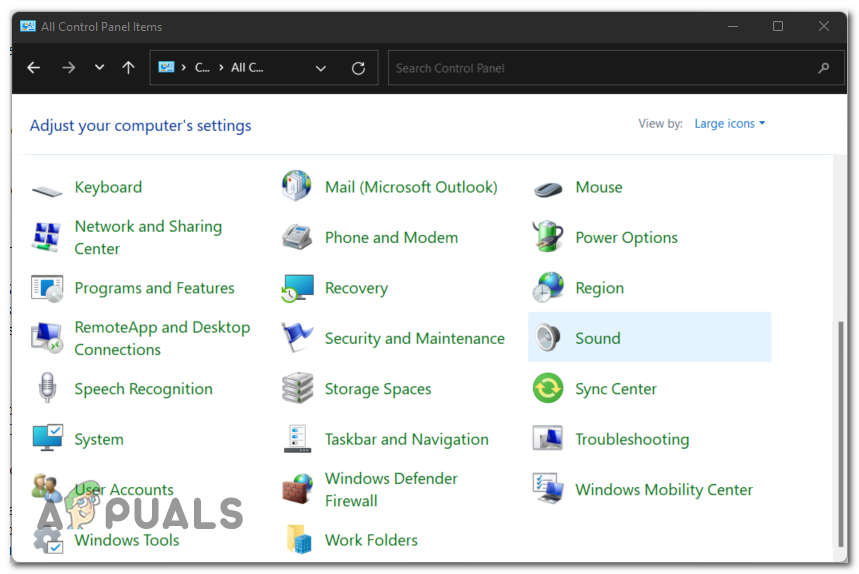
Selecting the Sound section inside the Control Panel - Now that the Sound settings appear on your screen, you need to select the Recording tab. After that, search for the microphone you want to use in Speech Recognition and double-click on it to open its properties.
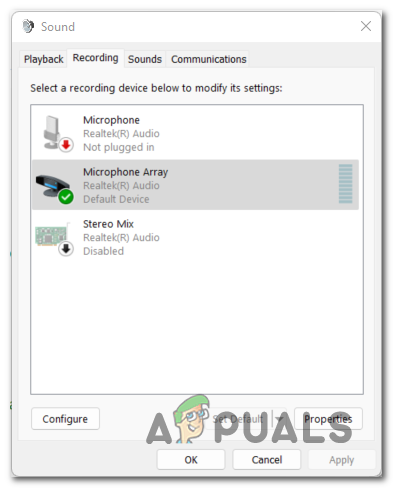
Opening the properties of the microphone you use - You need to select the Levels section and look at the volume of your microphone. All you have to do is to make sure that the microphone volume is set to maximum.
- Besides that, also make sure that the microphone is enabled and all the settings are ok.
- Once you ensure that the microphone is working how it should be, try again to see if the Speech Recognition works now.
In case the Speech Recognition setup doesn’t work error still appears after doing every method before, check below the last method suggested by users.
4. Perform a clean boot
The last thing you should try is to perform a clean boot. This method has been reported by many users to be efficient in fixing this issue because it may be caused by a 3rd party program.
But there may be a lot of programs that could interfere with Speech Recognition and it will take too much time to test every application in particular.
So in this case, the most effective course of action is to make an effort to identify the offenders by beginning the process of booting your computer into clean mode and observing whether or not the issue is still present.
If you are experiencing this issue on Windows 10, follow this article for the exact steps. In case you are encountering it on Windows 11, here’s another guide that contains the exact steps.
Note: A clean boot operation involves putting your computer into a boot state that prevents the launch of any third-party services or processes. This is done by booting the computer into this state.
If you haven’t encountered the Speech Recognition setup doesn’t work error while in clean boot mode, you are free to proceed with re-enabling every process and startup until you find the third-party programs that are causing a conflict with the game that you are attempting to launch.


