Some Taskbar Icons Are Missing from Windows 11’s Taskbar? Here’s How to Fix It
Some Windows 11 users are reporting that their taskbar contains a lot of blank spaces where the application icons (both native and 3rd party) are entirely missing. The functionality is there as the application opens when the box is pressed, but icons don’t appear even after restart.
If you’re experiencing this issue too, we’ve investigated this issue and realized that this problem can be actually rooted in several different problems. Here’s a list of potential culprits that might ultimately cause some of your taskbar icons to disappear:
- Display Glitch – As it turns out, this type of problem is not always related to some type of corruption and it’s often just a case of a display glitch. This has the easiest fix out of all potential causes since you can effectively reset the taskbar display by unchecking, then checking back the box associated with ‘Automatically hide the taskbar’ inside the Taskbar menu of Windows 11.
- Iris Service glitch – A few months ago, Microsoft managed to push a bad update that effectively caused this problem for a lot of Dev and Beta channel members of the Windows Insider program. In this case, you need to open the expert interface and create a custom Command Prompt task that will get rid of this service.
- Bad KB5006050 update – On top of the bad update causing the Iris service glitch, there’s also another bad update (KB5006050 update) that causes this issue to occur partially only with non-native taskbar icons. In this case, you need to uninstall the bad update and use a tool so that this problem doesn’t occur in the future.
- Date check fails – According to some affected users, this problem can also be caused by a situation in which there’s a failed date & time background check that WU performs regularly. In this case, changing your date and time to the correct values should fix the issue for you.
- Windows Store issue – If you’re only experiencing this problem with native Windows applications, chances are the problem is caused by Windows Store. If this scenario is applicable, you should be able to fix the problem by repairing or resetting the Windows Store app.
- Repair the Store framework – There are certain circumstances where the problem occurs due to a system-level glitch that affects the display of your taskbar icons. In this case, you should be able to get it fixed by opening a Windows Terminal window and running a series of commands.
- ‘Langauge Pack Removal’ glitch – One of the odd causes of this issue is when you try to uninstall a language pack from your Windows 11 computer. This has the unintended consequence of messing up your taskbar icons. To fix it, simply use the System Restore utility to revert back prior to when you uninstall the language pack.
- System file corruption – Under certain circumstances, you can expect to see this error occurring due to some type of corruption that is currently affecting the taskbar functionality. To fix it, you should perform an in-place upgrade or clean install.
Now that we went through every scenario that might prompt some of your icons to disappear, let’s explore every avenue that might help you fix this problem.
1. Select / Deselect ‘Automatically hide the taskbar’
If you look at most documented user reports that are experiencing this issue, most of them are running on the latest available Windows 11 build. So for most, it’s not a matter of updating their OS to the latest version.
According to a lot of community members that have been experiencing this issue, there’s a simple workaround that involves accessing the Taskbar Settings and modifying the default Taskbar Behavior in order to effectively re-load every taskbar icon currently included in your Windows 11 version.
If you’re just beginning to troubleshoot this issue, this is an ideal way to start. Here’s what you need to do:
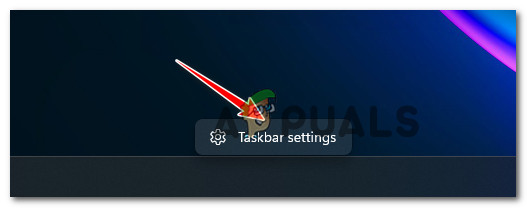
- Right-click on your taskbar and click on Taskbar Settings from the context menu that just appeared.
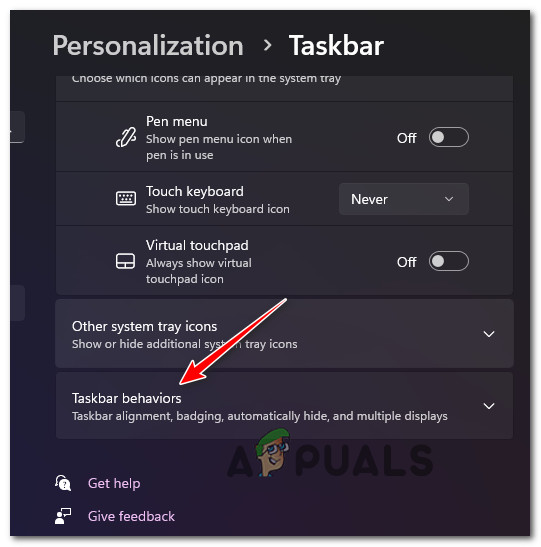
Accessing the Taskbar menu - From the Settings menu that just appeared, move down to the right-hand section and scroll down all the way to the bottom of the screen.
- Click on Taskbar Behaviors from the menu on the right.
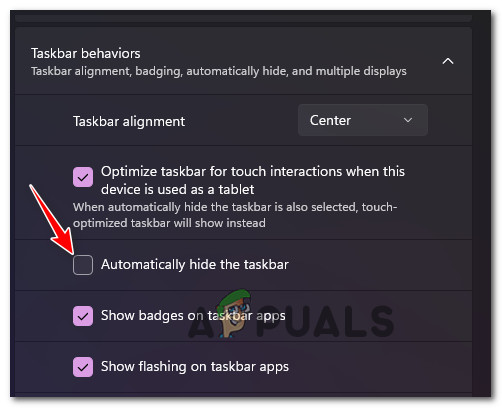
Accessing the Taskbar Behavior - Next, scroll down under Taskbar behaviors and check the box associated with Automatically hide the taskbar.
- Wait for a few seconds until you see the taskbar hiding, then click on the same box again to bring the taskbar back.
Accessing the Taskbar Icon automatically Note: The operation will effectively reset every taskbar icon (including icons) which will effectively fix every cache related issue (unless it’s rotted in a bigger case of system corruption)
If the problem is still not fixed, move down to the next potential fix below.
2. Remove the remnants of the Iris Service
You may find yourself in this particular situation because of a malfunctioning Iris Service.
A while ago, Windows Insiders in both the Dev and Beta Channels reported (all at once) that their taskbar icons have suddenly disappeared. Upon investigating, Microsoft engineers have discovered an issue rooted in a bad server-side deployment, which has since been canceled. If you were impacted by this issue, you need to follow a series of steps in order to eliminate the remnants of the bad Iris Service version to get your taskbar icons back.
Explainer: This service (Iris Service) is part of Windows Spotlight and is mostly responsible for fetching the Bing wallpaper of the day, providing lock screen suggestions, and more aesthetic-related stuff for Windows 11.
The fix is quite simple – you’ll just need to open the expert Task Manager interface and create a Command prompt task that will get rid of this service. Microsoft will eventually realize that the Iris Service is missing from your PC and reinstall a healthy equivalent.
Follow the instructions below to remove the Iris Service .reg key via a Task Manager task:
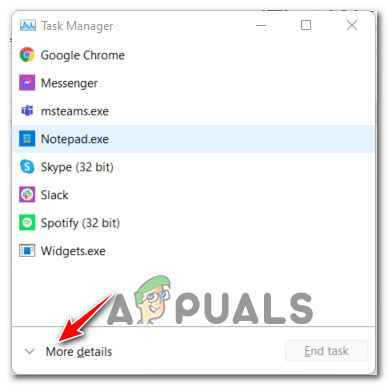
- Start by opening Task Manager – either press CTRL + Alt + Delete and click on it then click on Task Manager, or press CTRL + Shift + Escape.
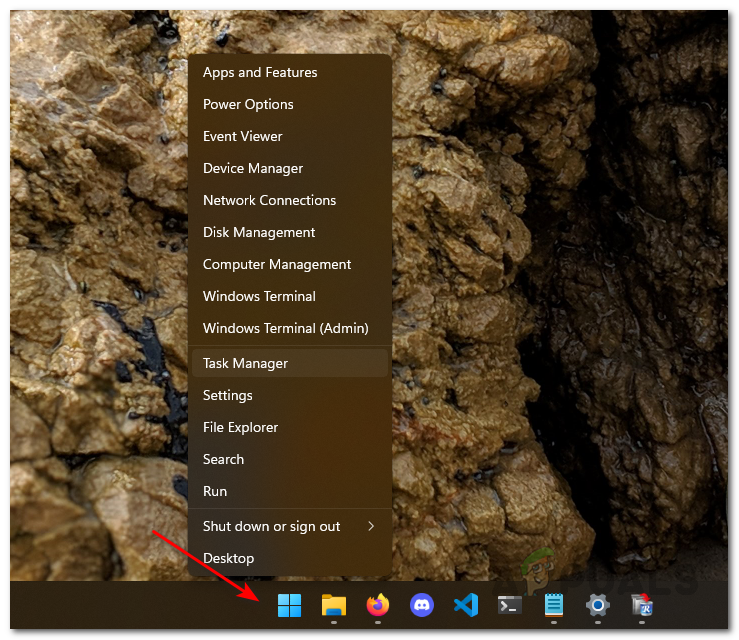
Open Task Manager - If your OS opens the simple Task Manager interface by default, click on More Details from the context menu at the bottom.

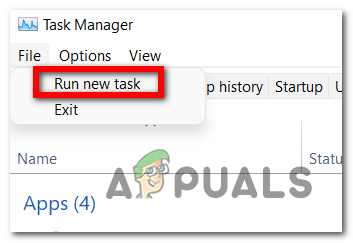
Access the More Details menu - Next, from the ribbon bar at the top of Task Manager, click on File to bring up the context menu.
- Then, click on Run new task from the context menu that just appeared.
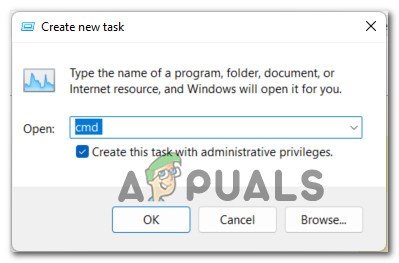
Run a new task - Once you get to the next screen, type ‘cmd’ inside the blank space next to where it says Open.
- Next, check the ‘Create this task with administrative privileges’ box and click on OK.
Access the CMD menu - Inside the elevated CMD prompt, type the following command and press Enter:
reg delete HKCU\SOFTWARE\Microsoft\Windows\CurrentVersion\IrisService /f && shutdown -r -t 0
- Once this command is processed successfully, you should get a success message.
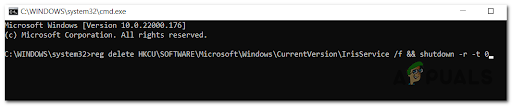
Removing the iris service - After this command is run, your PC will reboot automatically after the Iris service is taken care of.
- Upon booting back up, you should see your taskbar icons reappearing inside your Windows 11 Taskbar.
If this method was not effective in your particular scenario, move down to the next potential fix below.
3. Uninstall the KB5006050 update (if applicable)
You may start seeing that your taskbar icons have partially disappeared from your taskbar after your system installs a Windows 11 feature update (KB5006050). Most likely, this happens because the update conflicts with the IntcOED.sys dependency.
Luckily, several users who have experienced this issue have reported that they were able to fix the problem by uninstalling the KB5006050 update and restarting their computers.
Keep in mind that Microsoft has already released a hotfix for this issue, so you shouldn’t see the problem the next time WU installs the feature update.
In order to apply this method and get rid of the bad update manually, follow the instructions below to do so and hide it from WU so it doesn’t get reinstalled in the future:
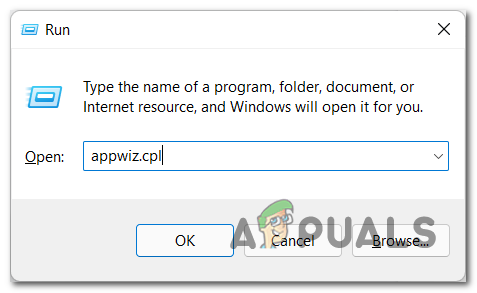
- The Programs and Features menu can be accessed by first pressing the Windows key + R to open a Run dialog box.
- Next, type ‘appwiz.cpl’ into the text box and press Enter.
Deploying the Programs and Features menu - From the Programs and Features menu, use the vertical menu on the left-hand side of the screen to click on View installed updates.
- From the next Installed Update screen, locate the KB5006050 Windows Update.
- Select it then click on Uninstall from the context menu.
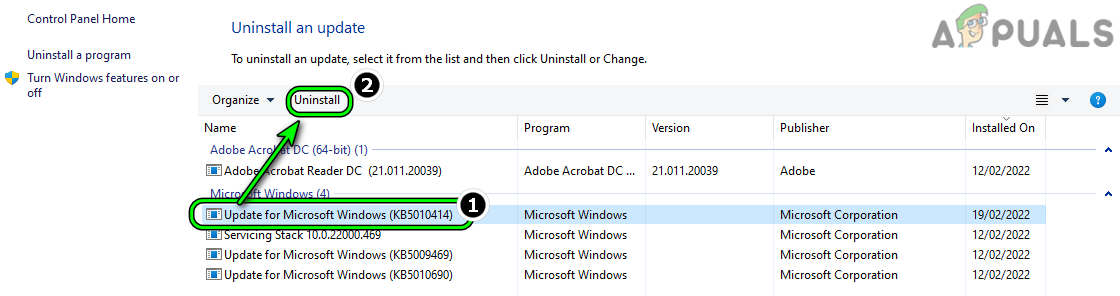
Uninstall the update - At the confirmation prompt, click Yes to begin uninstalling the update. The process will take some time to complete.
- Now that the update is uninstalled, don’t restart your computer just yet.
- Instead of restarting, visit the official download page of the Microsoft Show or Hide troubleshooter
- Once you visit the page, the download should start automatically.
- After the utility is downloaded locally, open up the .diagcab file and click on Advanced at the first prompt.
- Next, check the box next to Apply Repairs Automatically before clicking on Next.
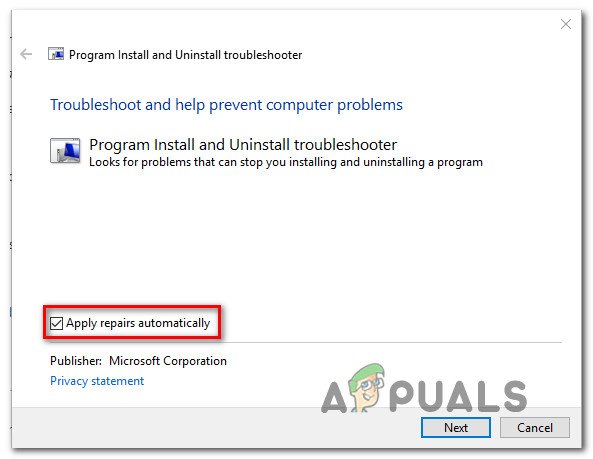
Apply the repairs automatically - The utility will scan your system to figure out which pending updates are not installed yet.
- Once it’s finished scanning, click on Hide Updates from the list of options.
- Next, select the update you’re targeting and click Next to hide it – this will stop Windows Update from installing it again in future attempts automatically.
- Finally, Reboot your PC one final time and see if the taskbar icons have returned.
If the problem is still not fixed, move down to the next method below.
4. Change the date to correct values
There is no official explanation from Microsoft yet as to why this fix is effective for so many users, but early Windows 11 adopters are speculating that the taskbar icons stop appearing for them after their Windows installation is unable to verify the date & time against the expected values in your area.
As proof of the cause, they’re also reporting that once they changed the date & time to the correct values, the issue was entirely resolved and every icon re-appeared.
To learn how to change the date on your Windows 11 PC and force the missing taskbar icons to return, follow these steps:
- Start by opening Task Manager – To do this press CTRL + Alt + Delete or CTRL + Shift + Esc.
Accessing Task Manager - Once inside the correct menu, make sure to use the Expert interface.
- If not, click on More Details at the bottom of the screen.
Accessing the expert interface of Task Manager - Once you’ve successfully opened the Expert interface of Task Manager, use the ribbon bar at the top to click on File.
- Next, go ahead and click on Run new task from the context menu.

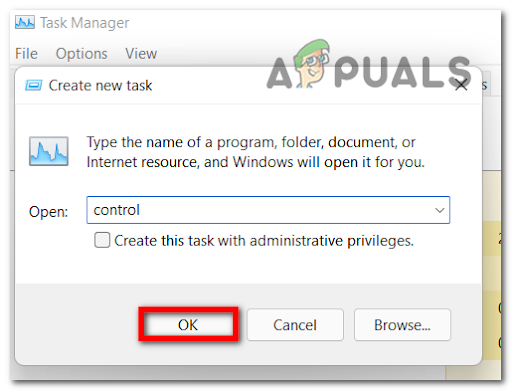
Run a new task - In the Create new task window, type ‘control’ in the Open box and check the box associated with Create this task with administrative privileges.
- Next, click Ok to continue.
Access the control menu - Next, you will be taken to the classic Control Panel interface.
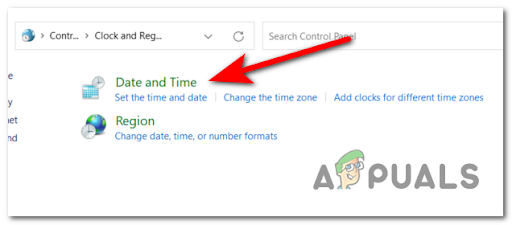
- Once you’re inside the classic Control Panel menu, use the search function in the top-right corner of the screen to search for Date & Time.
- From the list of results that just came up, click on Date and Time.
Access the Date & Time - Click on Change date and time and change accordingly before clicking Ok, Apply and reboot your PC.
- At the next startup, see if your taskbar icons have returned.
If the problem is still not fixed, move down to the next method below.
5. Repair or Reset the Windows Store app
The issue where some of your taskbar icons have suddenly disappeared from your Windows 11 taskbar can most likely be traced back to some type of corruption that prevents your PC from connecting to Microsoft servers through the integrated UWP store.
In most cases, the problem is caused by temporary files stored in the cache folder.
If you’re curious about the root cause, this type of problem usually occurs after a security scanner quarantines some items or after an unexpected machine interruption. Rarely, you might be experiencing this after a botched update.
Several users who were struggling with this problem have reported that they were able to resolve it by repairing or resetting Windows Store and all associated components.
Note: This fix will likely be effective in case you’re only experiencing this issue (disappearing taskbar icons) with native applications installed via Windows Store.
There are two ways to reset the Windows Store cache on Windows 11:
- By running a series of commands from a CMD terminal
- By using the Windows 11 GUI to get things done
Both methods will help you reach the same goal, so feel free to follow the guide that you feel most comfortable with:
Resetting the cache of Windows Store via CMD
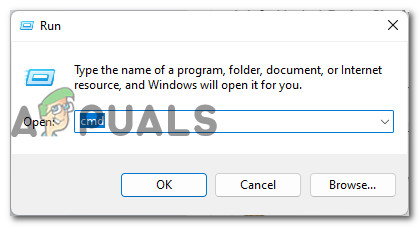
- Start by opening a Run dialog box with administrative privileges by pressing Windows key + R.
- In the text field of the Run box, type ‘cmd’ and press Ctrl + Shift + Enter to open Command Prompt with administrative privileges.
Open up a CMD prompt Note: You may see a User Account Control (UAC) prompt. Click Yes to grant administrator access.
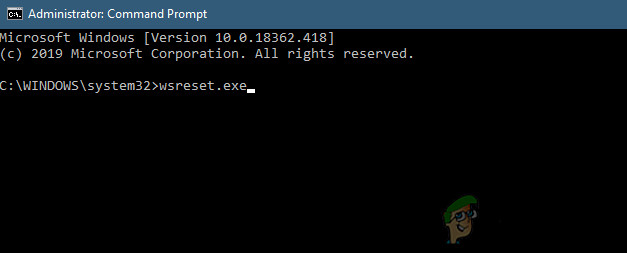
- In the elevated Command Prompt, type the following command to reset the Windows Store along with all dependencies:
wsreset.exe
- Once the command is processed successfully, restart your computer to see if the issue has been resolved at the next system startup.
Deploying the WSreset command
If the method didn’t fix the issue for you, move down to the next potential fix.
Resetting the cache of Windows Store via the Settings app
- To open the Run dialog box, press Windows Key + R. Then, type ”ms-settings:appsfeatures” and hit Enter to launch the Apps & Features menu in the Settings app.
Note: If you’re seeing the UAC (User Account Control) prompt at this prompt, click Yes to grant admin access. - In the Apps & Features screen, scroll down to the list of installed UWP apps and find Microsoft Store.
- When you find Microsoft Store, click on the Advanced Option hyperlink next to it (under Microsoft Corporation).
- In the Advanced Options menu, scroll down to the Reset tab, then click on the Reset button and start clearing out the cache.
- When the process is done, restart your machine and see if the problem is solved during startup.
If the method is not fixed yet, move down to the next potential fix below.
6. Repair Windows Store infrastructure and app
There are also situations where the corrupted file dependencies of the Windows Store that are affecting your Windows 11 taskbar will persist despite the fact that you just tried resetting the utility.
If this scenario is applicable, the best course of action is to repair the Windows Store component at the system level without making use of your GUI.
This can only be accomplished from an elevated Windows Terminal app – What we’ll do is we’ll use a Powershell command to prompt the repair of the entire Windows Store component. Then, upon restarting your PC, you should see your missing taskbar icons returning to your taskbar.
Follow the instructions below to get started with the repair process of the Windows Store via the Windows Terminal:
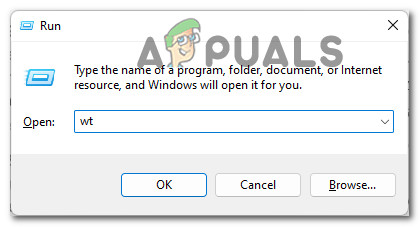
- Hit Windows key + R to open the Run box. Type ‘wt’ and press Ctrl + Shift + Enter to open up a Windows Terminal window with admin access.
Open a Windows Terminal app - The User Account Control will prompt you next — click Yes to grant admin access.
- Once inside the elevated Windows Terminal app, copy and paste the following command to initiate a reinstallation of the entire Windows Store component using Powershell:
Get-AppxPackage -allusers *WindowsStore* | Remove-AppxPackage
Note: This command will uninstall Windows Store functionality from your PC. However, you still need to restart your PC to complete the process.
- After the operation is complete, reboot your PC and wait for it to start up again.
- Follow step 1 again to open another elevated Windows Terminal window, then paste the following command to reinstall the Windows Store component:
Get-AppxPackage -allusers *WindowsStore* | Foreach {Add-AppxPackage -DisableDevelopmentMode -Register “$($_.InstallLocation)\AppXManifest.xml”} - Perform one final restart, then see if your taskbar icons return to Windows 11.
If the problem is still not fixed, move down to the next method below.
7. Use System Restore (if applicable)
According to some affected users, you might find some of your icons disappearing after you did a language Pack removal operation. It’s not clear why this issue occurring, but some affected users are reporting that you can fix it by using System Restore to revert your computer state prior to when you did the Language Pack Removal.
System Restore is a native Windows utility that will allow you to mount a healthy state that was taken at a previous point in time.
Note: You should be able to spot a system restore snapshot named Language Pack removal – that’s the point you need to mount.
To use the System Restore utility, follow the instructions below:
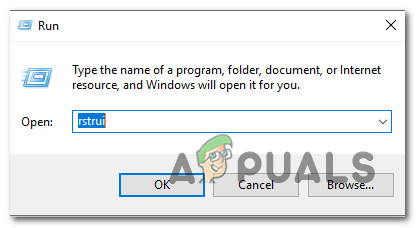
- To access the System Restore Wizard, press the Windows Key + R to open the Run dialog box.
- Next, type “rstrui” from the Run box and hit Enter.
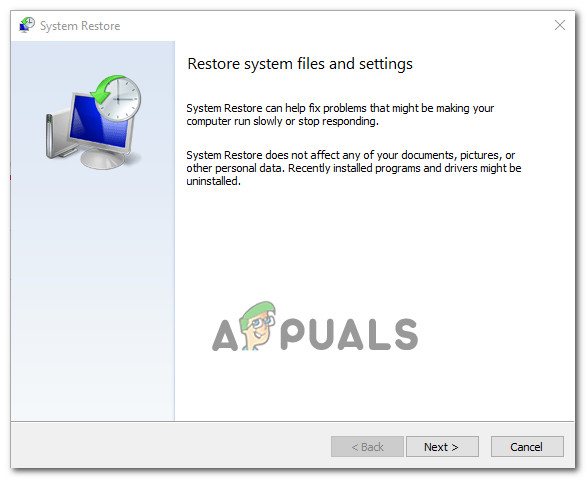
Opening the System Restore utility - Next, proceed by clicking Next on the first screen.
Using the System Restore utility - On the next menu, check the box for “Show more restore points.“
- Once you get to the next screen, select a restore point from before the error occurred, then click Next.
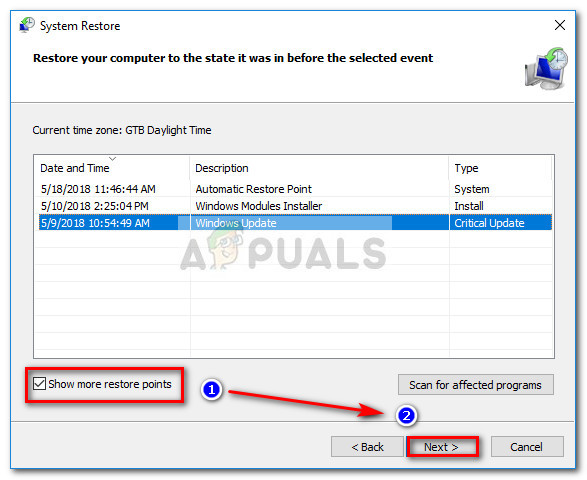
Accessing all the show more restore points - Before clicking Finish to start the process, keep in mind that this will revert any changes made since the system restore point was created.
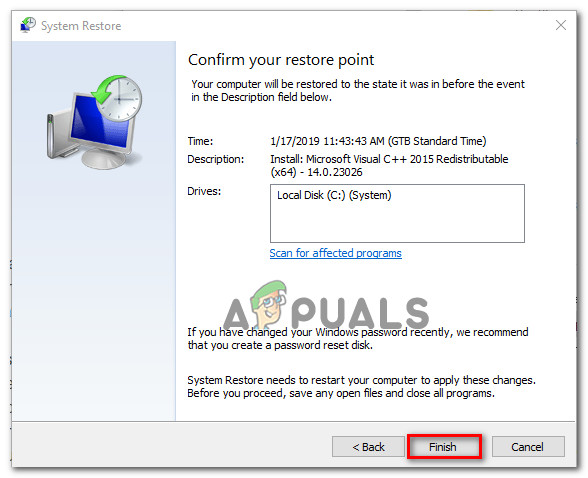
Finish up the System Restore procedure Note: This will restore your computer to the exact state it was in when the snapshot was taken.
- Click Finish and confirm at the final prompt.
Note: Your computer will restart and the older state will be loaded once the startup is complete. - After your computer boot back up, check if the taskbar icons have swiftly returned.
If they’re still missing, move down to the next method below.
8. Perform an in-place upgrade or clean install
If you’ve tried all the methods below and some of your taskbar icons on Windows 11 are still nowhere to be seen, it’s likely that the problem is caused by system file corruption that can’t be fixed using conventional means.
In this case, your best bet for fixing the problem without doing a complete OS reinstall is to refresh every Windows component (including boot data).
When it comes to doing this, you have two options:
- Repair Install – This procedure is also commonly referred to as an in-place repair procedure. It’s not as fast as you’ll want since you’ll need to provide an installation media, but the major advantage is that you won’t lose any of your personal files. Personal media, games, applications, and even some user preferences will all remain intact after this procedure.
- Clean install – This is an easier procedure. You won’t be required to use any Windows install media. Even more, you can deploy this procedure from the Windows 10 menu. The only downside however is that you will lose all your personal data if you don’t back it up before starting this procedure.


Hi thereUnfortunately none of the above worked for me, but I did find a round about way to sort it out..1. Pin wanted icons to Start Menu
2. Unpin icons from Taskbar
3. Pin icons you want to the Taskbar via the shortcuts created in the Start Menu#Magic