How to Fix Task Host Window Prevents Shut Down on Windows?
The Task Host is a critical Windows system process responsible for ensuring that all running programs and background tasks are properly closed during shutdown to prevent data loss or program corruption. When the “Task Host Window” error appears during shutdown, it indicates that the system is waiting for certain tasks to complete, often causing a stalled shutdown process.
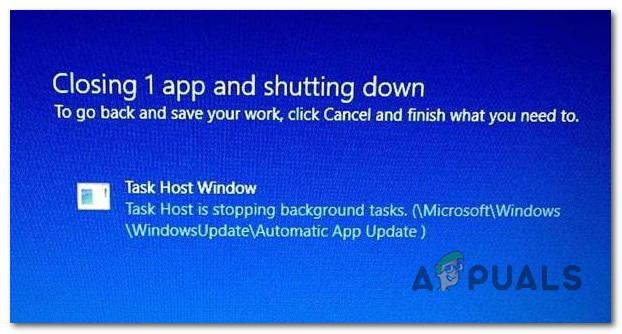
This issue typically occurs due to pending or stuck updates, particularly related to Windows Update, where tasks like syncing settings or applying updates fail to complete. Other potential causes include unresponsive applications or services running in the background.
In this article, we will discuss different ways to solve this error.
1. Close the Running Application and Perform a Shutdown
Leaving applications open during shutdown can stop Windows from closing tasks, causing the Task Host Window error. Manually closing all programs ensures no active processes delay the shutdown, allowing the system to power off smoothly.
- Open Task Manager by pressing Ctrl + Shift + Esc.
- Select Notepad or the application you are working on and click End Task.

End Task Applications - Try shutting down your computer now.
2. Turn off Fast Startup
Fast Startup in Windows speeds up boot times by saving system data to a special file. However, it can cause issues by not allowing some background tasks to close properly during shutdown. Turning off Fast Startup allows for a complete shutdown, helping fix the “Task Host Window” error by ensuring all services and tasks close correctly.
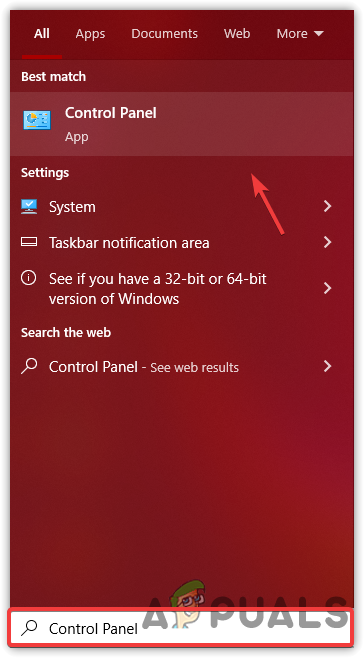
- Click the Start Menu and type Control Panel.
Open Control Panel - Open Control Panel and go to
Hardware and Sound\Power Options. - Click Choose What the Power Button Does on the left side.
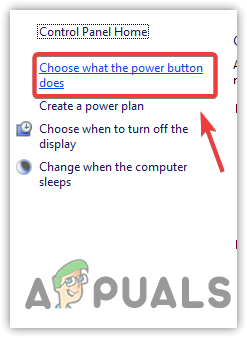
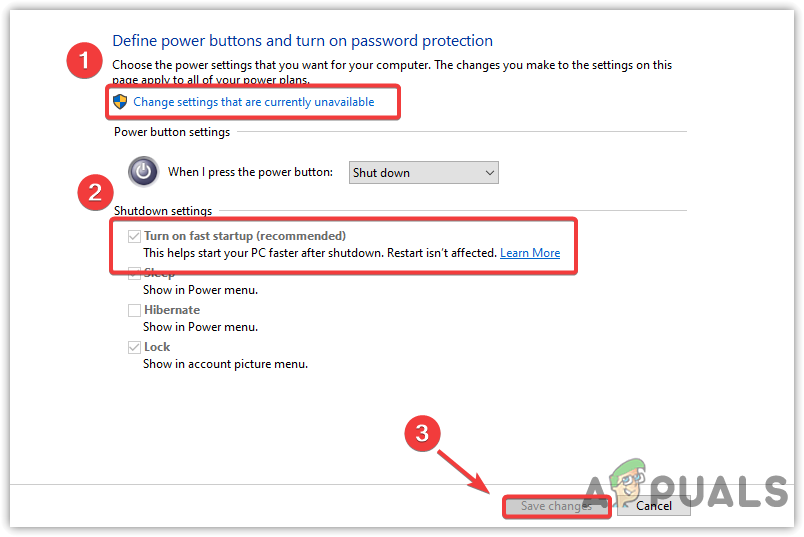
Click Choose What the Power Button Does - Select Change Settings That Are Currently Unavailable.
- Uncheck Turn on Fast Startup.
- Click Save Changes.
Changing Power Options Settings - Restart your computer to check if the issue persists.
3. Run Windows Update Troubleshooter
Using the Windows Update Troubleshooter helps fix one common cause of the Task Host Window error—stuck updates. This tool automatically finds and fixes problems with Windows Update, ensuring all tasks finish correctly and don’t block the shutdown.
Microsoft\Windows\WindowsUpdate\AutomaticAppUpdate- Click the Start Menu and type Settings.
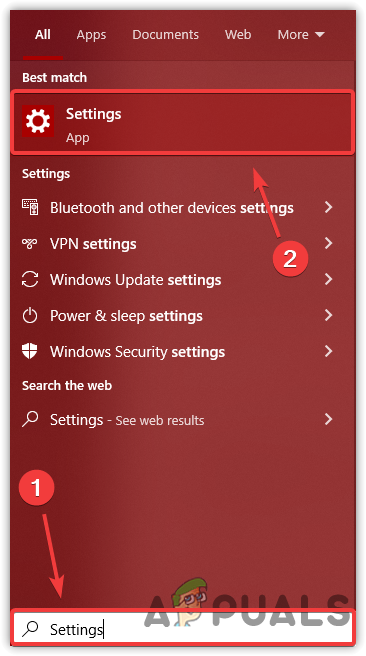
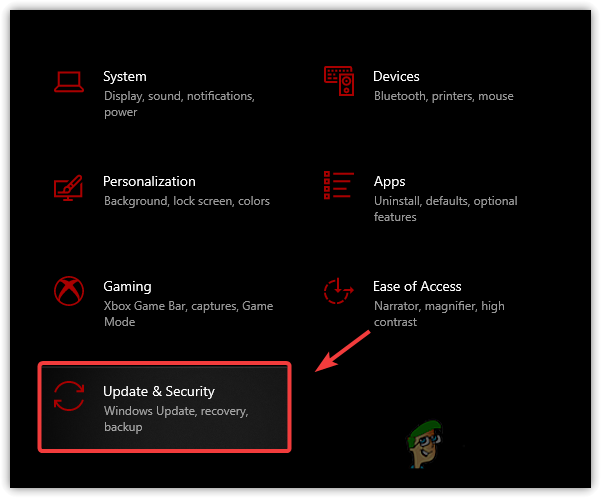
Launch Settings - Open Settings and go to Update & Security.
Head to Windows Update Security - Click Troubleshoot and then select Additional Troubleshooters.
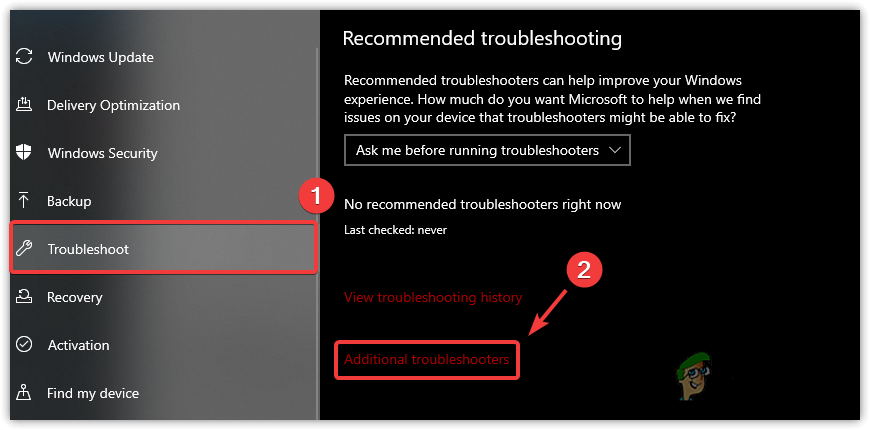
Click Additional Troubleshooters - Select the Windows Update troubleshooter and click Run the Troubleshooter.
- When it’s finished, restart your computer and check if the issue is resolved.
4. Uninstall Windows Updates
Sometimes, new Windows updates can cause problems that lead to the Task Host Window error. Uninstalling these updates can fix the issues, allowing your computer to shut down normally again. This process returns your system to how it was before the update.
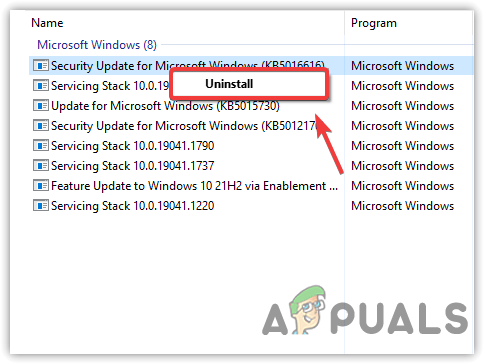
- To uninstall a Windows Update, open the Control Panel.
- Go to Programs and Features.
- Click View Installed Updates.

- Select relevant updates, such as KB5012170 or KB5015730, if they are known to cause issues.
Uninstalling Windows Update - After uninstalling the updates, type Check for Updates in the Start Menu.
- Open Settings and click Check for Updates.
Checking for Windows Update - Download the updates, reinstall them, and restart your computer. Then, verify if the error has been corrected.
5. Clear the Software Distribution Folder
Clearing the Software Distribution folder resets the place where Windows keeps update files temporarily. If these files are damaged or incomplete, they can stop updates from finishing during shutdown. Deleting them lets Windows download new files, which often fixes the issue.
- Follow these steps to clear the Software Distribution folder:
- Click the Start Menu and type Command Prompt.
- Choose Run as Administrator.

Run CMD As Administrator - Enter the command to stop the Windows Update service:
net stop wuauserv
- Press Windows + R to open the Run dialog box.
- Type the following directory and click OK:
C:\Windows\SoftwareDistribution
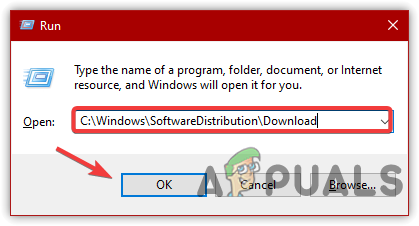
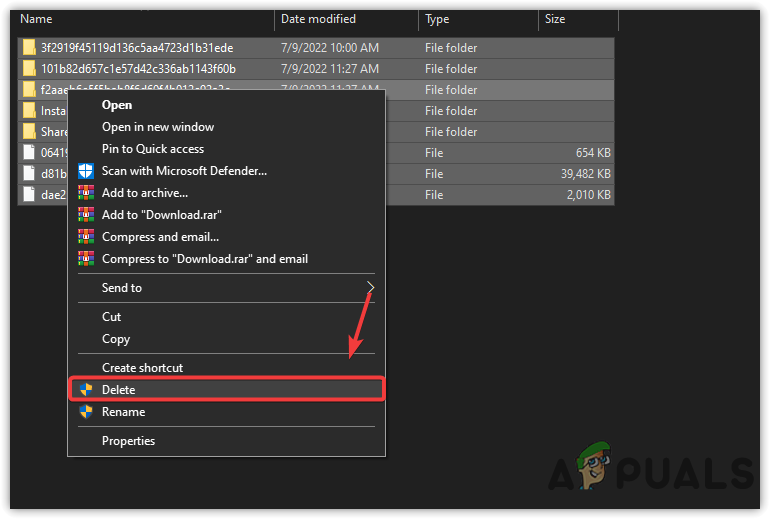
Opening Software Distribution Folder - Select all files in the folder, right-click, and click Delete.
Delete Software Distribution Files - Restart the Windows Update service with this command:
net start wuauserv
- Run Windows Update to download and install the updates.
- Finally, restart your computer and check if the error is resolved.
6. Use the Registry Editor
Adjusting settings in the Registry Editor can help fix shutdown delays by closing hanging processes. Changing registry values lets Windows automatically close unresponsive tasks during shutdown, removing the need to do it manually and making the shutdown process smoother.
It’s important to back up the registry before making changes, to ensure you can restore files if anything goes wrong.
- Press Windows + R to open the Run dialog.
- Type regedit and click OK.
- Navigate to:
HKEY_LOCAL_MACHINE -> SYSTEM -> CurrentControlSet -> Control
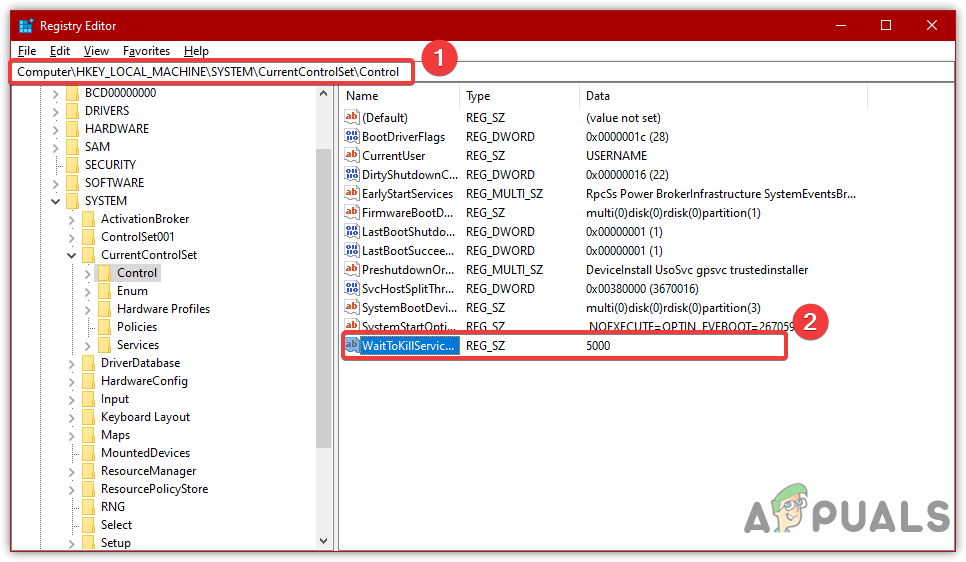
Open WaitToKillServiceTimeout - Double-click on WaitToKillServiceTimeout and change the value from 12000 to 2000.
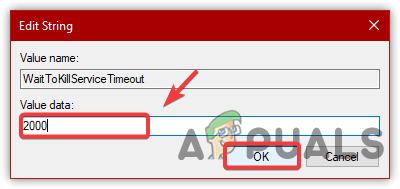
Changing Value Data - Click OK to save the changes. If the problem persists, go to:
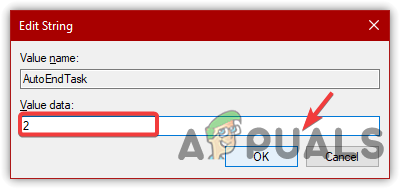
HKEY_LOCAL_MACHINE -> SYSTEM -> CurrentControlSet -> Services -> WpnUserService
- Double-click the Start entry on the right and change its value to 4.
- Click OK, save the changes, and restart your computer. If the issue continues, go to:
Computer\HKEY_CURRENT_USER\Control Panel\Desktop
- Right-click in the right pane, hover over New, and choose String Value.
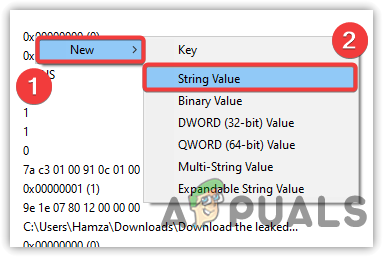
Making a String Entry - Name it AutoEndTasks and change its value data from 0 to 1.
Editing a String Value - After making these changes, click OK and check if the issue is resolved.
7. Run DISM Commands
Corrupted system files can cause shutdown problems like the “Task Host Window” error. Running DISM commands can find and fix these corrupted files, helping your Windows system work properly and shut down smoothly.
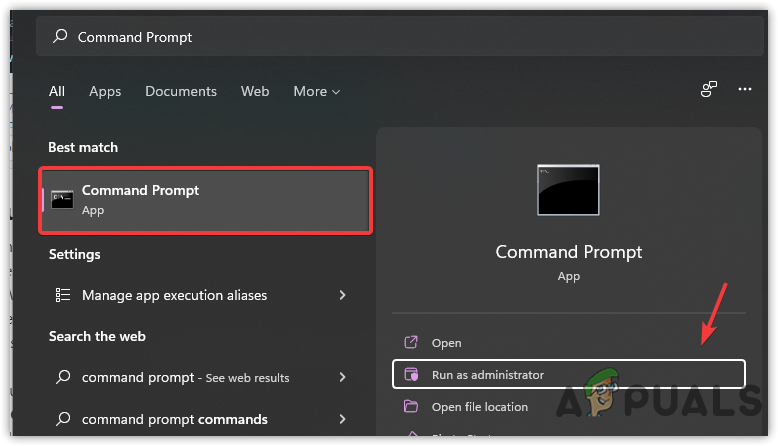
- Search for Command Prompt.
- Right-click on Command Prompt and choose Run as Administrator.
 Opening Command Prompt in Administrator Mode
 - Type these commands, pressing Enter after each:
DISM /Online /Cleanup-Image /ScanHealth
DISM /Online /Cleanup-Image /RestoreHealth
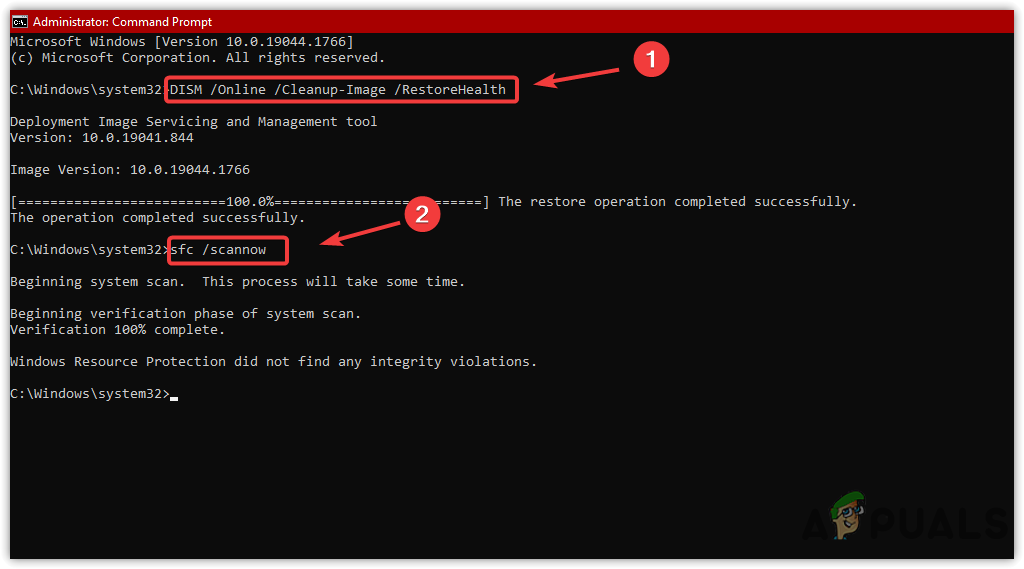
Executing Repair Commands - Let the process complete.
- When done, restart your computer to check if the problem is fixed.
8. Turn Off Third-Party Antivirus
Third-party antivirus software can sometimes slow down shutdown by scanning or blocking important tasks. Temporarily turning off the antivirus helps the system close tasks more smoothly.
- Locate the antivirus icon directly on the taskbar at the bottom right.
- Right-click the icon and select the option to temporarily disable it.
- Choose Disable for 10 Minutes or a similar setting.
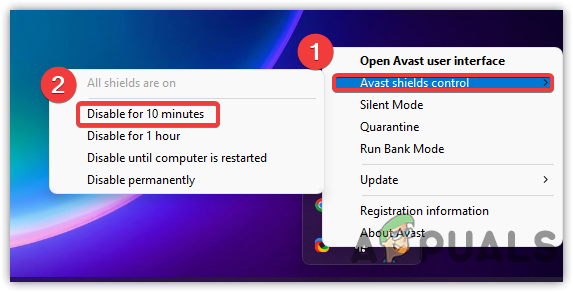
Disabling Third-Party Antivirus - Restart your computer and check if the issue is resolved.
I guess the value at method 3 is in seconds…?