How to Fix Skull and Bones FPS Drops and Stuttering Issue?
While playing Skull and Bones, players may encounter performance issues, such as FPS drops. These are often due to outdated graphics card drivers, which are not optimized for the latest game releases, leading to poor performance.

Other potential factors contributing to these issues include missing game files, conflicts with third-party programs and overlays, or corrupted game configuration files. The following guide offers several solutions to address these concerns.
1. Check System Requirements
Insufficient hardware can lead to FPS drops and lag, which can be resolved through upgrading specific components to meet or exceed the game’s requirements. This makes sure your system has the necessary power to handle the game’s demands, creating a more stable and enjoyable gaming experience.
So, Before proceeding, verify that your computer meets the game’s minimum system requirements. To review these specifications, click here. If your system falls short of these requirements, it may be necessary to upgrade your hardware to improve performance.
2. Lower Graphics Settings
Lowering graphics settings reduces the workload on your computer’s gaming hardware, thus lessening the stress on your system. By doing so, resources are more efficiently utilized, which often translates into a smoother performance with fewer FPS drops. Going for the Low setting option is a straightforward tweak that can provide an instant boost to your gameplay experience.
- Start the game and navigate to Options > Settings.
- In the Graphics section, adjust the Graphics Quality to Low. This step will automatically reduce all related graphics settings for optimal performance.
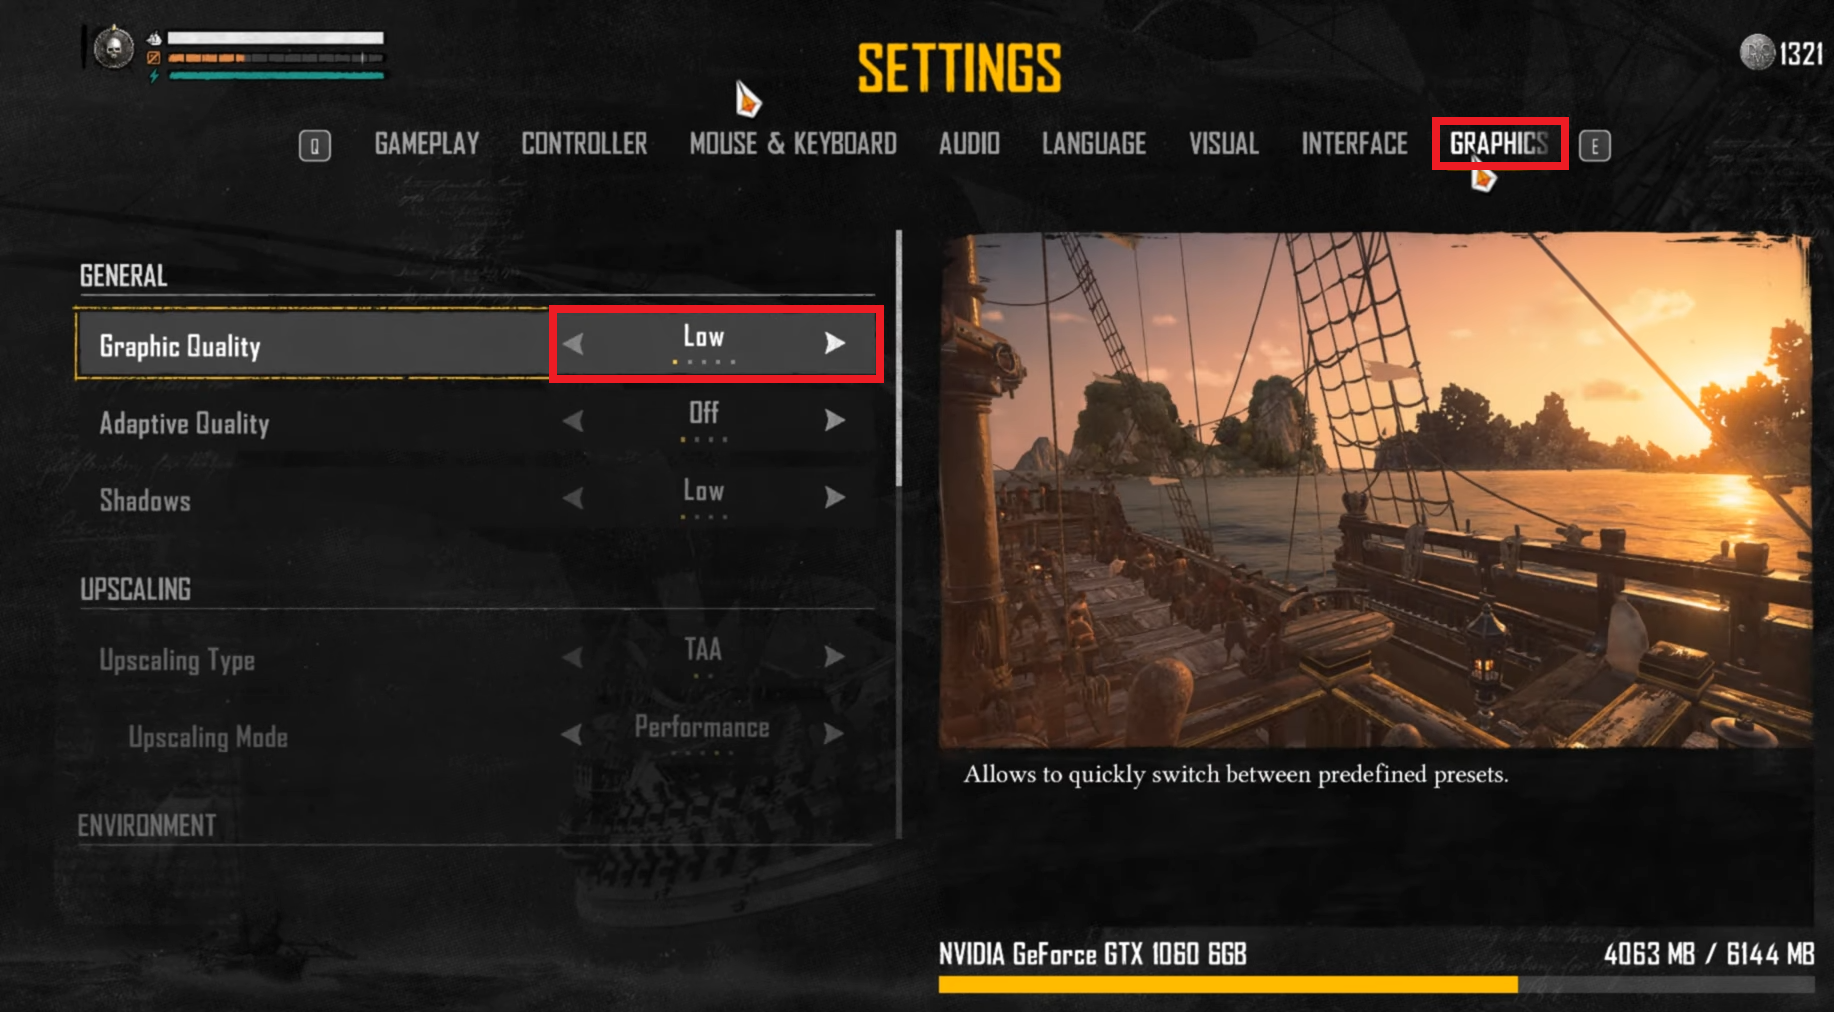
- Press F to confirm and apply the new graphics settings.
3. Using DirectX 11
Despite being an older API, DirectX11 provides wider compatibility and stable performance on various hardware. By switching to DirectX 11, players can bypass potential issues that come from DirectX 12’s advanced features, which may not be fully supported by all systems. This adjustment can especially benefit those with older graphics cards, leading to a more consistent and smoother gaming experience in Skull and Bones.
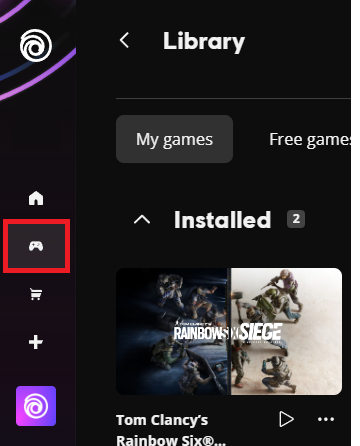
- Open the Ubisoft Connect app and click on the Controller icon to access your game library.
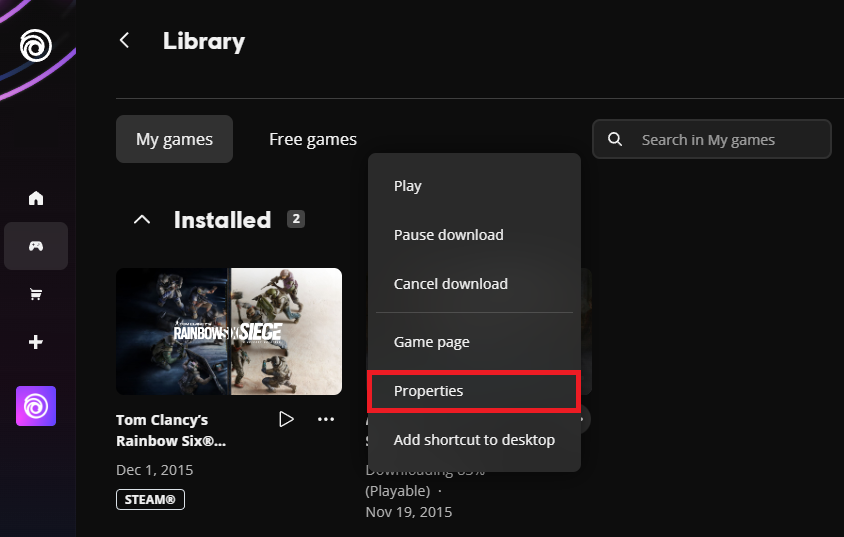
- Right-click on Skull and Bones and select Properties from the drop-down menu.
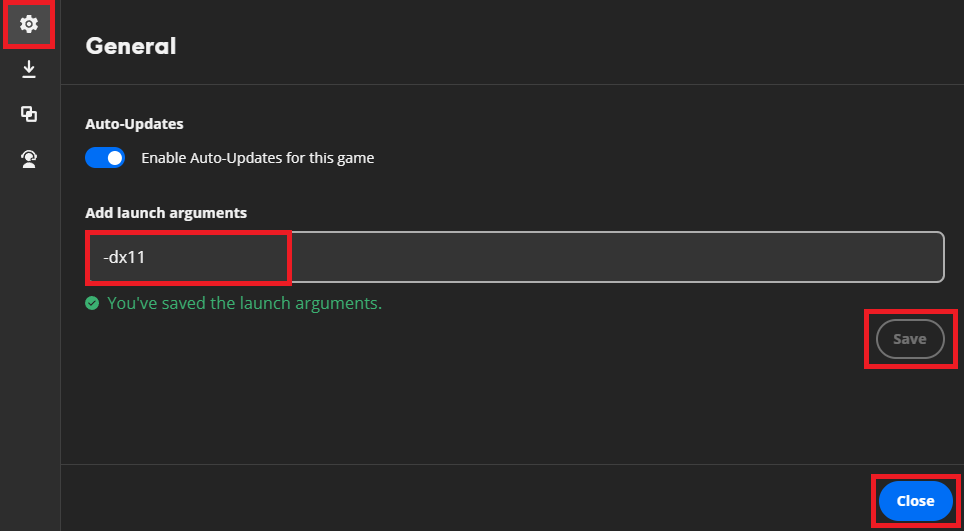
- Within the General settings, type -dx11 into the Add launch arguments text box, and save your changes.
4. Update Graphics Drivers & Delete Config. File
A fresh driver update can often result in noticeable improvements in frame rates and stability. Simultaneously, clearing the game’s configuration file forces Skull and Bones to regenerate a new default settings file upon the next launch.
This step eliminates any custom settings that may have been causing the game to run poorly or that were mismatched with your hardware capabilities.
Resetting to default settings provides a new start, making sure the game operates on a tested and supported configuration, which can often resolve remaining performance issues.
- Visit the Nvidia GeForce website and click on Download Now to acquire the GeForce Experience application.

- Run the downloaded file and complete the setup by following the prompts displayed.
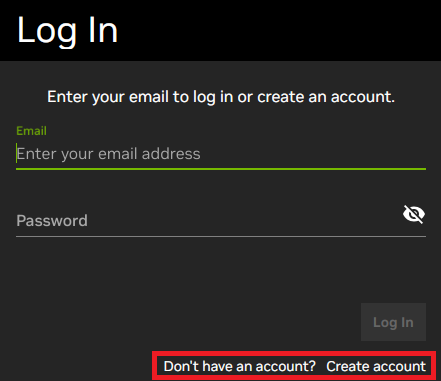
- Launch GeForce Experience, sign in to your account, or create a new one if necessary.
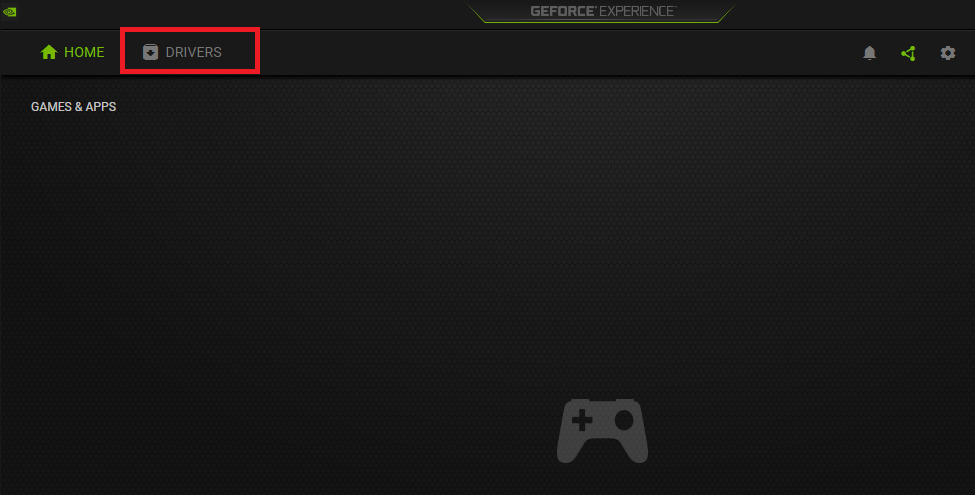
- Click on the Drivers tab to proceed.
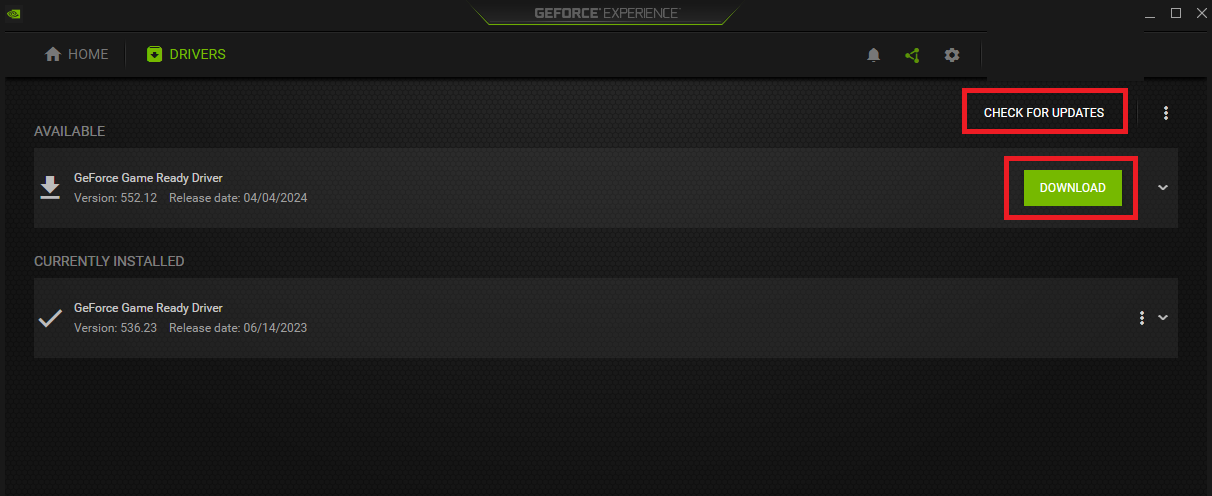
- Check for available updates by selecting Check for Updates, and install any updates found.
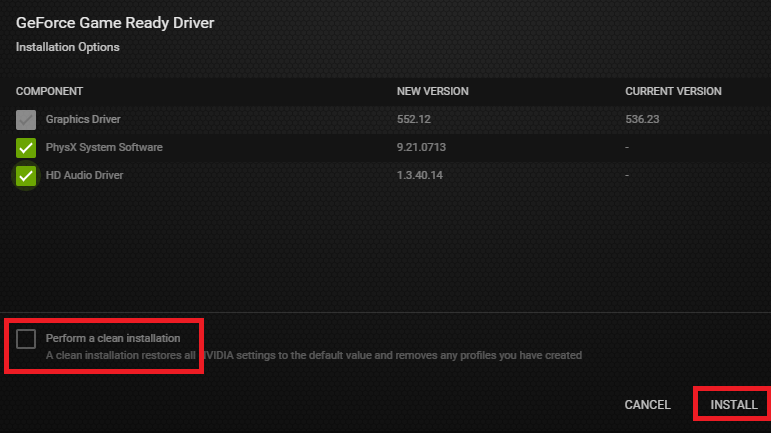
- Select Custom Installation, tick Perform a Clean Installation, and click Install.
- Following the driver installation, reboot your PC. For non-NVIDIA cards, consult our guide on how to update graphics drivers on Windows.
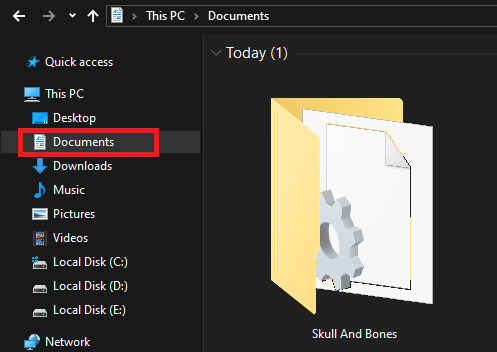
- In File Explorer, go to your Documents, locate the Skull and Bones folder, and open it.
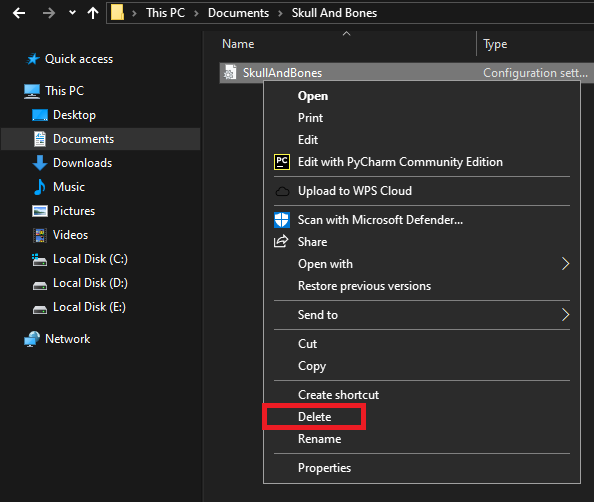
- Delete the configuration file inside the folder, then relaunch the game.
5. Check Game Files
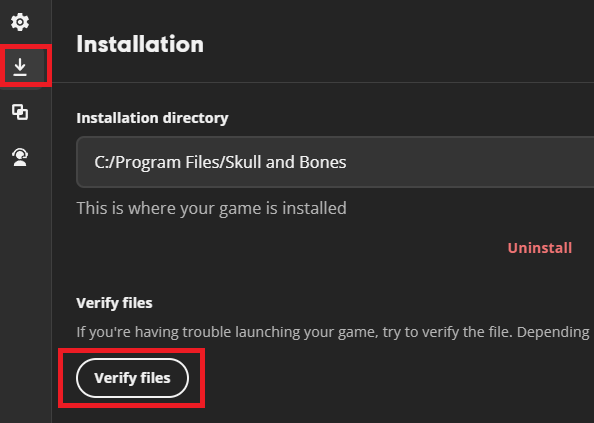
This method is crucial because these files are essential for running the game smoothly, and if they’re compromised in any way—whether through improper downloads, disk errors, or other disruptions—the game may perform poorly or not function at all. By using the launcher’s verify tool, it can effectively restore the game’s integrity, thus potentially eliminating performance issues related to file errors.
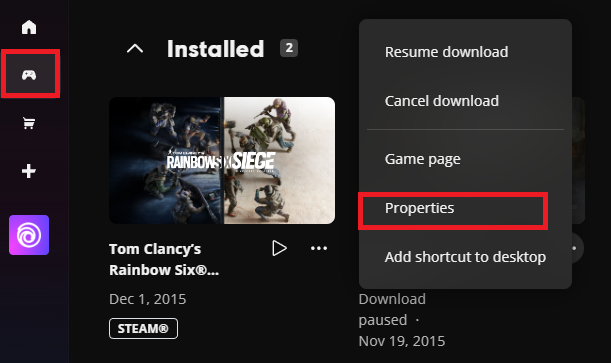
- Launch Ubisoft Connect and click on the Games tab.
- Right-click on Skull and Bones and select Properties.
- Navigate to the Local Files tab and click Verify files.
6. Disable Third-party Programs & Overlays
These applications often consume system resources that could otherwise be utilized by the game, hence potentially improving its performance. Overlays in particular, while useful for social interaction and monitoring, can interfere with game processes or add extra load on the graphics card, leading to decreased FPS and stuttering during your gameplay experience.
By turning these off, you can make sure that Skull and Bones has the optimal environment to run smoothly and without any unnecessary problem.
Discord
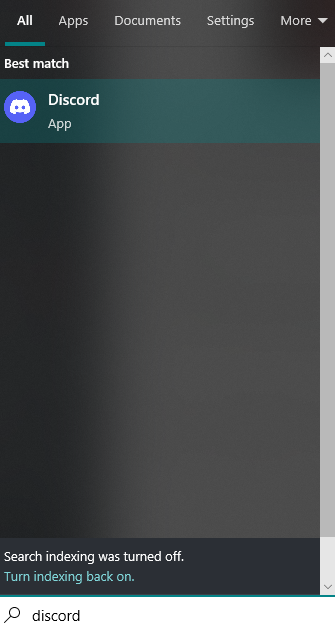
- Press the Windows Key, search for Discord, and open the application.
- Click the User Settings gear icon next to your profile name.

- Under Activity Settings, choose Registered Games.
- Locate Skull and Bones and disable its overlay by clicking the monitor icon.

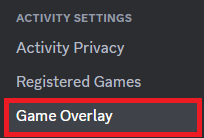
- Within Activity Settings, select Game Overlay.
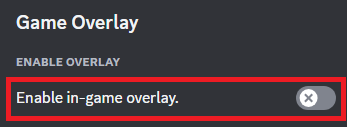
- Disable the Enable in-game overlay option.
Nvidia
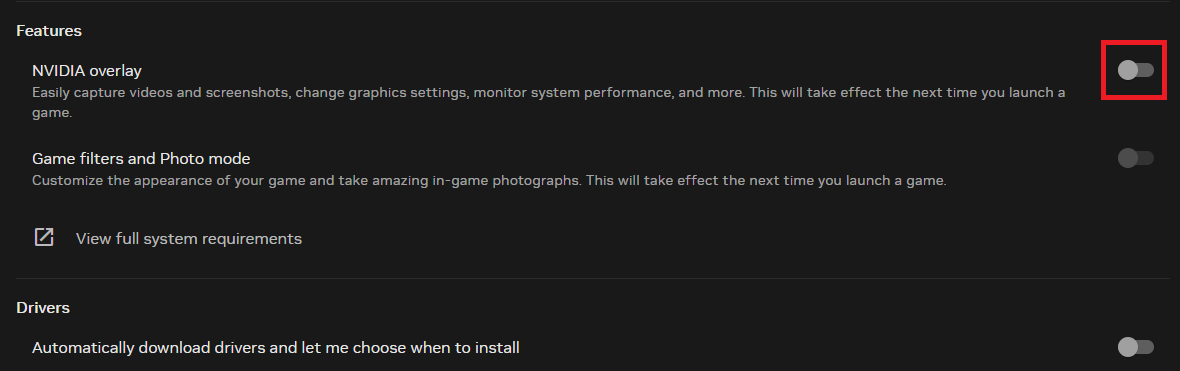
- Press the Windows Key, type Nvidia, and launch the NVIDIA GeForce Experience application.
- In GeForce Experience, open Settings.

- In the General tab, turn off the In-Game Overlay.