How to Setup Windows Development Environment in Windows 11?
 Reviewed by Muhammad Zubyan
Dev Home is a new feature from Microsoft aimed at helping developers improve their overall experience in Windows. It essentially functions as a Control Center for Windows, allowing you to monitor the projects added to your dashboard. This is accomplished through various widgets that enable you to track different statistics, ranging from GitHub issues and assignments to hardware health and more.

You can use the form to set up a development environment on your Windows quite easily by installing various tools instantly, cloning GitHub repositories to your computer, and using Dev Drive as the storage unit for such files. In this article, we will show you how to set up a development environment in Windows 11 using Dev Home.
1. Install Dev Home
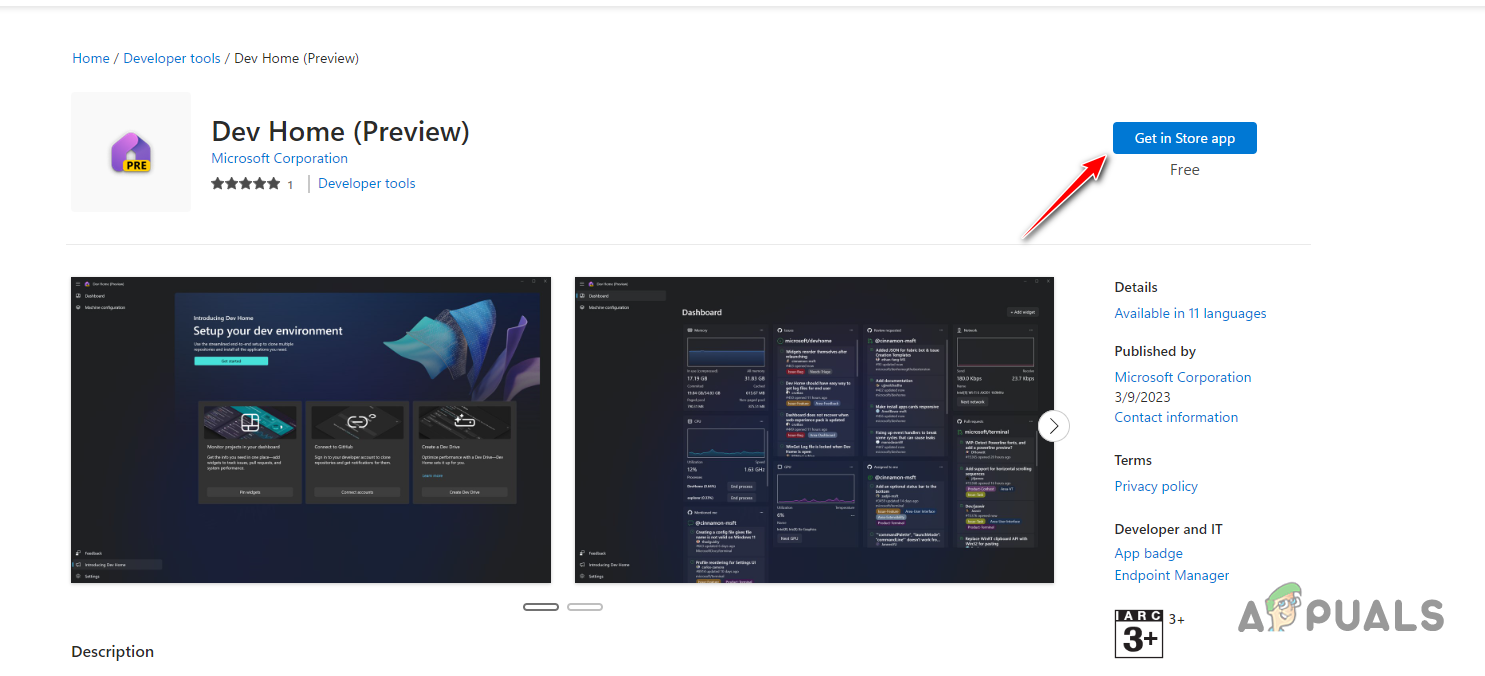
To begin, you must first install Dev Home on your computer. Currently, Dev Home is in public preview, which means there may be minor issues occasionally. Installing Dev Home is quite simple. It is available for installation through the Microsoft Store app, or you can also manually install it via the GitHub page.
To install Dev Home via Microsoft Store, follow the instructions down below:
- First, navigate to the official link for Dev Home on Microsoft Store by clicking here.
- There, click the Get in Store app option.
Installing Dev Home - On the Microsoft Store window, click the Get option to install Dev Home on your computer.
- After it has been installed, open it up.
2. Create a Dev Drive
After installing Dev Home on your computer, you will need to create a Dev Drive to take advantage of the full capacity of Dev Home. Creating a Dev Drive is not compulsory, and you can ignore this step if it is too much of a hassle for you. However, we highly recommend creating a Dev Drive, as it provides a great deal of additional functionality and control over your projects.
Dev Drive is currently not available on the stable release of Windows 11, and you will have to join the Windows Insider Program. This is because, at the moment, Dev Drive is only available on the Dev Channel of the Windows Insider Program. However, it will soon be a part of the stable release, and you will not have to join the Insider Program in the near future.
You can set up a Dev Drive on your computer by following our detailed guide.
3. Setup Dev Home
With Dev Drive out of the way, you can now focus on setting up Dev Home on your computer. The application allows you to configure your machine in a number of ways. You can follow a step-by-step setup within the app that guides you through the process of installing applications and cloning repositories.
Alternatively, you can also use a YAML configuration file to set up Dev Home on your system. Once you have installed any required tools and cloned your GitHub repositories, you can proceed with monitoring them by deploying various widgets.
To configure your machine via Dev Home, follow the instructions down below:
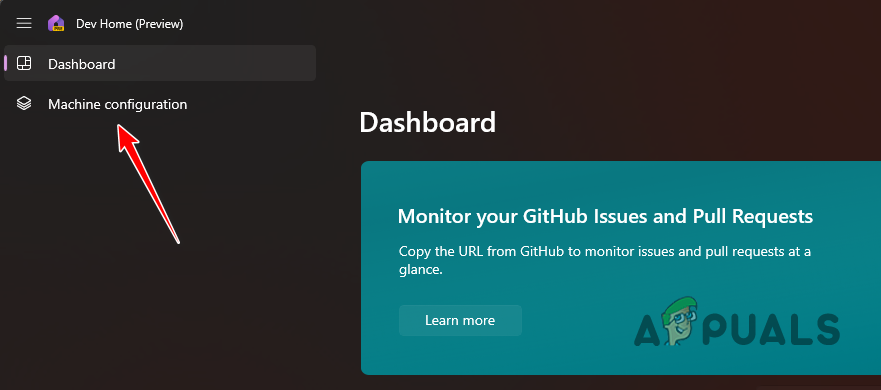
- First, open Dev Home by searching for it in the Start Menu.
- After that, switch to the Machine configuration tab on the left-hand side.
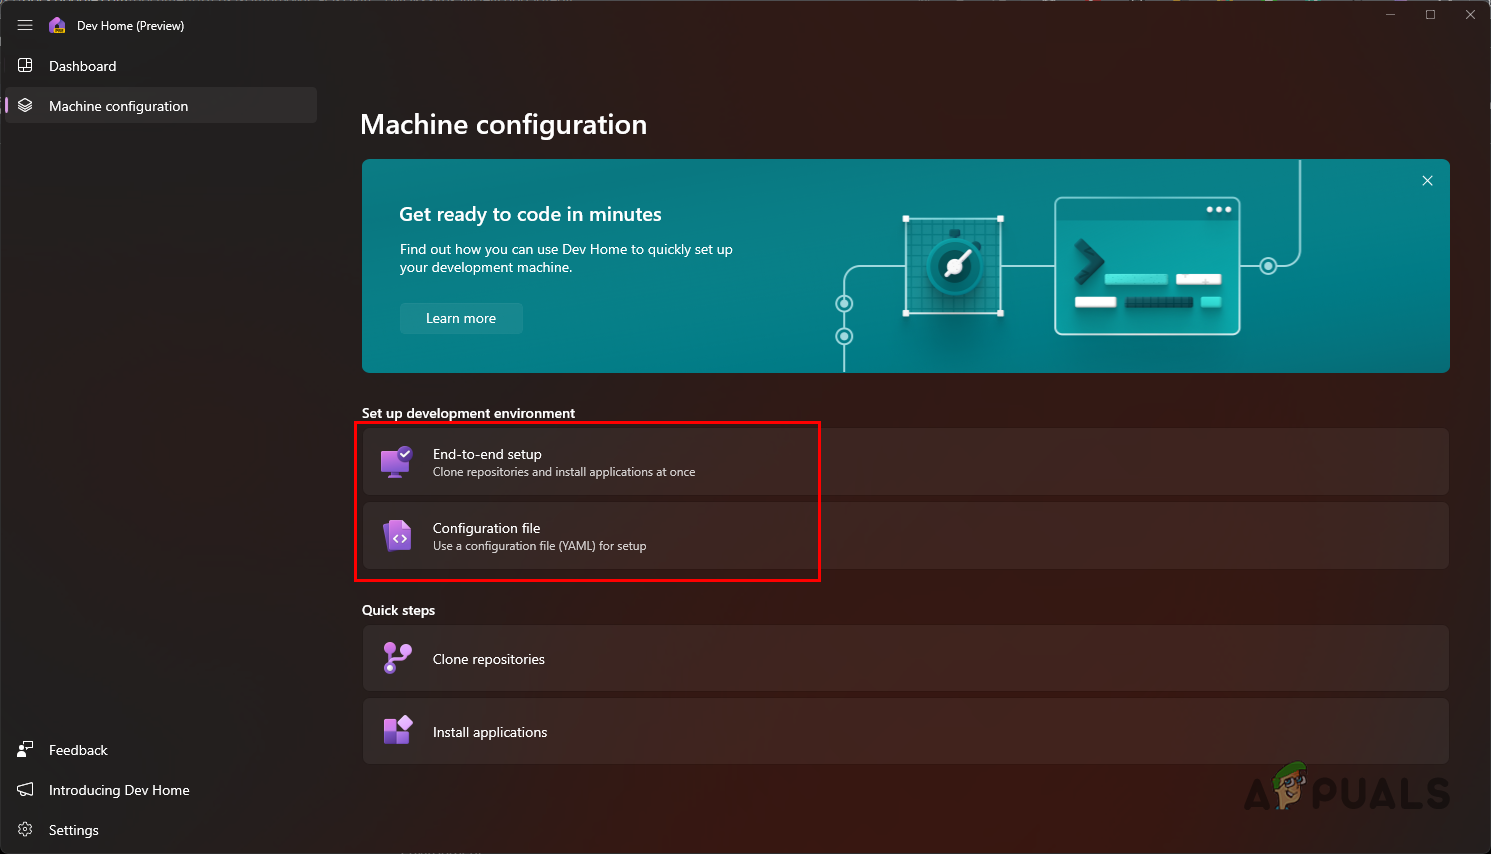
Navigating to Machine Configuration - There, click on the End-to-end setup option. If you wish to use a YAML configuration for configuring your machine, click the Configuration file option and select the file on the Browse window.
Configuring Machine via Dev Home - On the End-to-end setup screen, click on the Add repository option to clone a GitHub repository.

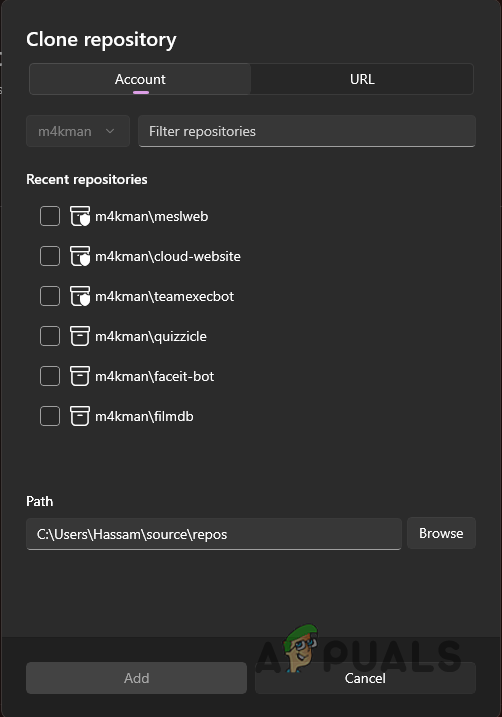
Adding Repository to Dev Home - If you wish to test the application, you can simply provide the link to a GitHub repository. However, to take advantage of further features like widgets, you will have to connect your GitHub account.
- To connect your GitHub account, switch to the Account tab and click on the drop-down menu. The Dev Home GitHub Extension (Preview) option should appear. Click Connect.

Signing into GitHub Account - After that, select any repository that you wish to clone and click the Add button.
Selecting Repositories to Add - If you have created a Dev Drive, make sure to change the path to the Dev Drive.
- Once you do that, click the Next button.

Added Repositories - After that, you can choose to install any application from the provided options on your computer.
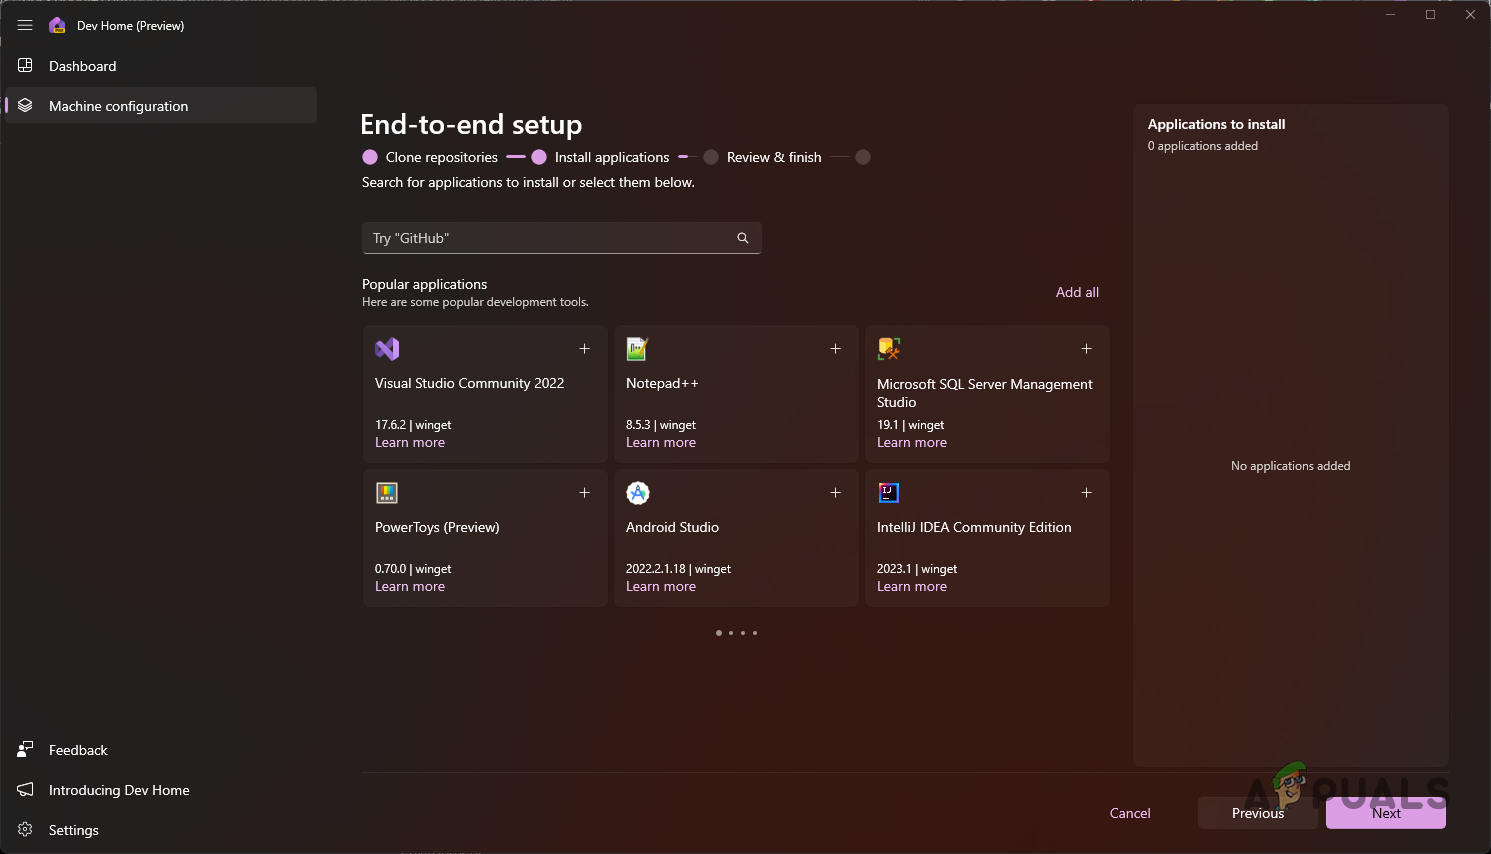
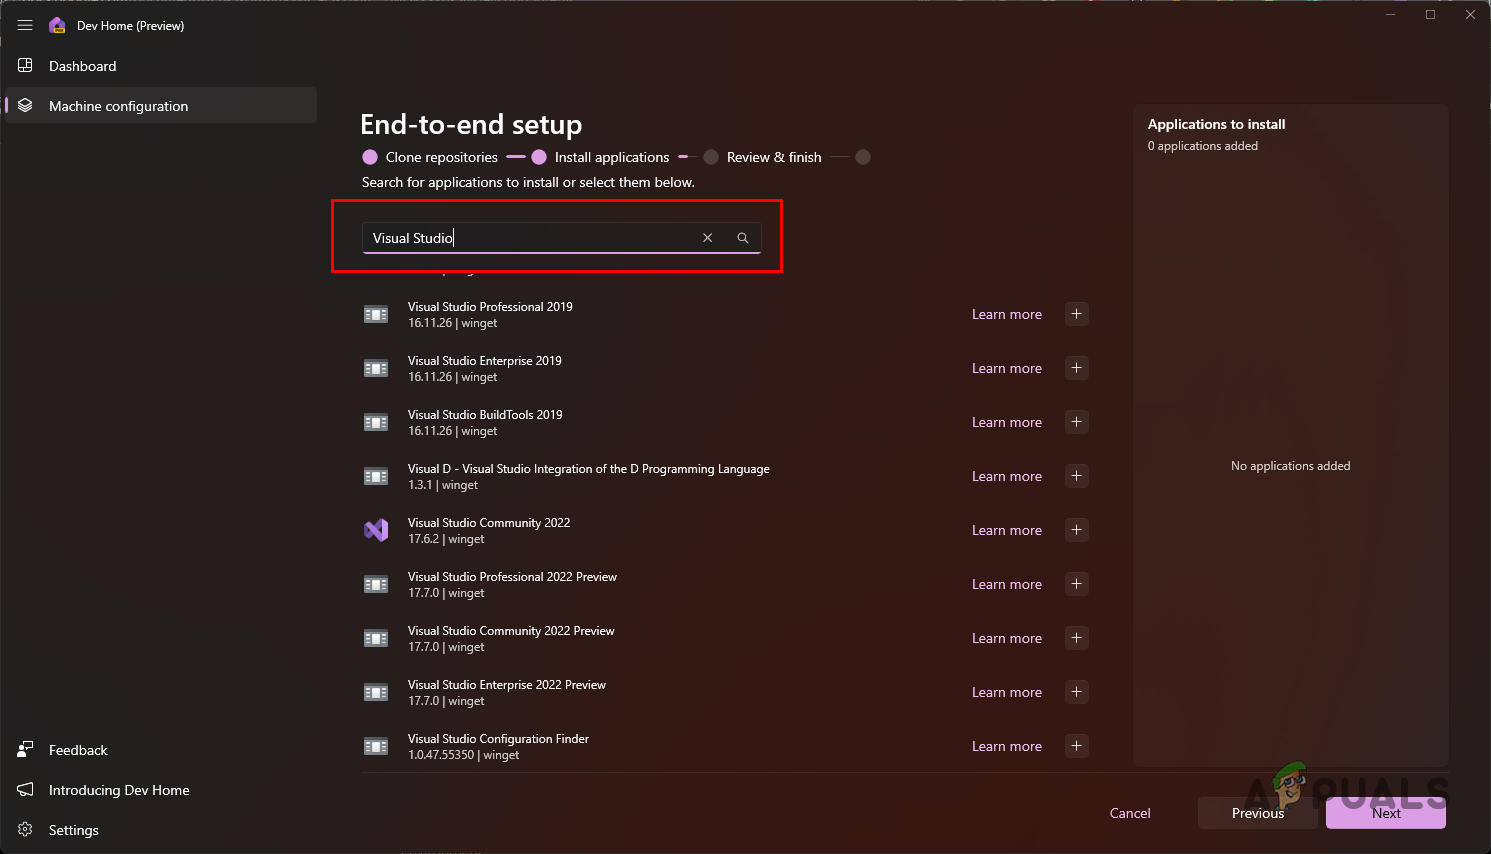
Dev Home Applications - Use the search bar to search for any specific application. Note that not every application will be available to install right away and it may be included down the line.
Searching for Tools - After selecting the desired tools, click Next.
- Finally, review your settings and click the Set up option to configure your machine. Wait for it to complete.

Setting up Dev Home
4. Adding Widgets
Now that you have installed the required tools and cloned respective repositories from GitHub on your computer, you can go a step further with Dev Home widgets. These widgets allow you to track and manage various resources on your computer as well as GitHub activities.
With Dev Home widgets, you are able to track GitHub notifications, any pull requests and issues on your repositories, along with reviews and assignments. In addition, it also allows you to track the health of your hardware components from GPU to CPU, memory, network statistics, and more.
Using widgets on Dev Home is quite easy, follow the instructions below to add widgets to your Dev Home environment:
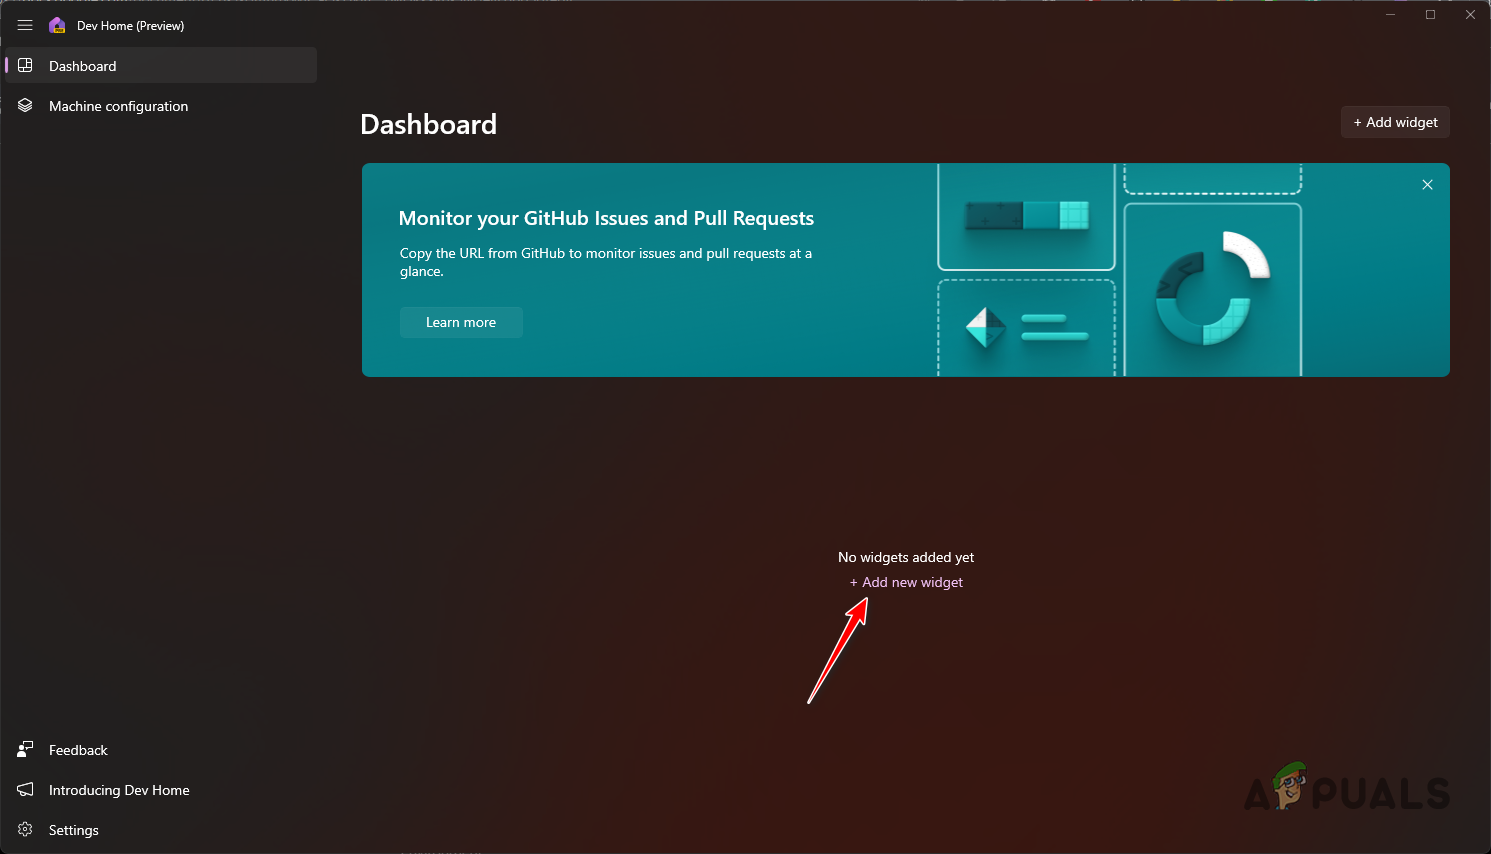
- First, on the Dev Home Dashboard, click on the Add widget option.
Adding New Widget - To add one of the Core widgets, choose whatever interests you and select the Pin option.
- For example, if you wish to track your memory usage, switch to the Memory tab and click the Pin option.
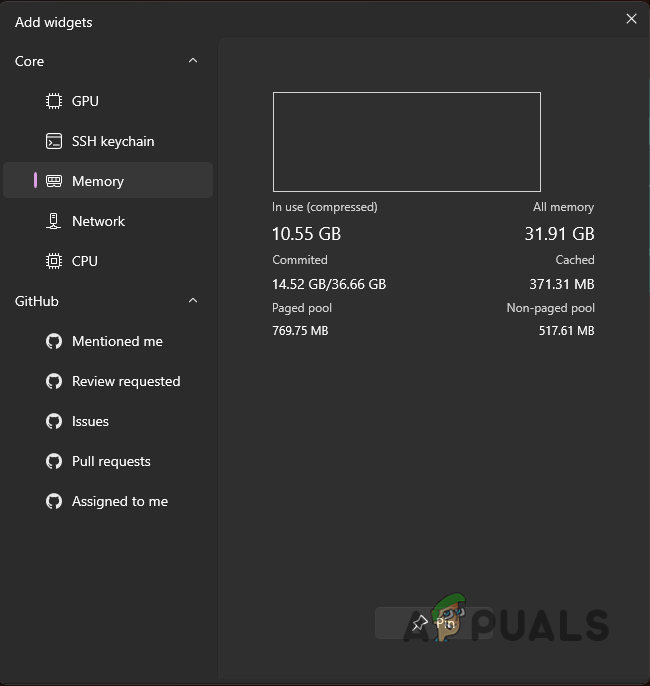
Adding Memory Widget - For GitHub widgets, you have a number of options. If you wish to add a widget for Pull requests, select the Pull requests option on the left-hand side.
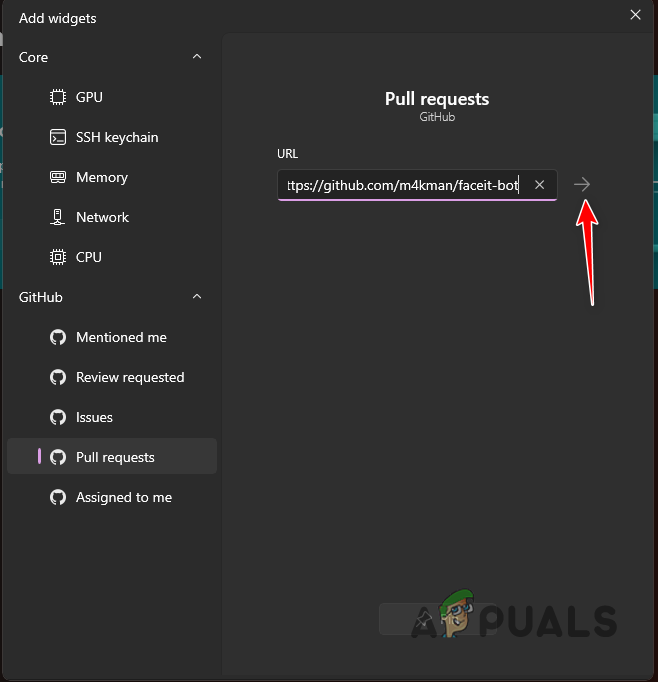
- After that, provide the URL of the GitHub repository and click the arrow option to the right.
Loading Pull Request Widget - Wait for the widget to load and then click the Pin option.
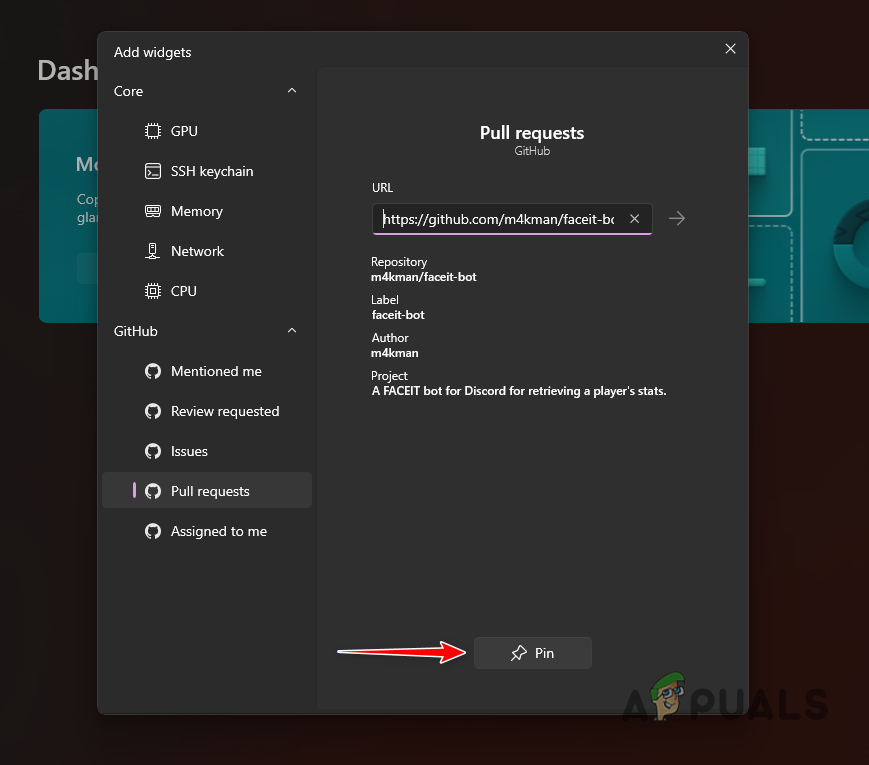
Adding Pull Requests Widget - Once you do that, you will be able to see any pull requests submitted to the respective GitHub repository.
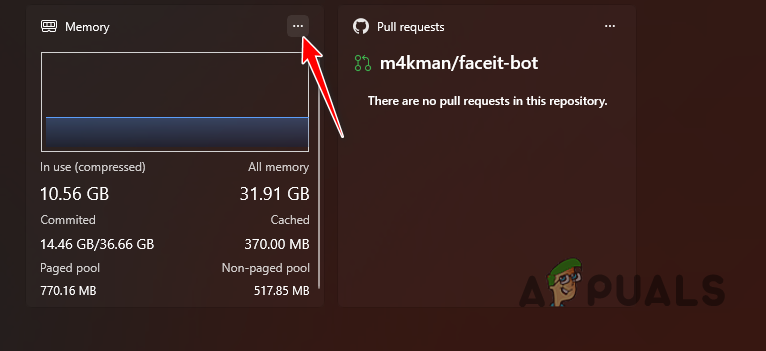
- If you wish to remove a widget, click on the three dots in the top-right corner of the widget.
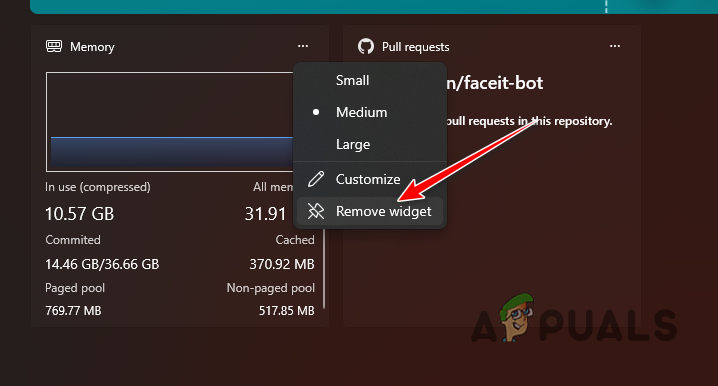
Opening Widget Menu - From the drop-down menu, choose the Remove widget option.
Removing Widget
Reviewed by Muhammad Zubyan


